We hope you’ve enjoyed keeping up with Lindsay’s Designer Turned Client remodel as much as we have! If you missed our past posts get caught up with Week 1, Week 2, Week 3, Week 4, and Week 5. This week we’re going to show you the exciting drywall and flooring changes that have taken place.
Framing Complete
Framing took a few weeks to complete. We created the shape for the new laundry room and office space.
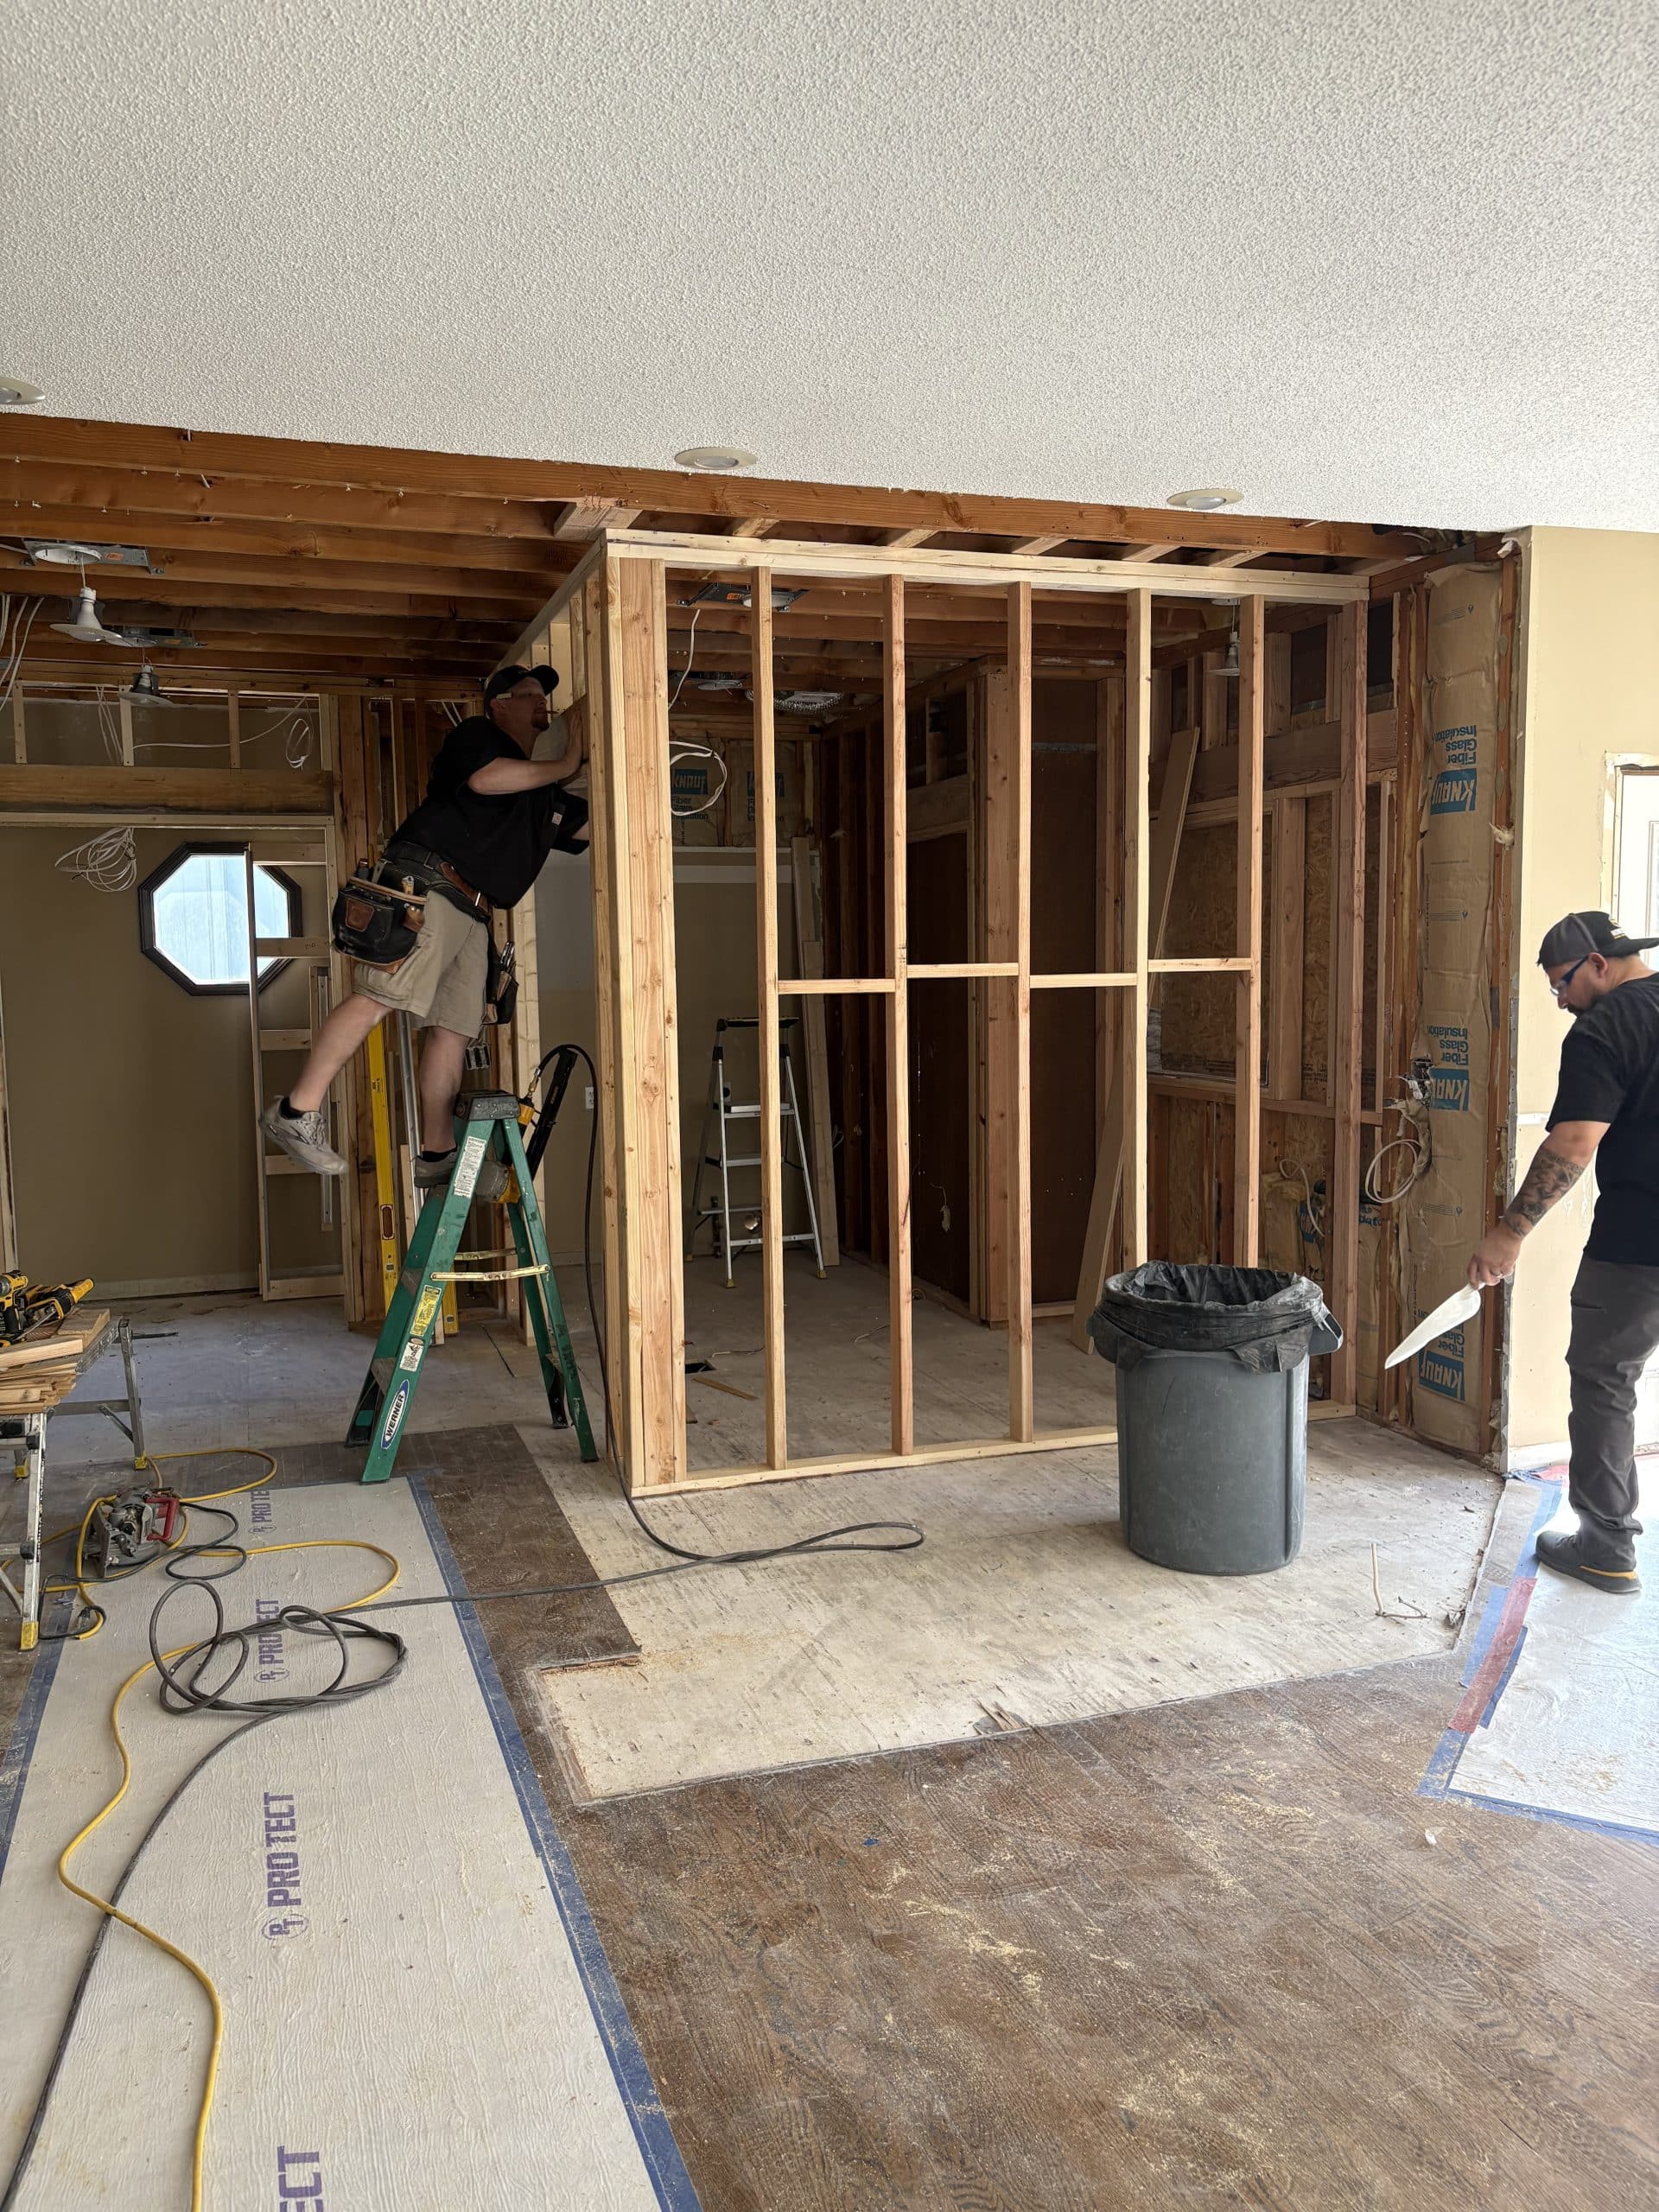

Once framing was complete, it was time to get the new drywall up.
Drywall
Drywall is an exciting stage of any project because visually, the separate spaces really begin to take shape. The amount of time needed to hang drywall differs from project to project of course. For Lindsay's main floor it took around 10 days.
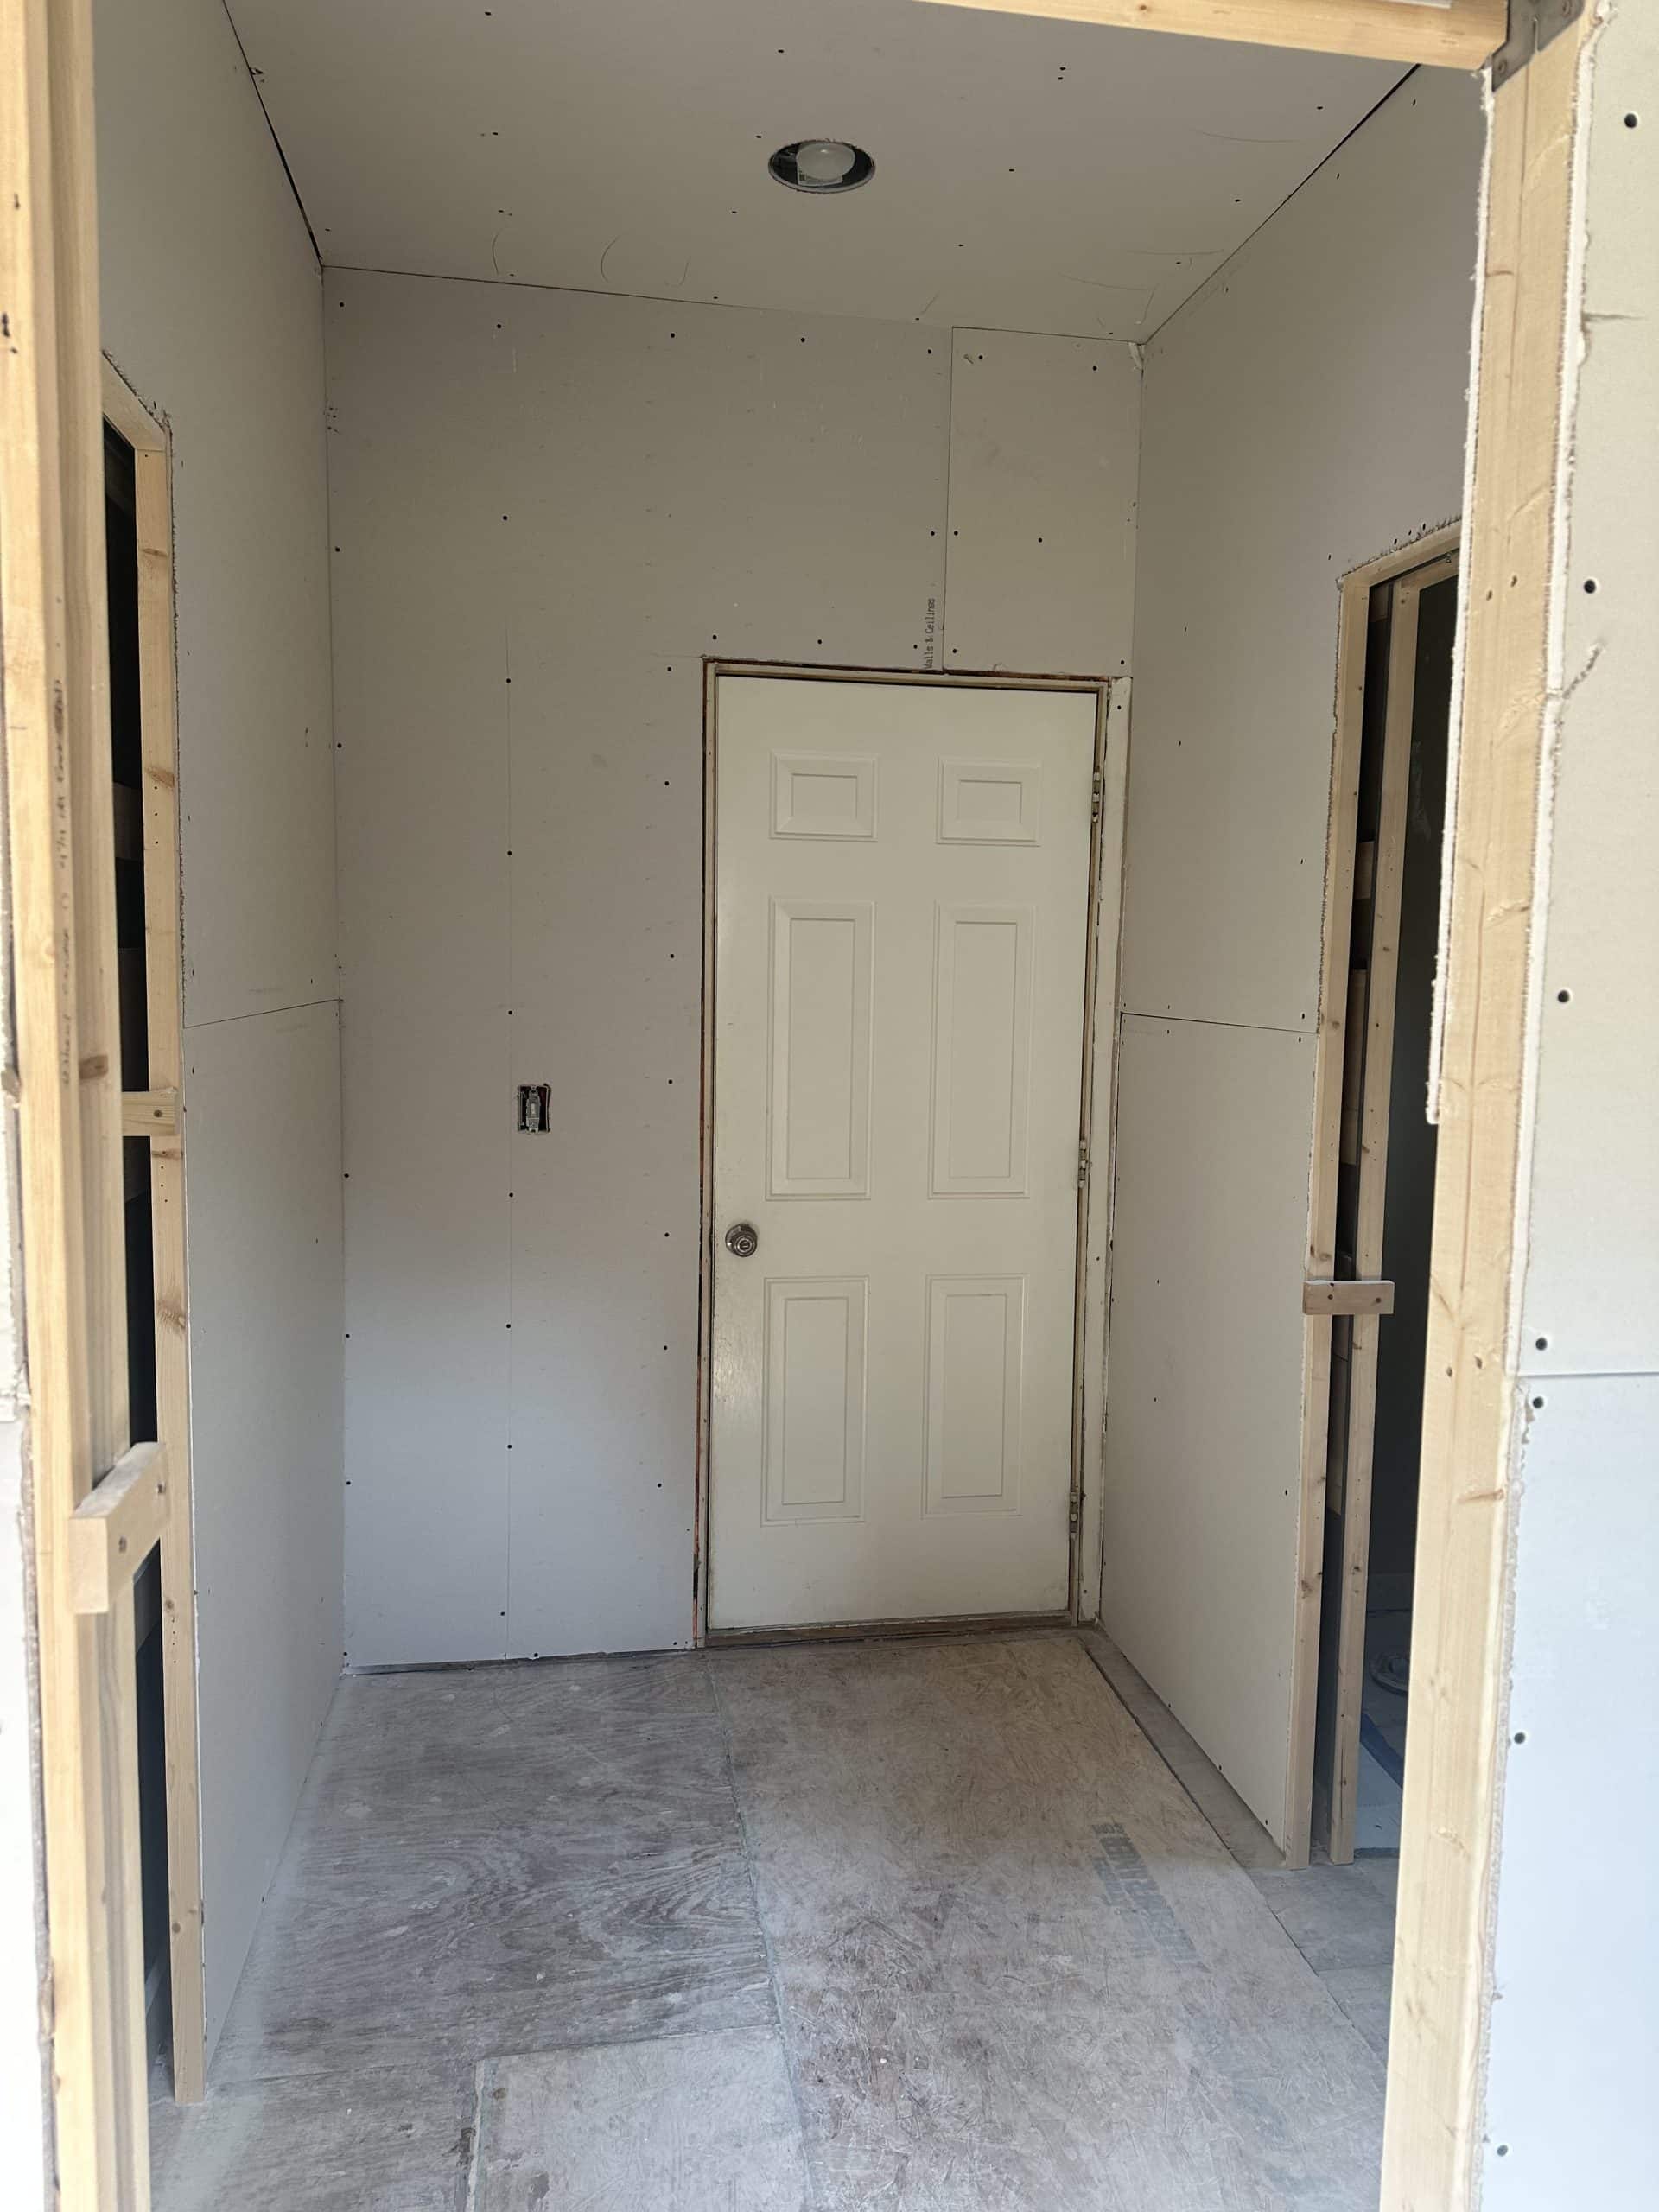
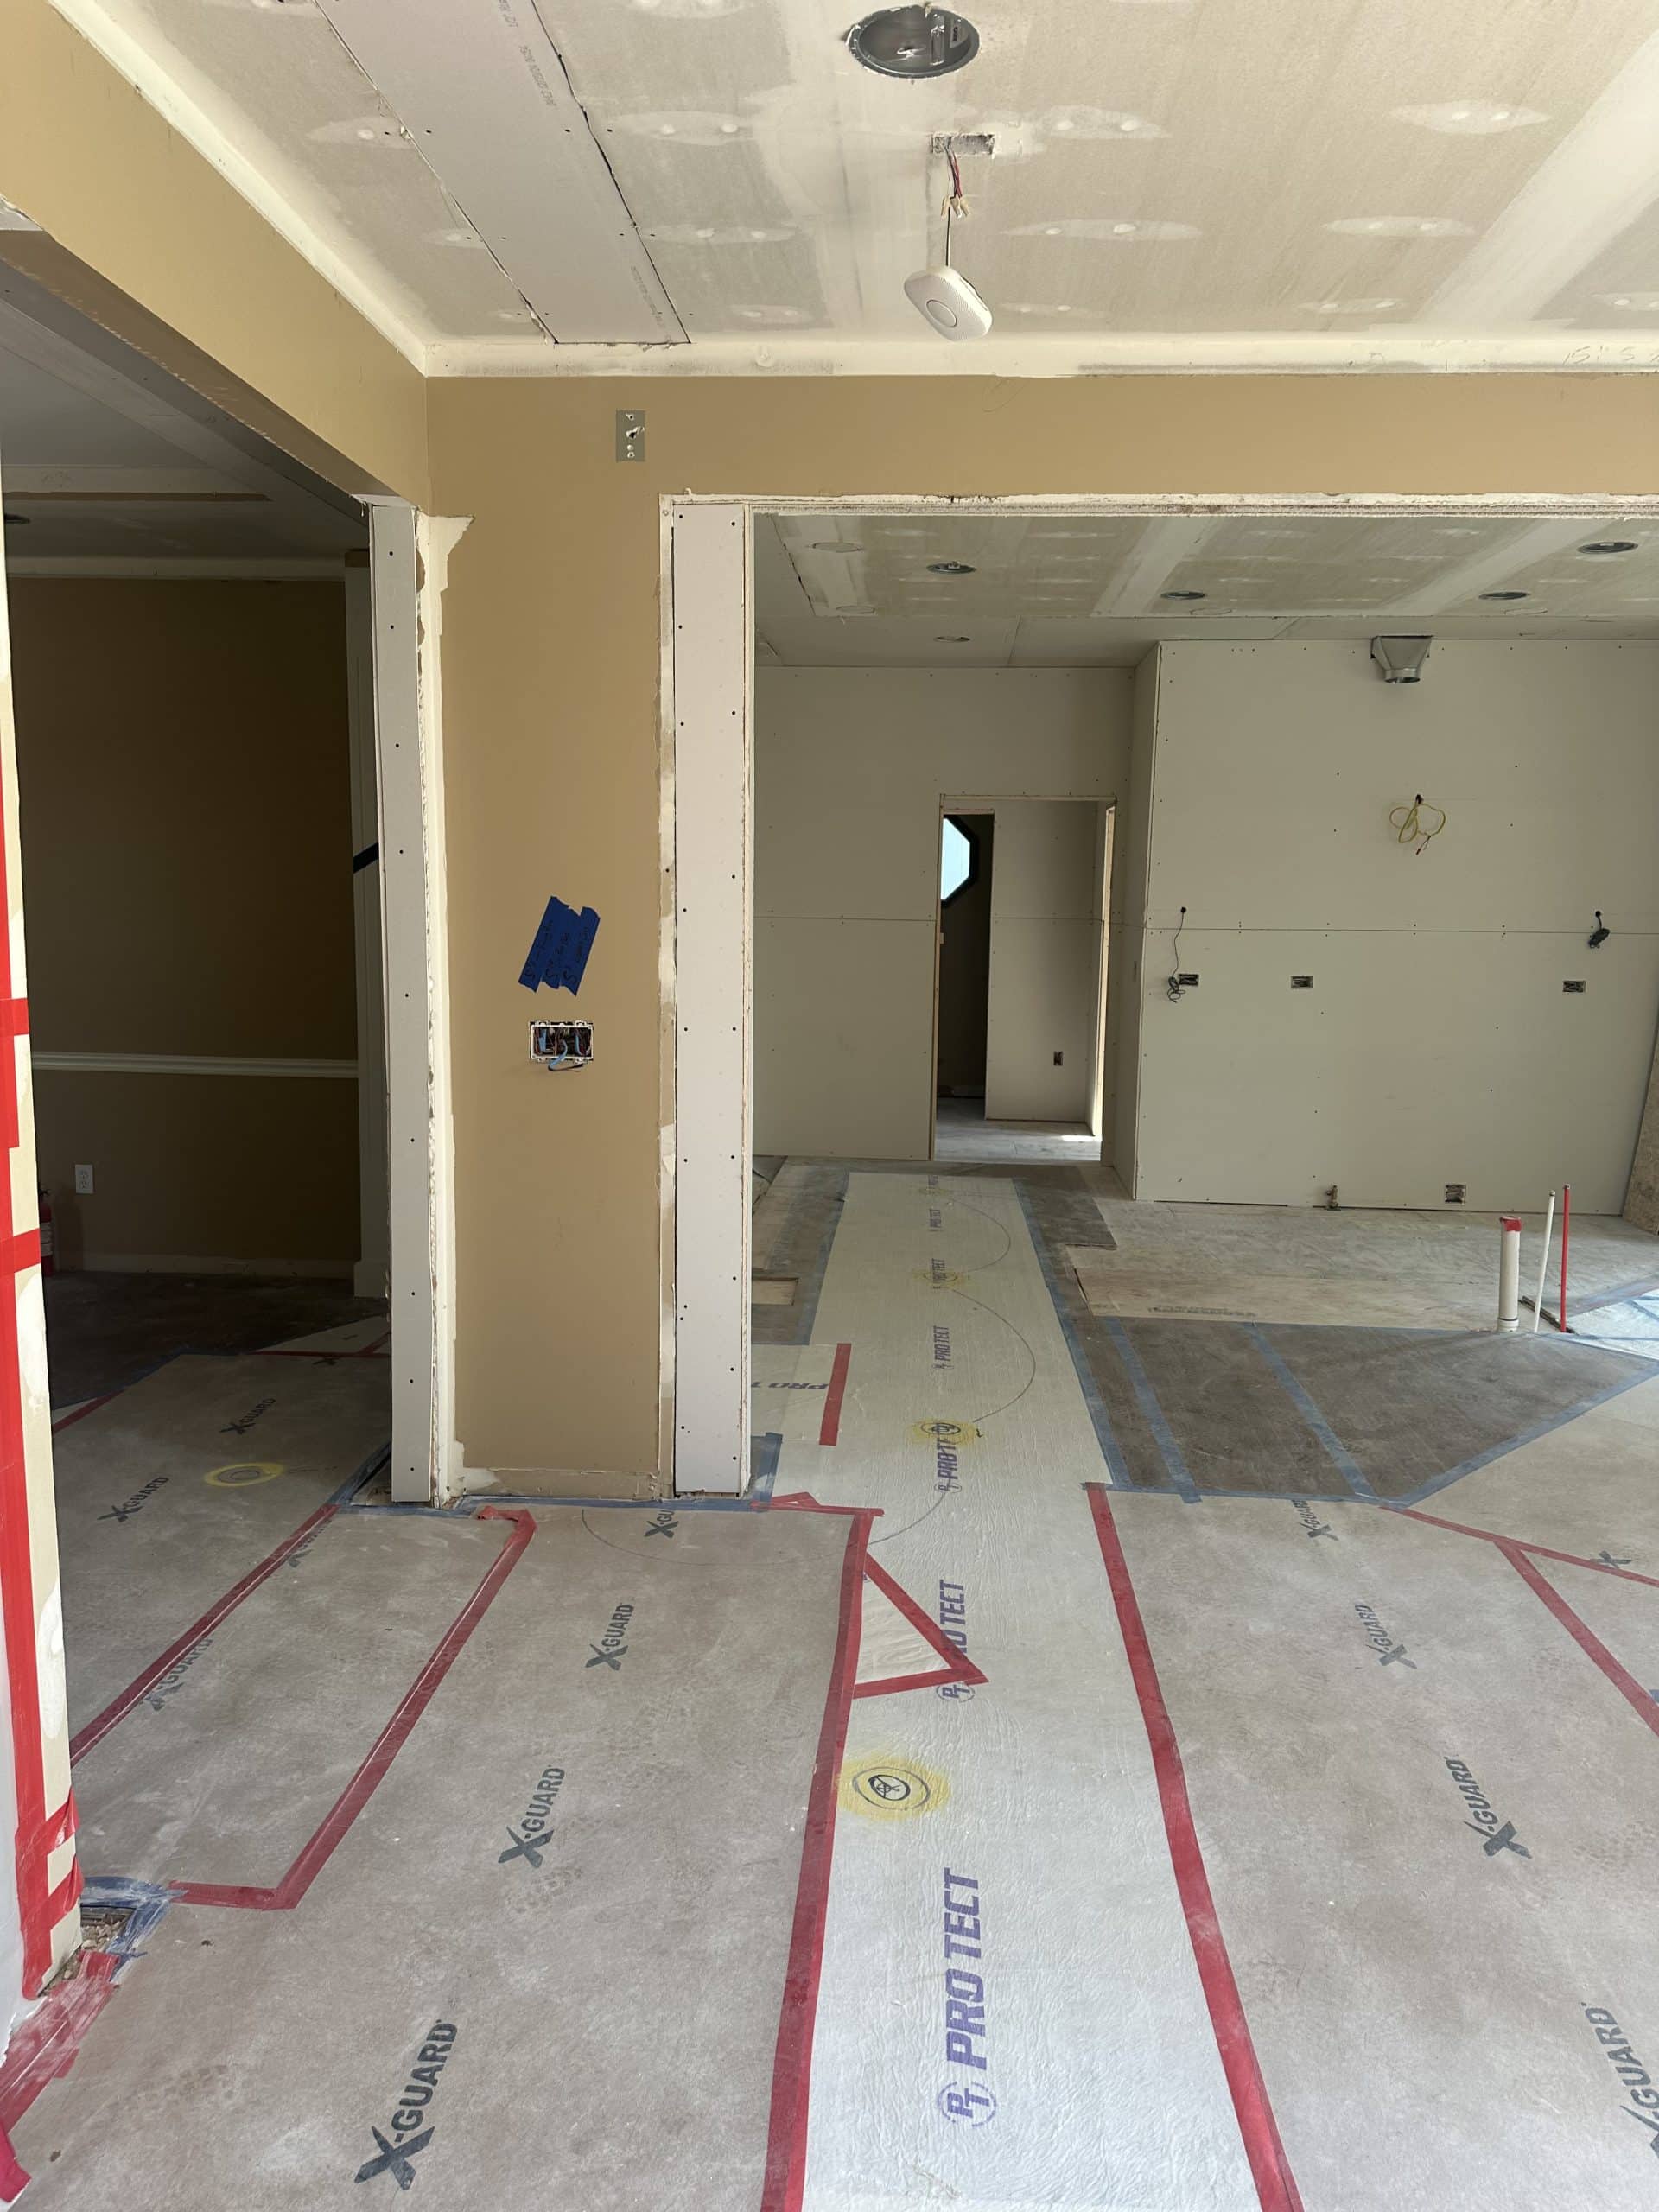
Drywall progress in the entry area off the garage.
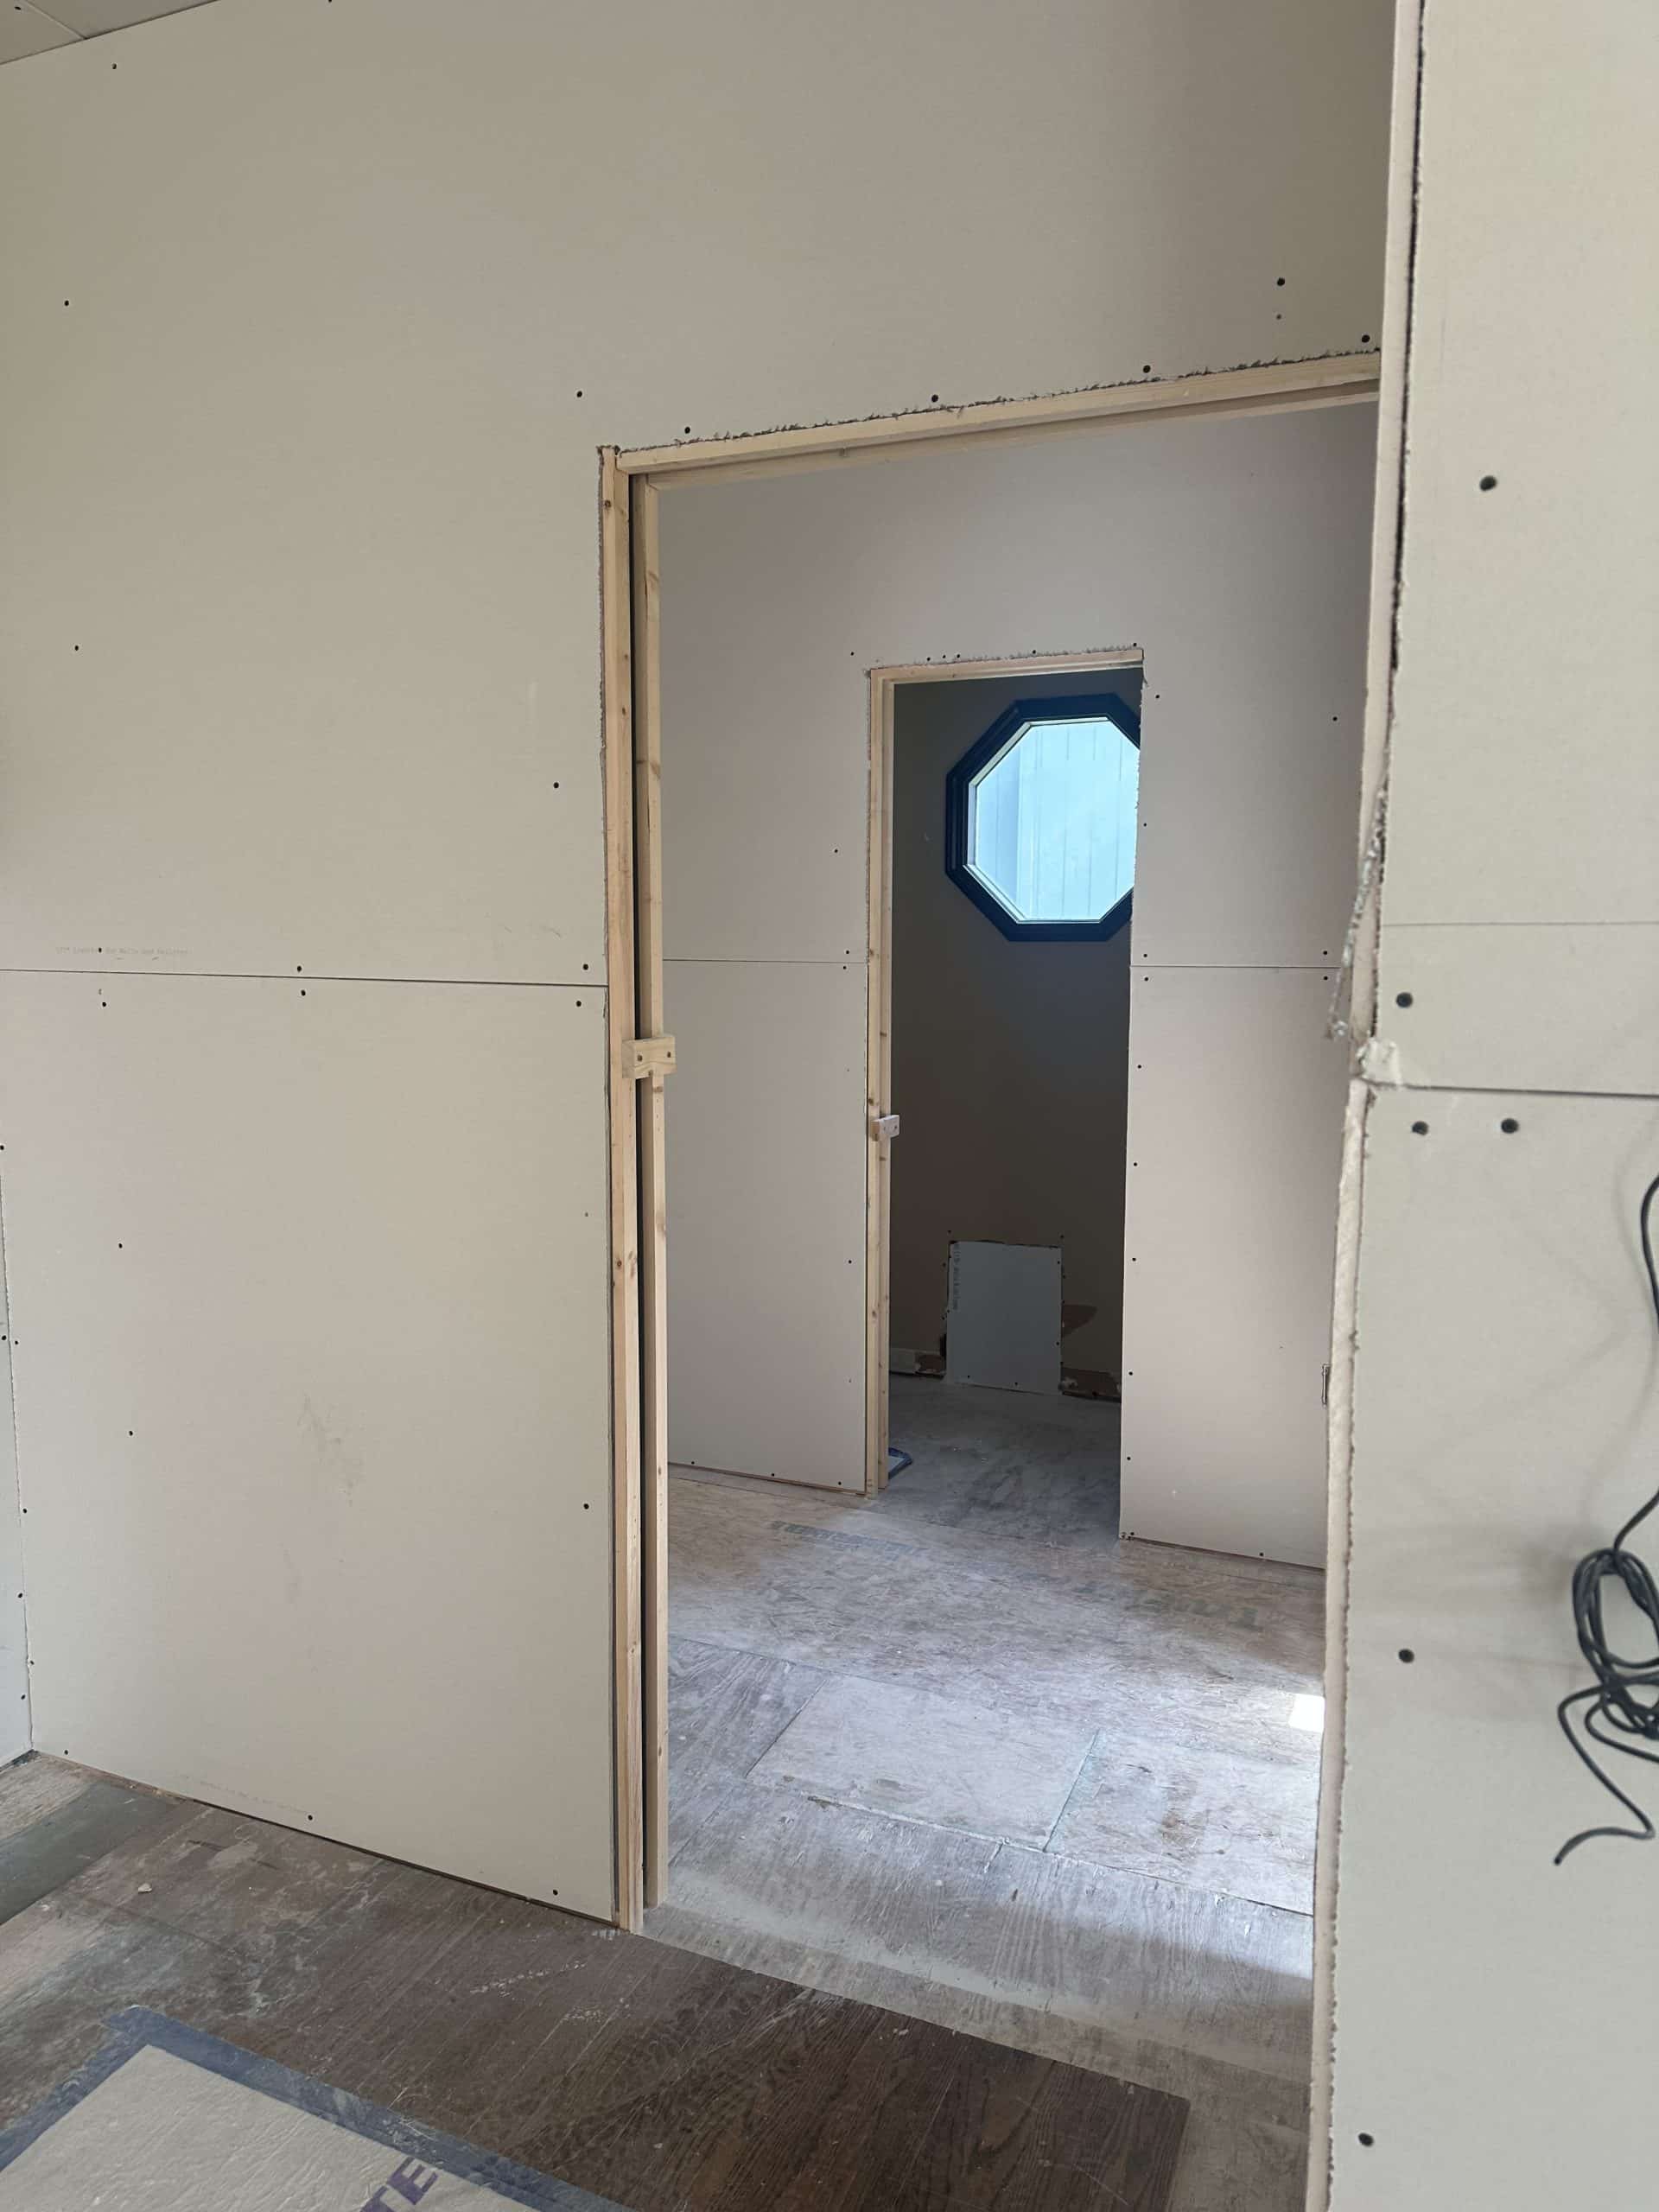
Drywall progress in the kitchen looking into the entry way from garage.
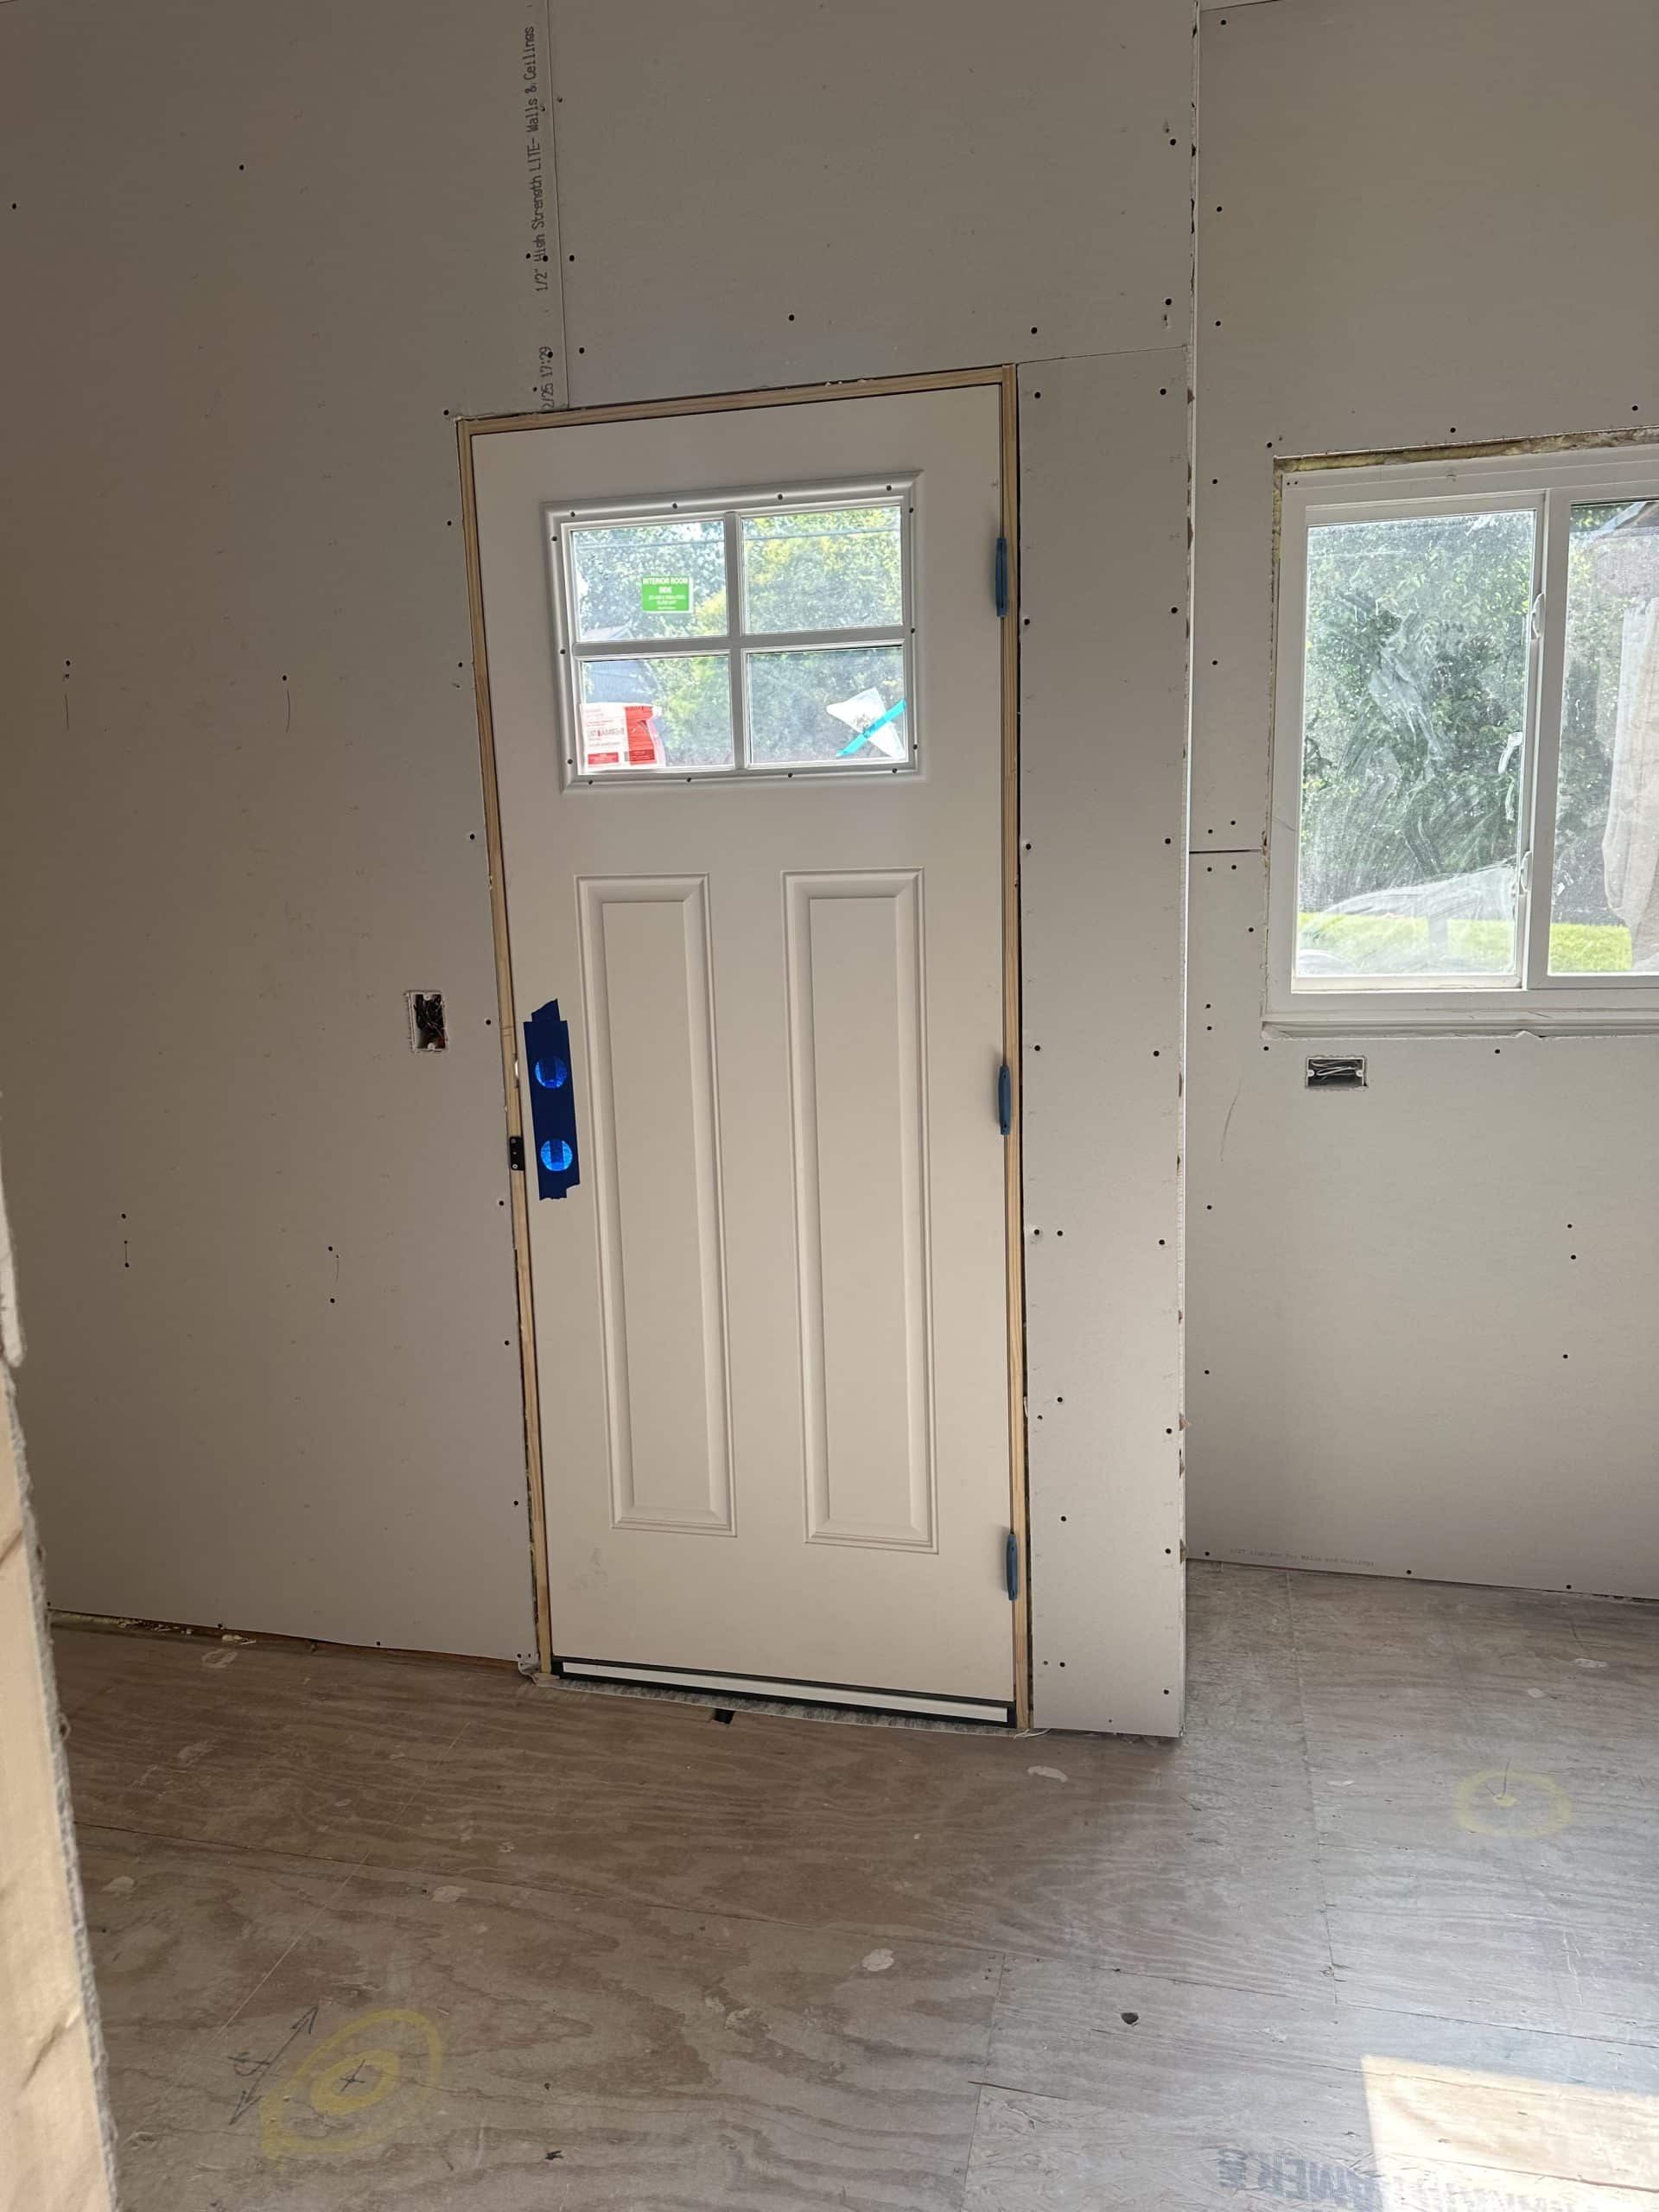
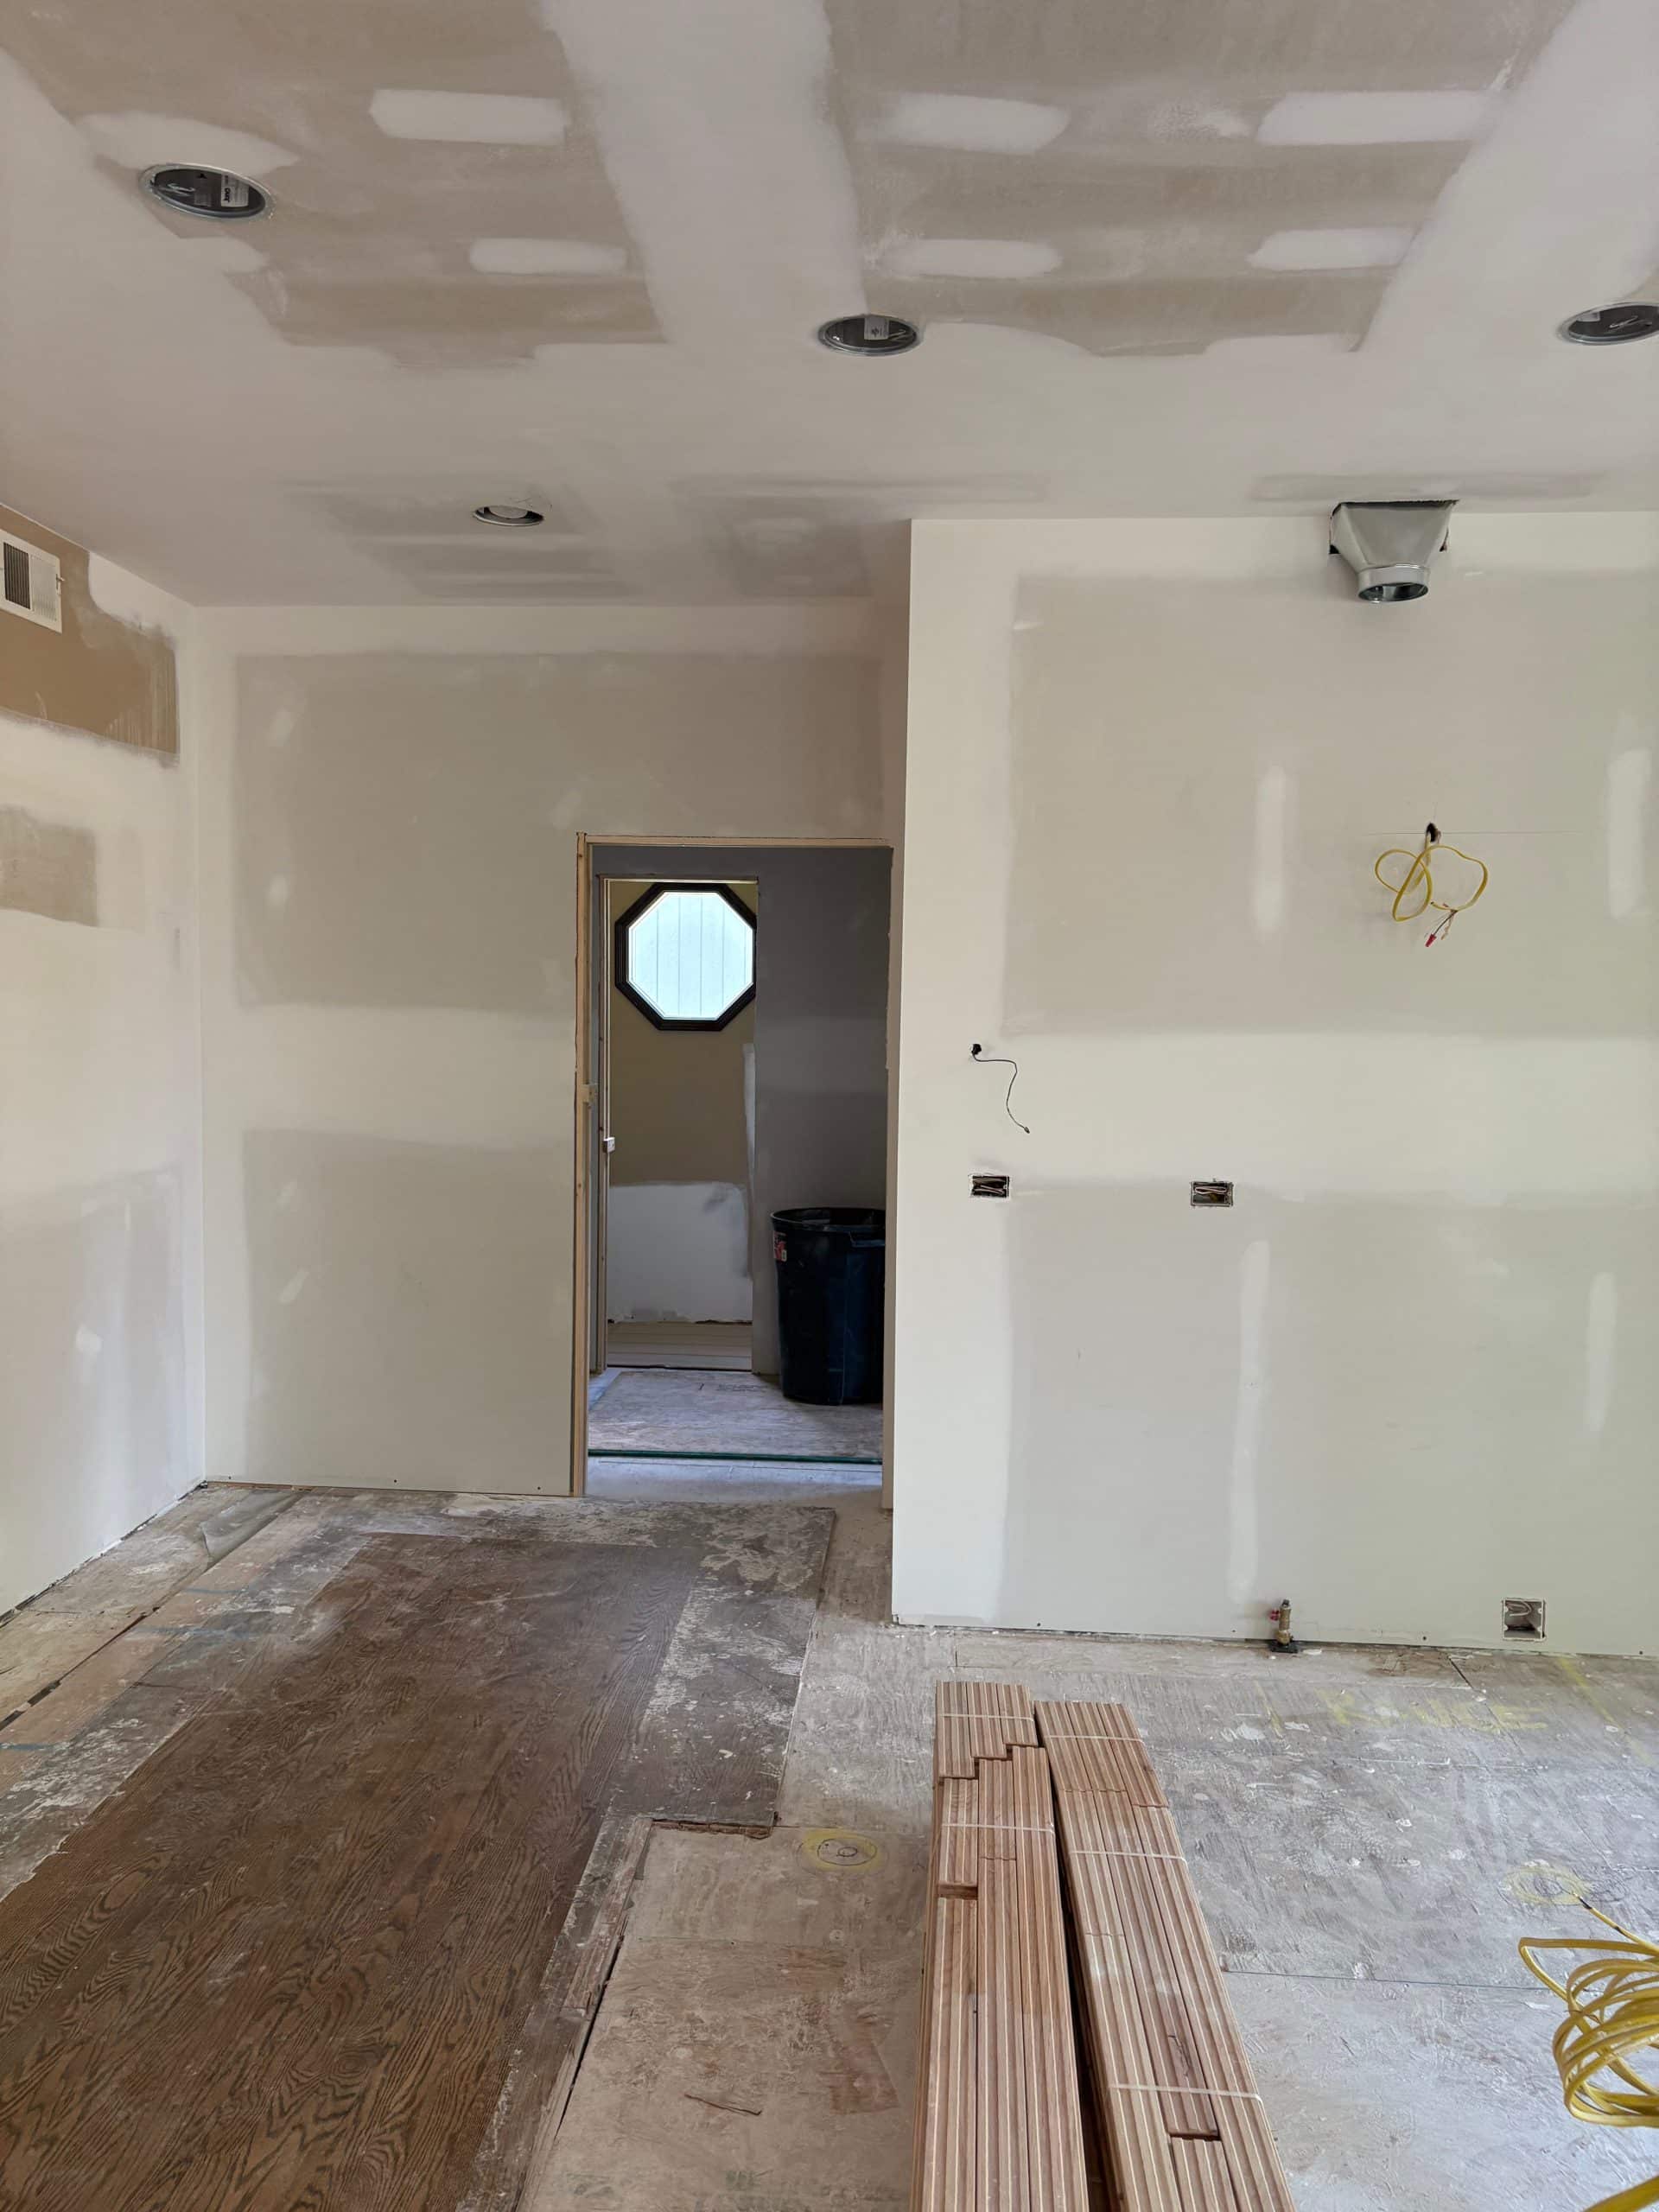
Drywall progress in the laundry room and office area.
Drywall progress from living room area.
Once the new drywall was up it was time to tape, mud, and sand to get everything smooth.
Next, we added insulation to the exterior walls in the laundry room area to help with temperature regulation.
Fresh Floors
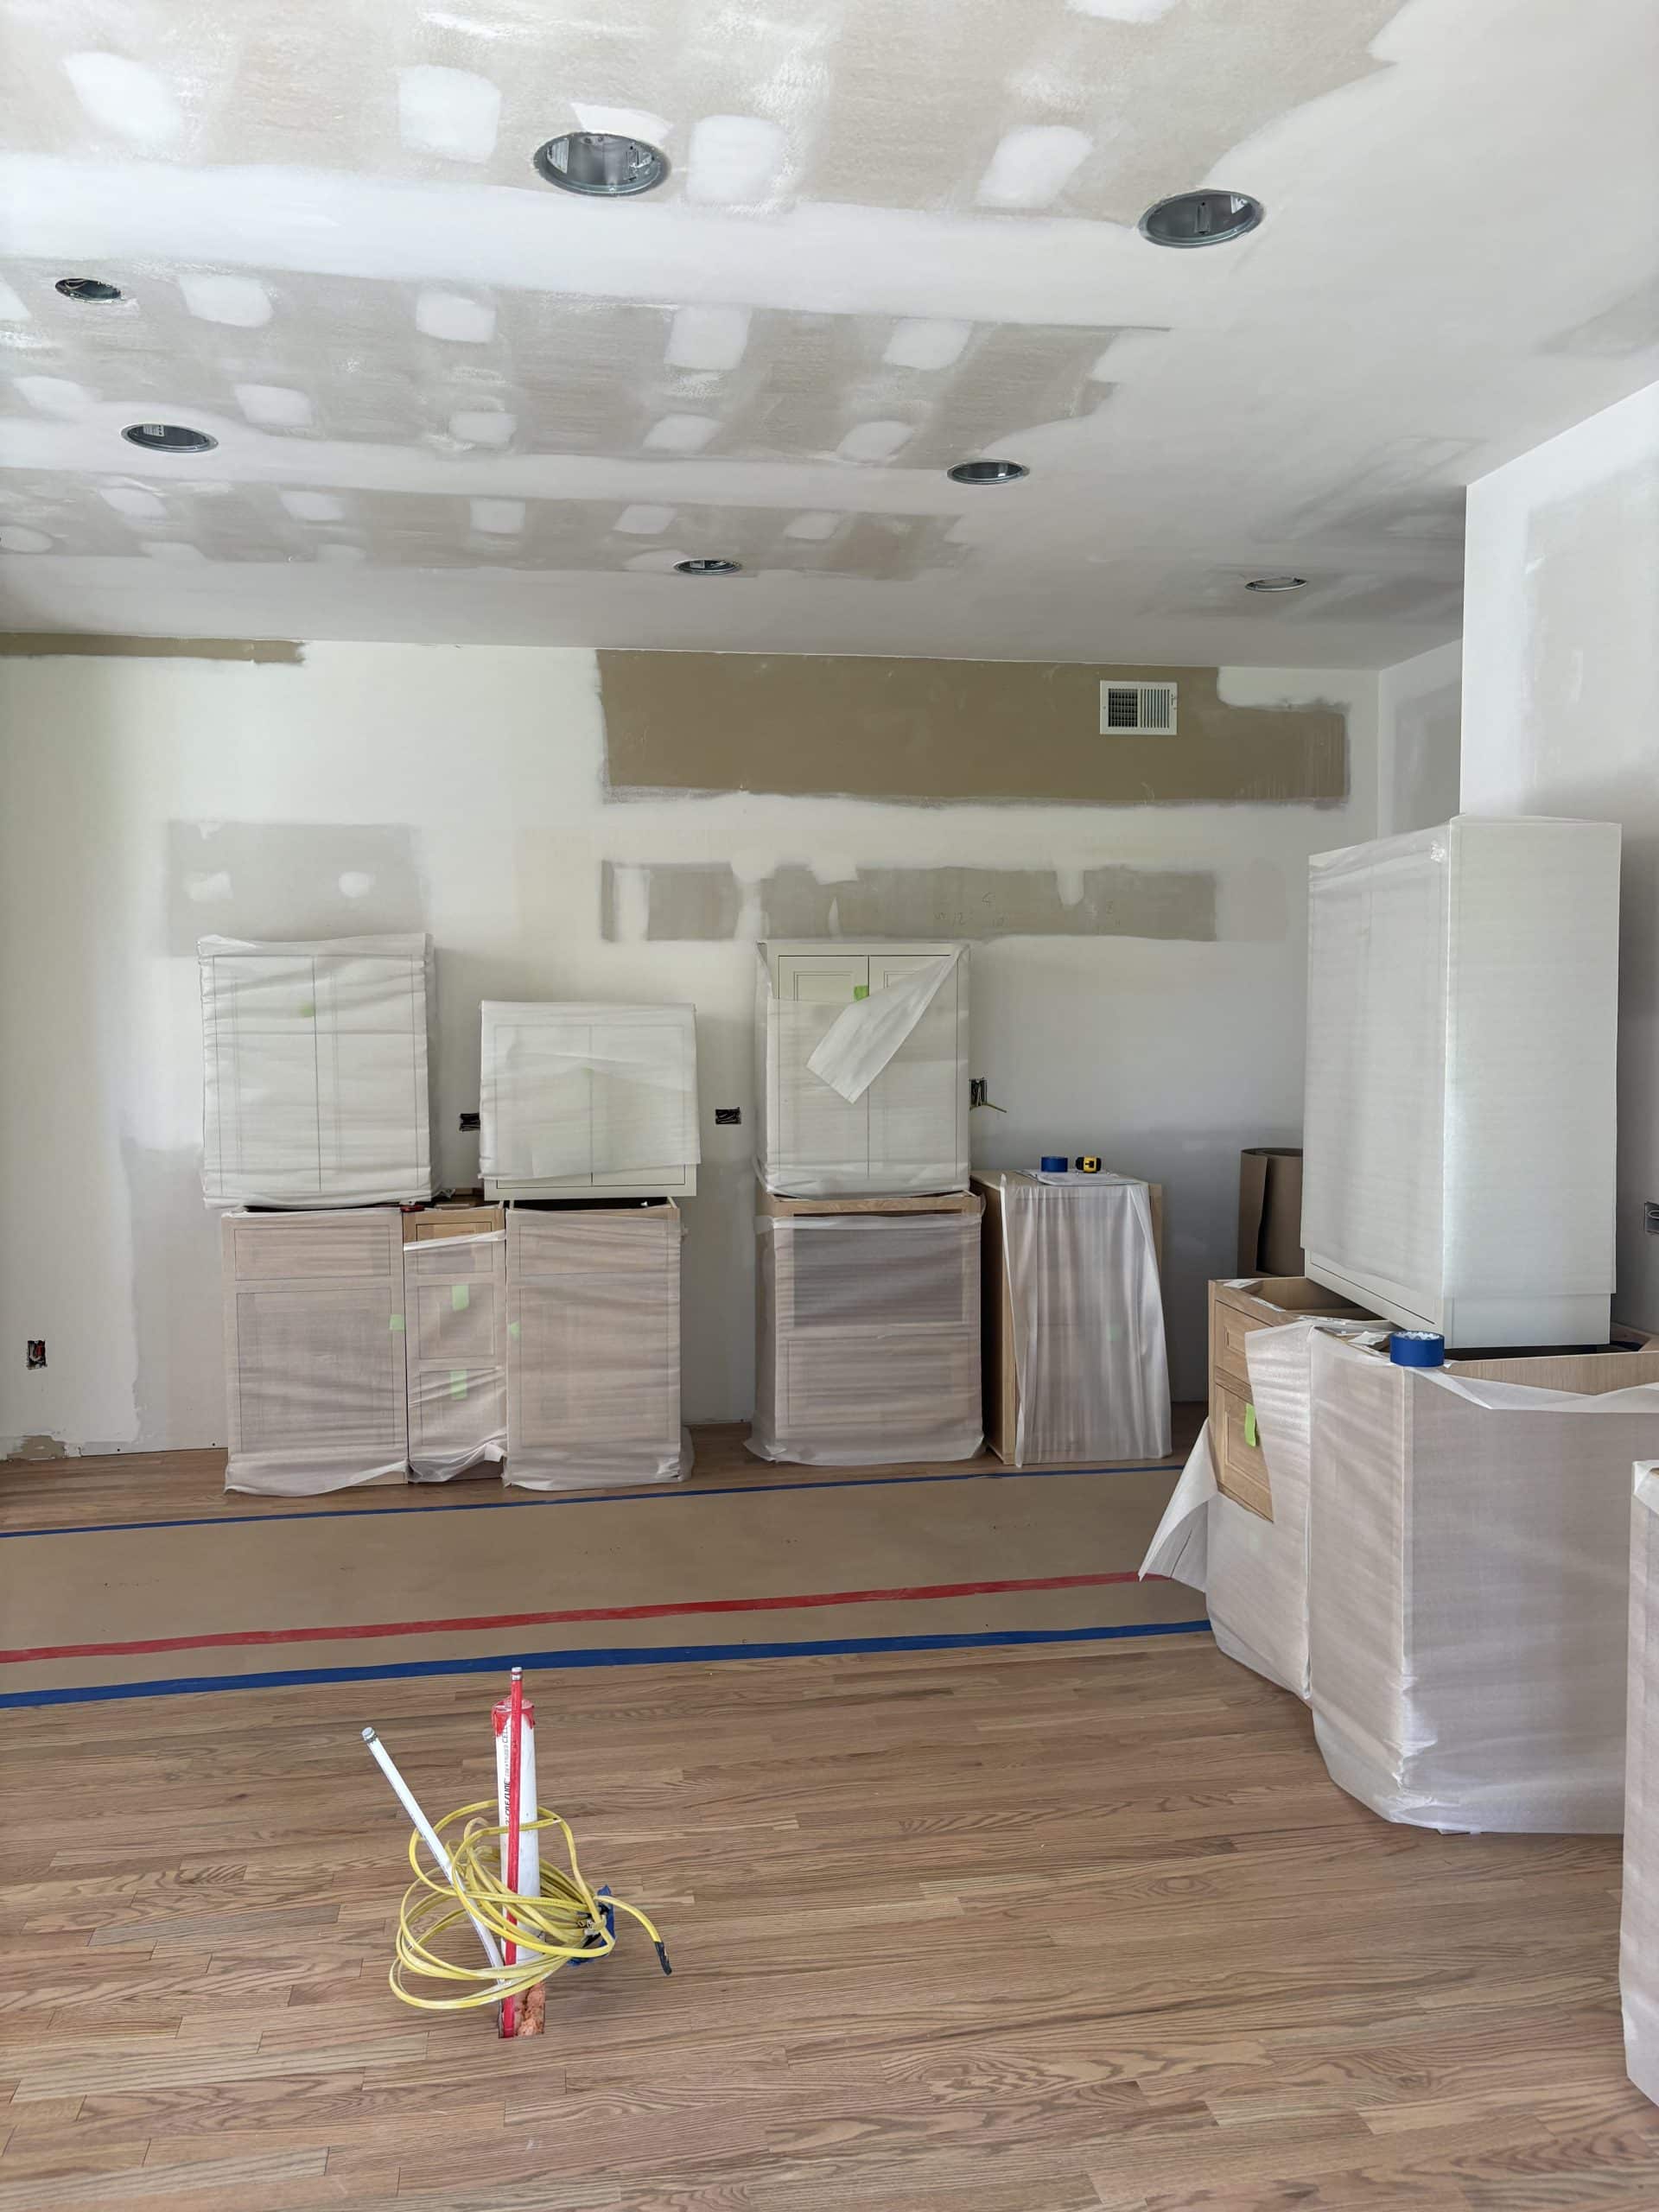
Once drywall was complete, we filled the existing floors with new hardwood floor pieces. This was crucial to create a smooth and seamless floor, especially in areas under the old cabinets and appliances.

New hardwood floors delivered.
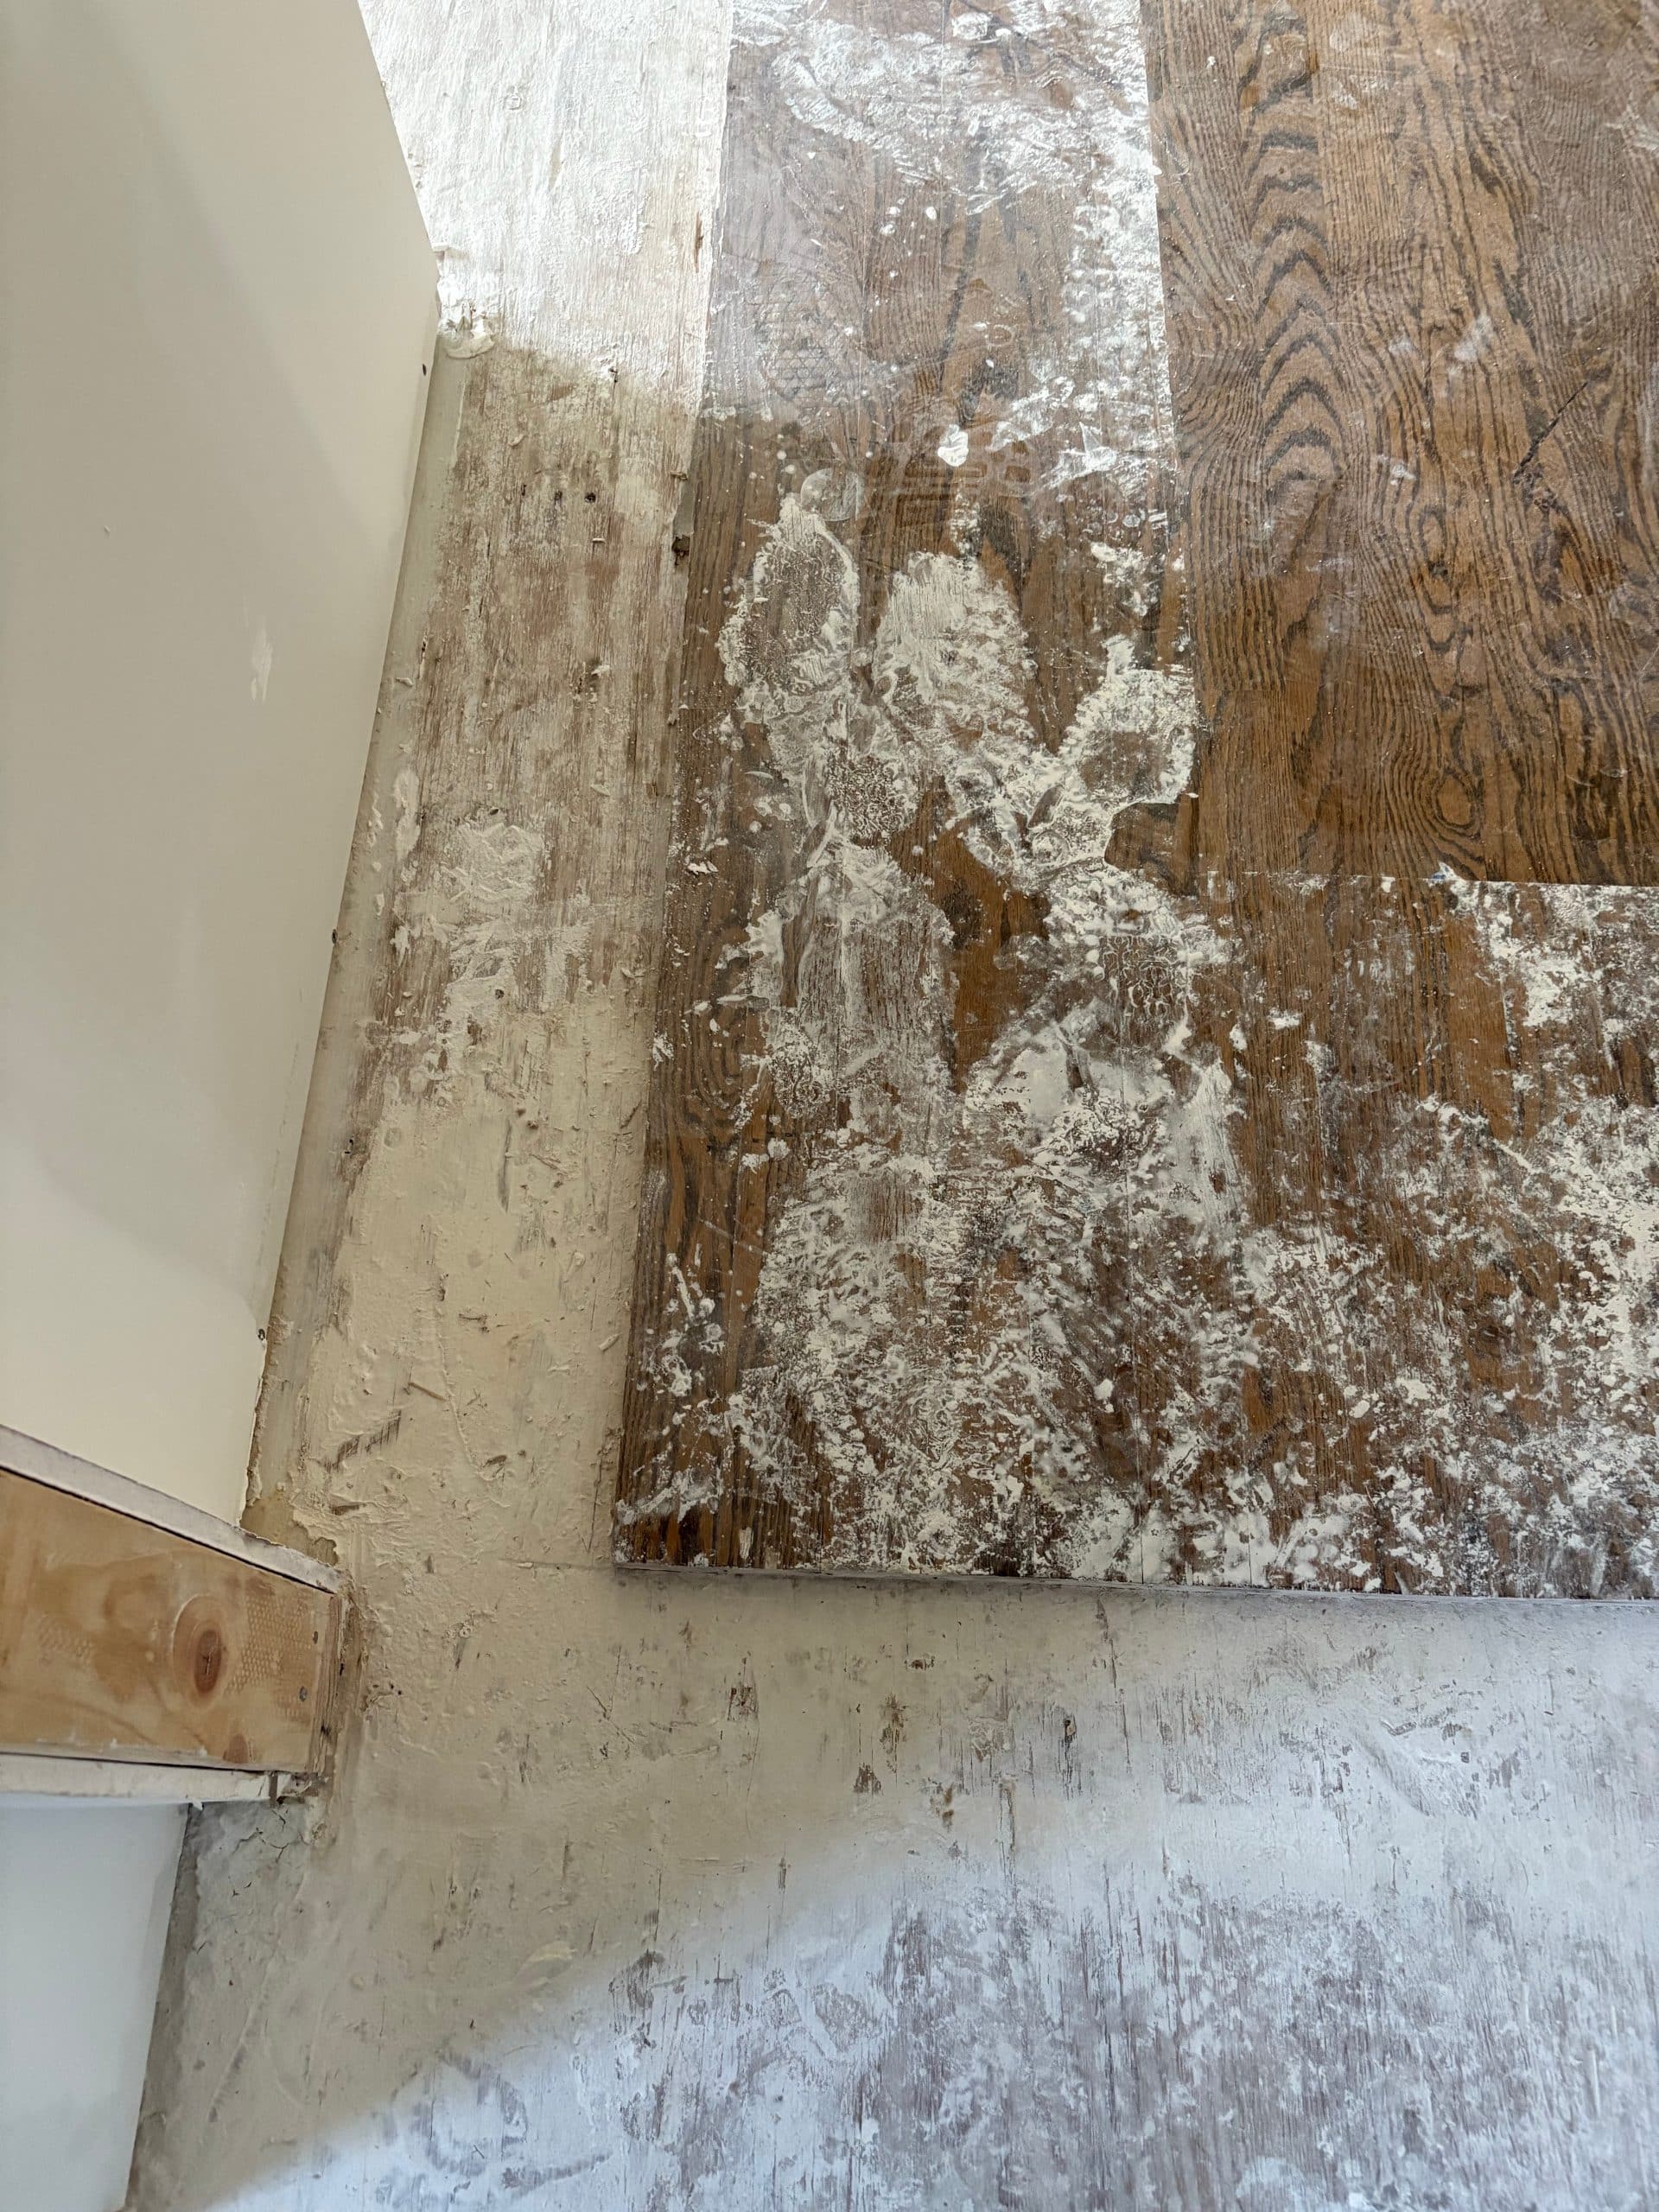
Several areas need to be filled in.

Set in the same pattern to keep everything cohesive.
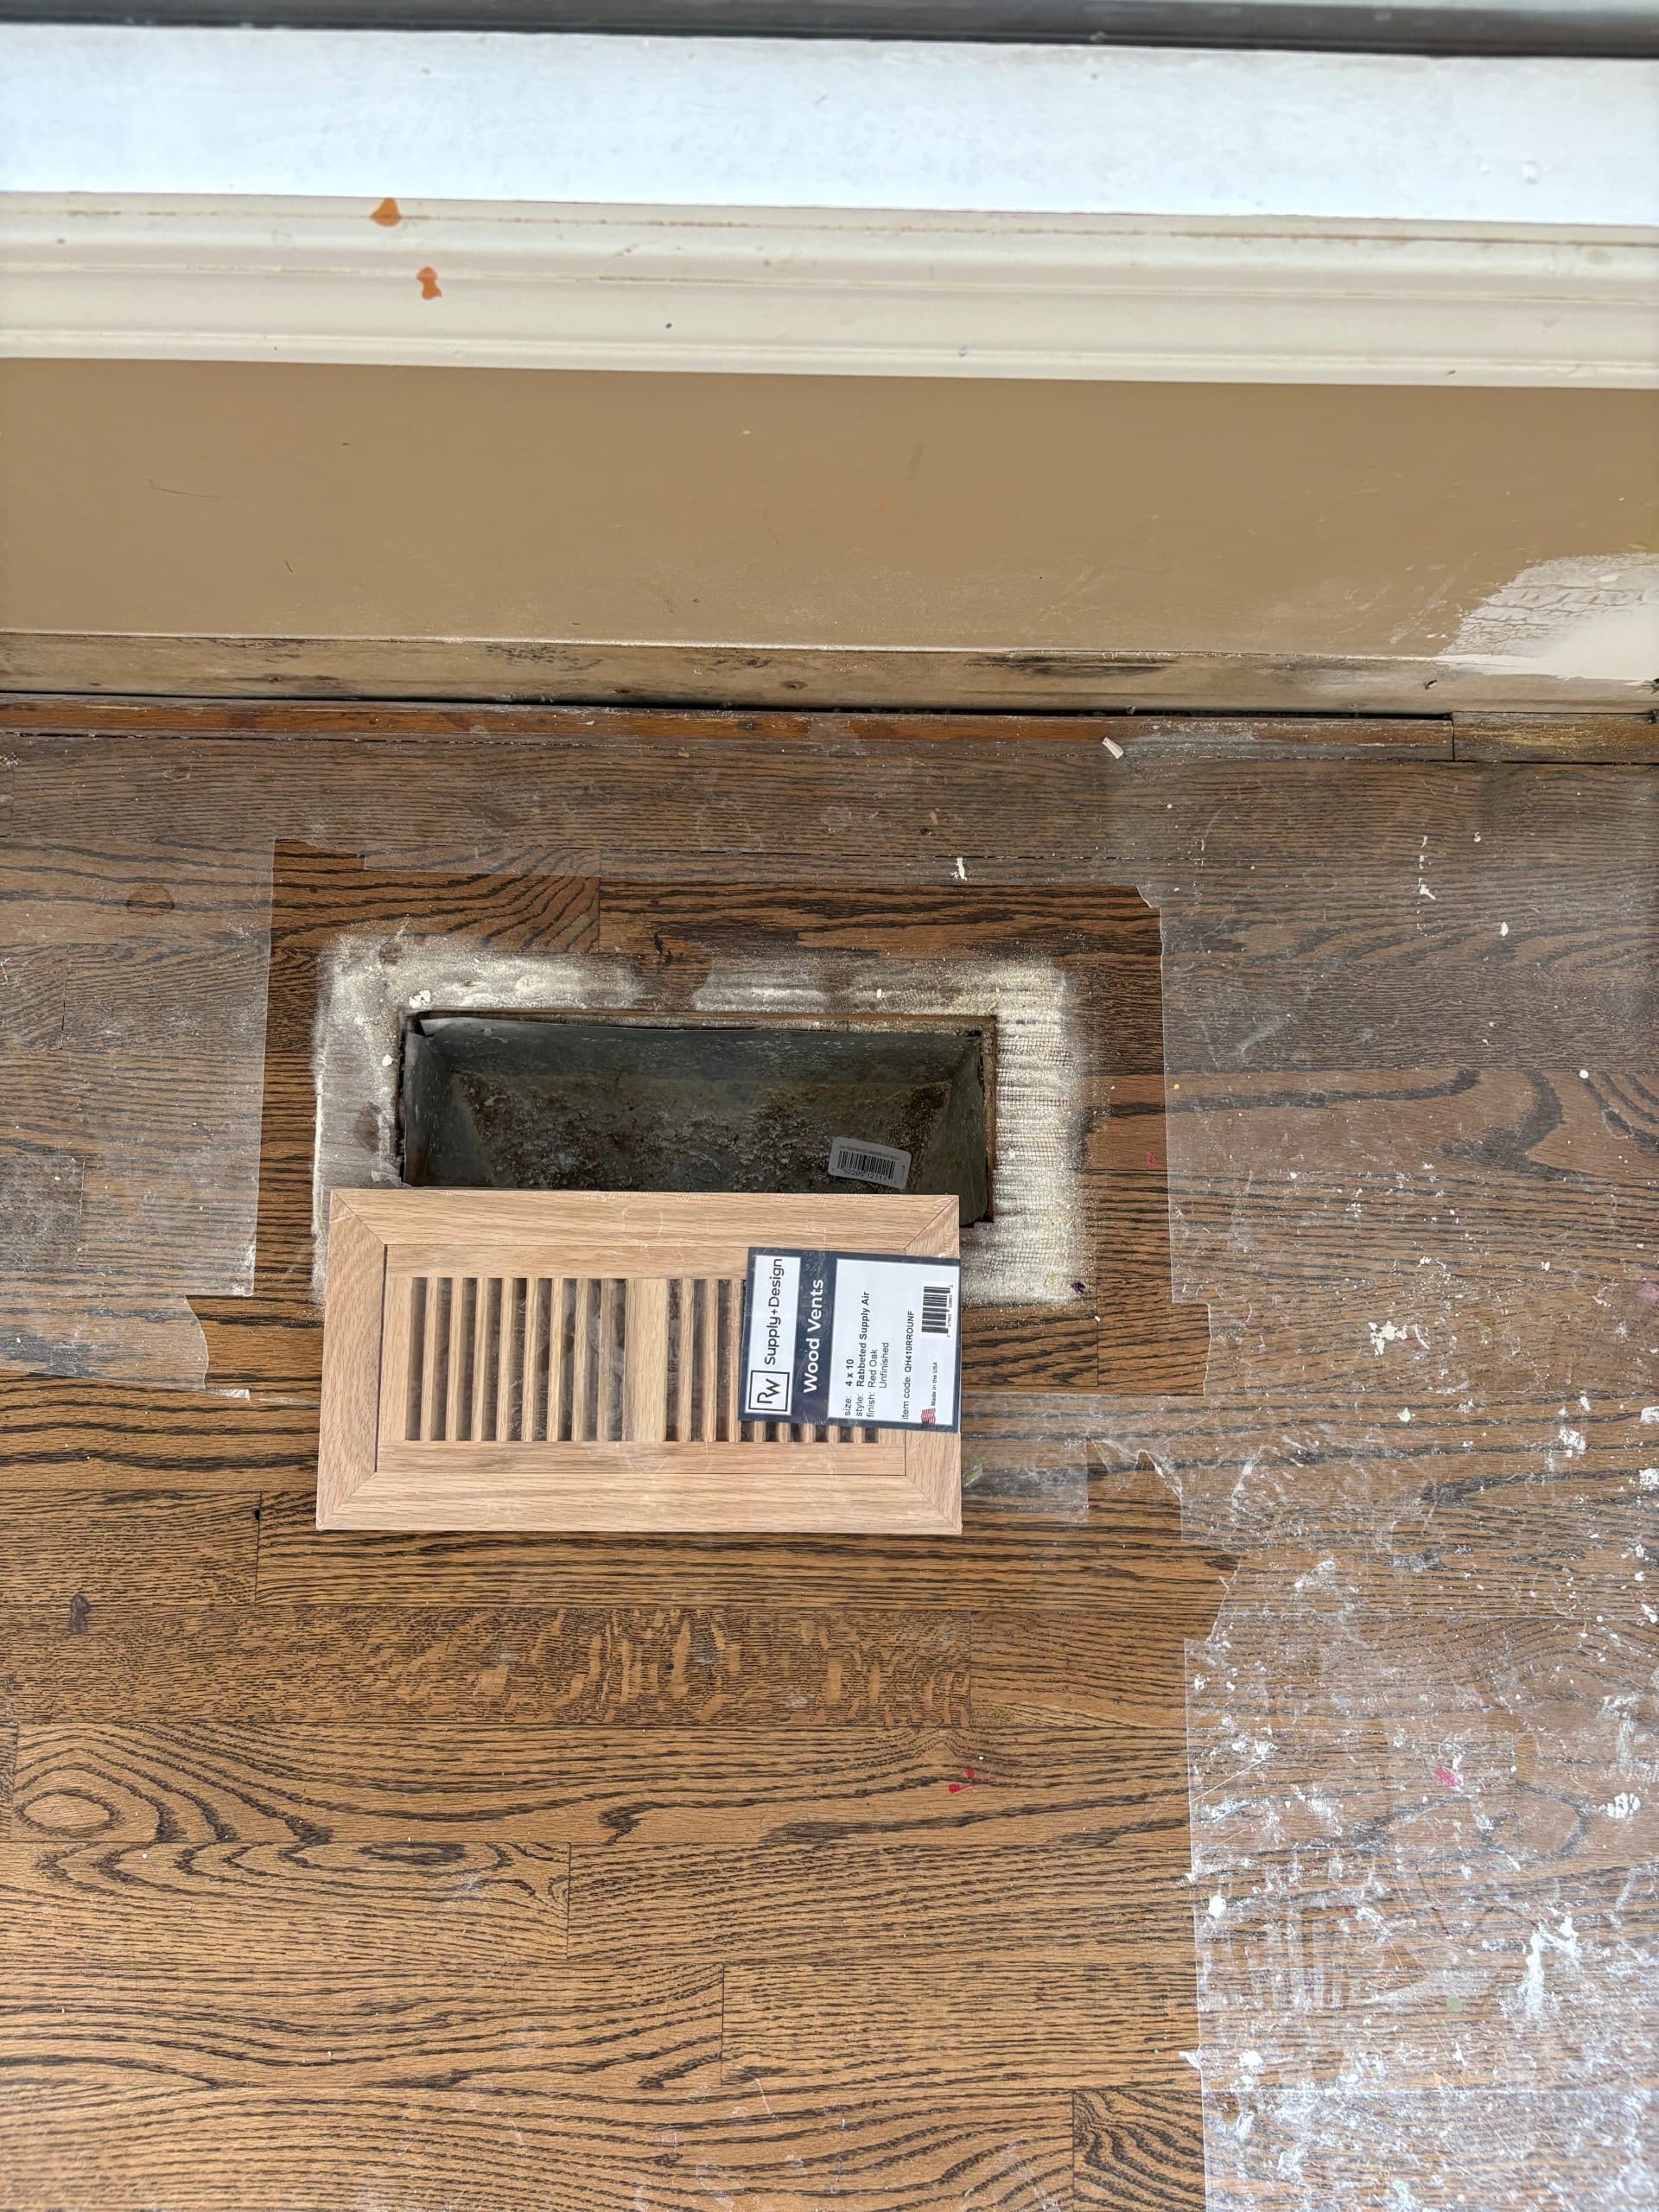
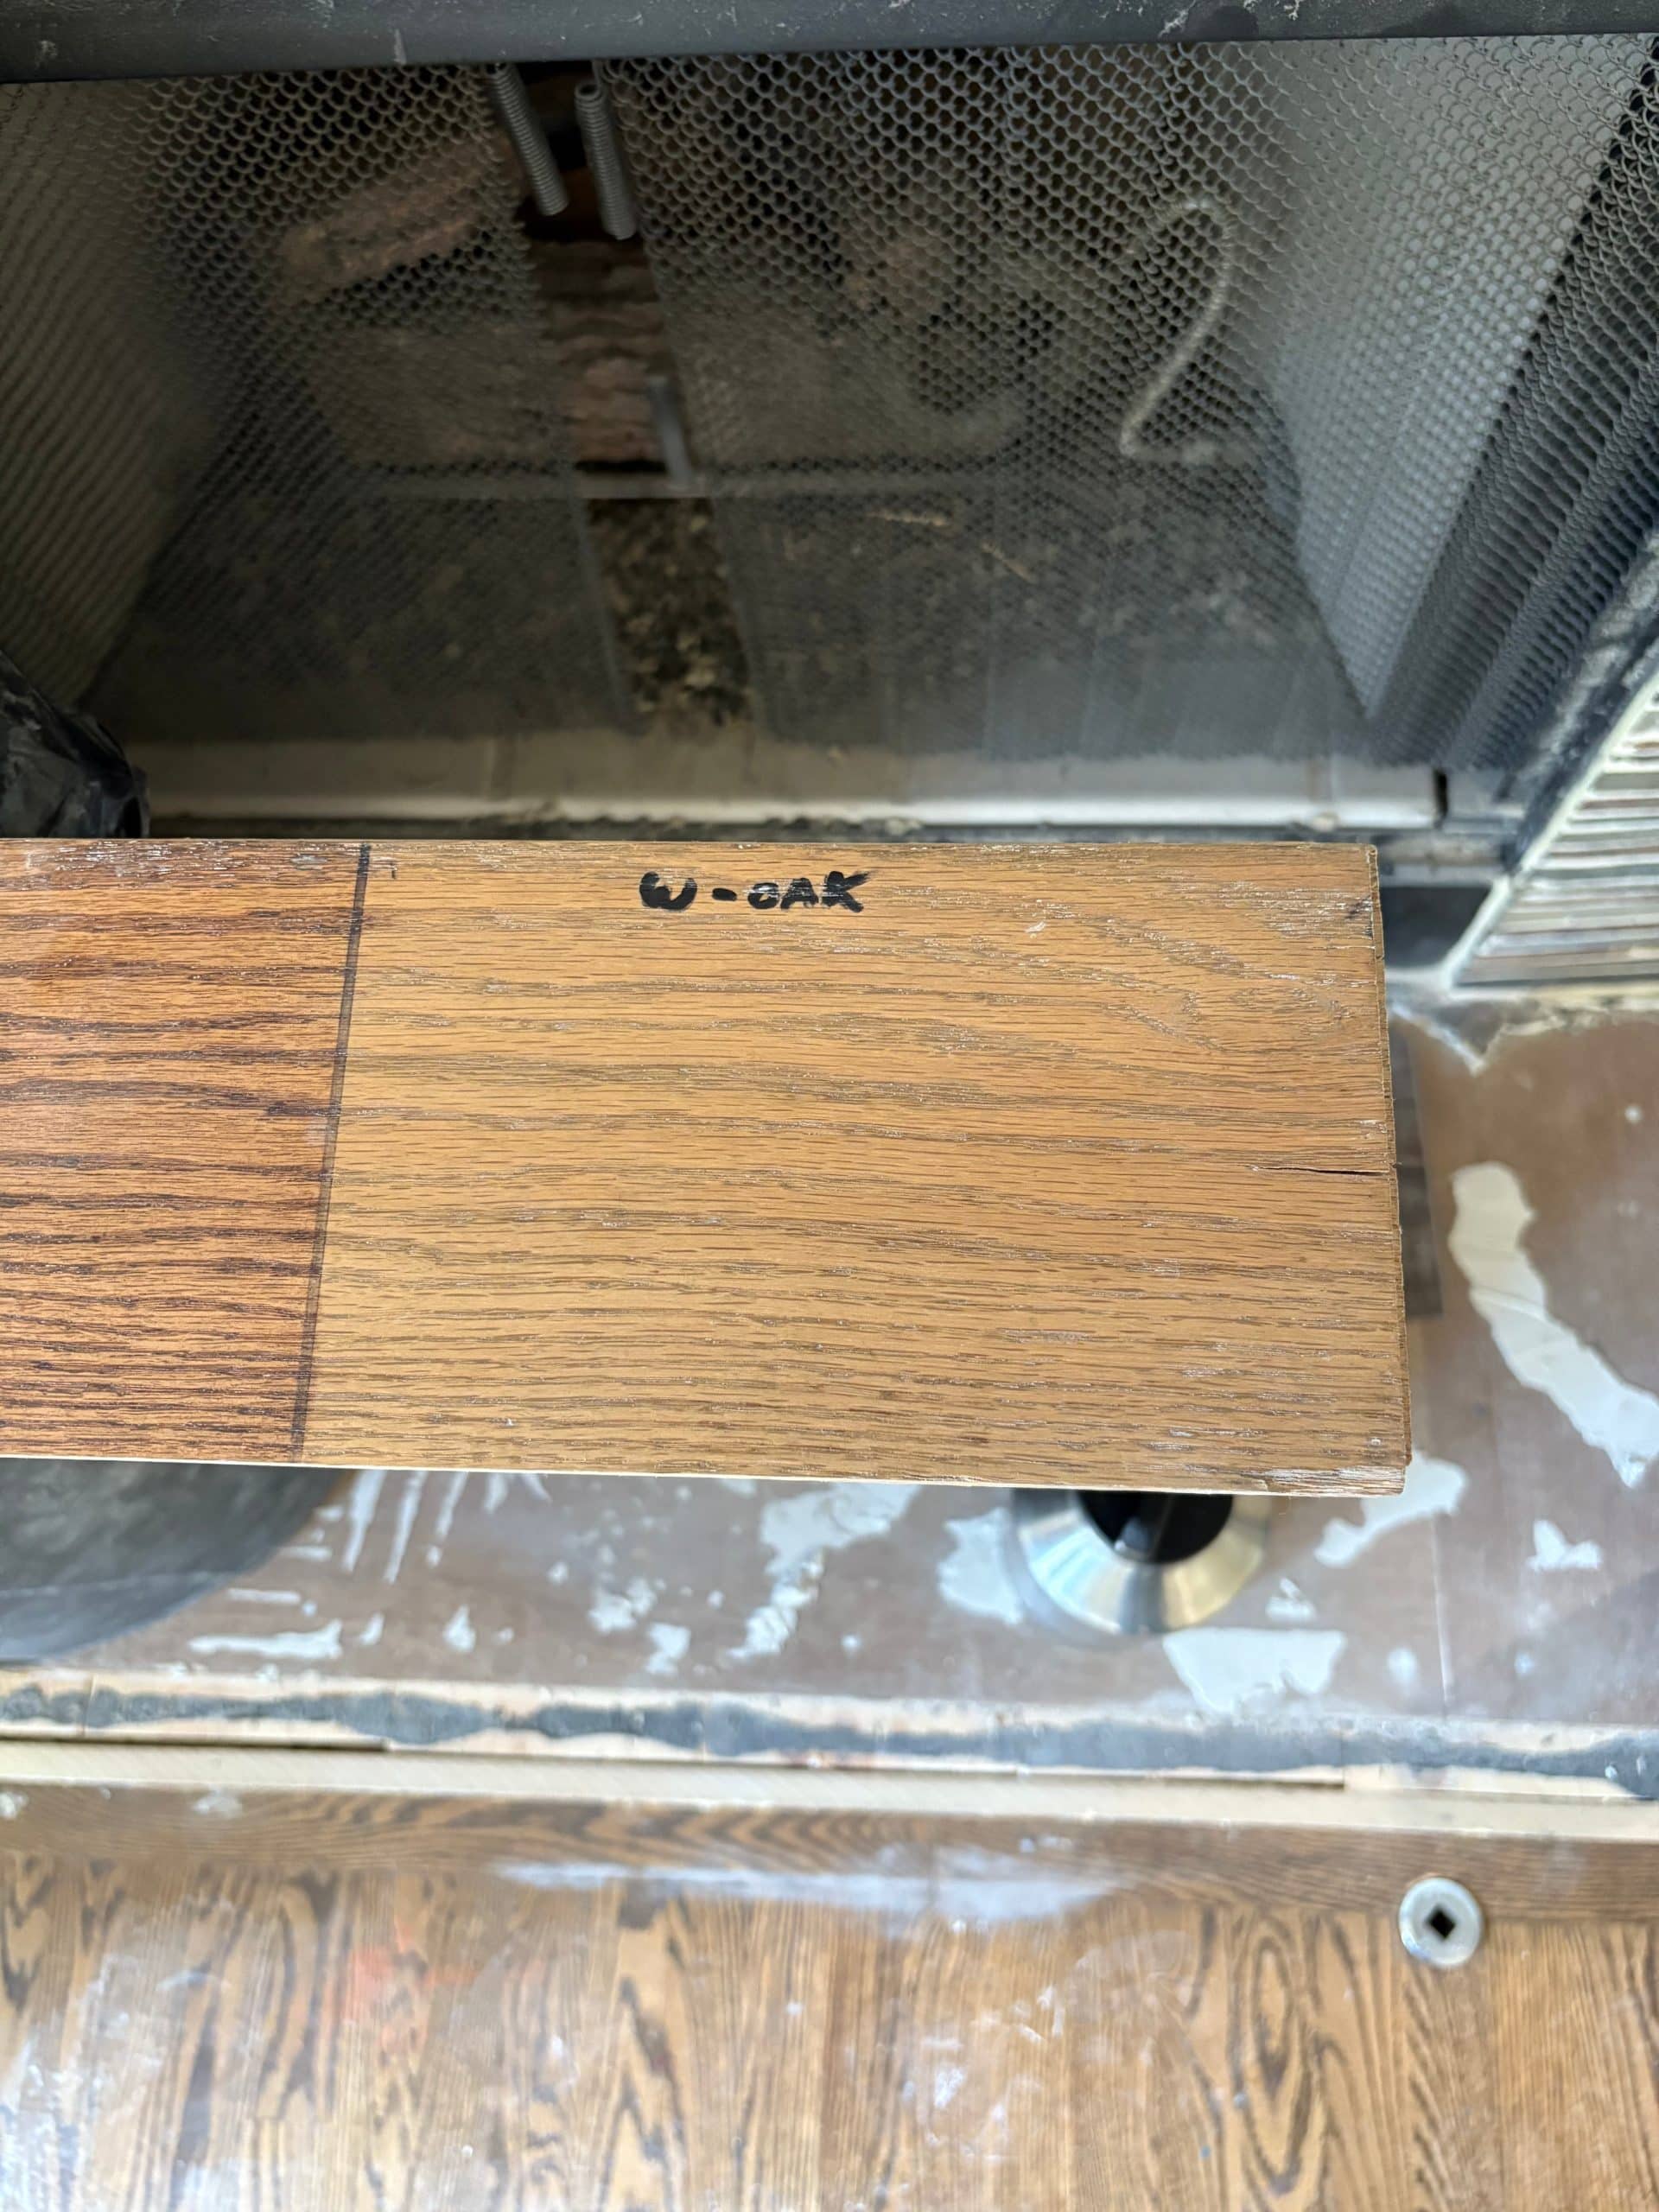
We also added flush wood vent covers. While a minor detail, they make for a seamless, elevated look.
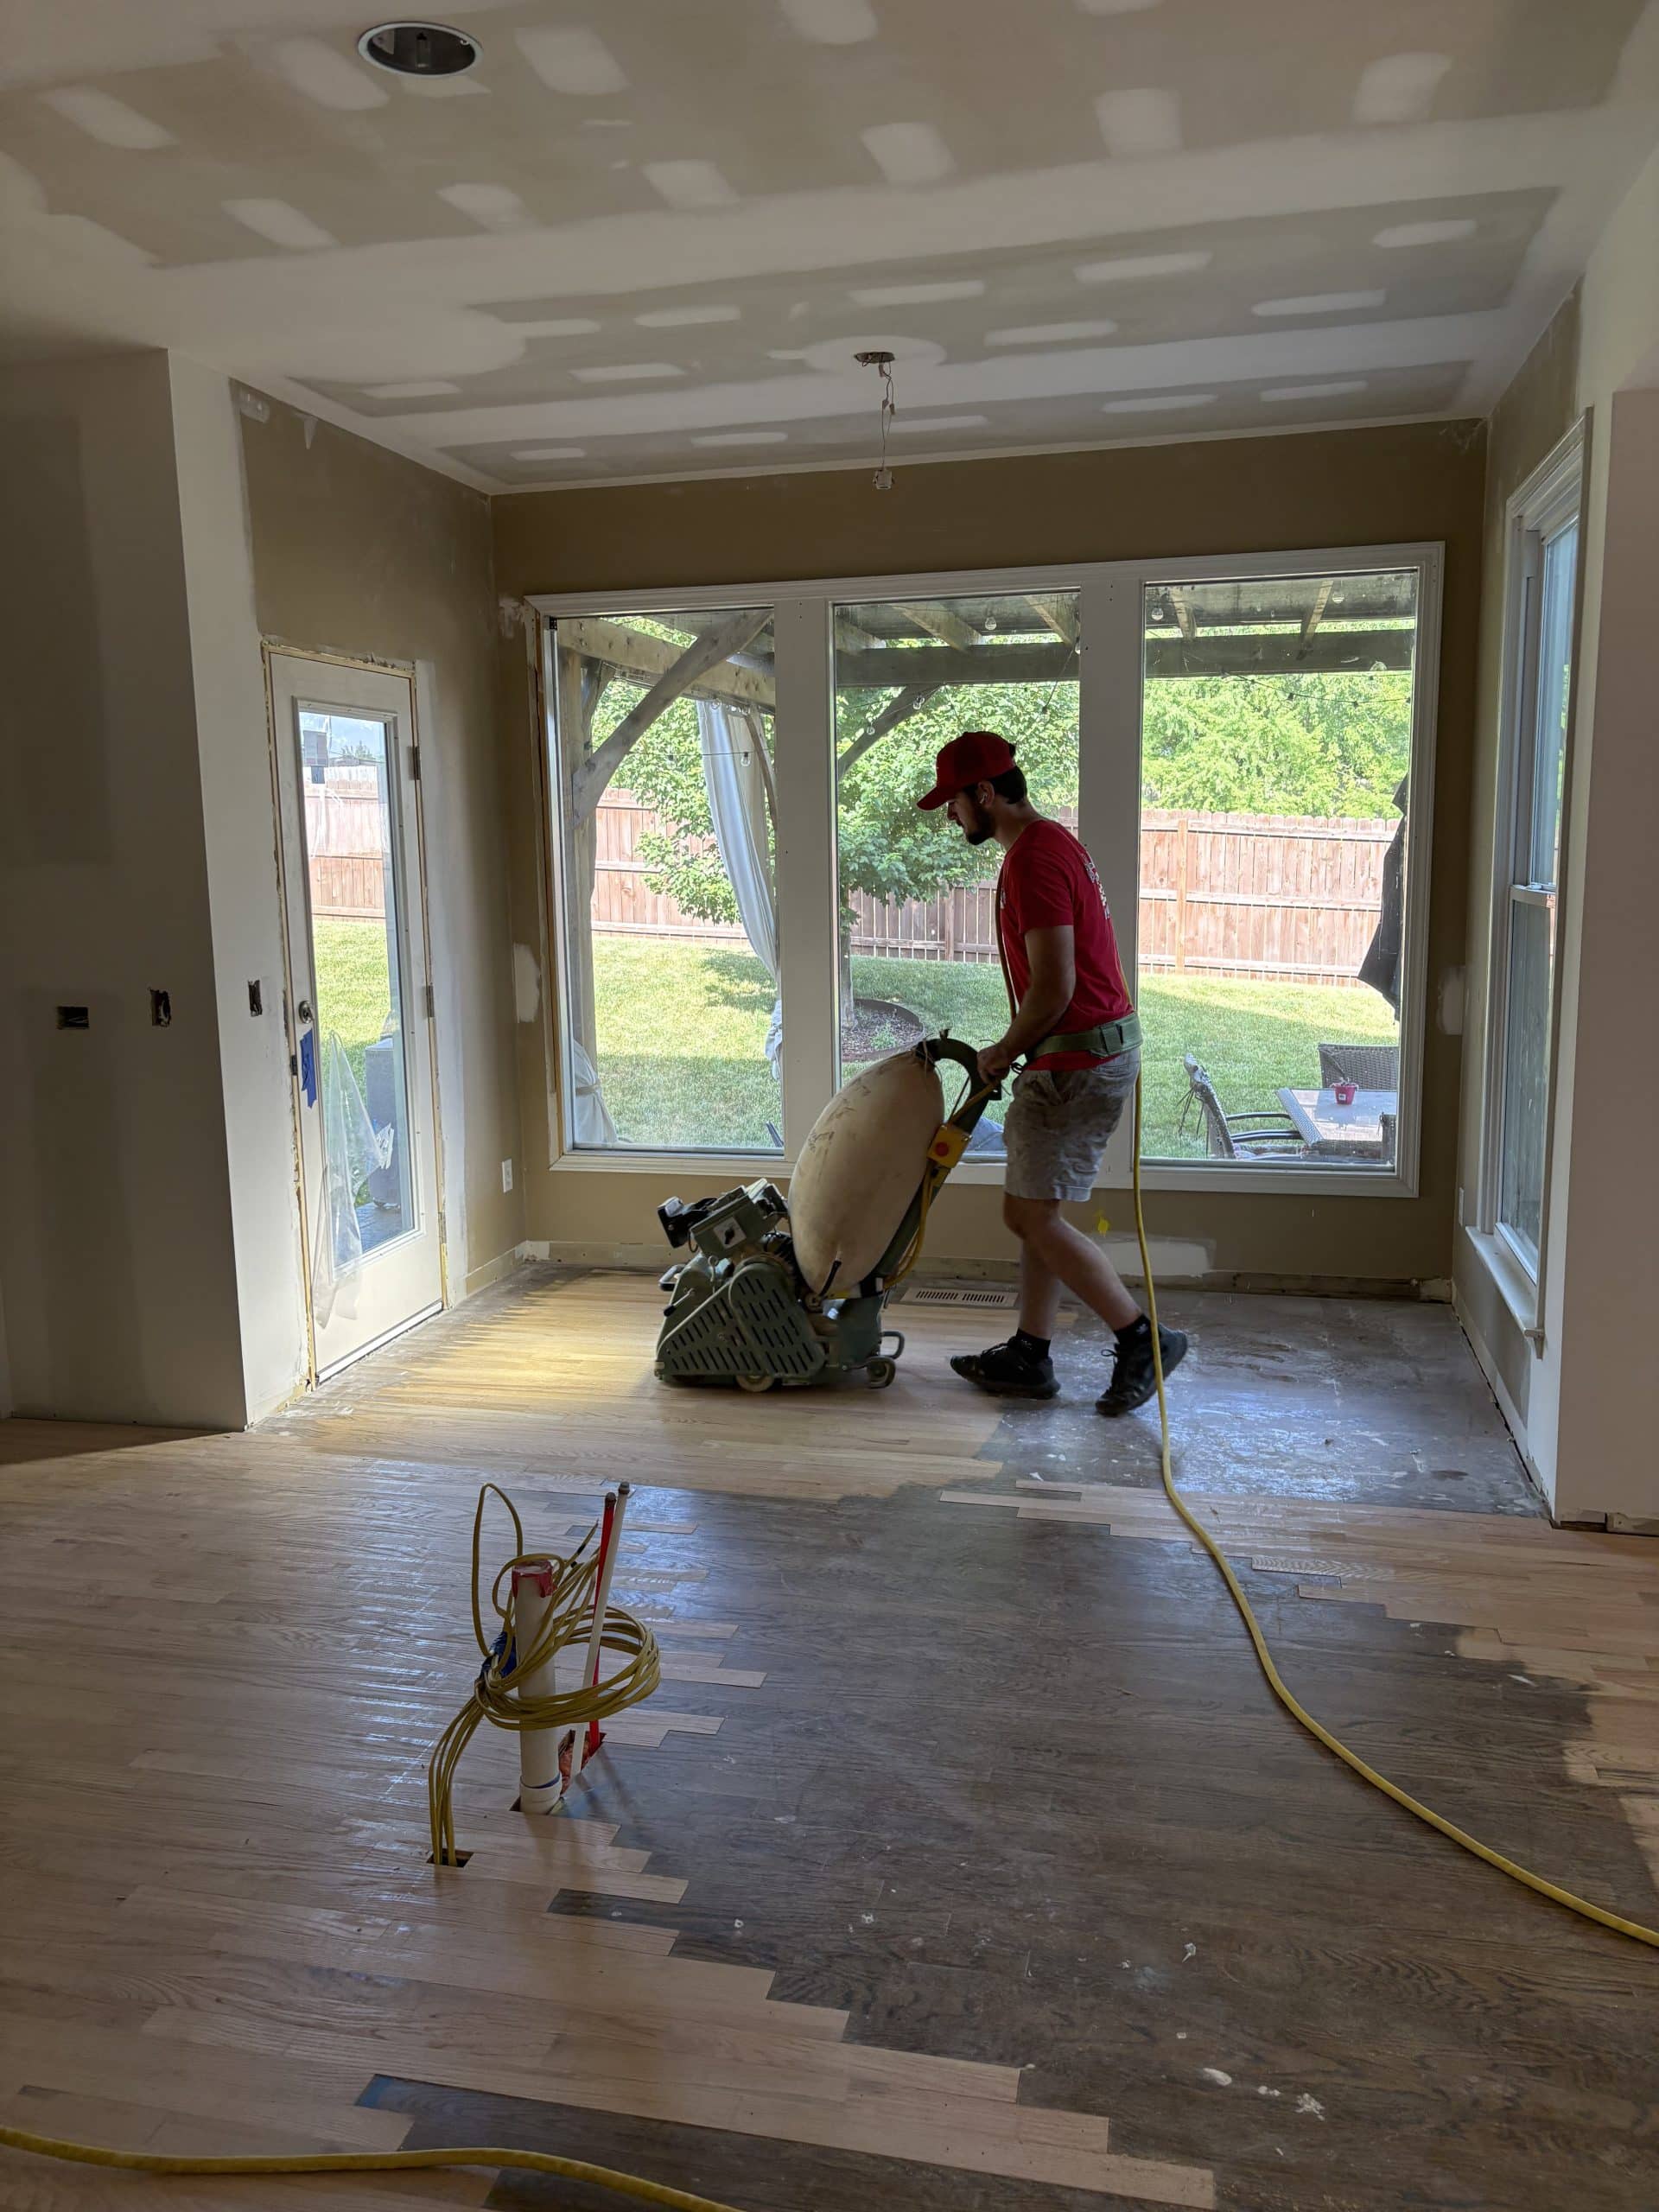
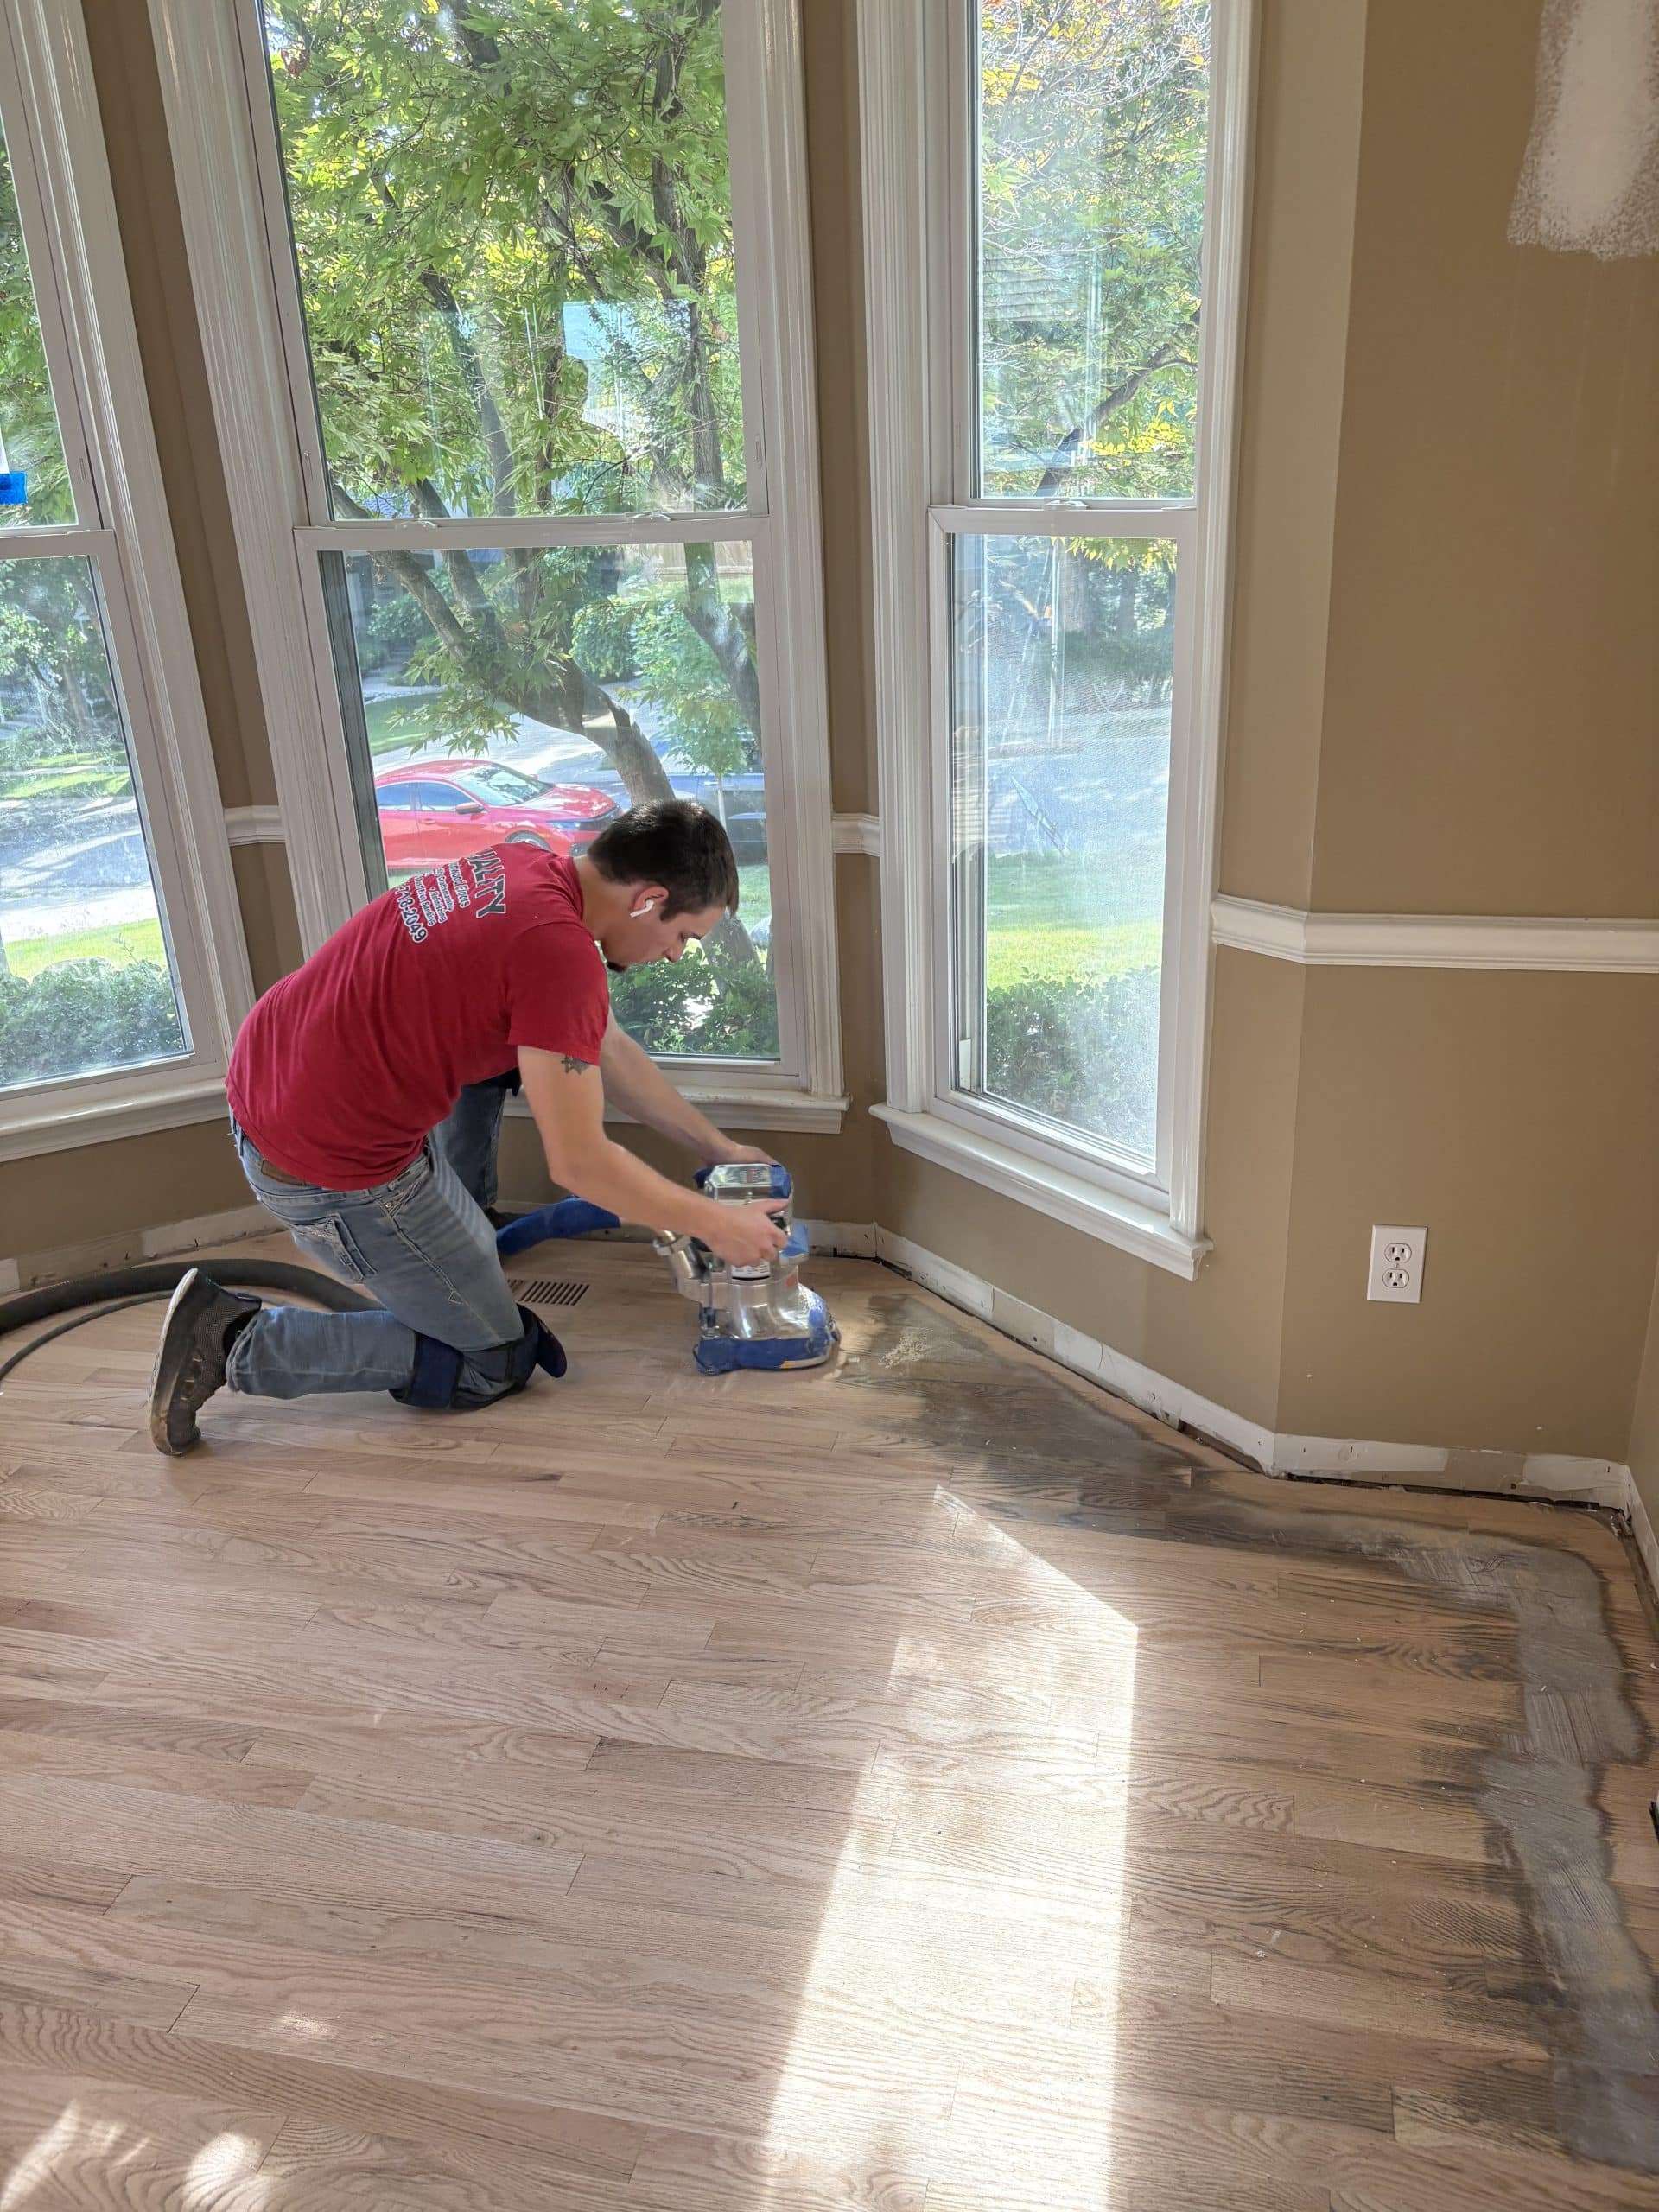
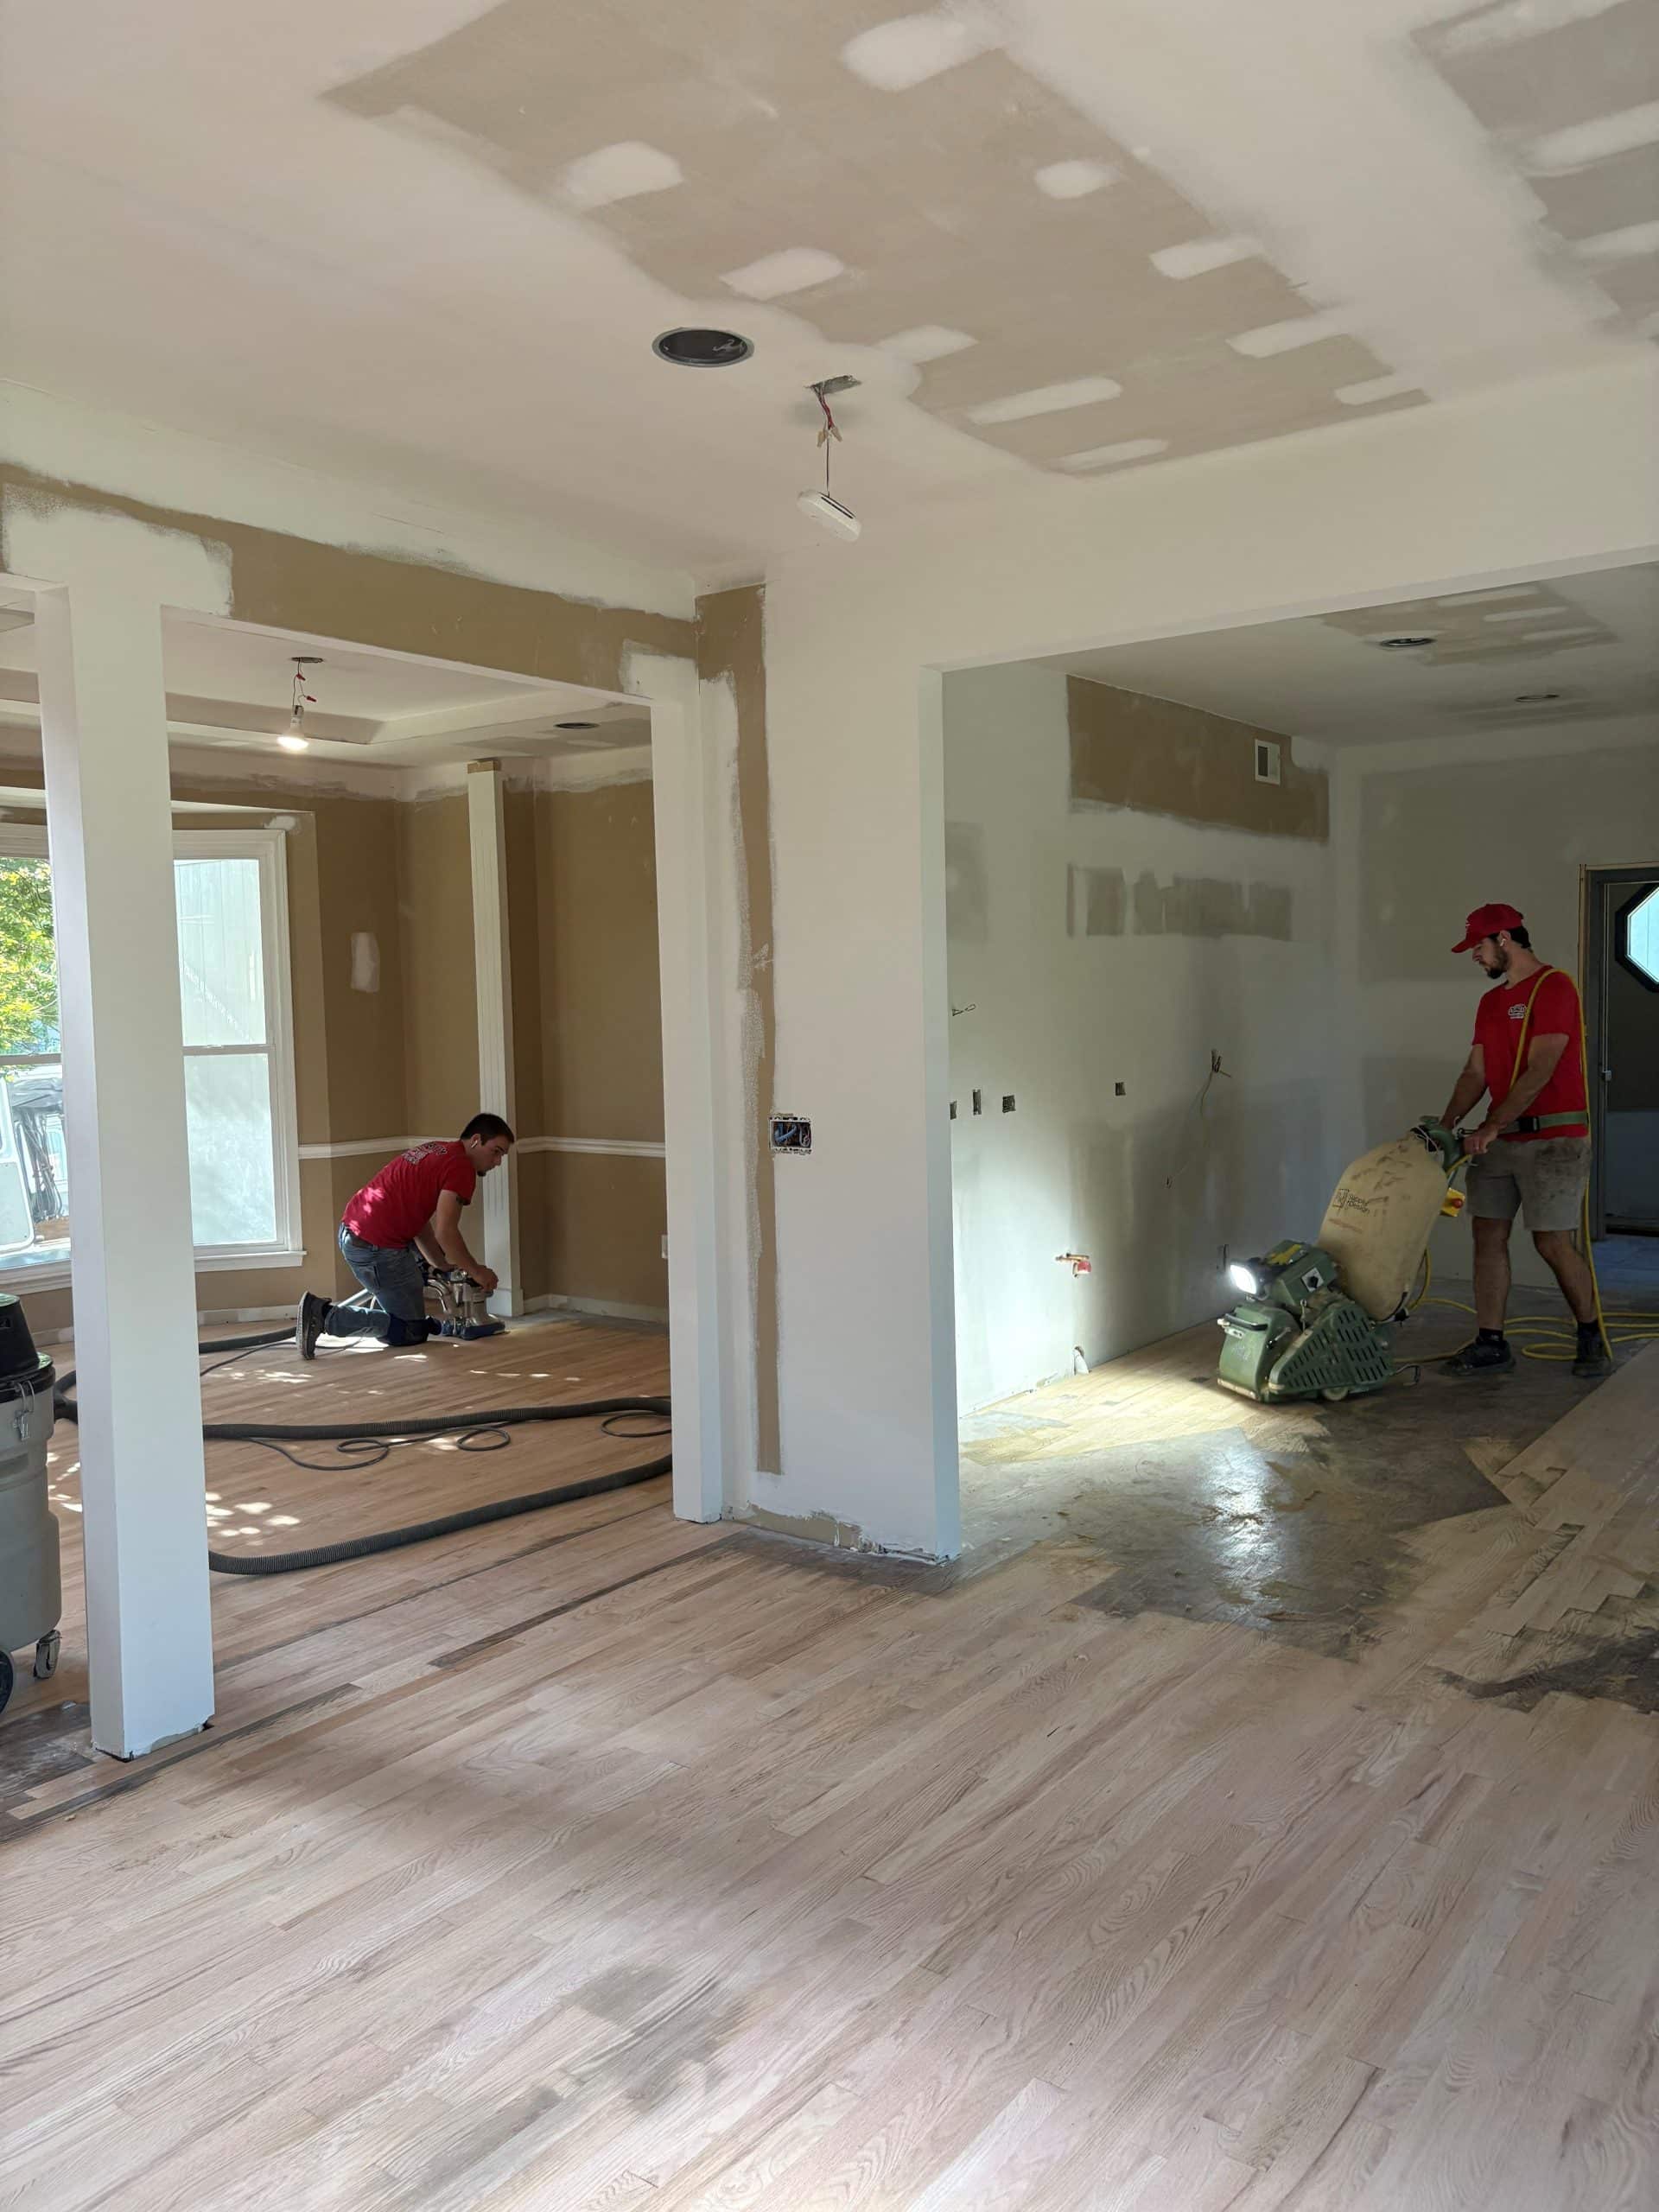
Once the floor was all filled in, it was time to sand everything. This step ensures that the old stain is removed along with any dirt or grease from years of normal wear and tear, while also prepping the new floorboards. The team used two different sanding machines. One large one to cover more ground and a smaller hand-held one for the tight spots like corners and edges near the walls.
Once the floors were fully sanded and smooth, it was time to start staining. Two coats of a light natural looking stain were applied and then we let them dry.

Once they were totally dry we re-covered them with floor protection. Now they will remain safe as we complete the rest of the project. At the end we’ll uncover them and do a final coat to make sure everything looks perfect for Lindsay and her family.
Next Steps
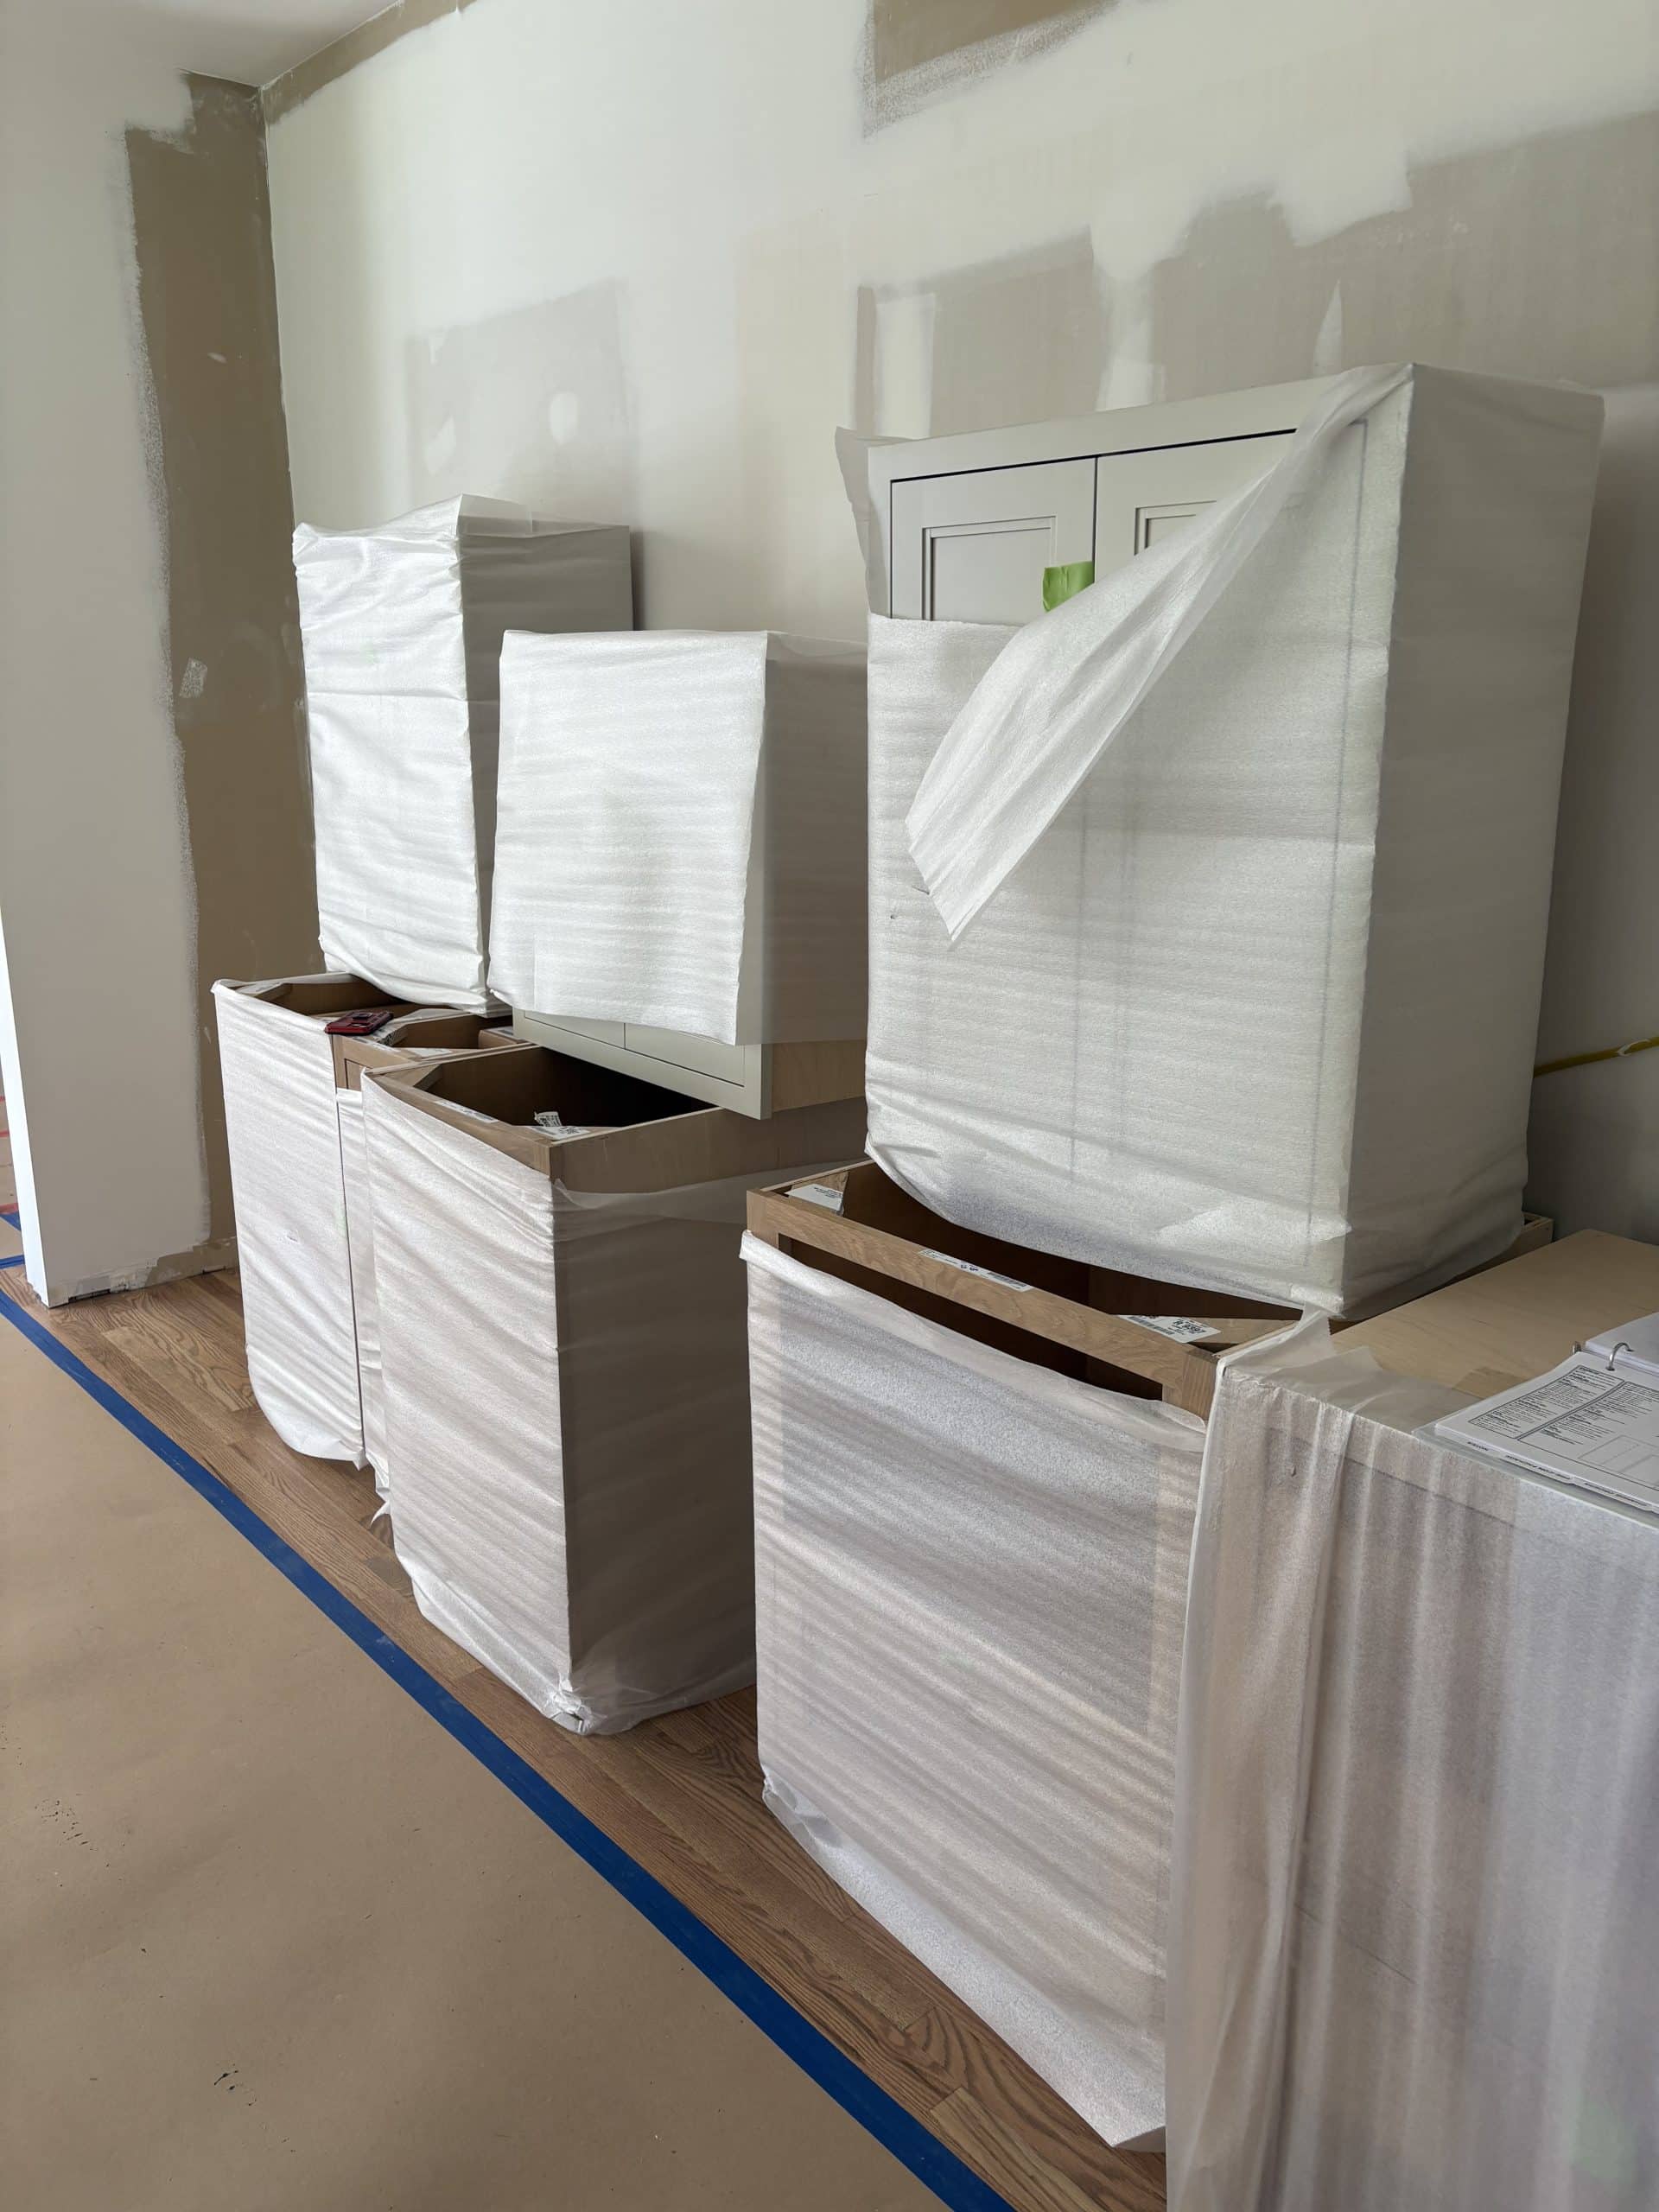
Cabinets were delivered and they will be installed soon! Stay tuned for updates on installing cabinets, tile, counters, and paint. Through these stages you will really see the new space come to life. Follow along on our Instagram @remodelagain for real time updates on Lindsay’s project.
Need to get caught up on the rest of the blog series? Check it out here.