If you missed the first two blog posts in our exciting Designer Turned Client series, here's Week 1 and Week 2. We now know what wasn’t working for designer Lindsay and her family in the existing space and also what Lindsay’s exciting design choices look like. Now it’s time to make it all happen in this exciting kitchen remodel!
Dust Protection
Our first and most crucial step, even before the first hammer swings, is to activate our comprehensive site protection process. This meticulous approach is what truly distinguishes Schloegel from other remodelers or contractors. We understand that remodeling can be a dusty and disruptive experience, so we've developed a multi-layered system designed to contain dirt and dust, ensuring our client's home remains as comfortable and functional as possible throughout the transformation.
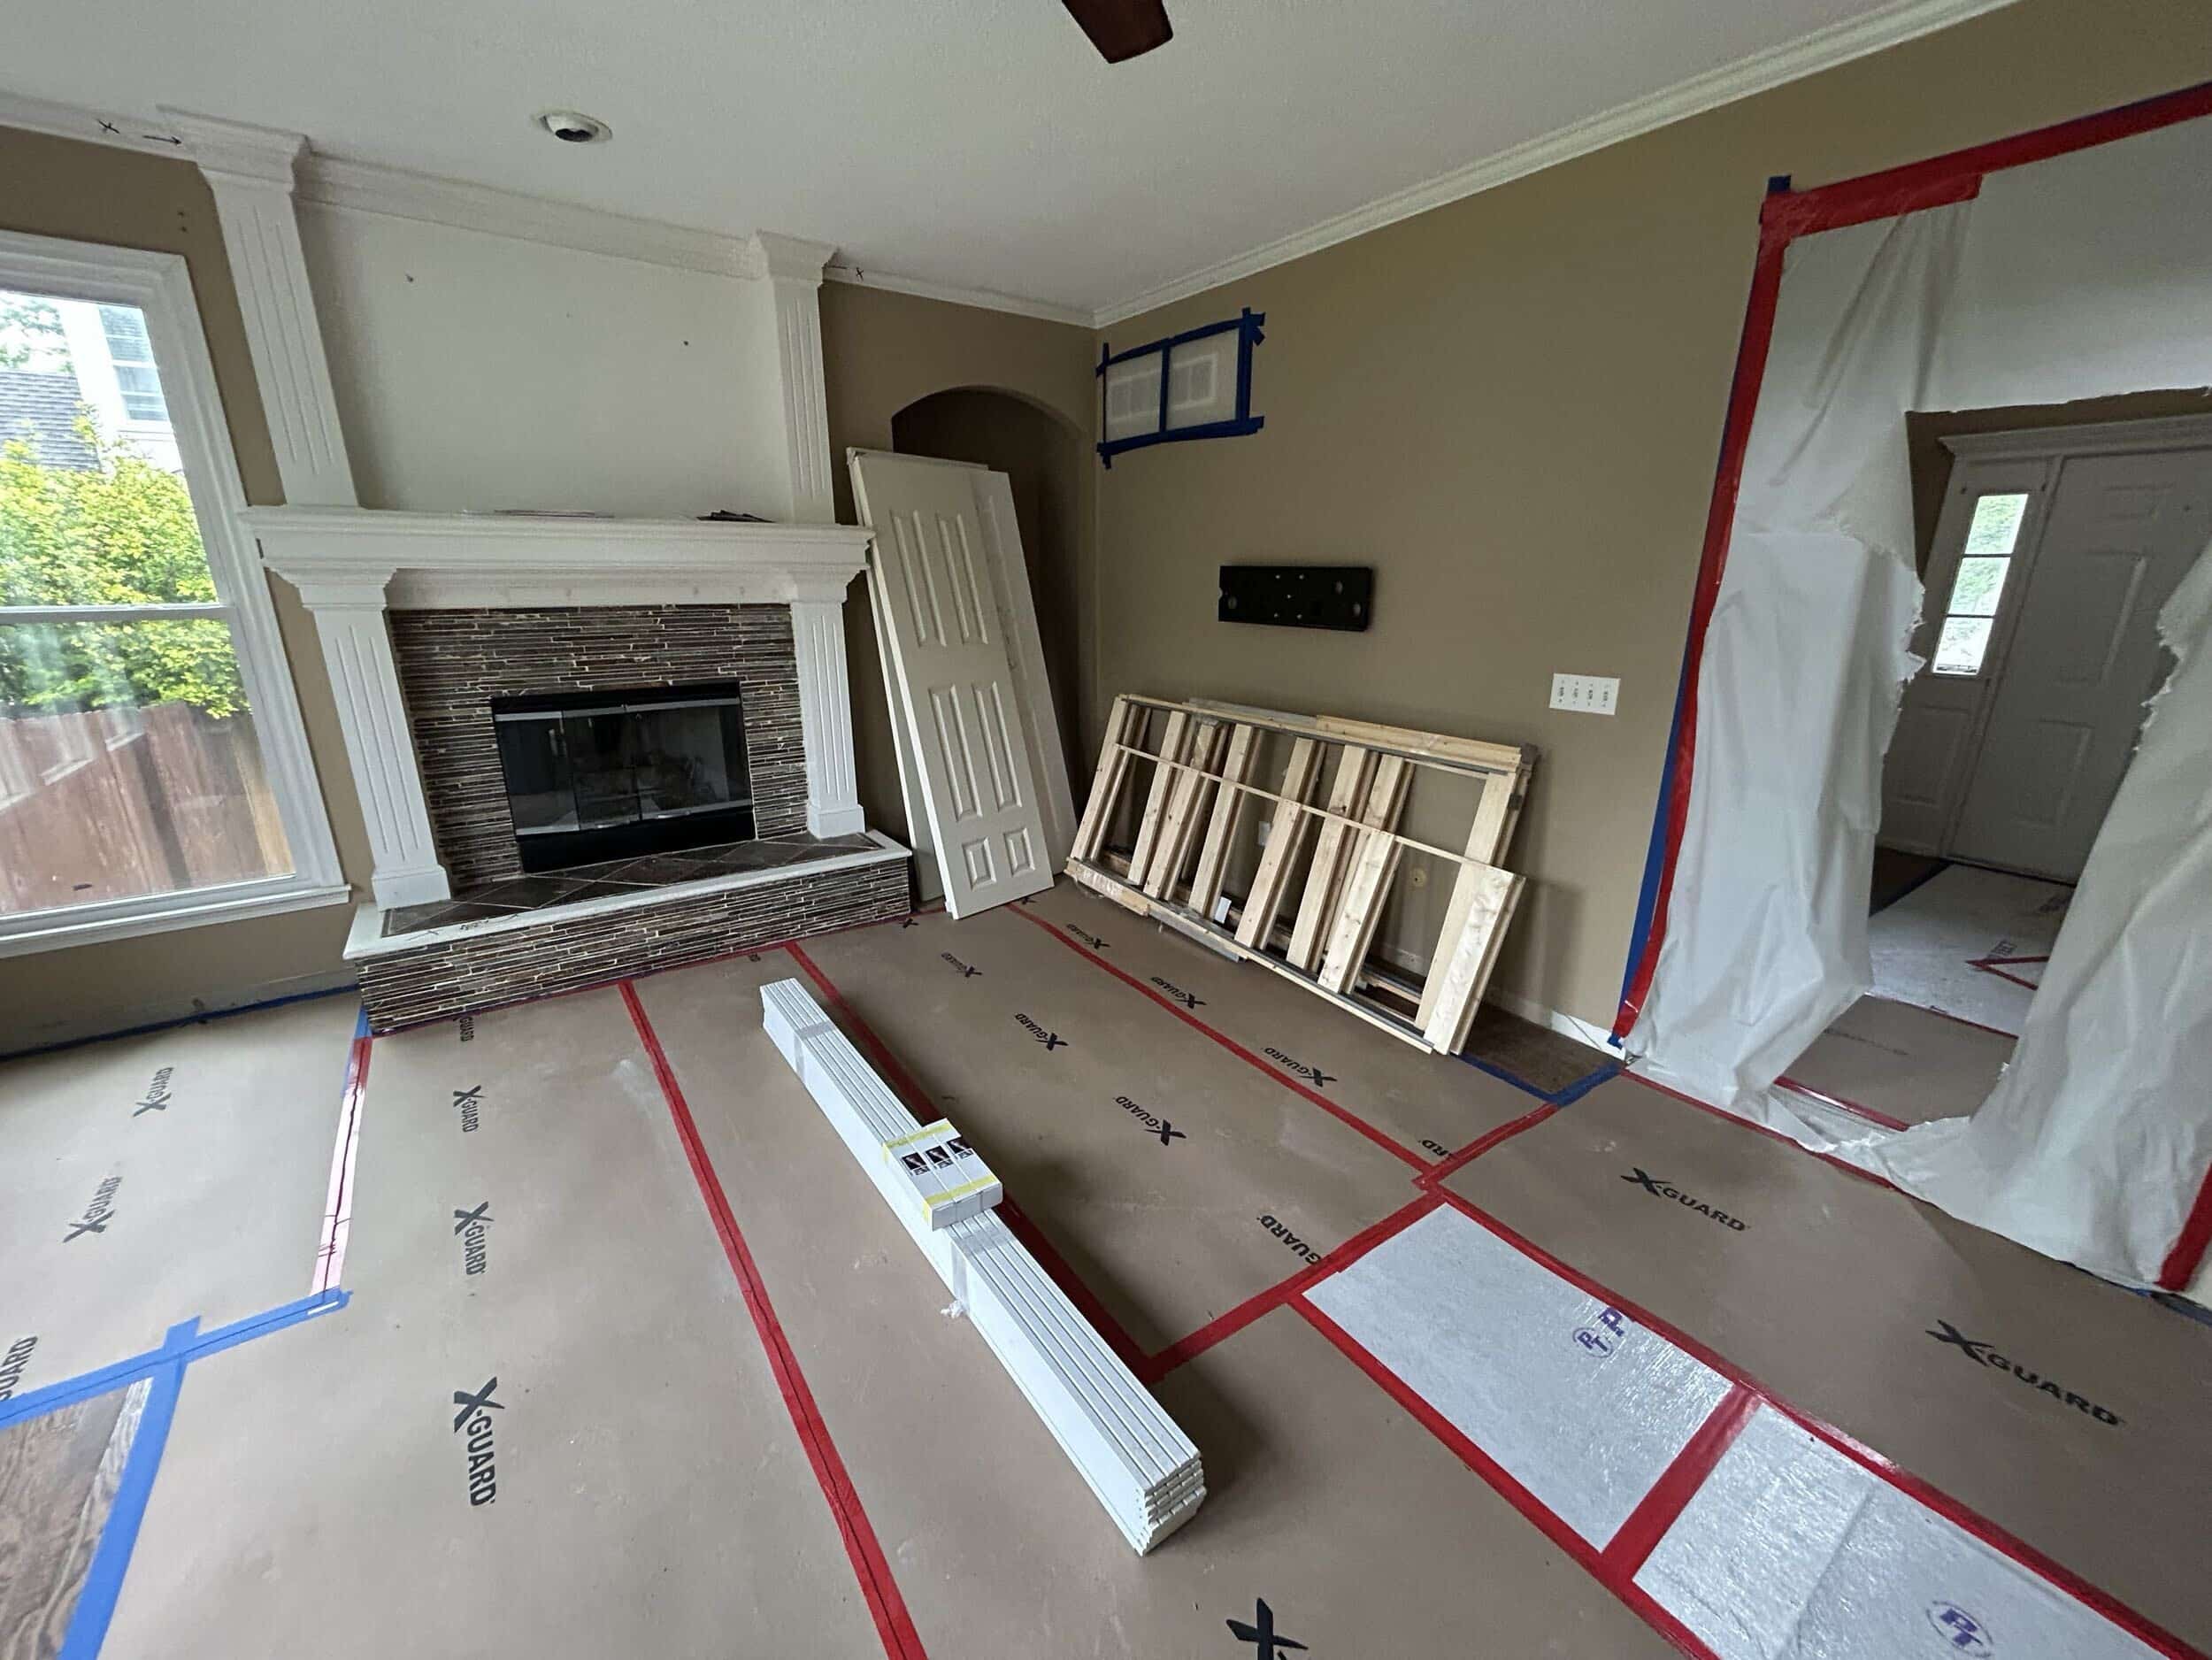
Floor protection down and temporary zip walls are up in some areas to keep dust to a minimum.

Our process kicks off by carefully safeguarding the home's existing floors and fixtures. We use a two-step protection method with a gentle adhesive foam base and a heavy-duty cardboard layer for superior impact resistance in all high-traffic areas. For carpets, we apply a specialized mask. To prevent dust and debris spread, we construct "zip walls" with zippered entryways, ensuring untouched areas stay clean. During peak dust activities, we also use air scrubbers and cover HVAC ducts to maintain pristine air quality and a safe environment for our clients and their families. Read more about our dust protection and demo process here.
Demo Begins
Now time for demo! We removed all appliances and light fixtures to kick off the kitchen remodel. We’re careful during this process because we like to donate old appliances, fixtures or cabinets whenever possible.

Floor protection is down and demo has begun.
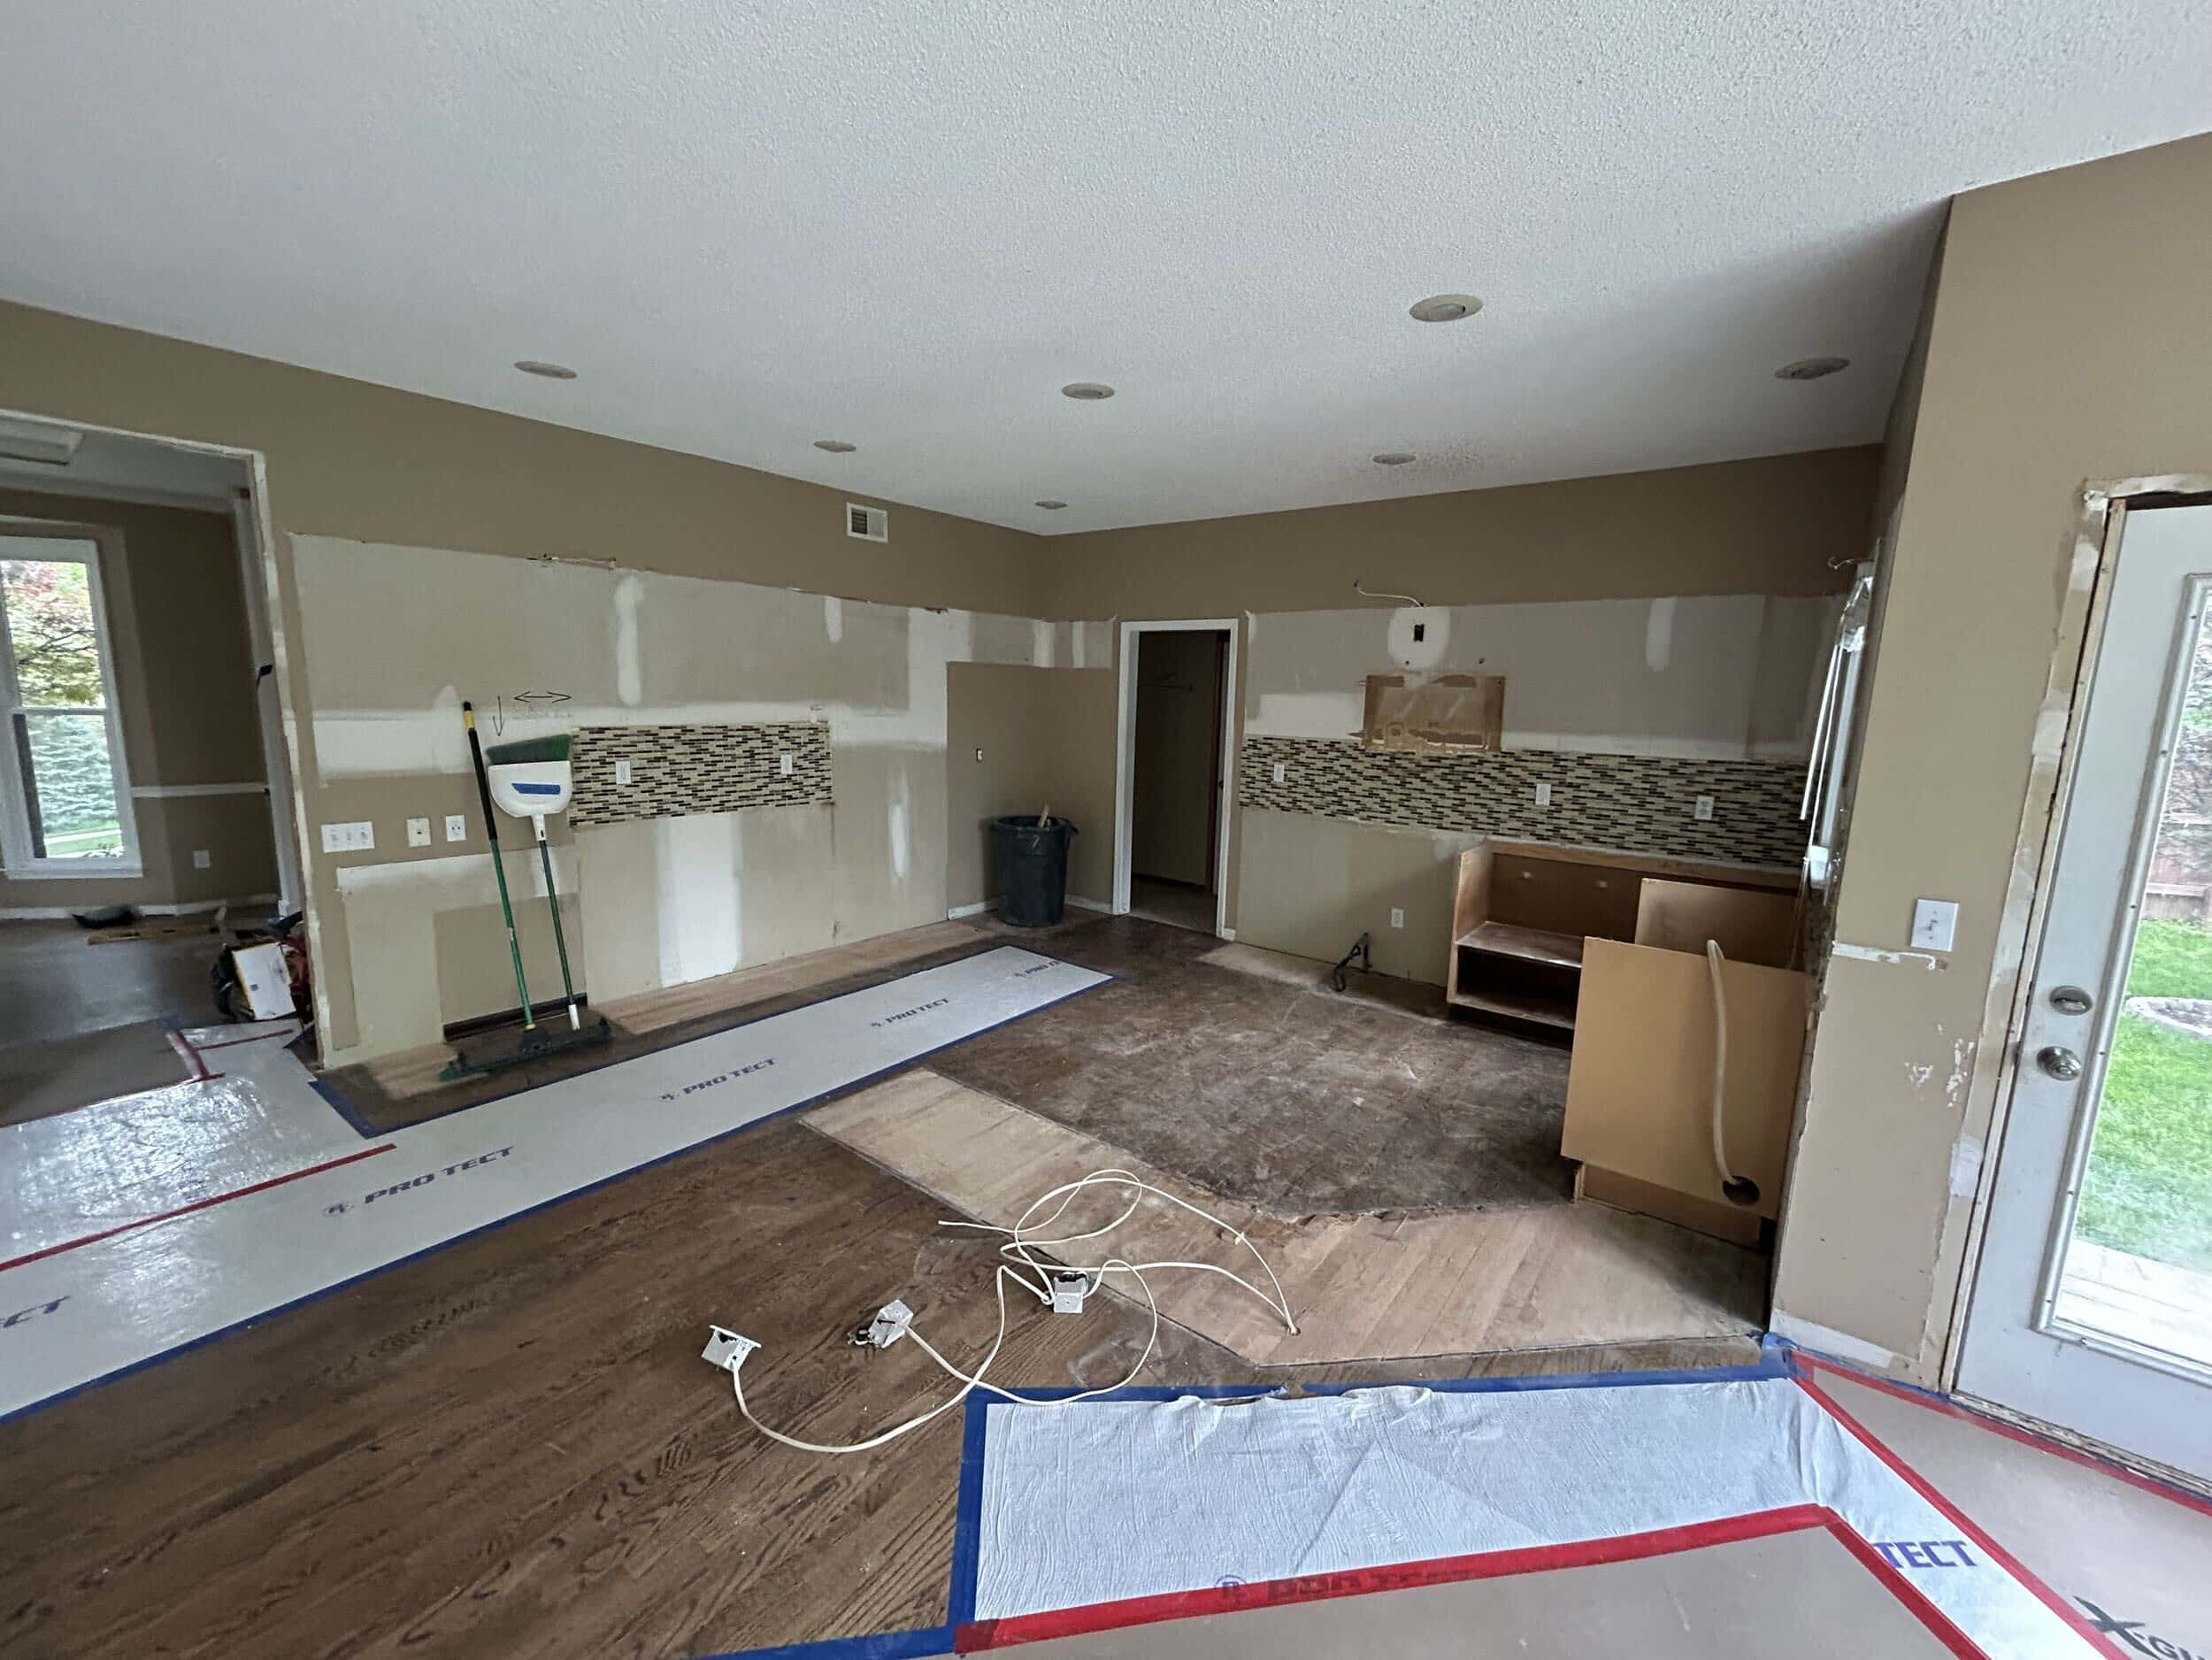
Kitchen demo progress.
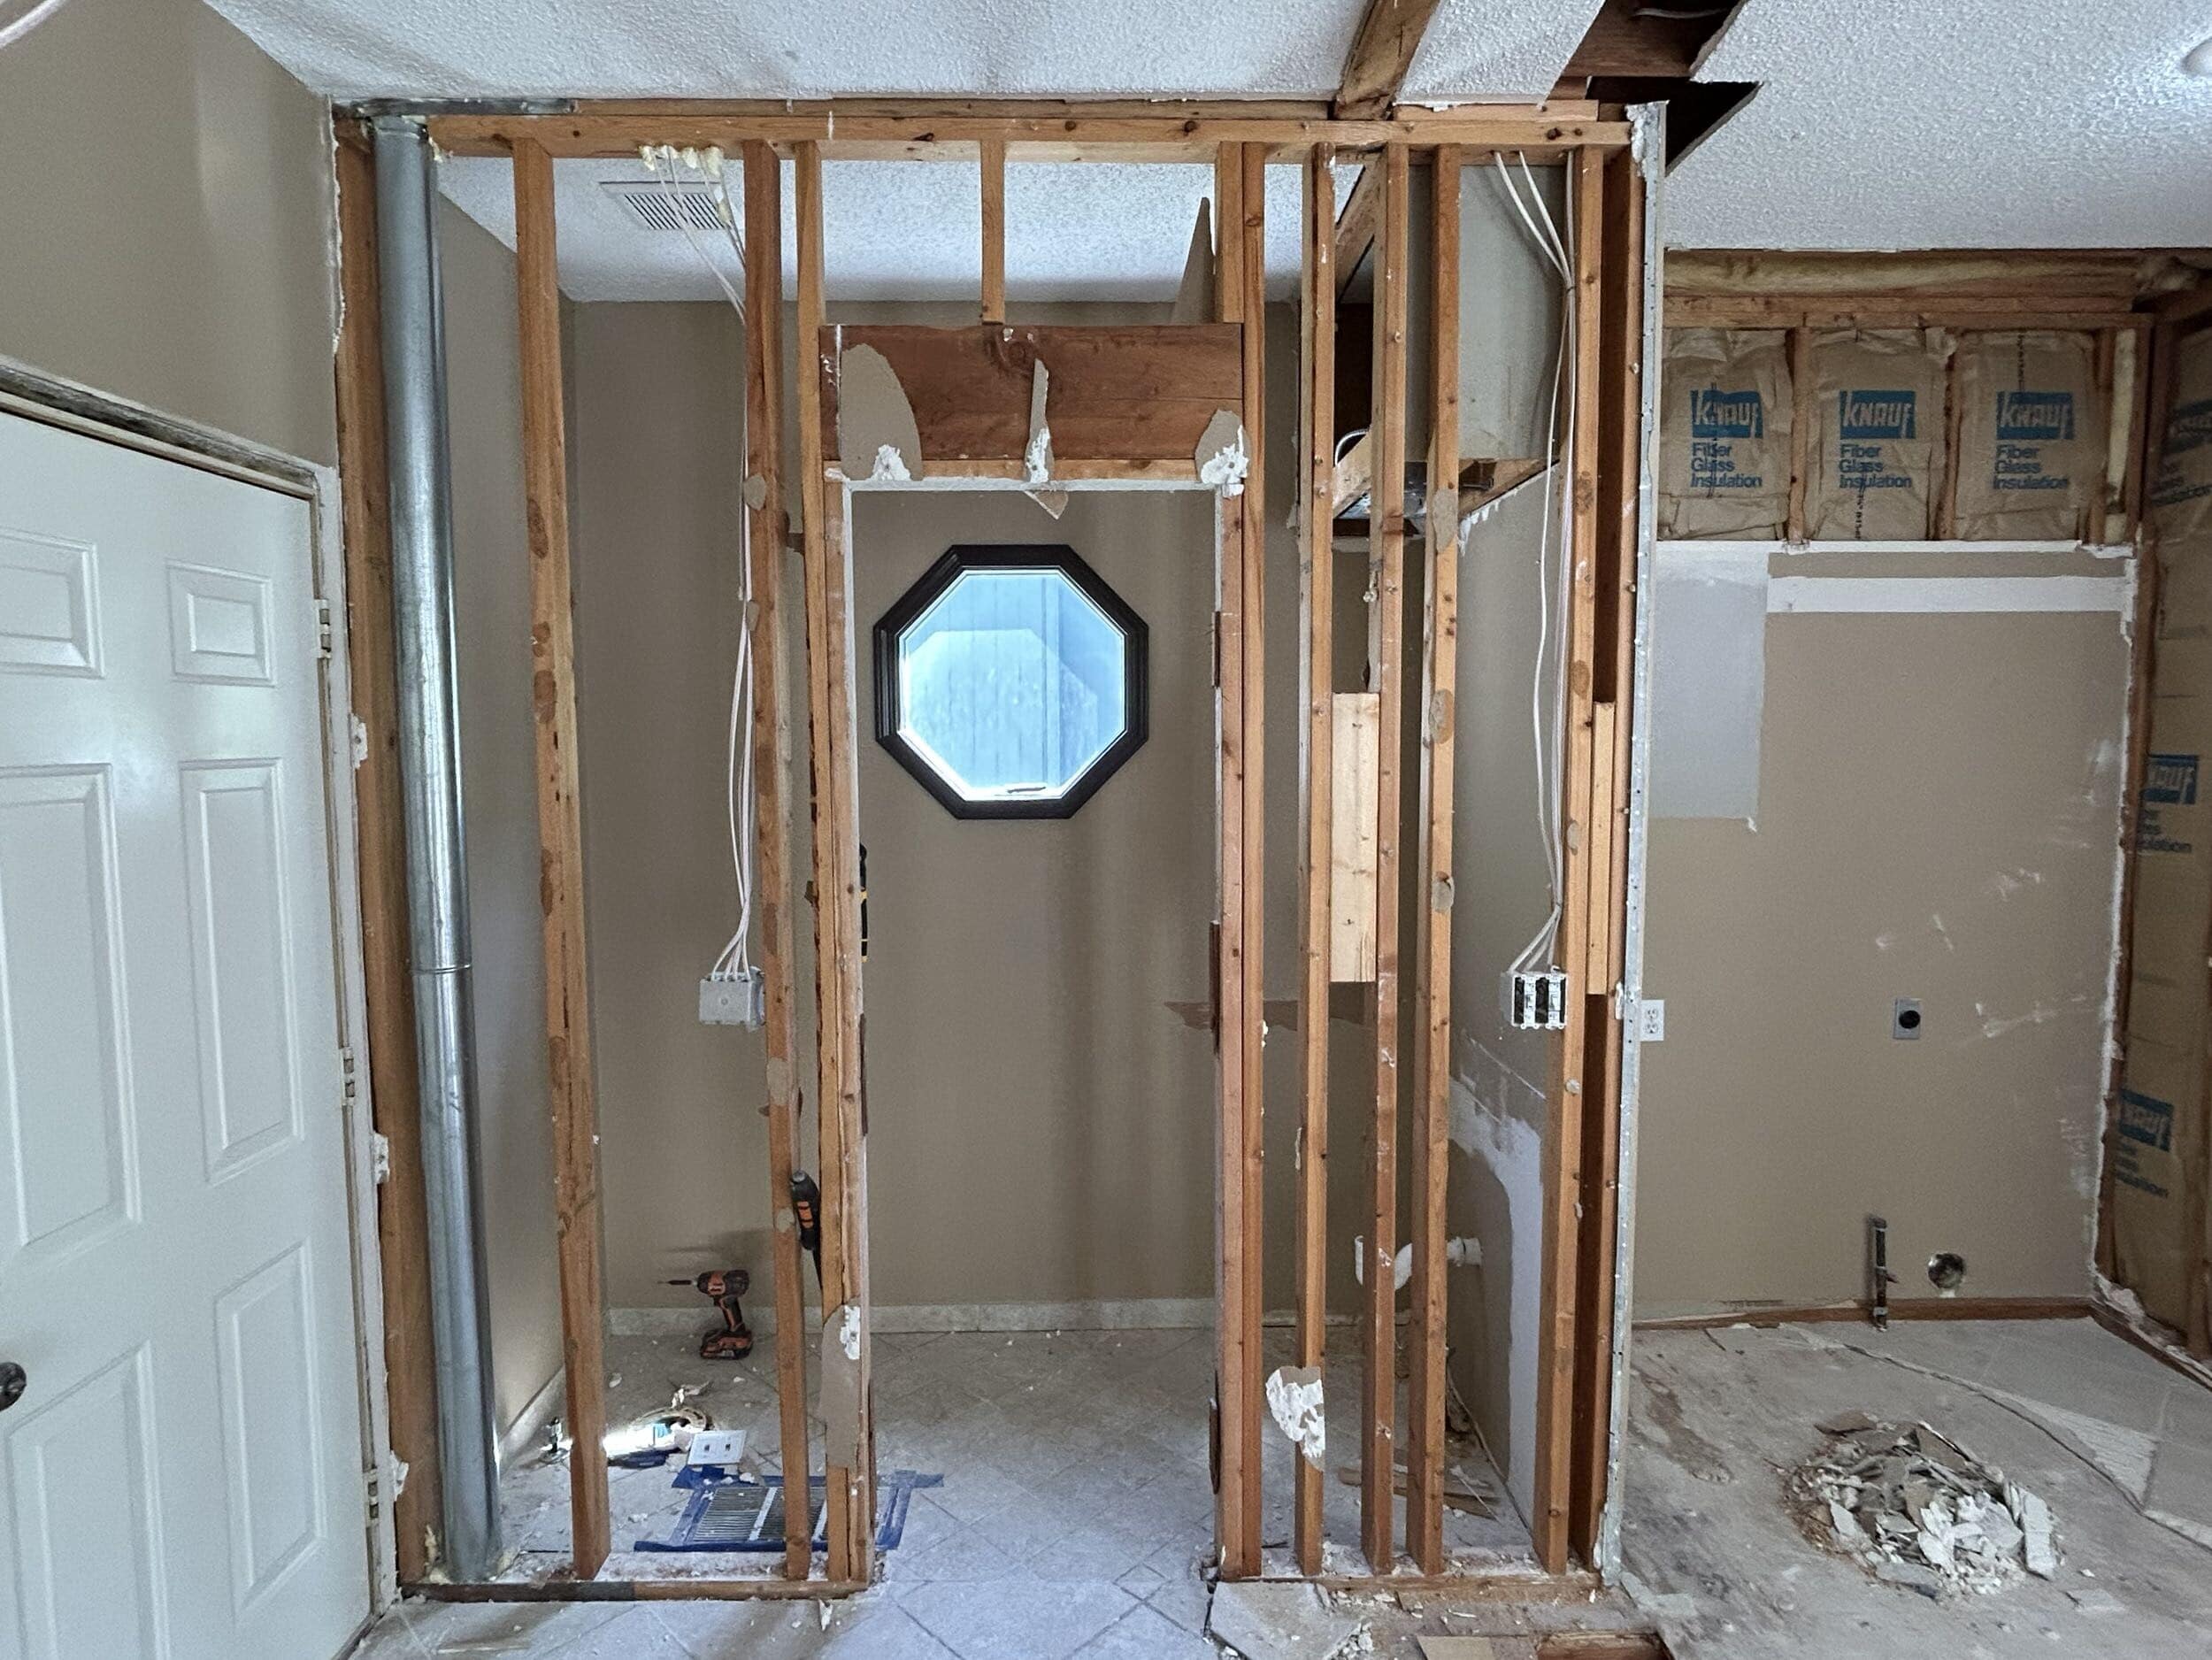
Demo of the powder bath and laundry room areas.
We moved the refrigerator to the garage where it will live until the new one is installed towards the end of the project. This way Lindsay and her family can still put groceries away and work from a full-size fridge during the remodel.

Fridge moved to the garage so it's still accessible during construction.
Temporary Kitchen
We know how hectic it can be to live through a remodel. Not having access to a full kitchen or bathroom can be stressful, so we do what we can to make the remodeling process as smooth as possible for clients. We want to make sure the family is as comfortable as possible and feels as little disruption in their day-to-day lives. Our team will help set up temporary kitchens, often times in the basement, or other untouched areas of the home during a kitchen remodel. We move the refrigerator to garage typically and help make sure our clients feel like they can navigate the space with a hot plate for cooking or microwave. Lindsay’s family has a finished basement and kitchenette area so functioning in this space for the time being will work well.

Lindsay's family's temporary kitchen, they are working out of their basement kitchenette during construction.

Temporary kitchen set up usually involves instant pots, hot plates, air fryers, or microwaves. Our team will help talk through options with you so you're as comfortable as possible while living through your remodel.
What Happens Next?
Next up is framing and electrical and plumbing rough ins for the new areas. Although things like moving an outlet or pipes might not be the most glamorous part of the project, rough ins are an extremely important phase in the remodeling process to ensure that everything is where it needs to be. They let us make sure everything meets code, catch and fix problems early, connect all the plumbing, electrical, and AC systems smoothly, and help the whole project run much more efficiently. This is a step that will ensure the space will flow nicely for Lindsay and her family when the kitchen remodel is complete.
We're making progress and excited to see how the space starts to take shape with framing! Check back next week for updates on electrical and plumbing rough ins and framing progress, here. Stay up to date with real time updates on our Instagram story @remodelagain.