If you missed the first part of this exciting kitchen remodel series, you can get caught up here. Schloegel Designer, Jerick Stockton walked us through the existing space and shared the amazing GREEN design details that will soon takeover. The finished space will be modern, sleek, and glossy with some fun green accents.
Demo
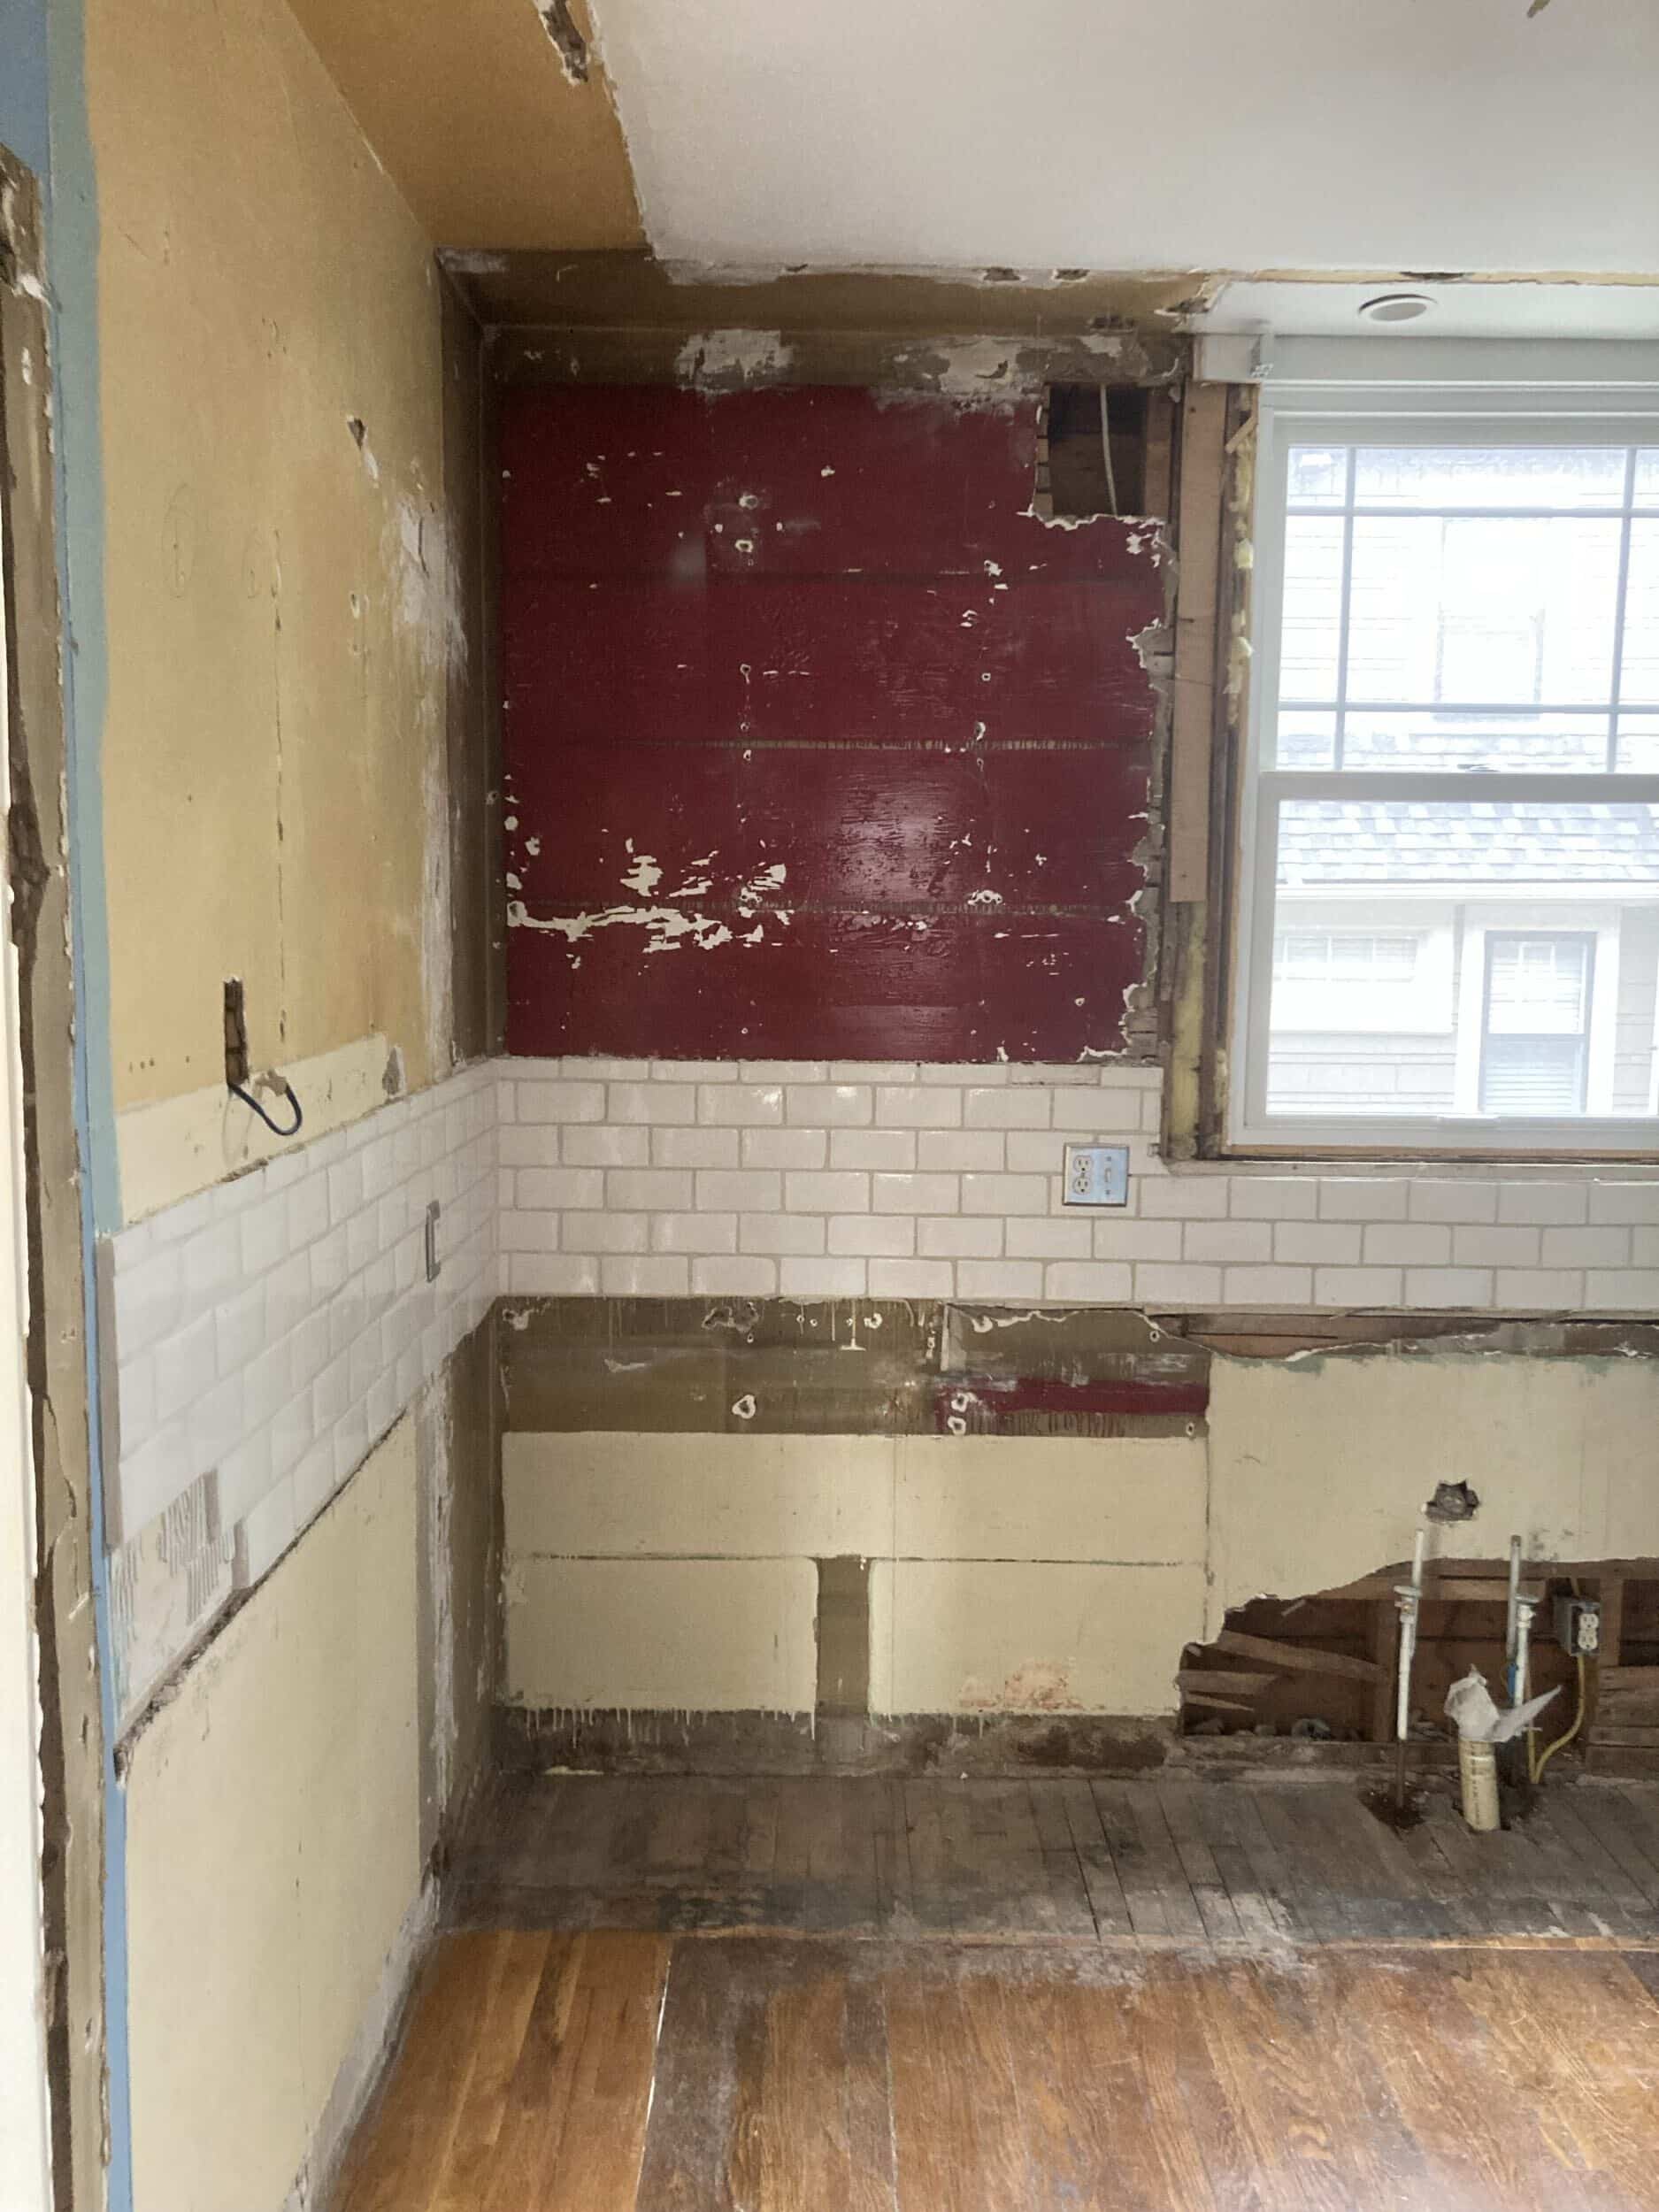
Now it’s time to bring it all to life through the construction process. Project Manager, Greg Goldstein oversaw the demo phase with the help of Peter Campbell. This involved removing the counters, cabinets, backsplash, and fixtures. We also had to find a new home for the refrigerator so our clients can still work from it during the remodel.
Kitchen demo
Kitchen demo

kitchen demo
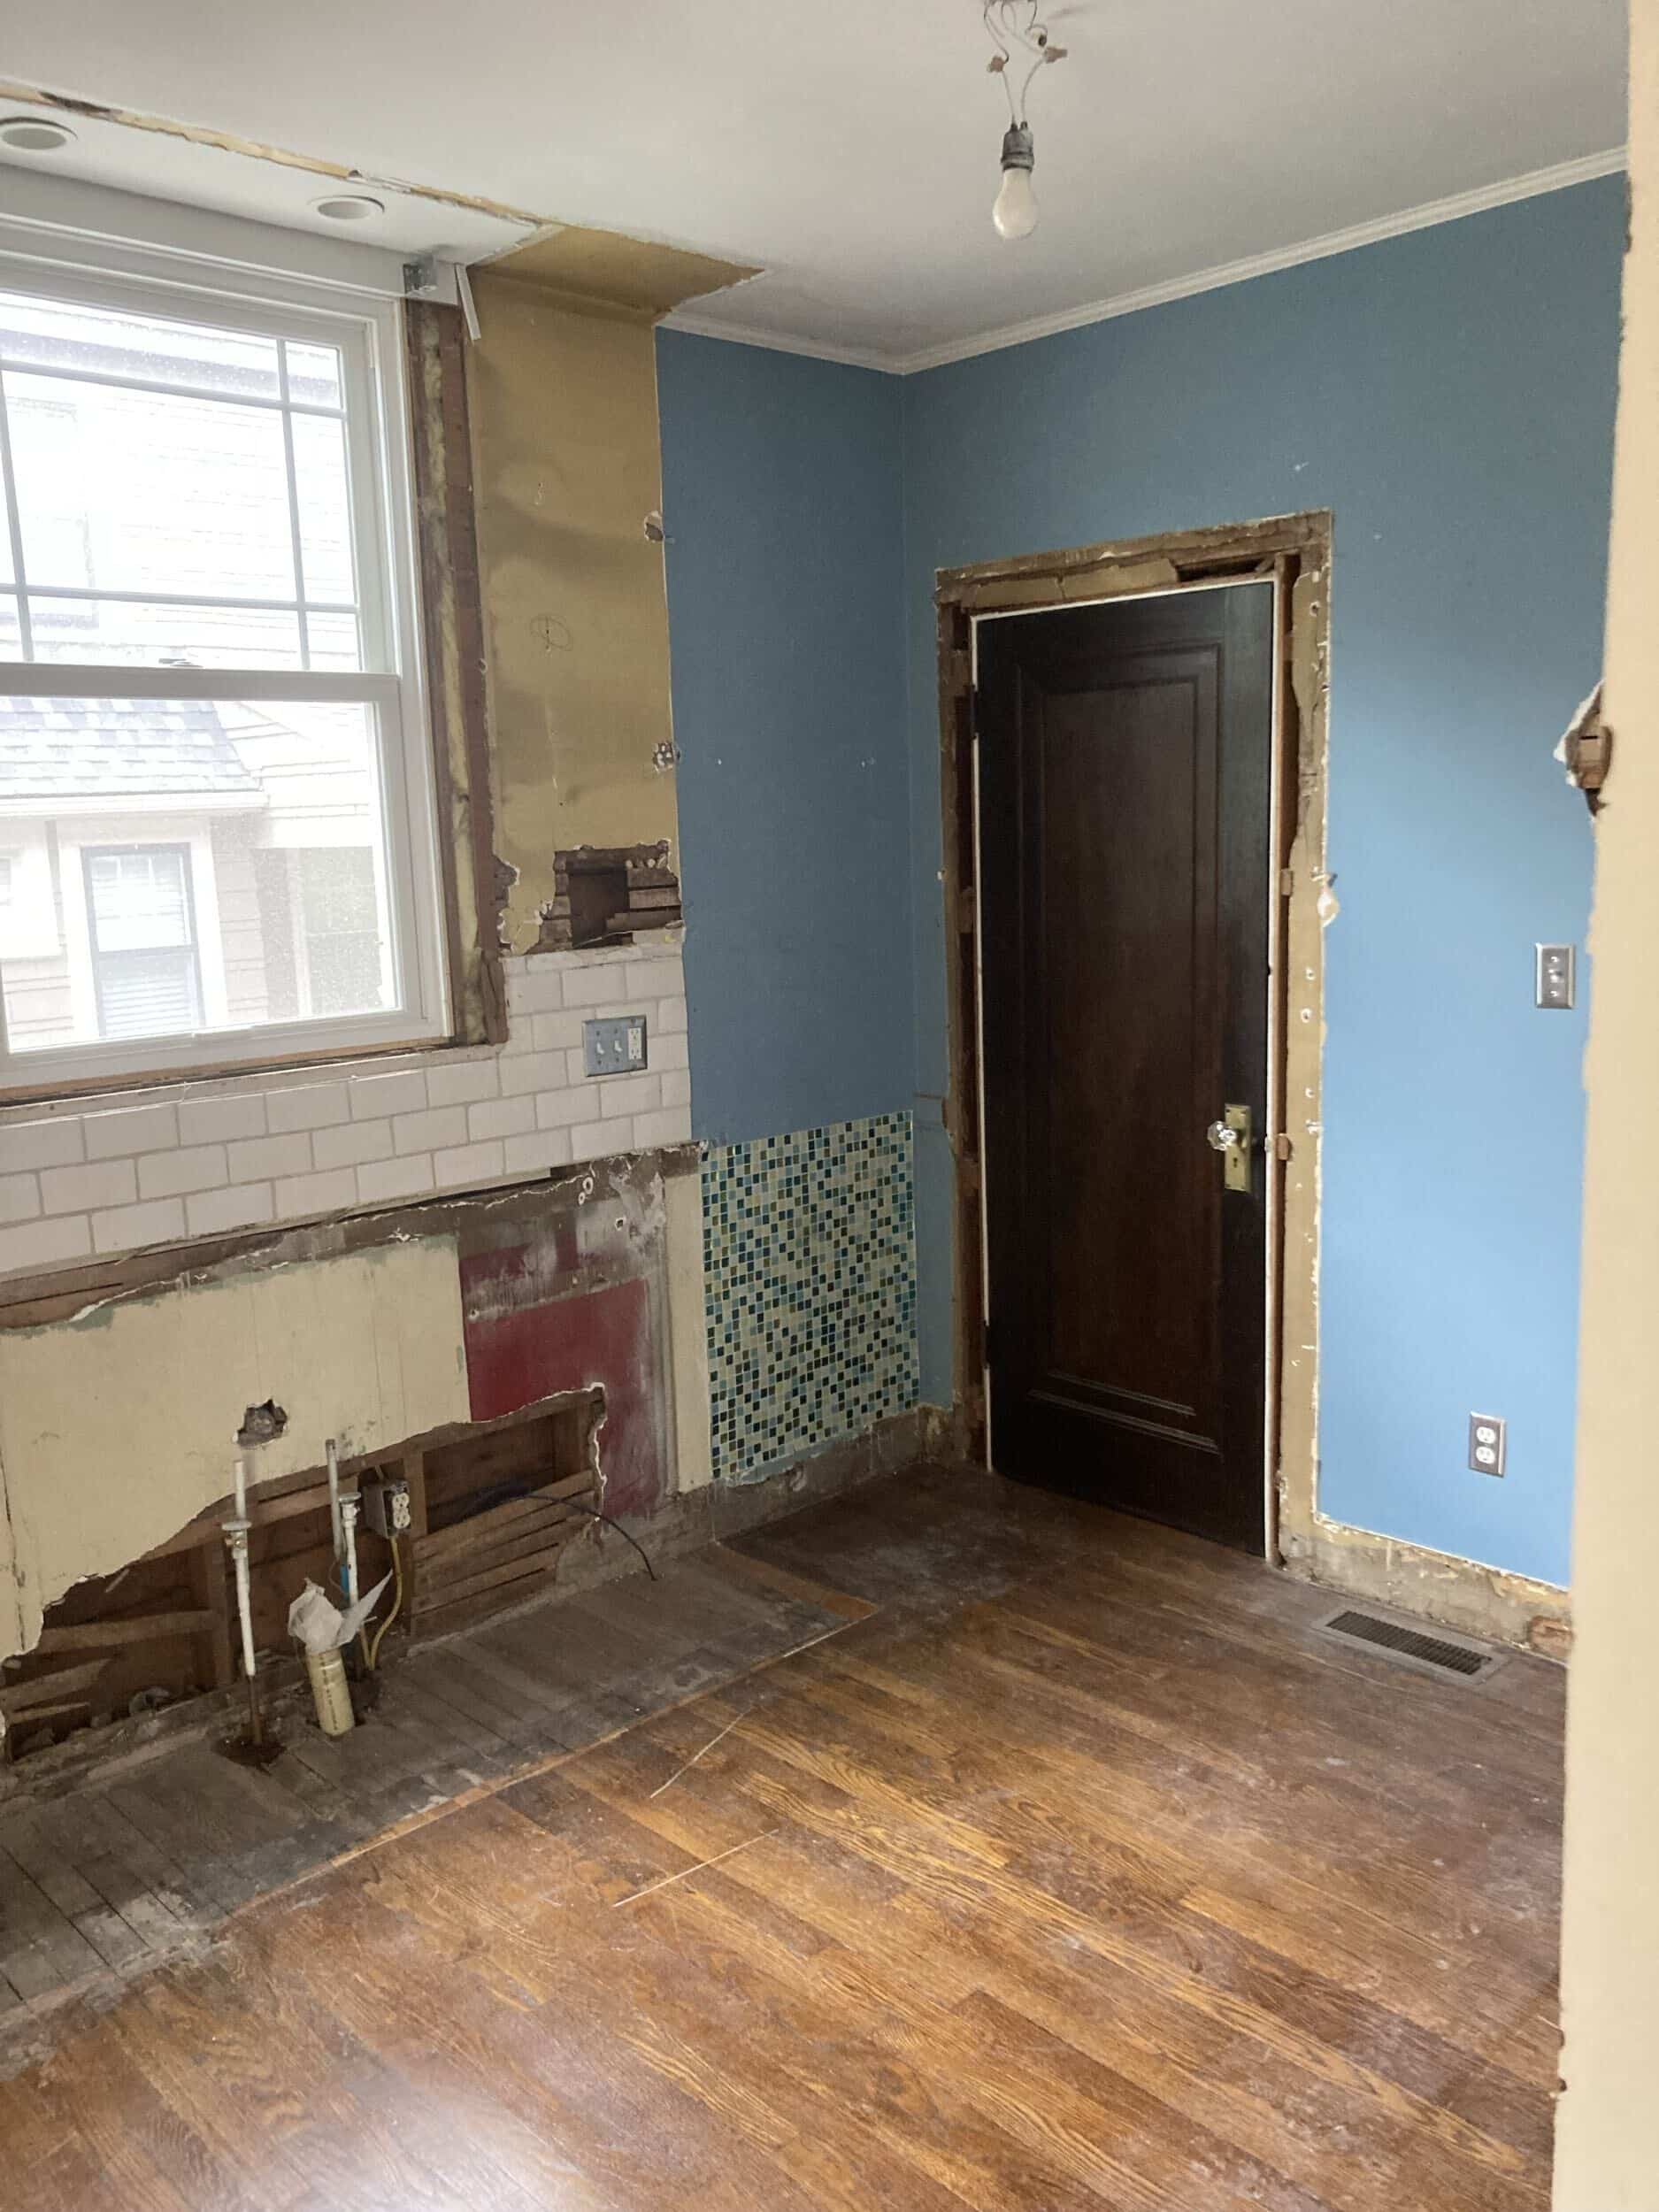
The wall separating the kitchen and dining room had to go to create the open concept space our clients were looking for. The team removed this wall, making the kitchen and dining space become one.
Kitchen and dining room demo- wall removal in process
Wall separating kitchen and dining room is now entirely demolished.
Framing
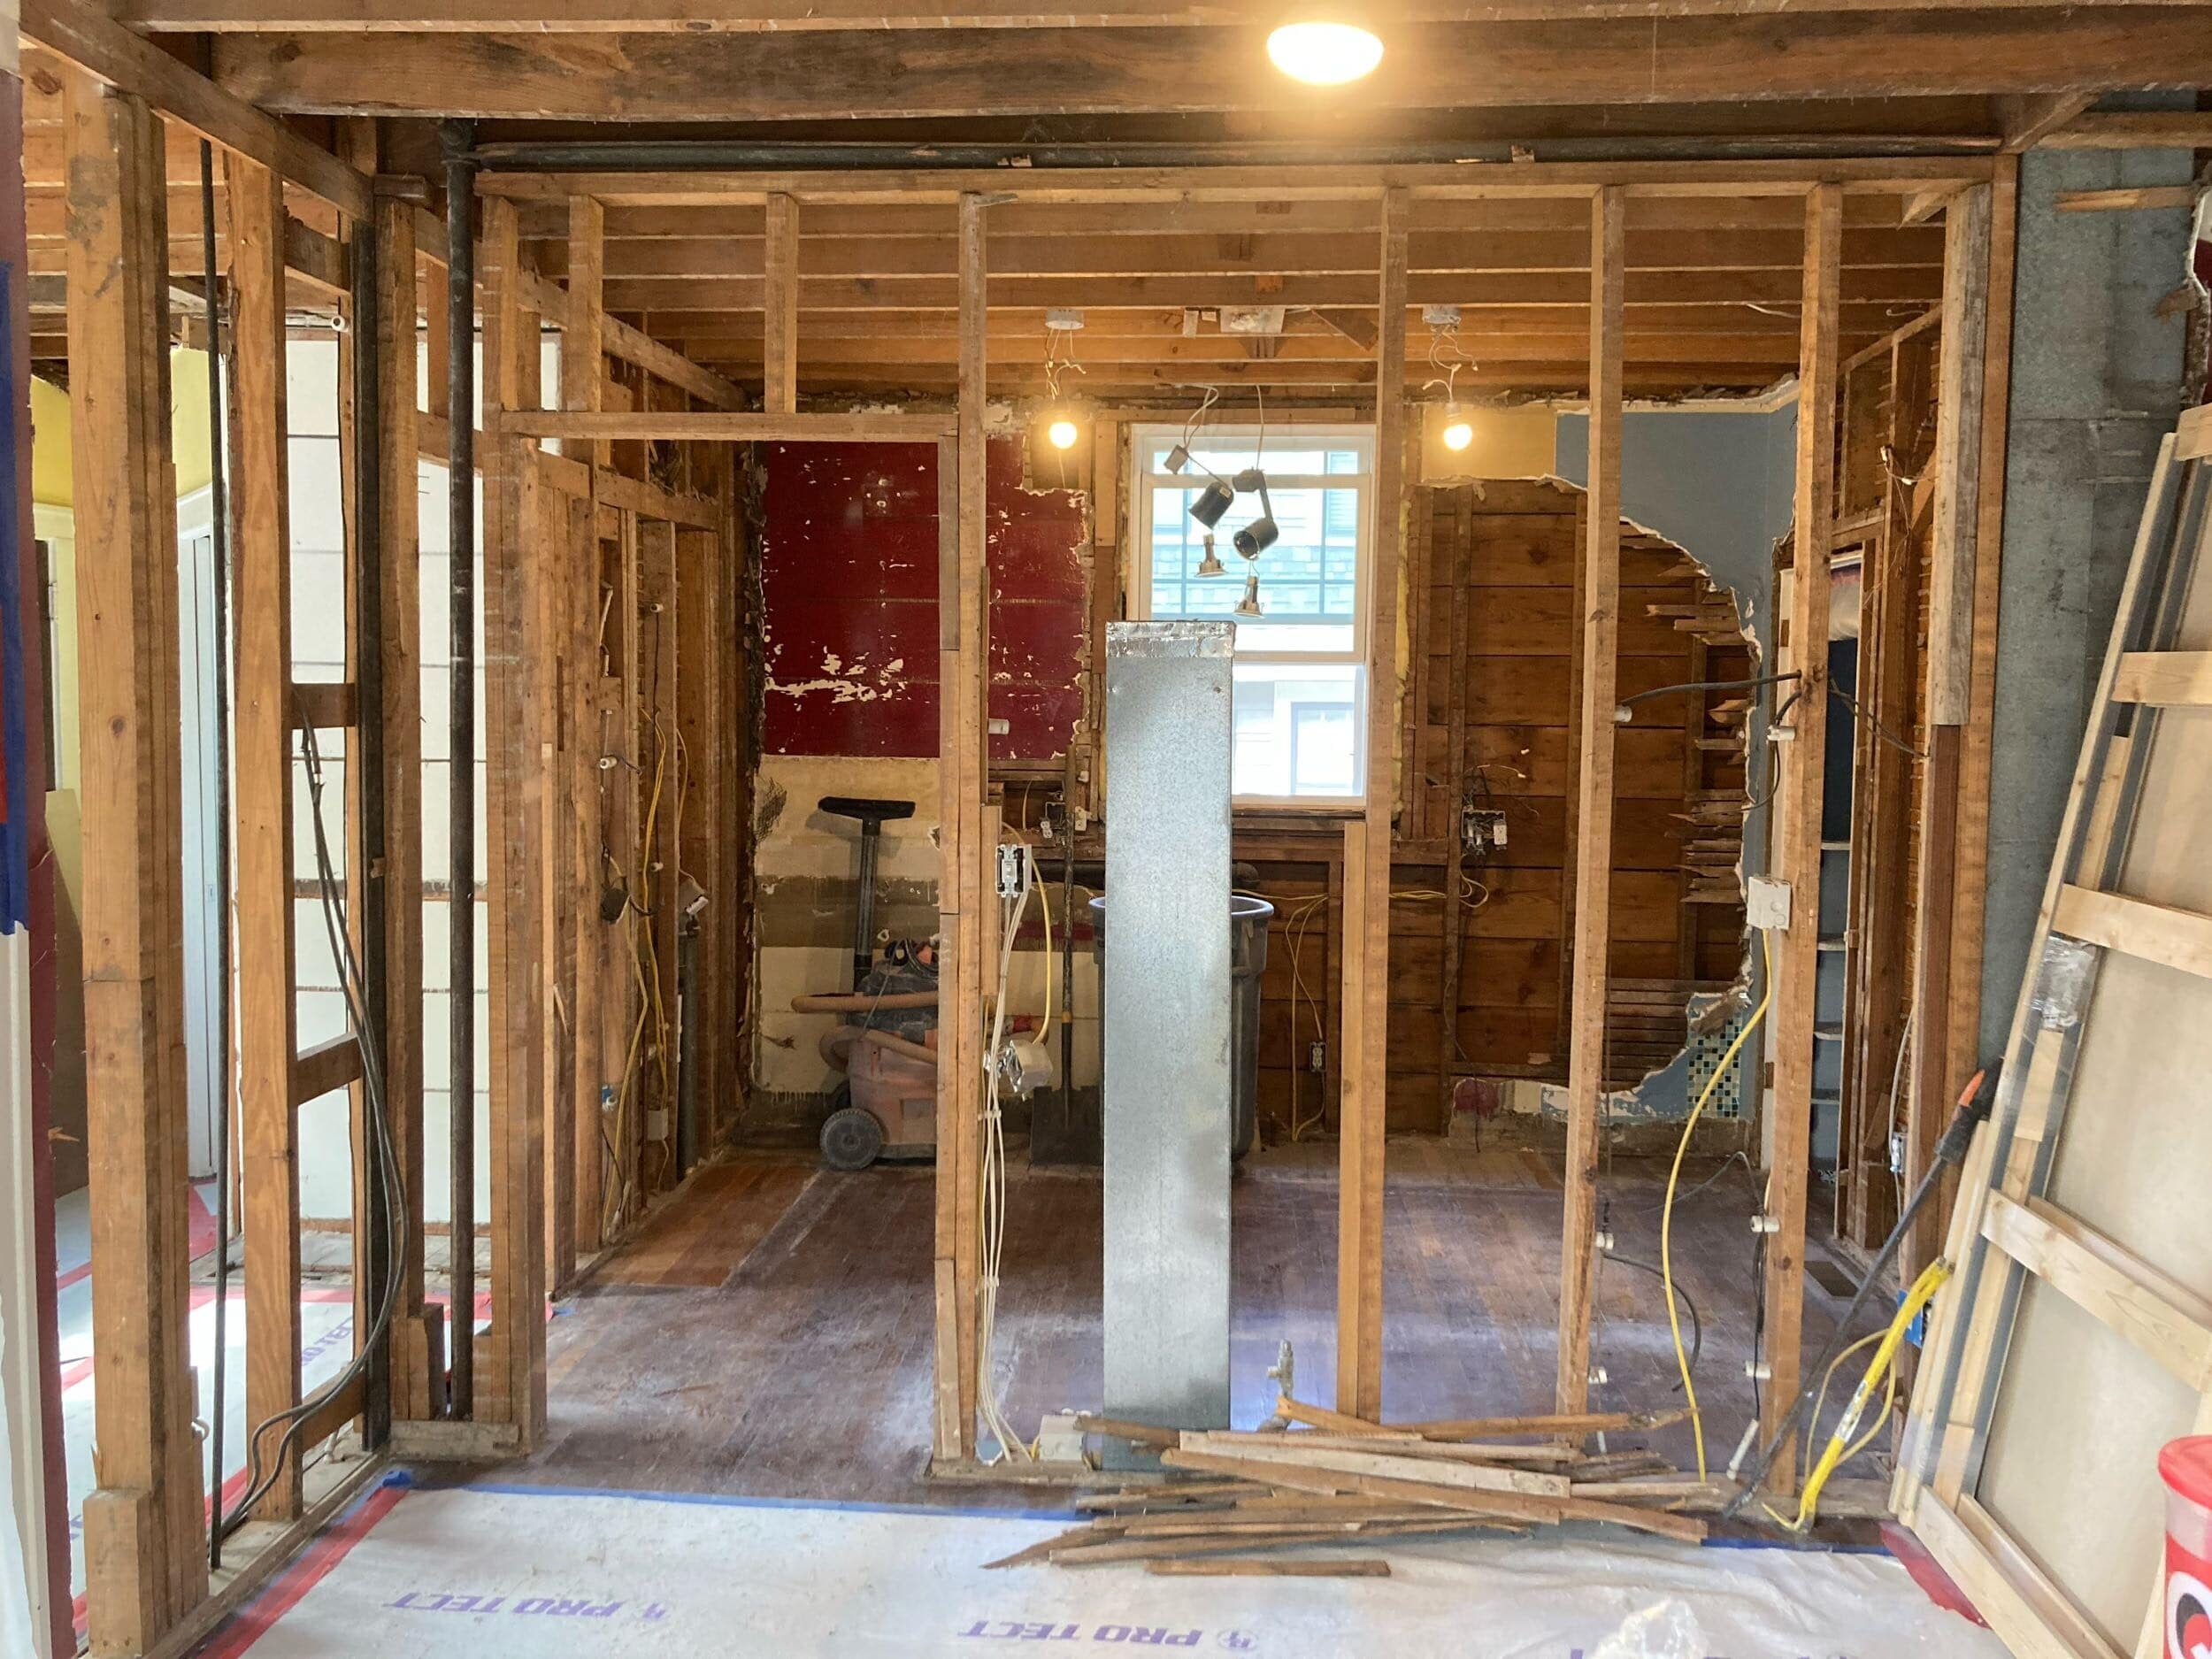
The next step for this kitchen remodel is framing to ensure that the new walled areas will be structurally sound. We closed off the small doorway that led from the kitchen into the hall off the front entry. Next, we closed off the small doorway that led from the kitchen into the back sunroom galley. This will give the kitchen plenty of wall space for cabinets and appliances.

Framing progress- closing off small doorway from front hall into kitchen.
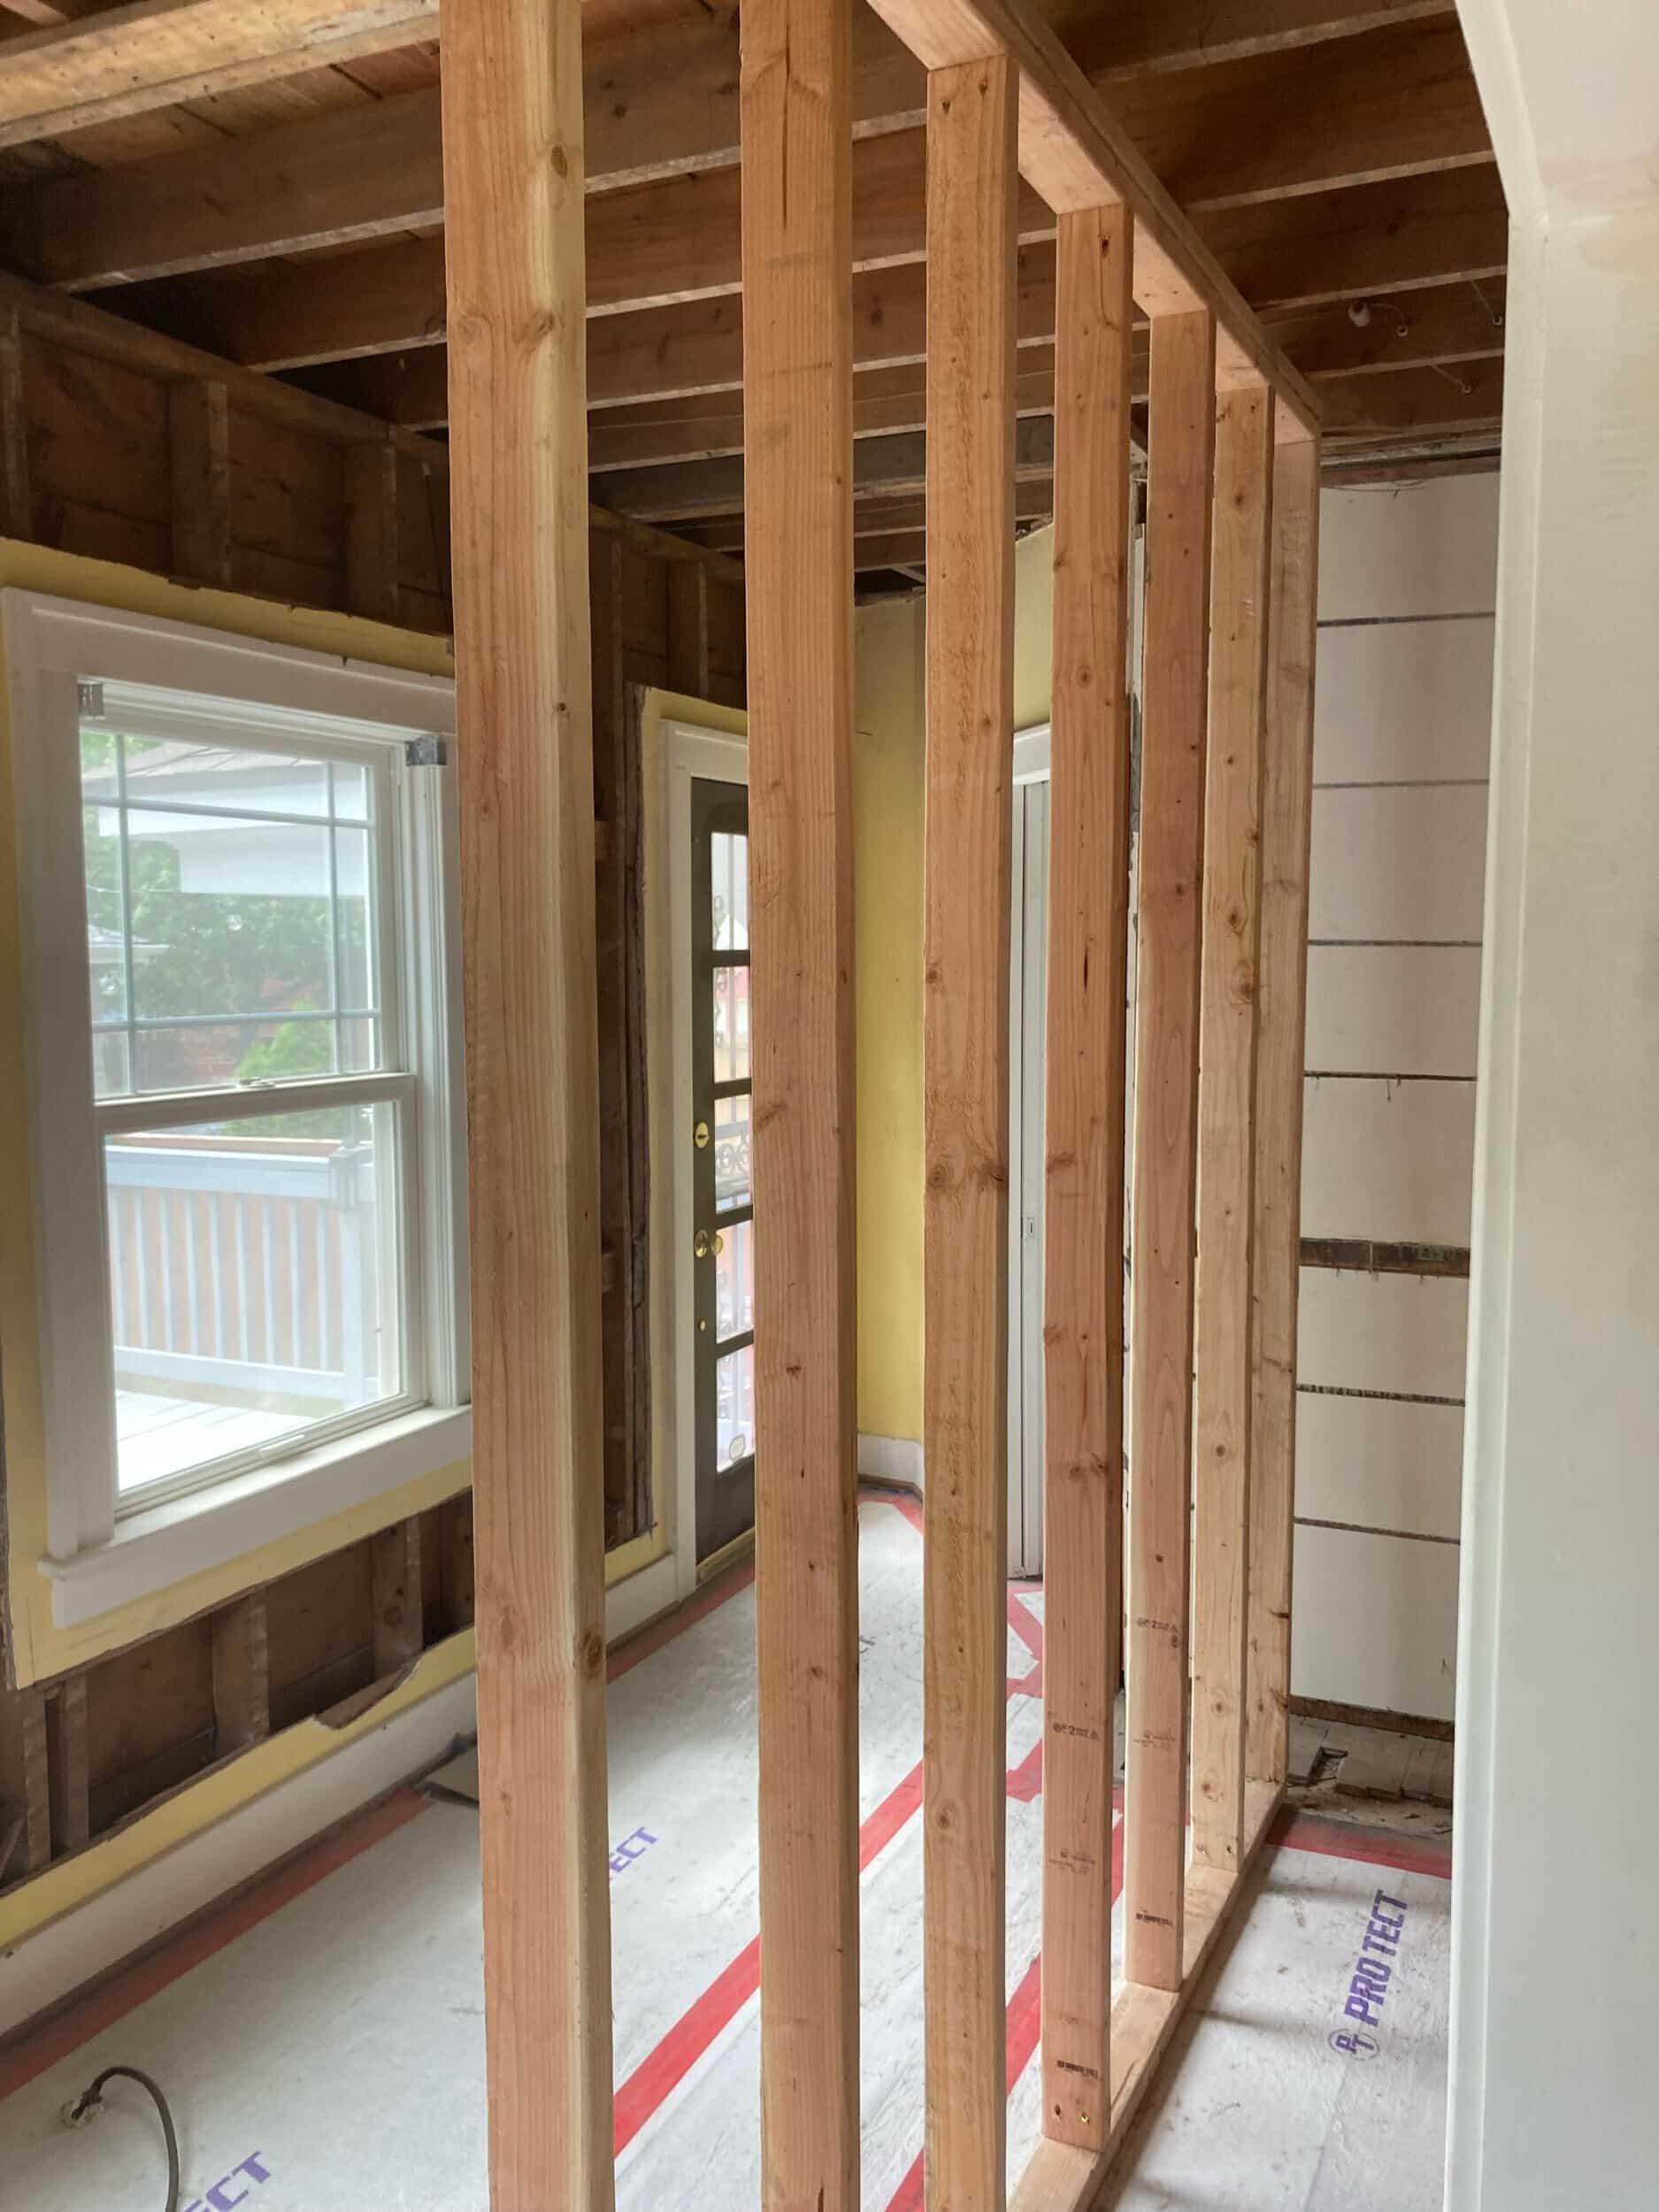
Framing for the new wall that will separate the sunroom and kitchen. This will be lined with pantry cabinets on the left side, and recessed kitchen appliances and cabinets on the right.
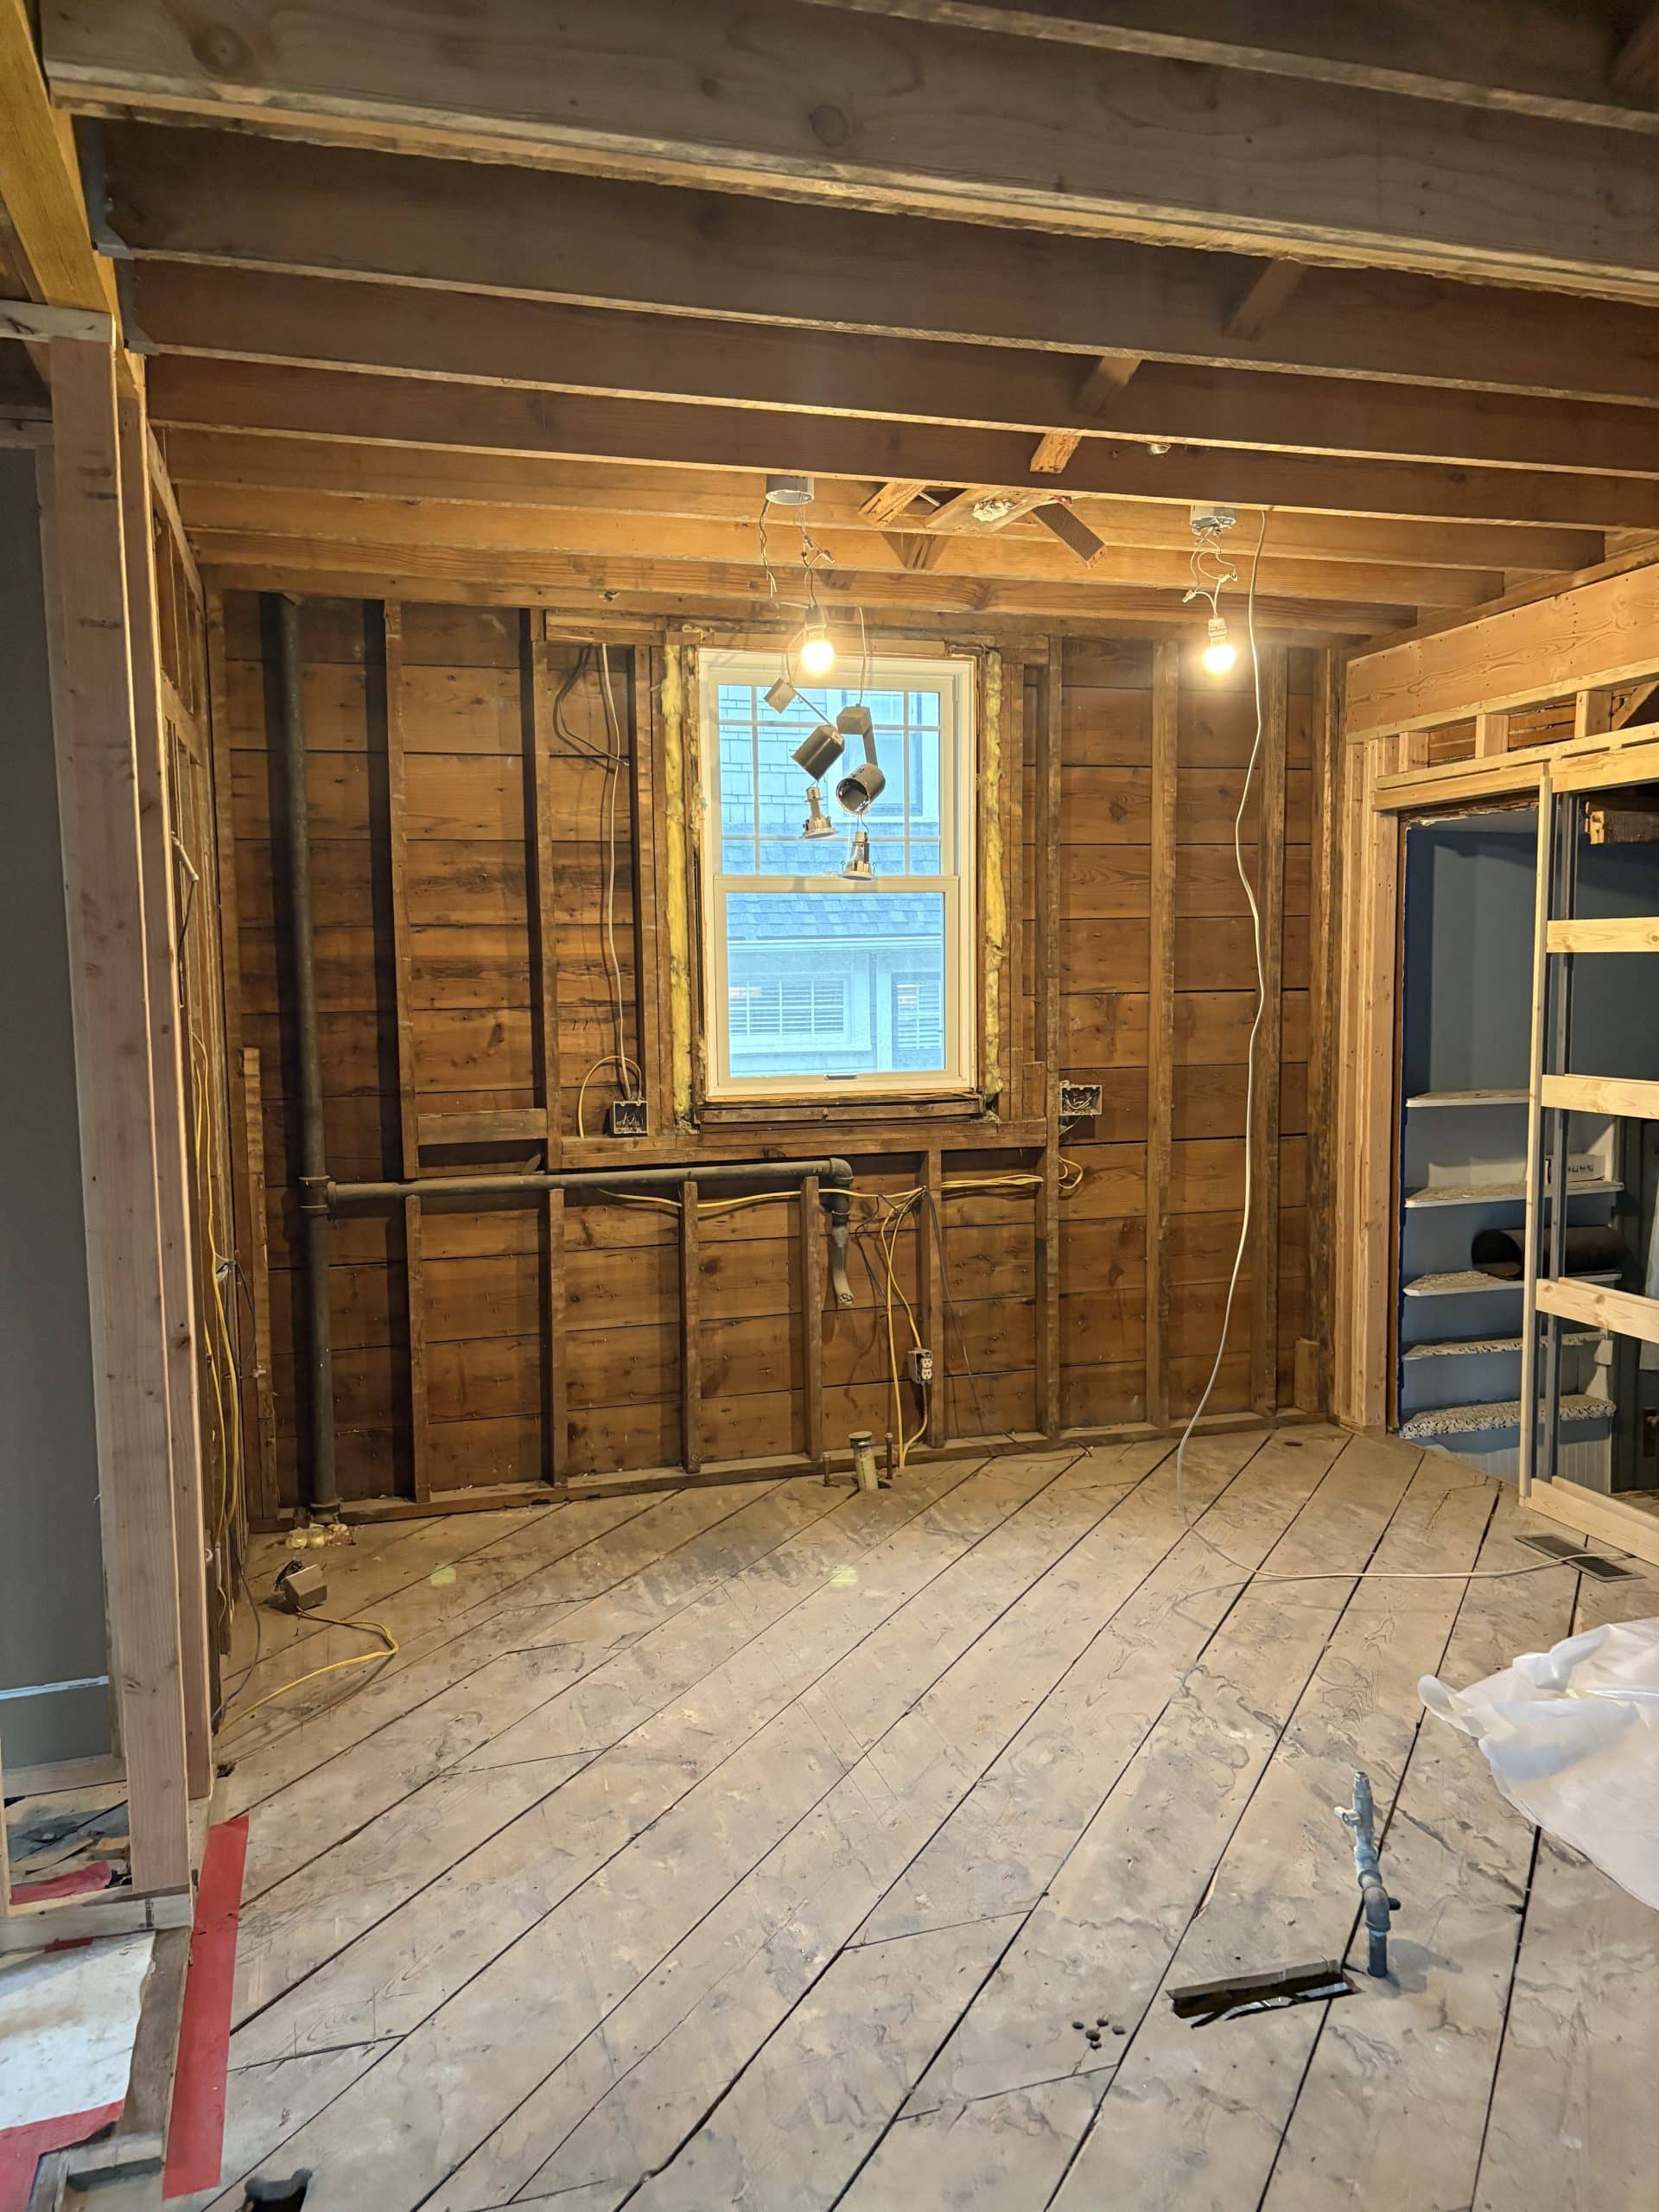
We kept the larger opening from the old dining room into the sunroom galley area, which will now serve as pantry storage space with built-ins lining the wall.
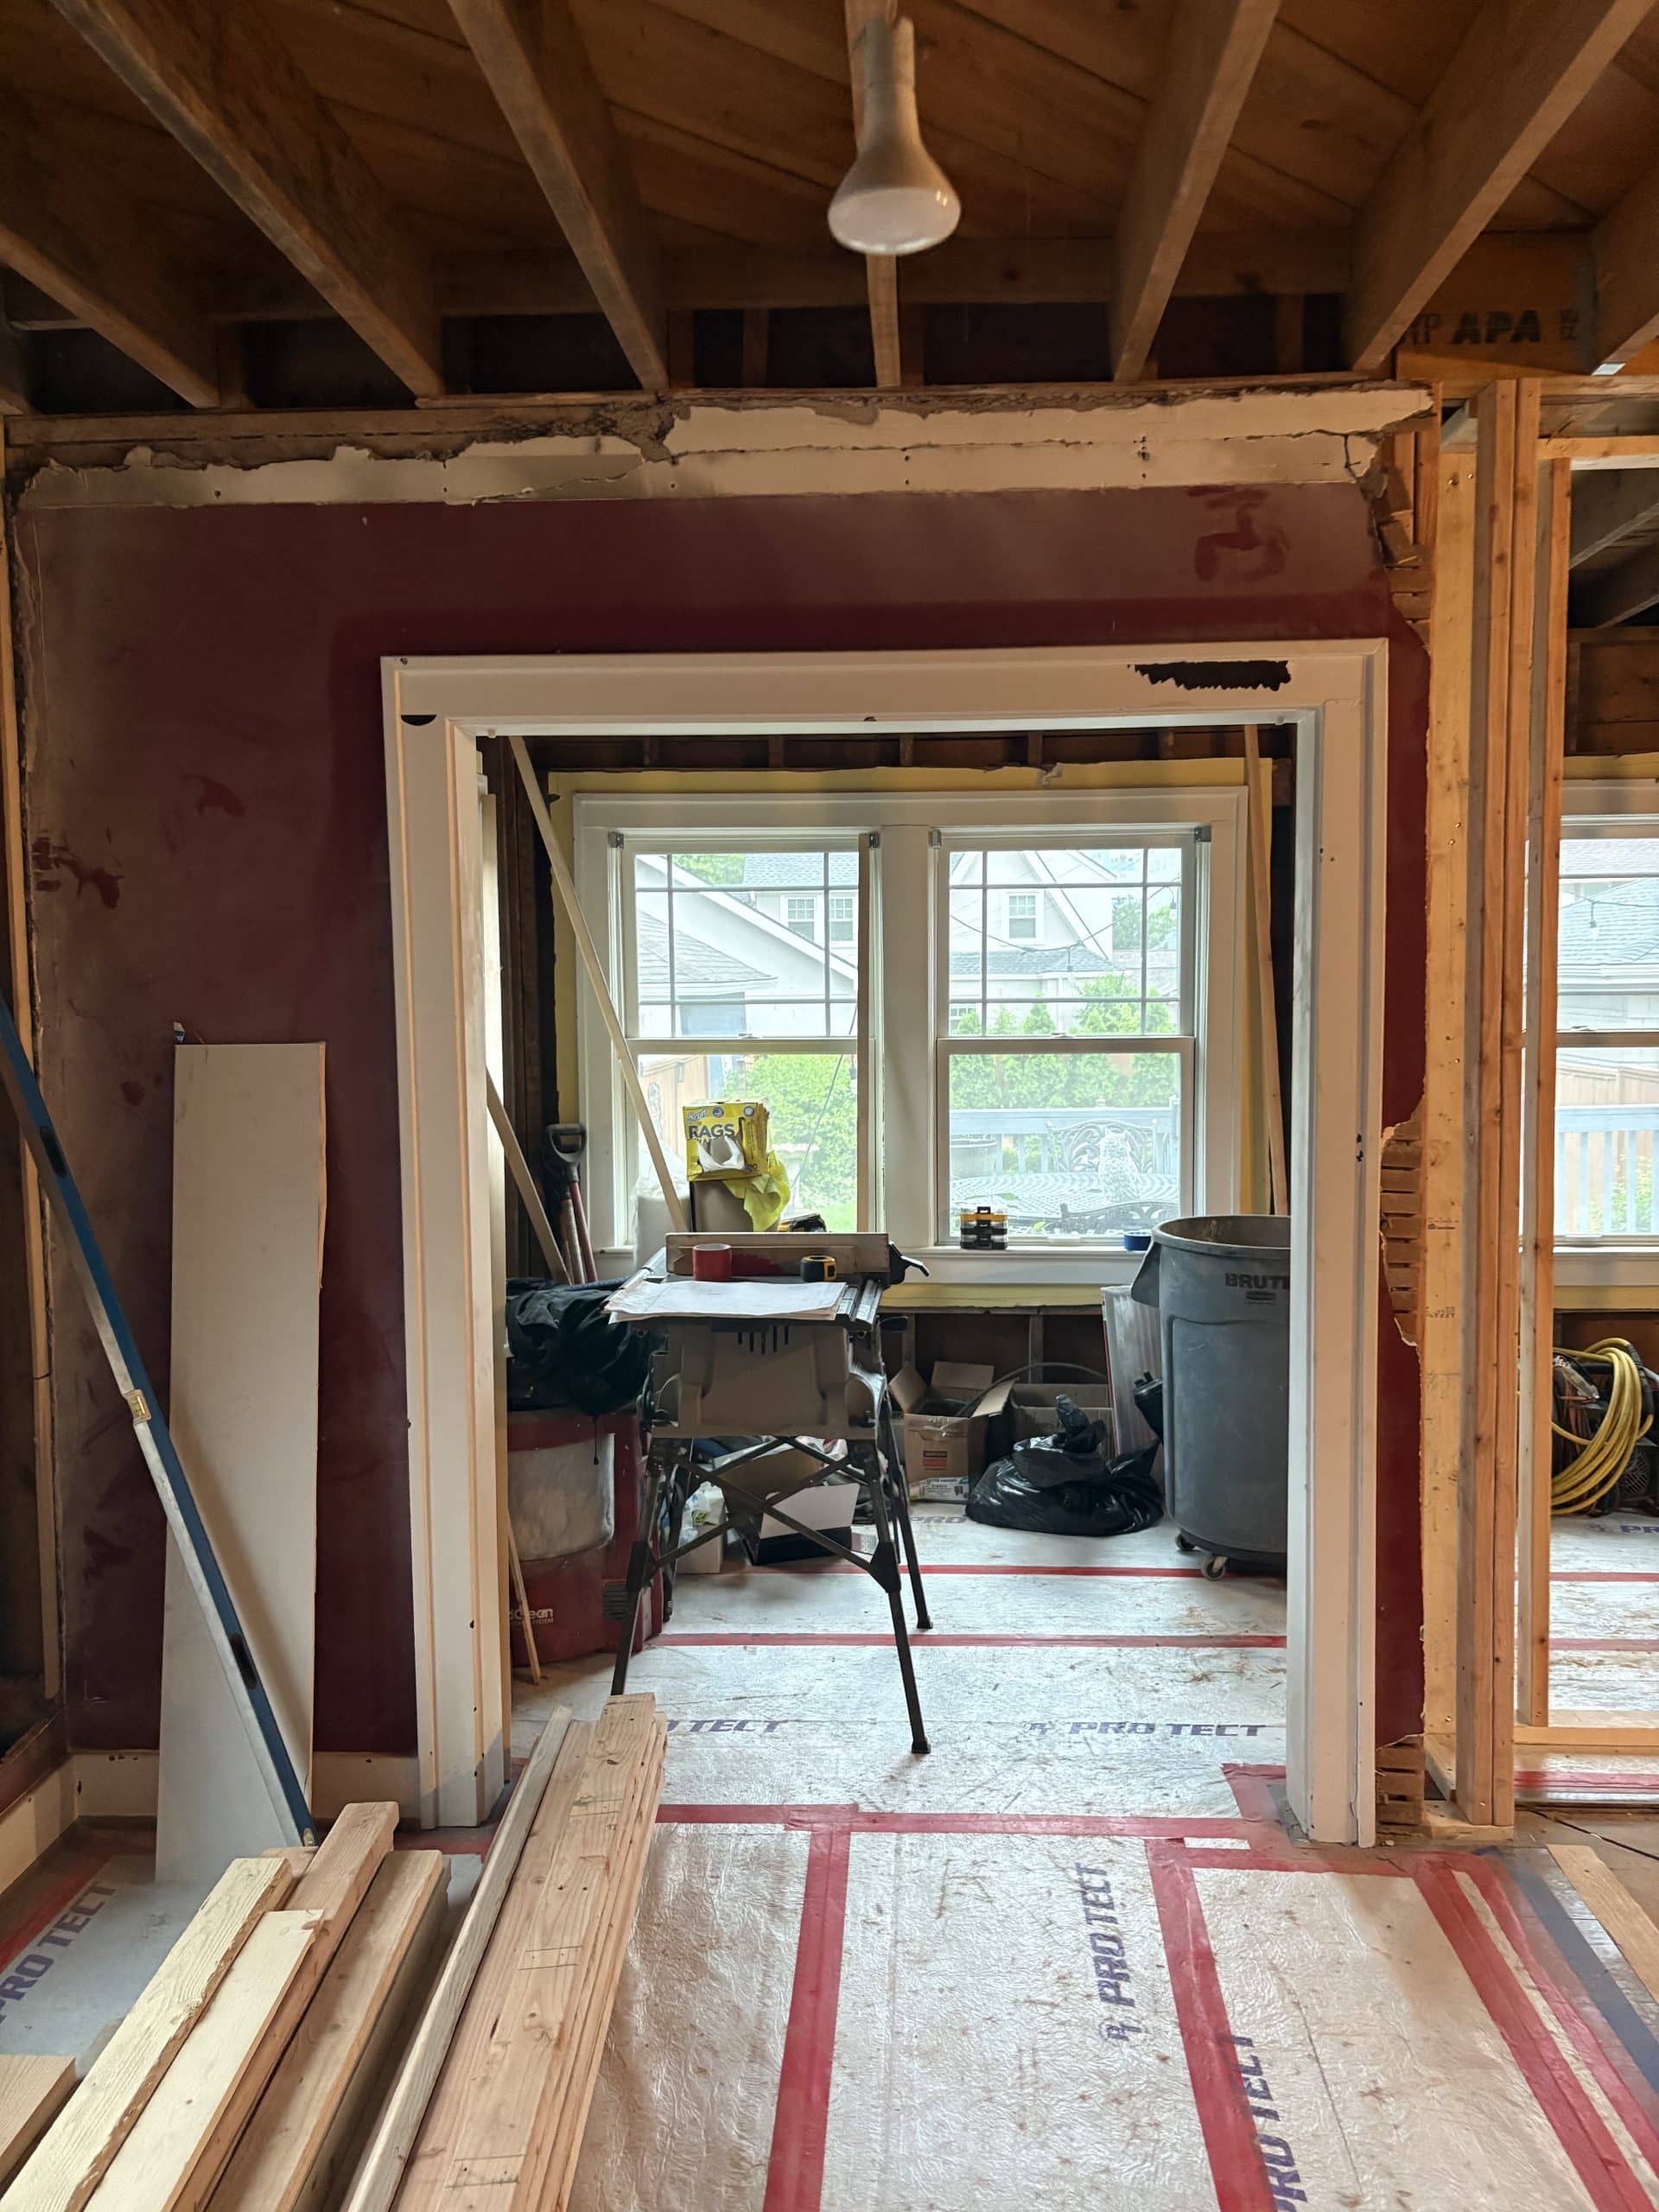
Entry from dining area into sunroom, this opening will remain throughout the remodel.
Rough Ins
Electrical and plumbing rough ins involve removing pieces of wall, floor and ceiling to move wires and pipes. We worked with Jason Wright Electric to handle the moving of outlets and wires for new can lights and fixtures.

Electrical rough in
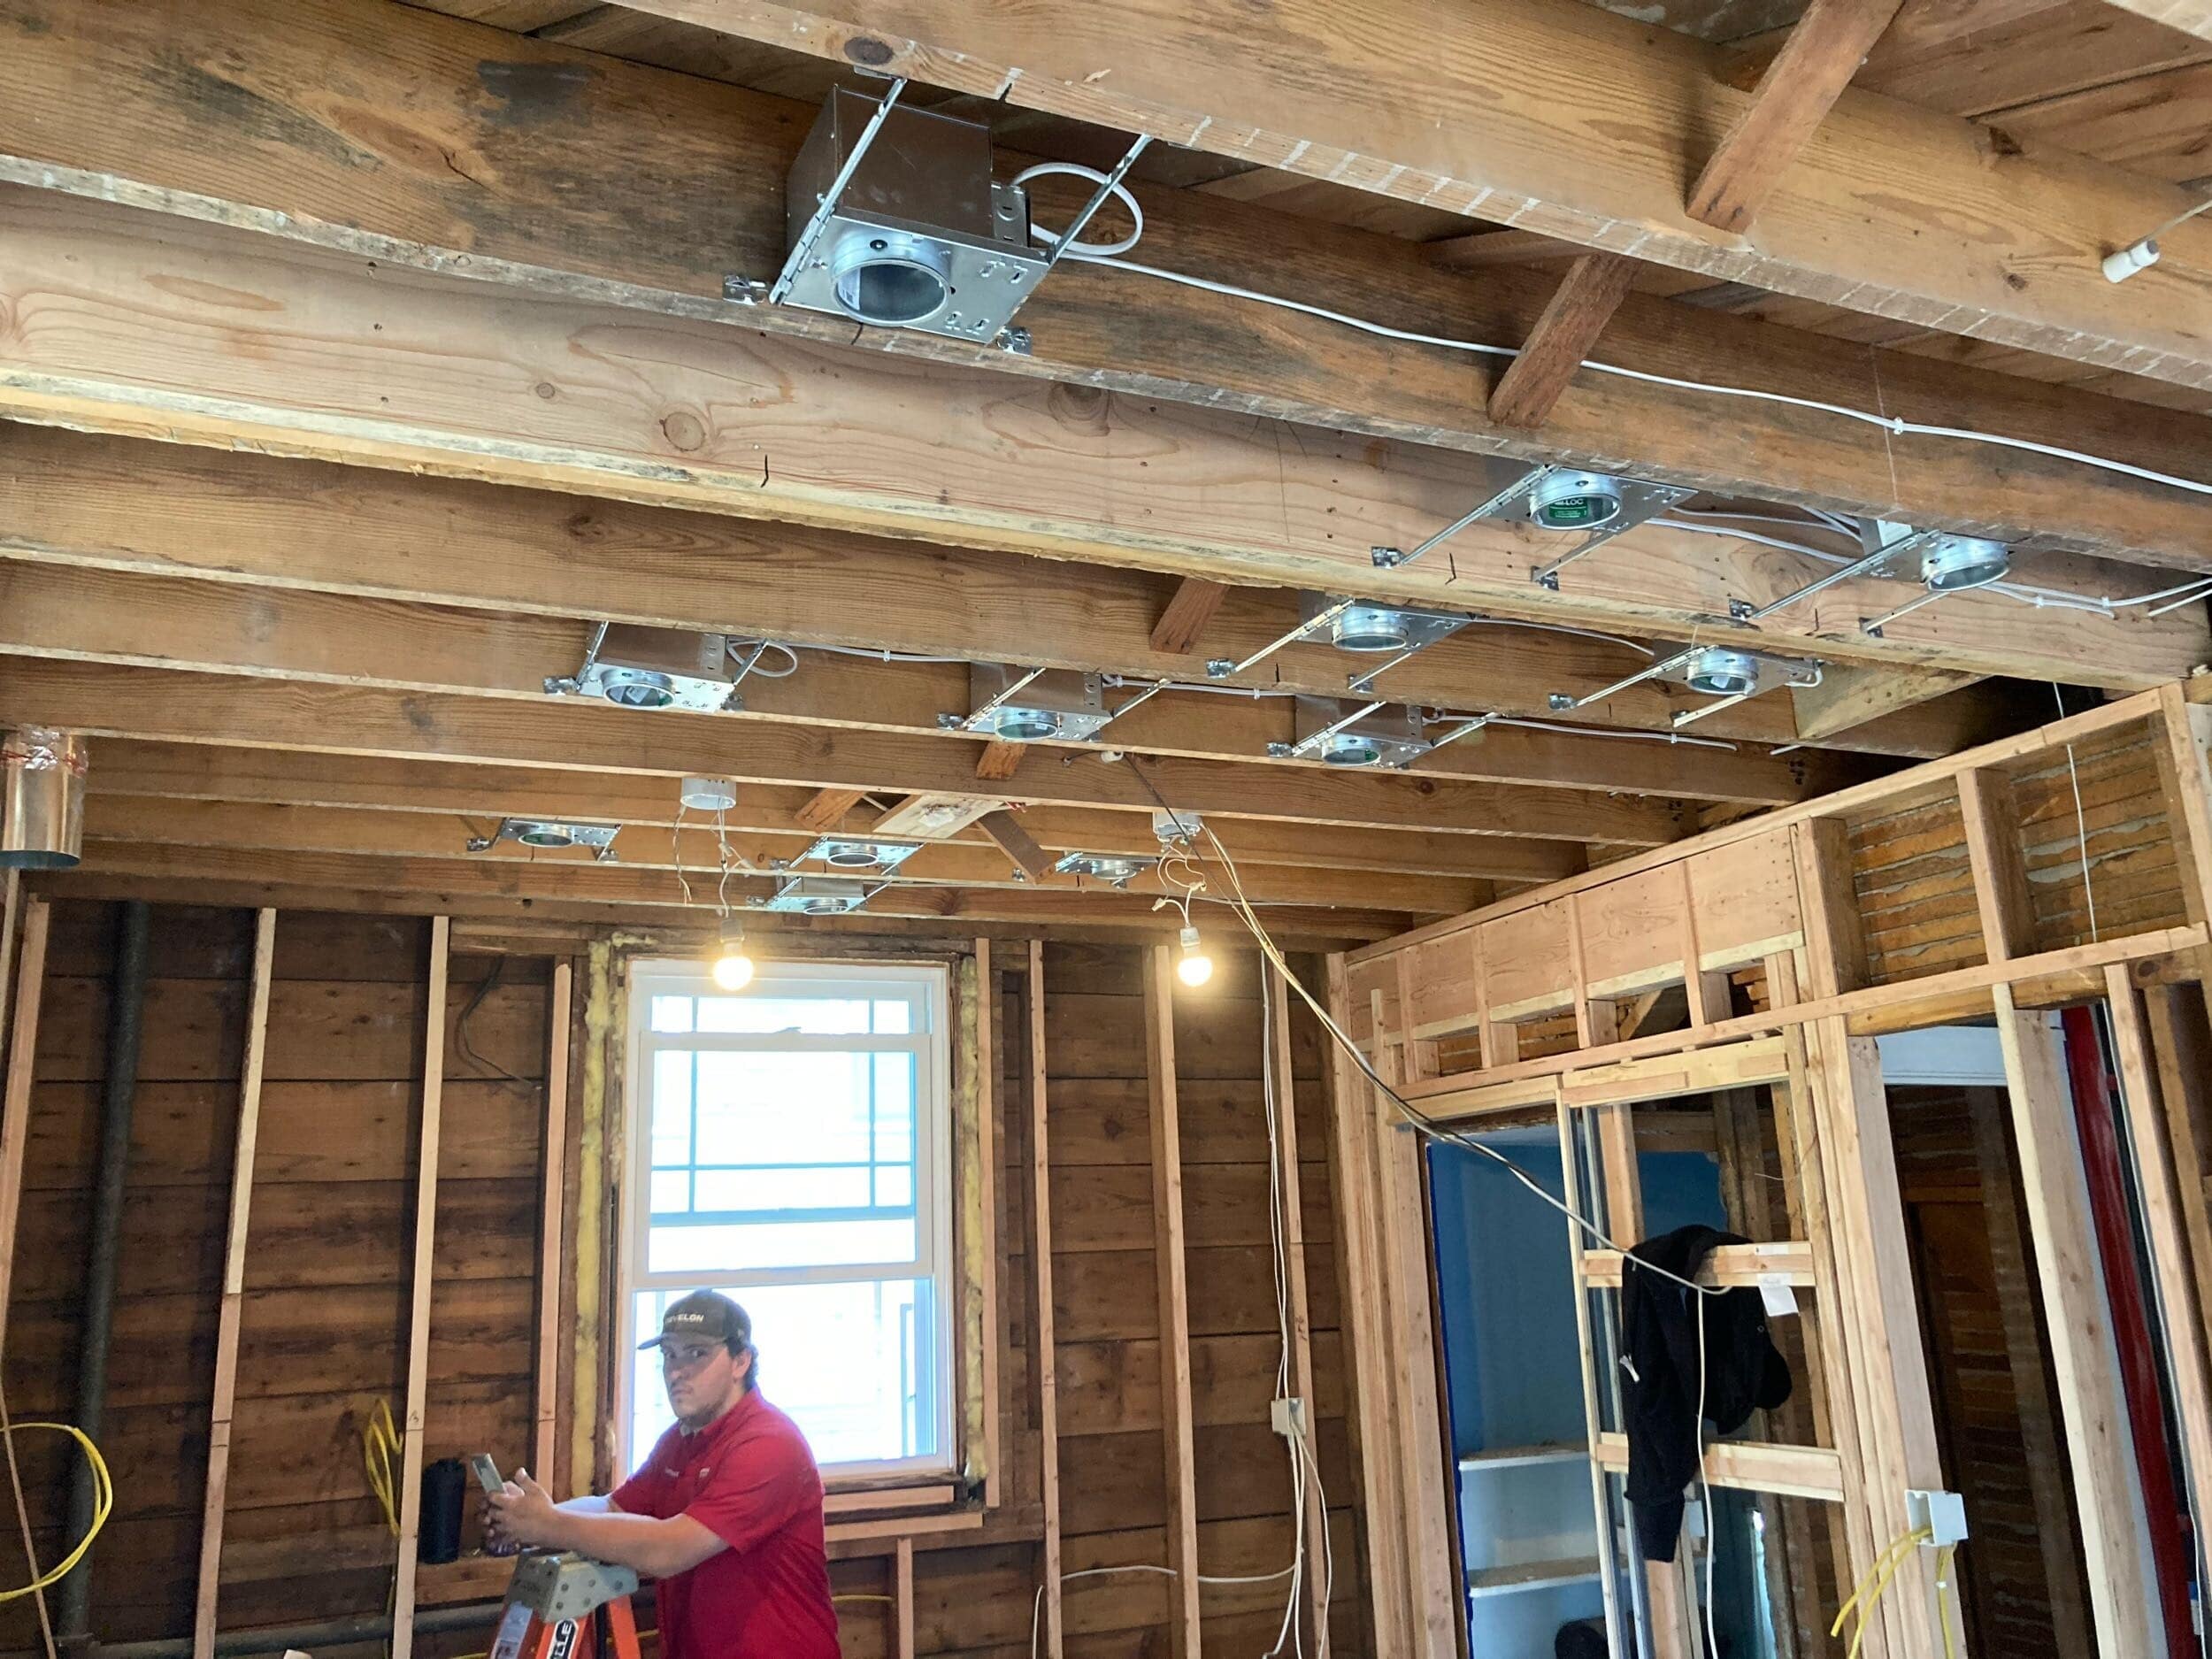
Electrical rough in
Tschirhart Plumbing handled the rough in of the new sink drain and water supplies along with the new water line for the ice box. They also removed sections of pipe in basement next to the ductwork and removed and capped the old gas line from the stove. After a successful city inspection, we’re moving right along.

Plumbing rough in

Plumbing rough in
What’s Next?
Next up for this fun kitchen remodel is insulation work and then drywall. After these steps it will be easy to see how the new space lays out since walls will be up. Then some of the big visual changes like cabinets, trim, counters, tile and paint! Jerick will give us an exciting video update in a few weeks, stay tuned! As always, we’re following along with this project in real time over on our Instagram stories.