
Time for an update
While we don’t know the date of everything on the second level, we know exactly that the hall bath was completed in ’46. The primary bath had been updated since then, but had been outfitted in similar colors as the older bathroom. Our client wanted a whole new aesthetic. They gave us a call and worked with Perry Holloway on a plan to address the entire floor.
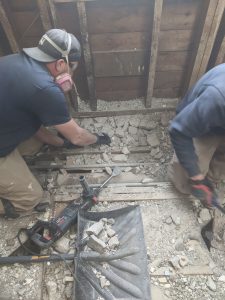
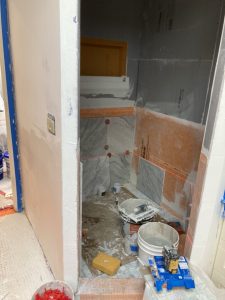
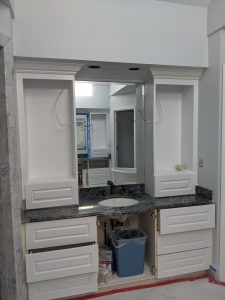
Primary Bath Demo
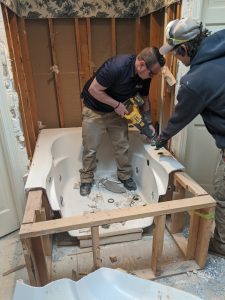
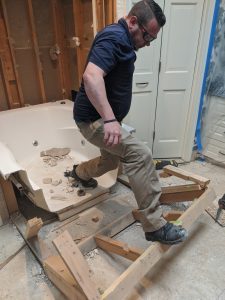
Tub
Montana Ralstin, Thomas Schauffler, and I (Lester Withers) busted the tile around and above the tub, the cut it into pieces to haul out.

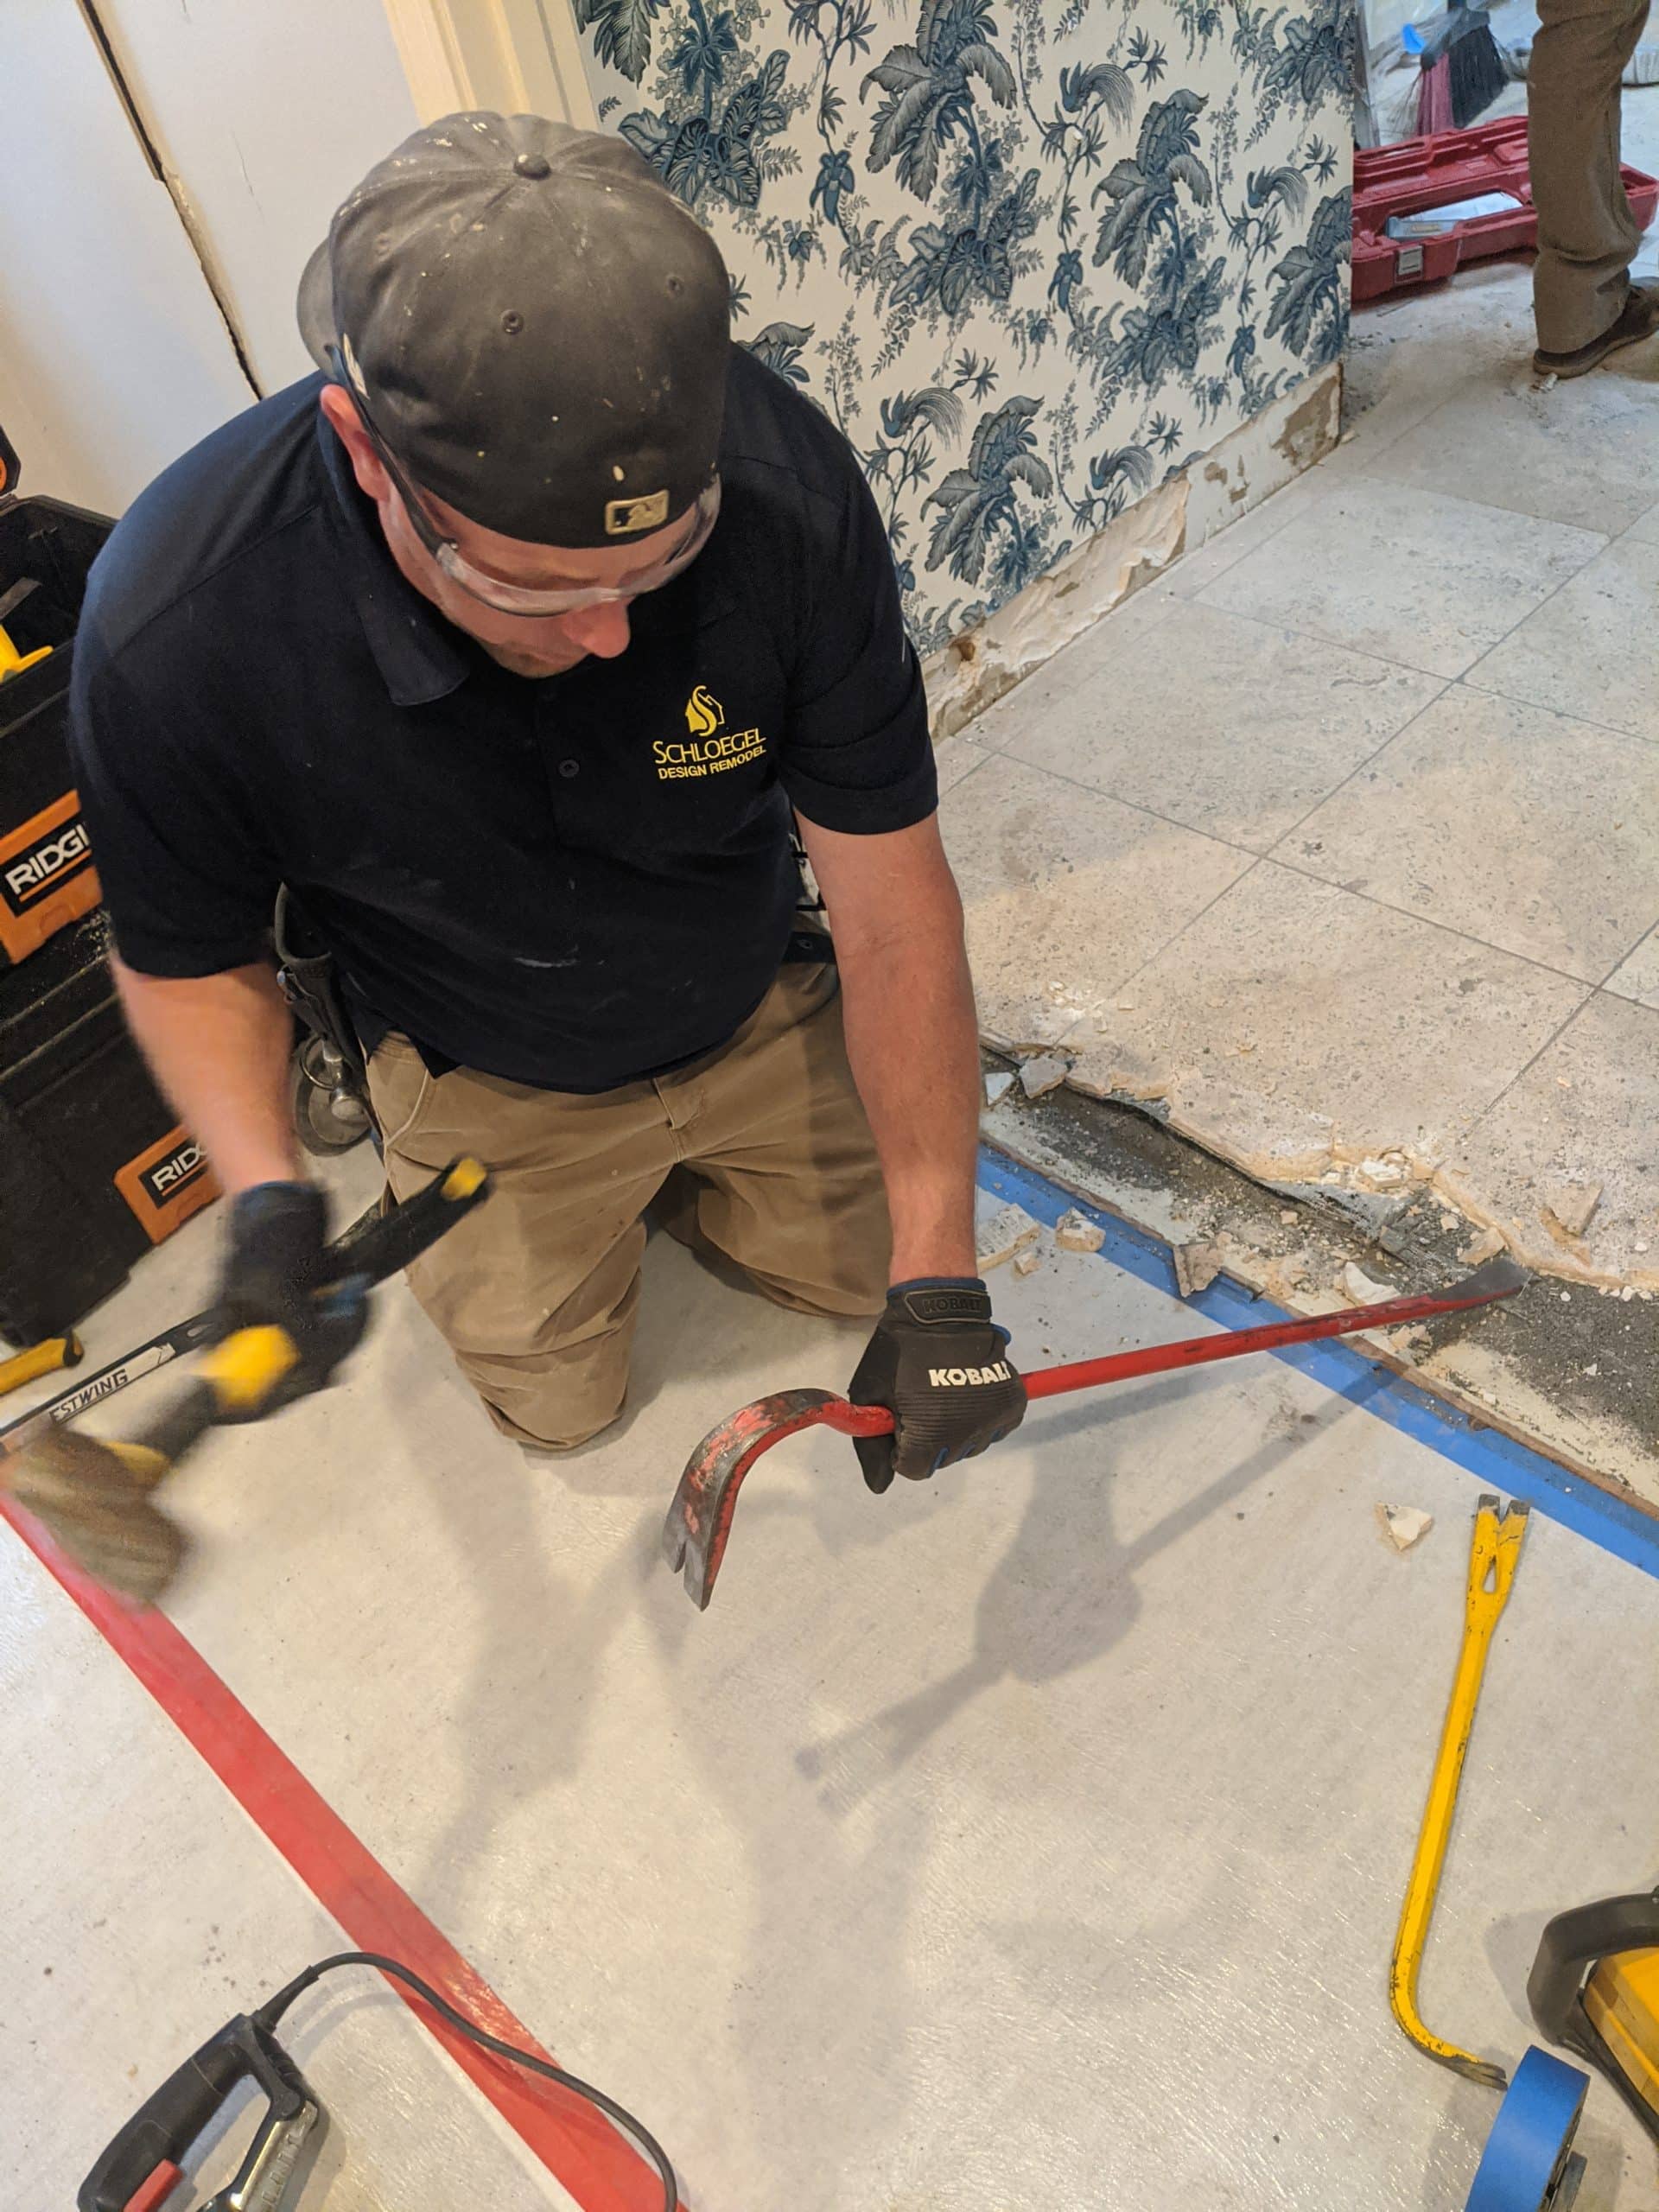
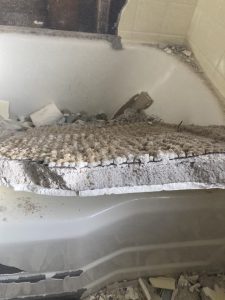
Floor
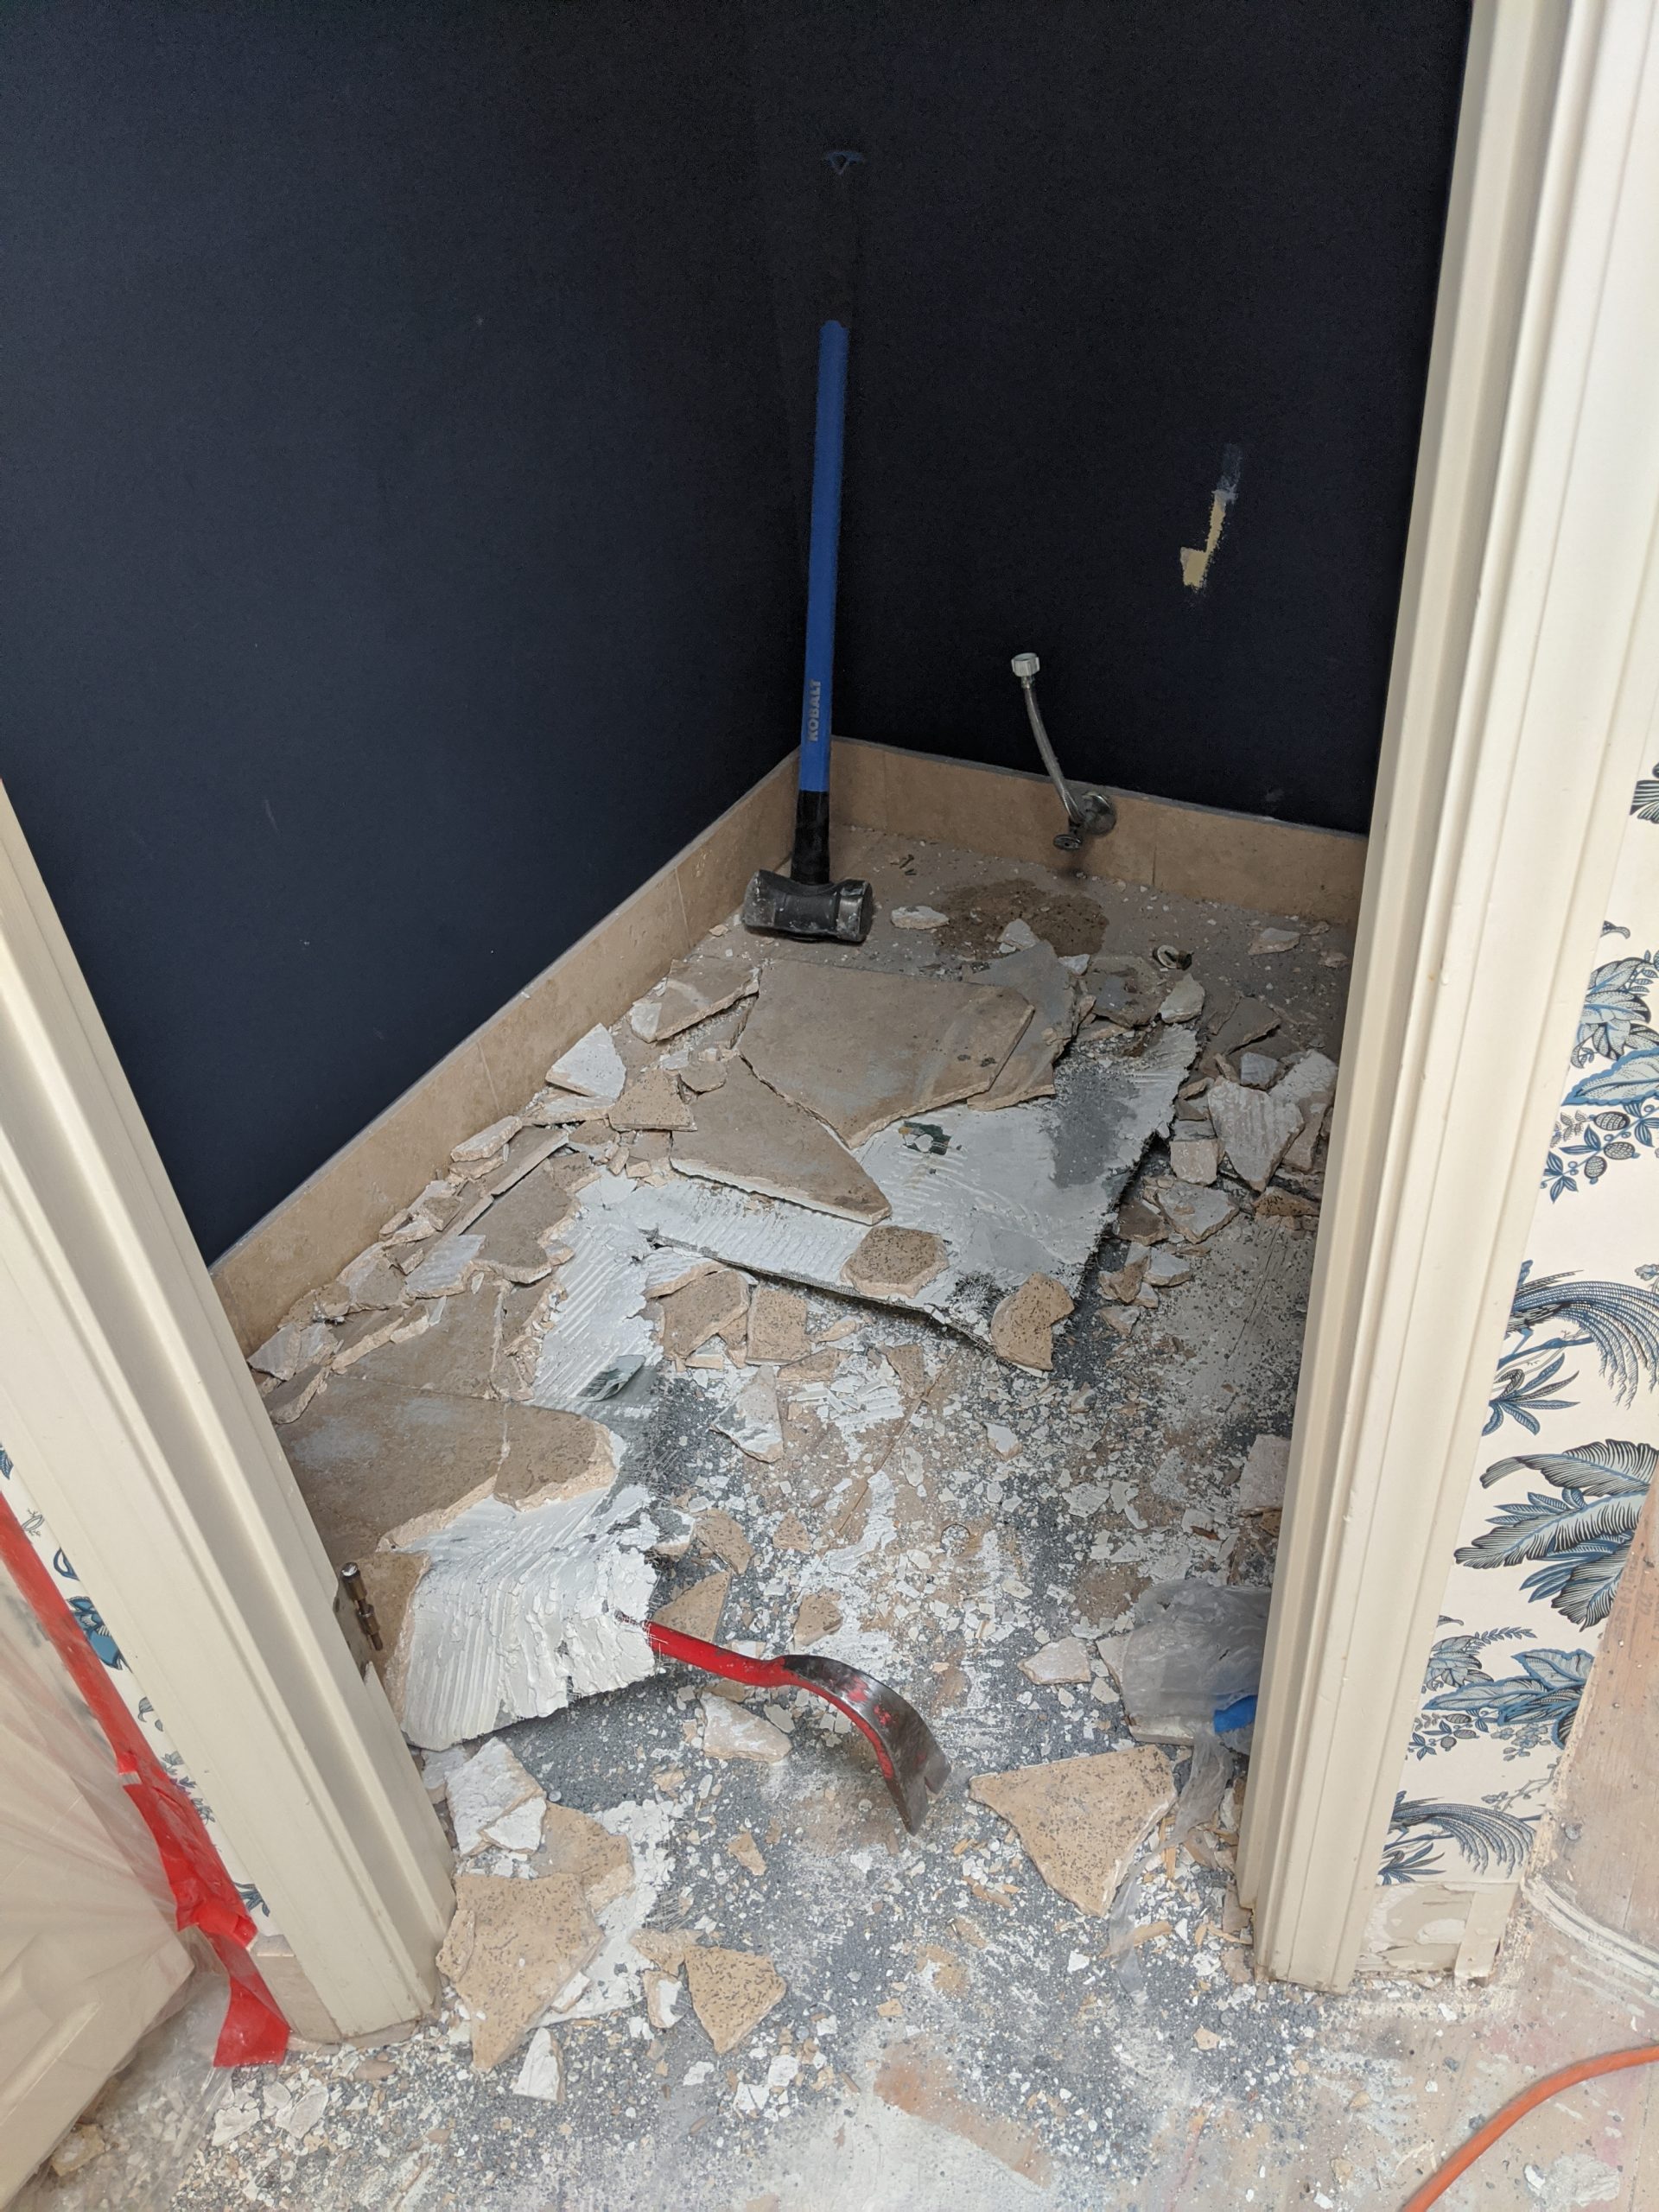
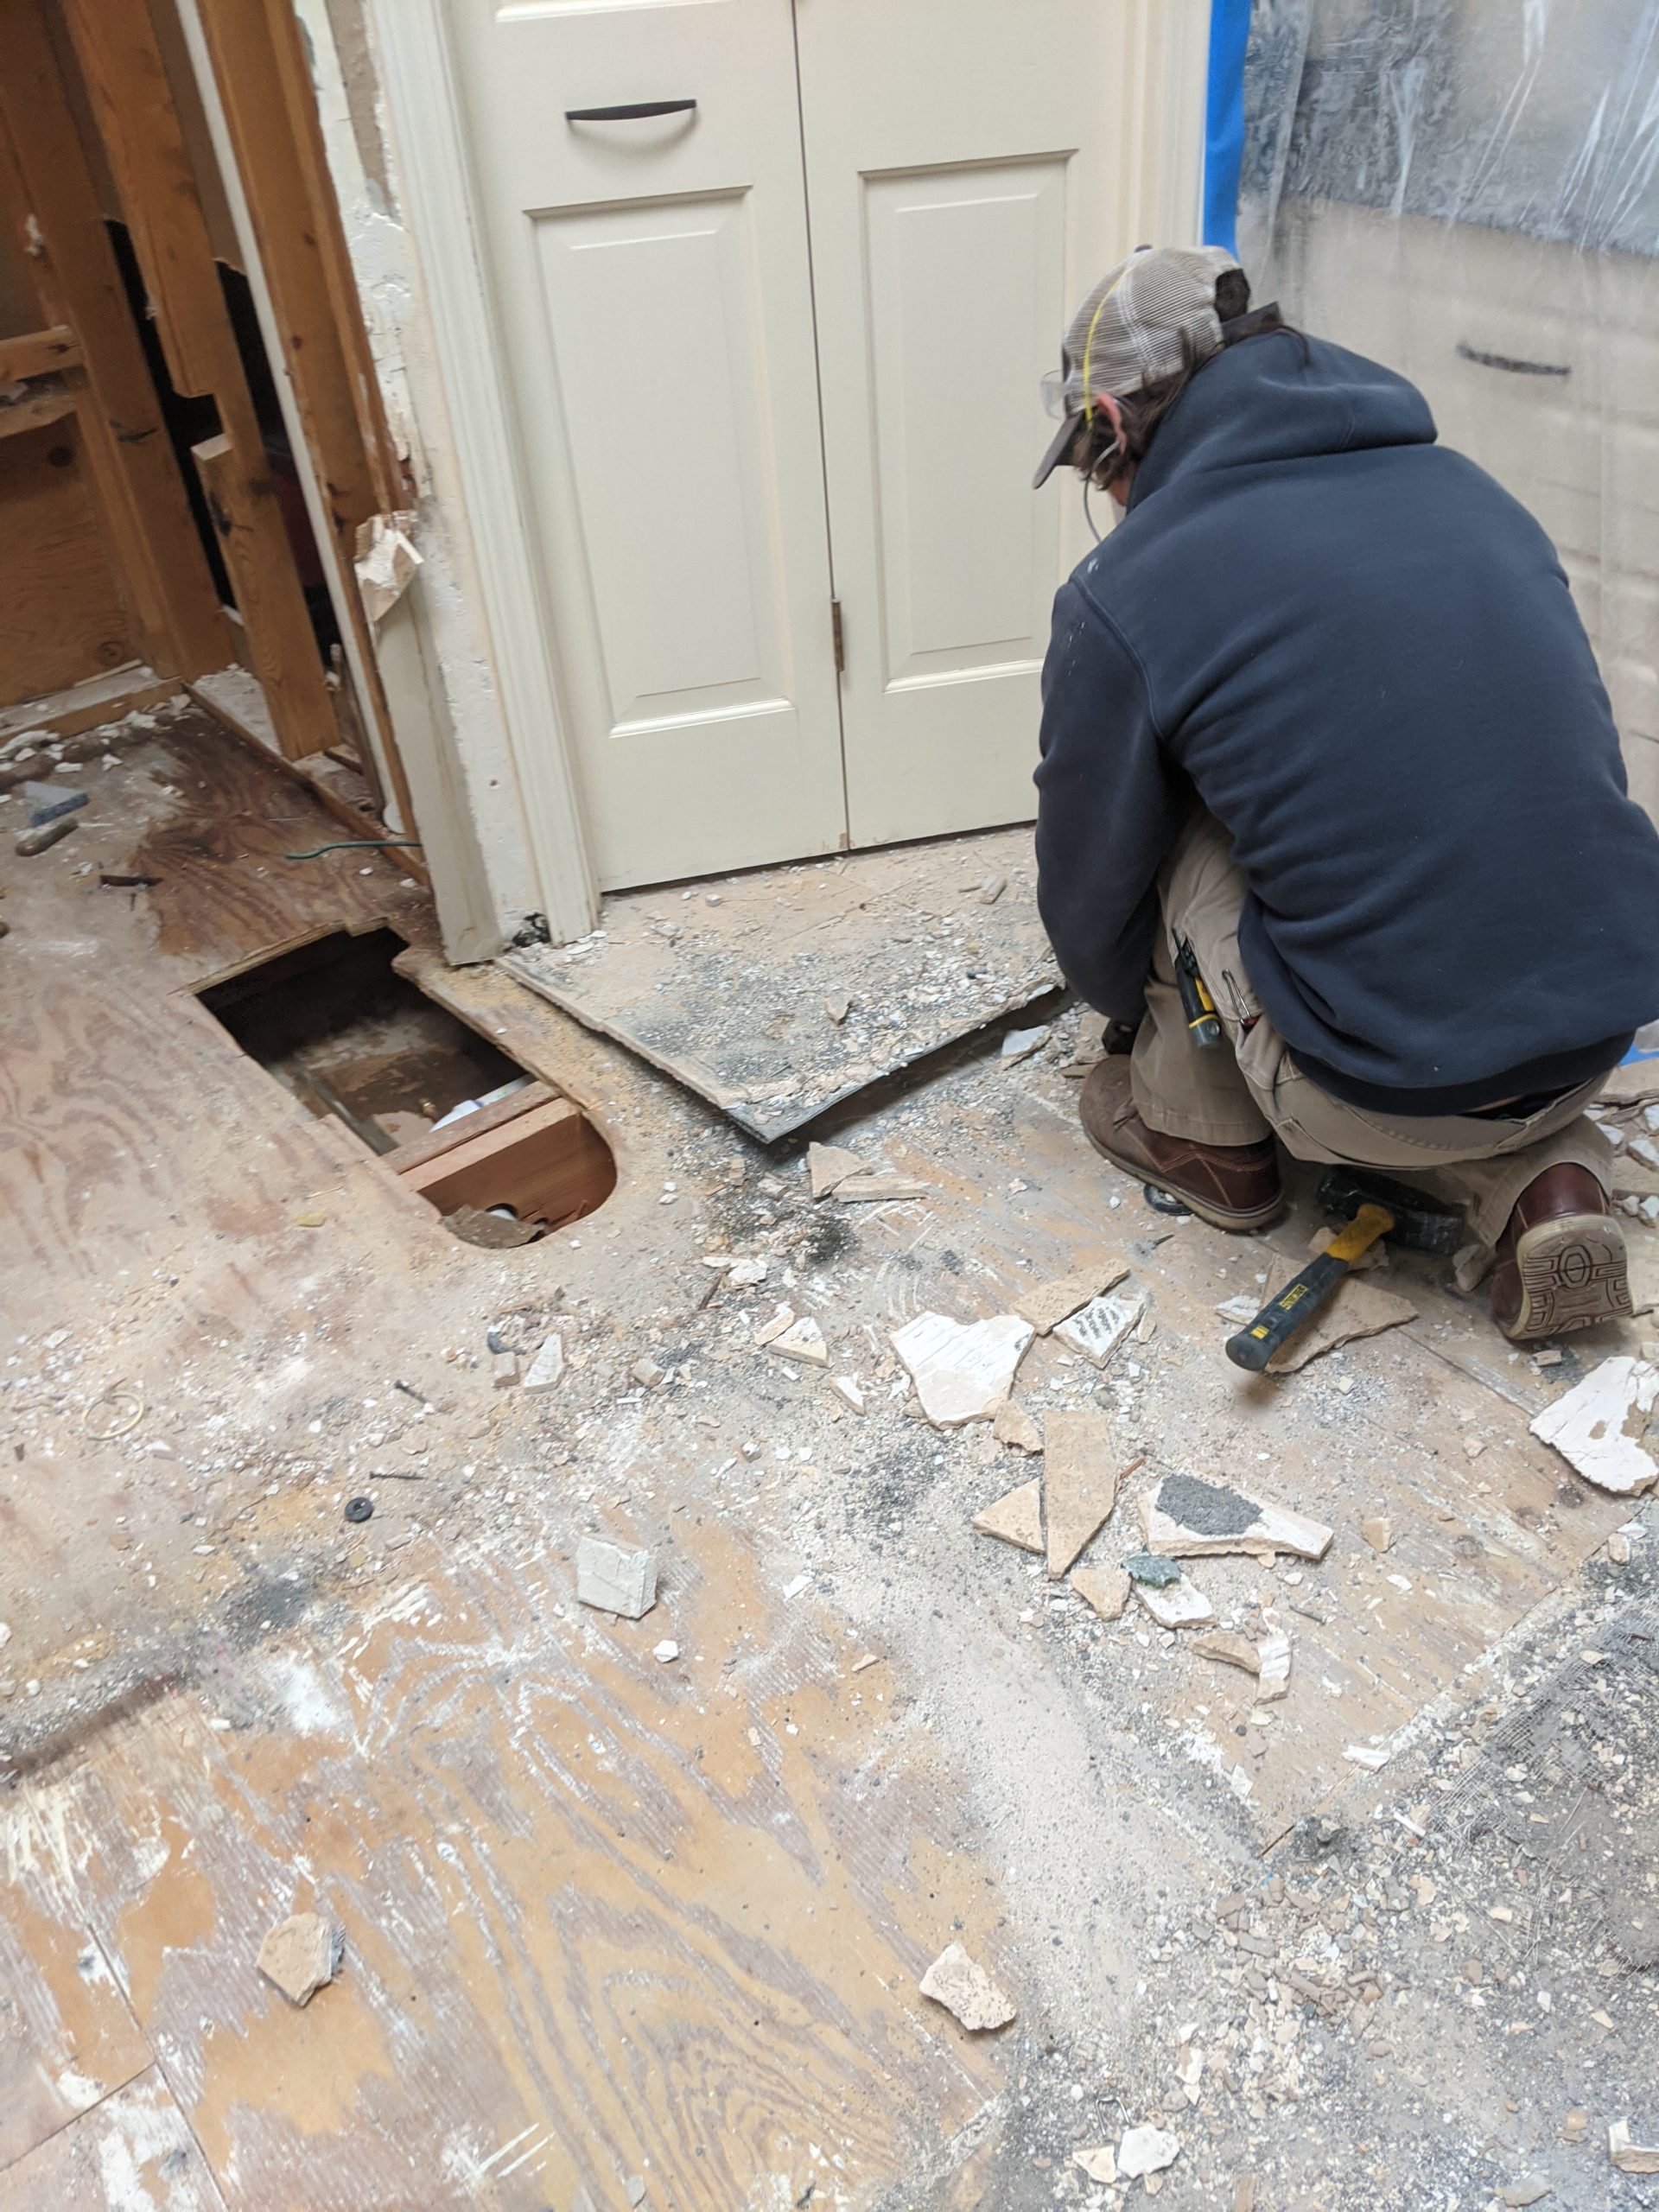
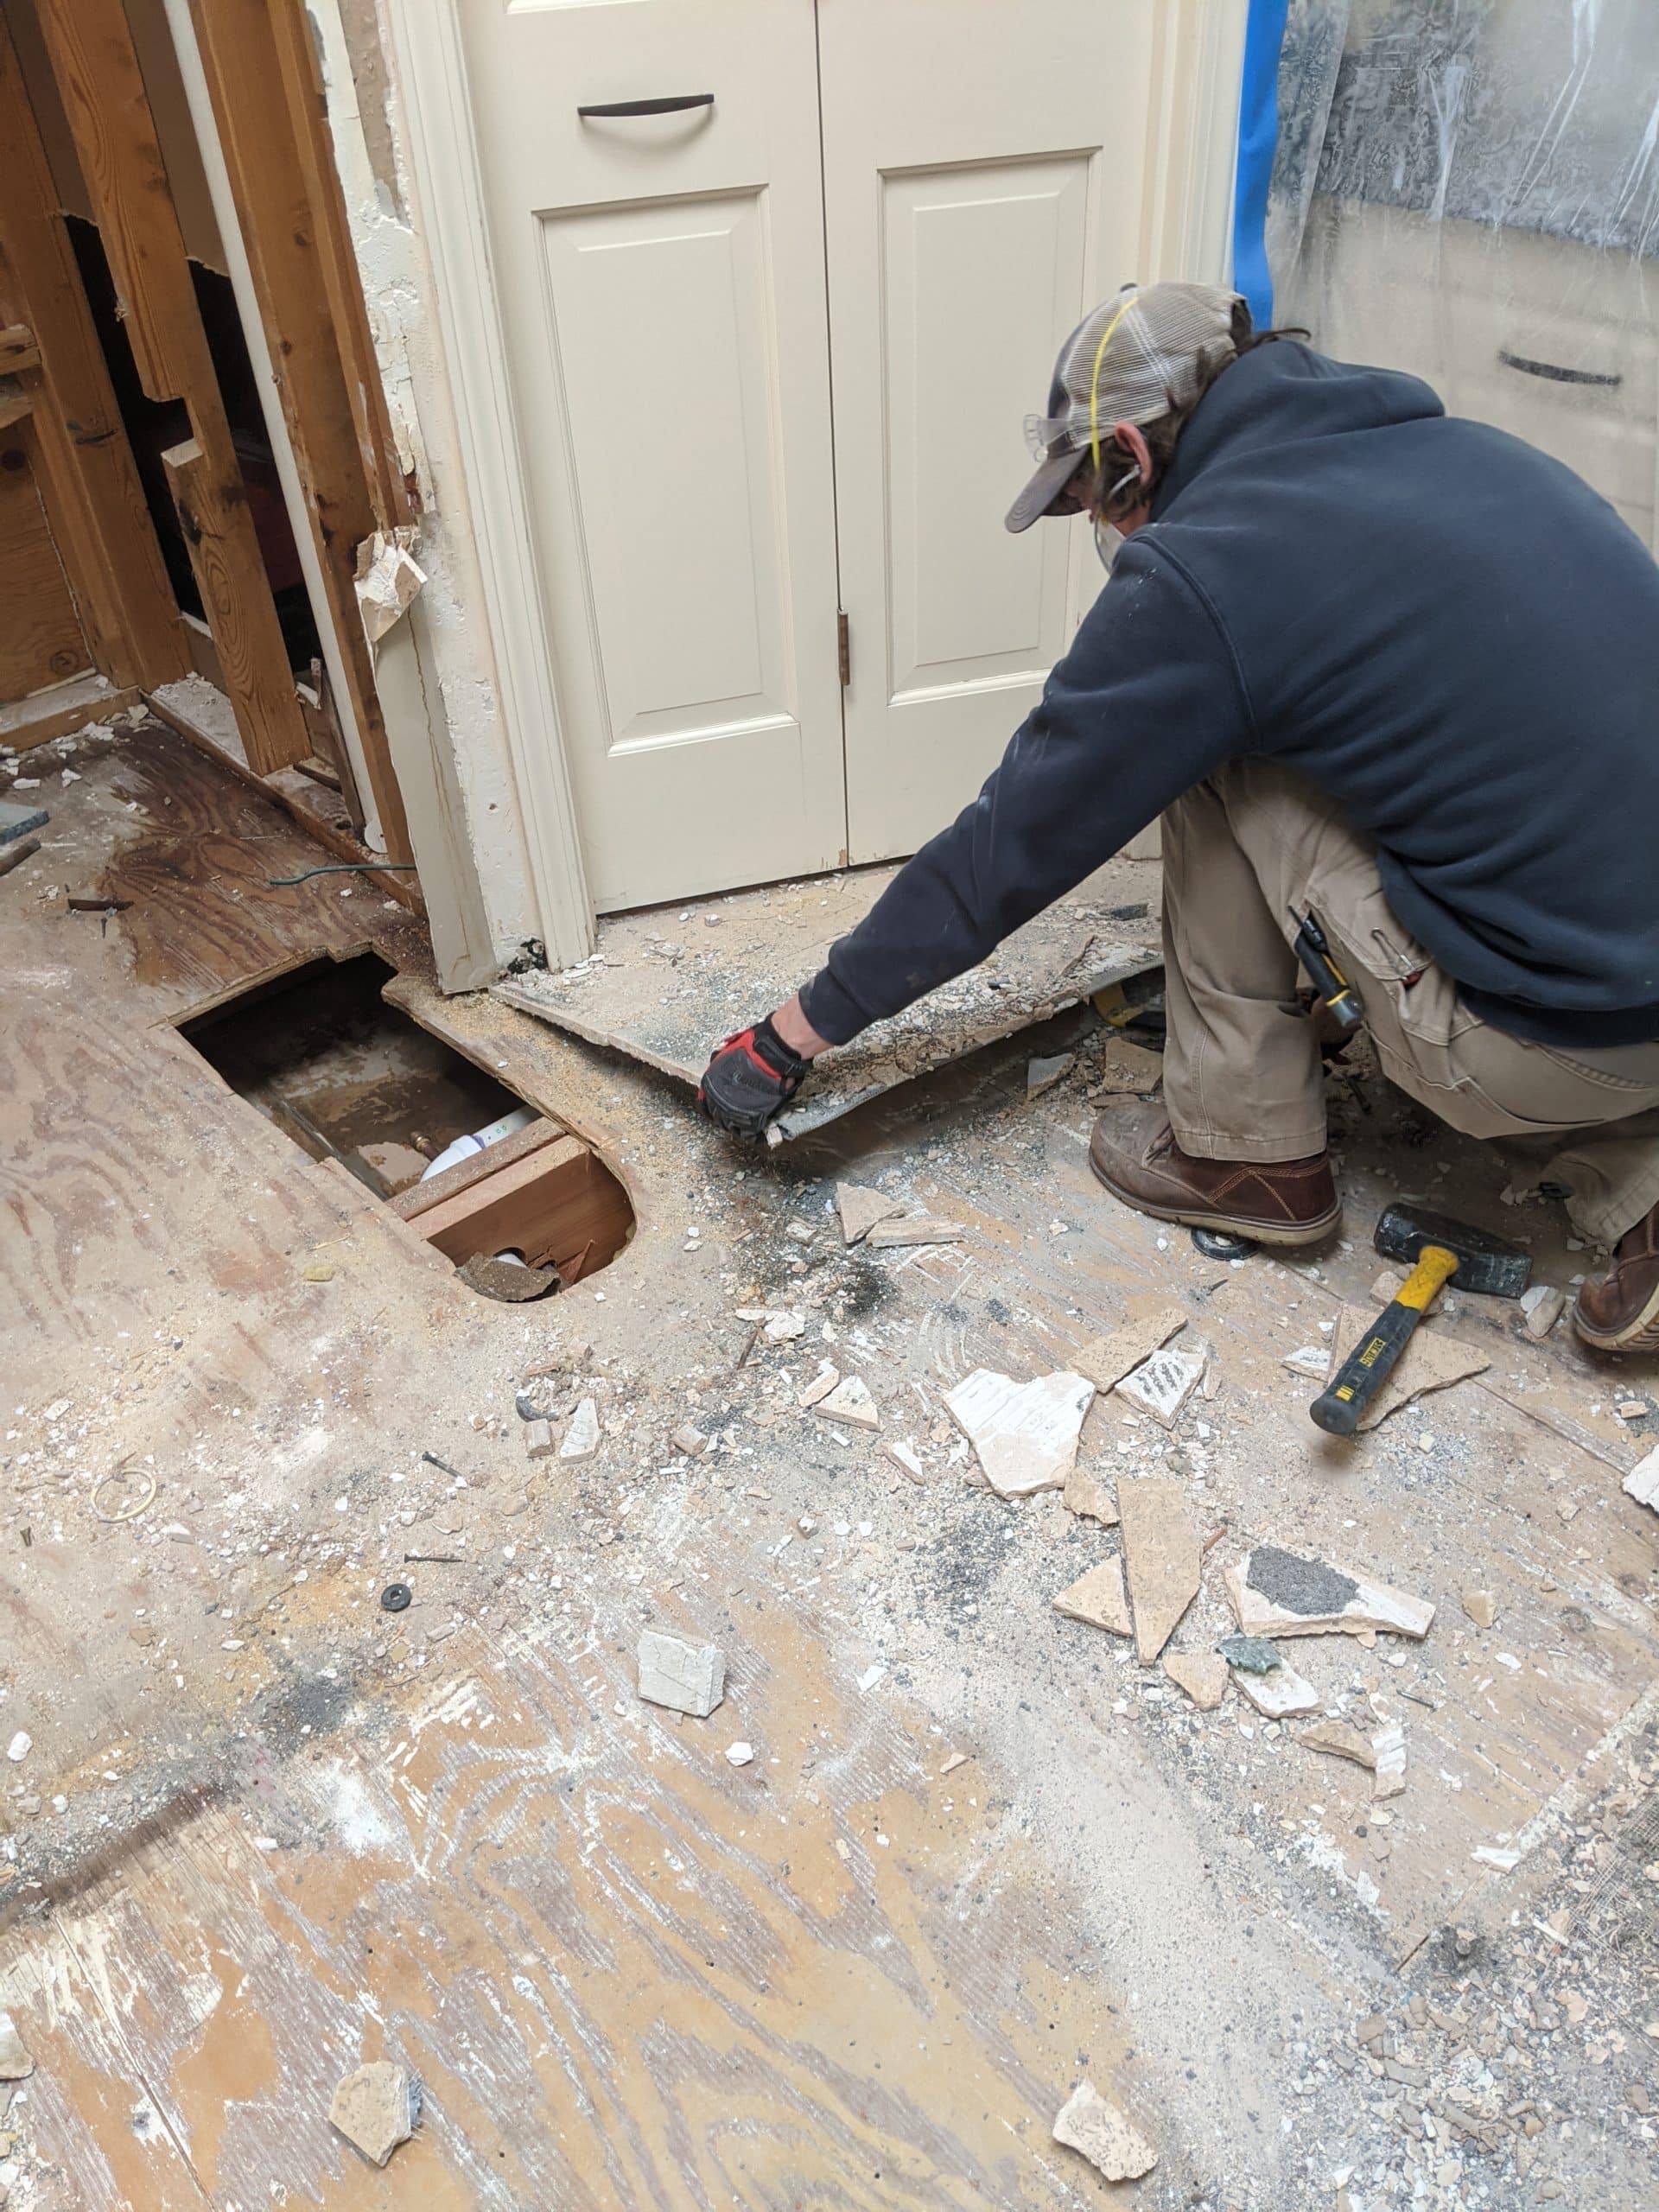
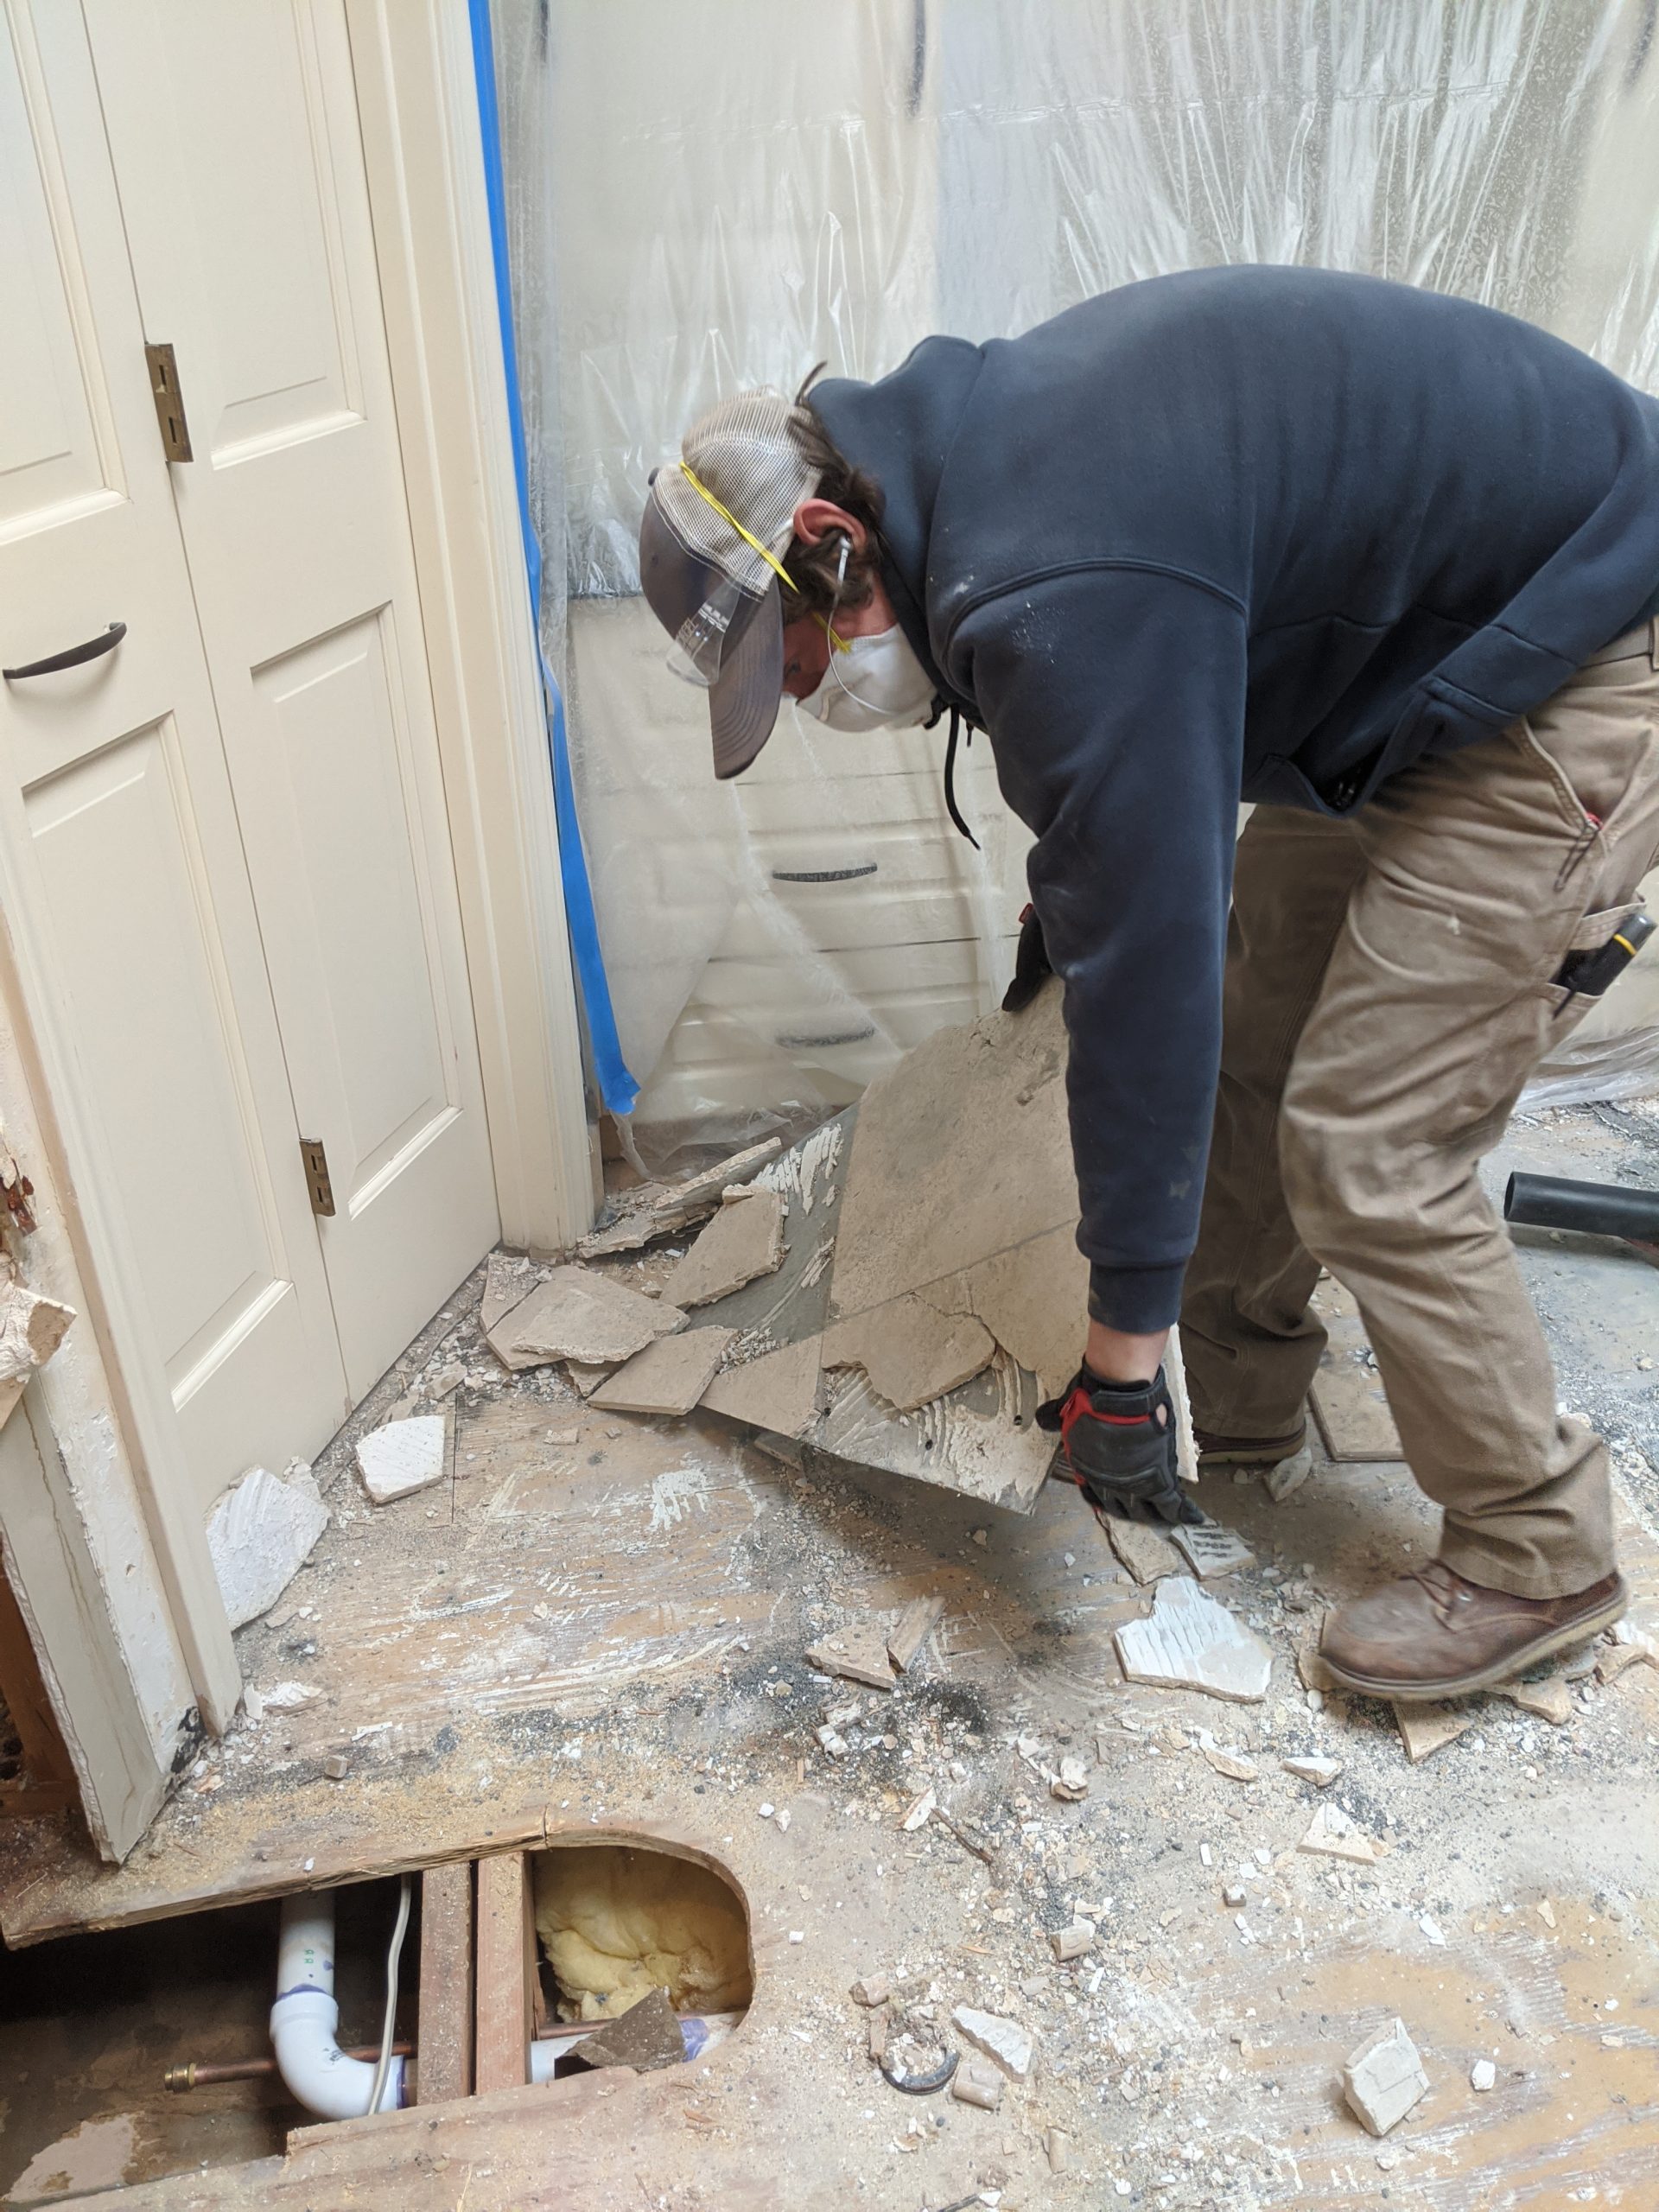
Nothin’ to it but to do it. Once we got the rest of the floor on the level protected and the vanities sealed from the dust, we got to work on the tile. The wall tile work, backed by drywall, was easy enough to break into pieces and pull off in manually portable hunks. The floor proved much more durable. The tiles had been set with mortar onto concrete board which had been mortared to the wooden subfloor. Credit where it’s due to the previous tile workers; that floor might have been the last part of the house to fail! Their diligent work took many hammer swings to disassemble.
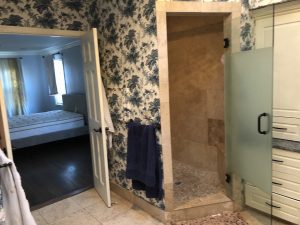
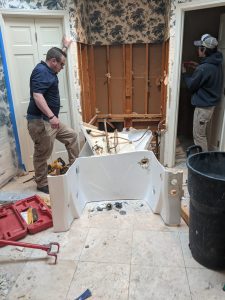
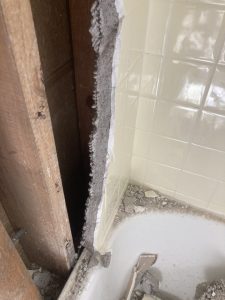
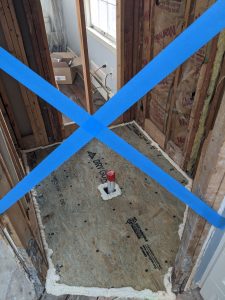
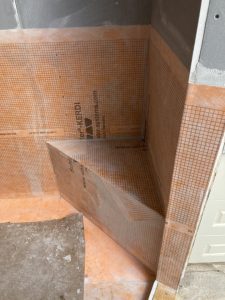
Shower
To further credit them, they had successfully installed a shower system that is quite the opposite of foolproof. The method was standard practice in the middle of the 20th century, but was rarely ever installed correctly. It consisted of a concrete shower pan, followed by a waterproof membrane covering the lower part of the shower, more concrete on the floor, backing on the walls, and mortar and tile. The only waterproof layer of the system is the membrane, and its use requires meticulous cutting, folding, and gluing at every corner of the space. It was so rarely installed correctly that the veteran tile workers at TileMasters were blown away by dry, intact bench in the corner of the shower.


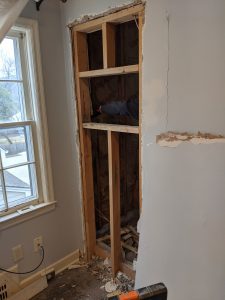
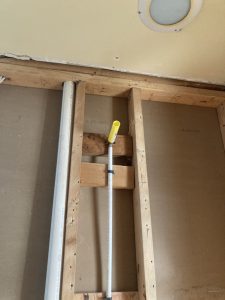
We needed to change the framing for the new shower cubby, so the section of bedroom wall attached to the old framing had to go.
Wallpaper Removal
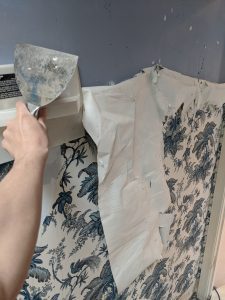
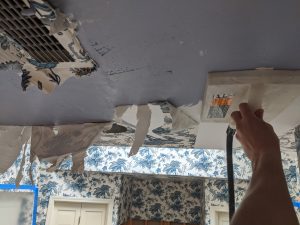
Have you ever removed some well-glued wallpaper? Depending on your personality, it can be anything from quite satisfying to absolutely grueling. It requires a wallpaper steamer, or preferably two, as they take about half an hour to bring water to boiling, and their tank only holds enough for half a day of steaming. With one steamer gurgling and the other ready to be plugged in before lunch, start in a corner and press the hotplate flat against the paper. After about thirty seconds, you can scrape off a square foot of wallpaper while you steam the next square. Simply continue until you’ve steamed every inch of the space! This bathroom took a little over a day.

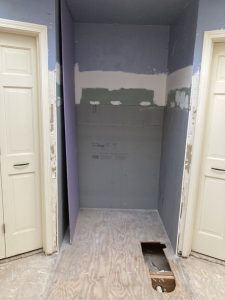
Hall Bath Demo
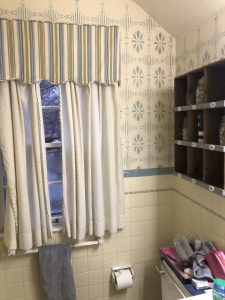
Time capsule
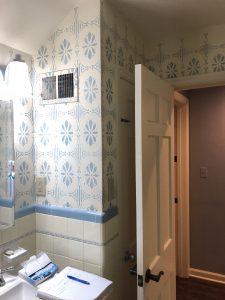
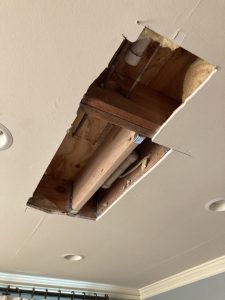
The hall bath had not been updated since it was built, and it was even sturdier than the primary bath. The tile walls were set with a half inch of mortar over a metal mesh. Above the tile was a hefty layer of plaster over gypsum board.
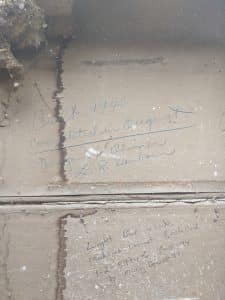
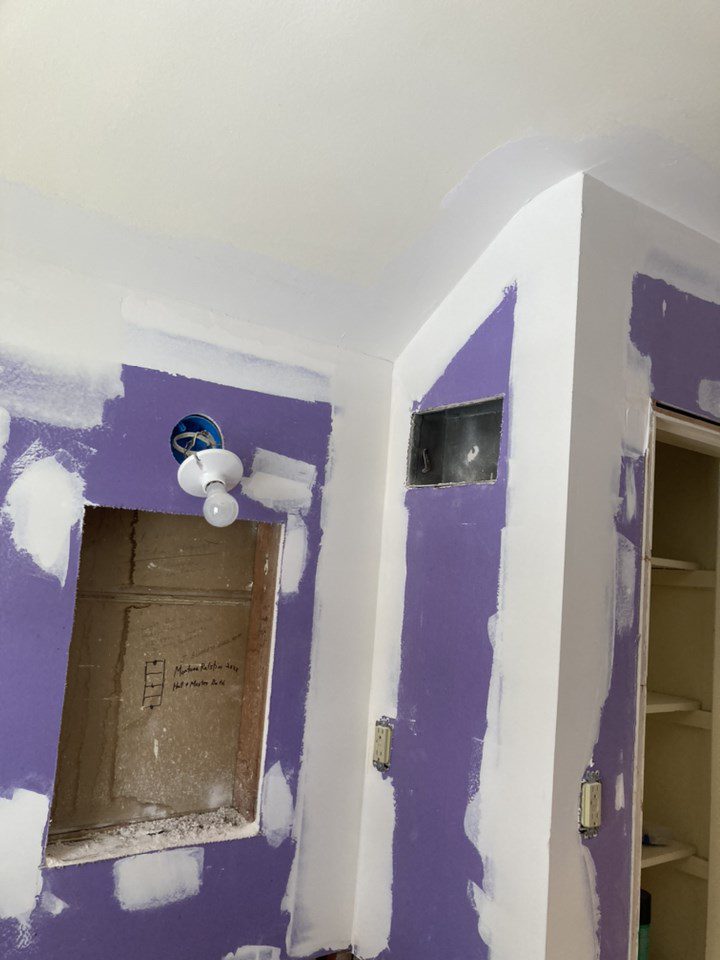
While we don’t know the builders that remodeled the primary bathroom to credit them with their good work, we can give credit to the original builders of the house! On the back side of the drywall behind the medicine cabinet, Origo Oiumer and L.R. Danborn signed their names and penciled “Built 1946 Completed in August.” Almost fifty years later, Mickey Bennet Jr. installed the light bar above the medicine cabinet and left his name as well.

Hammer time
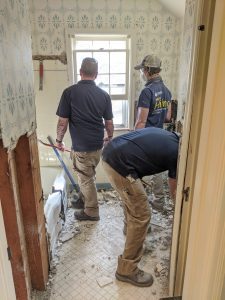

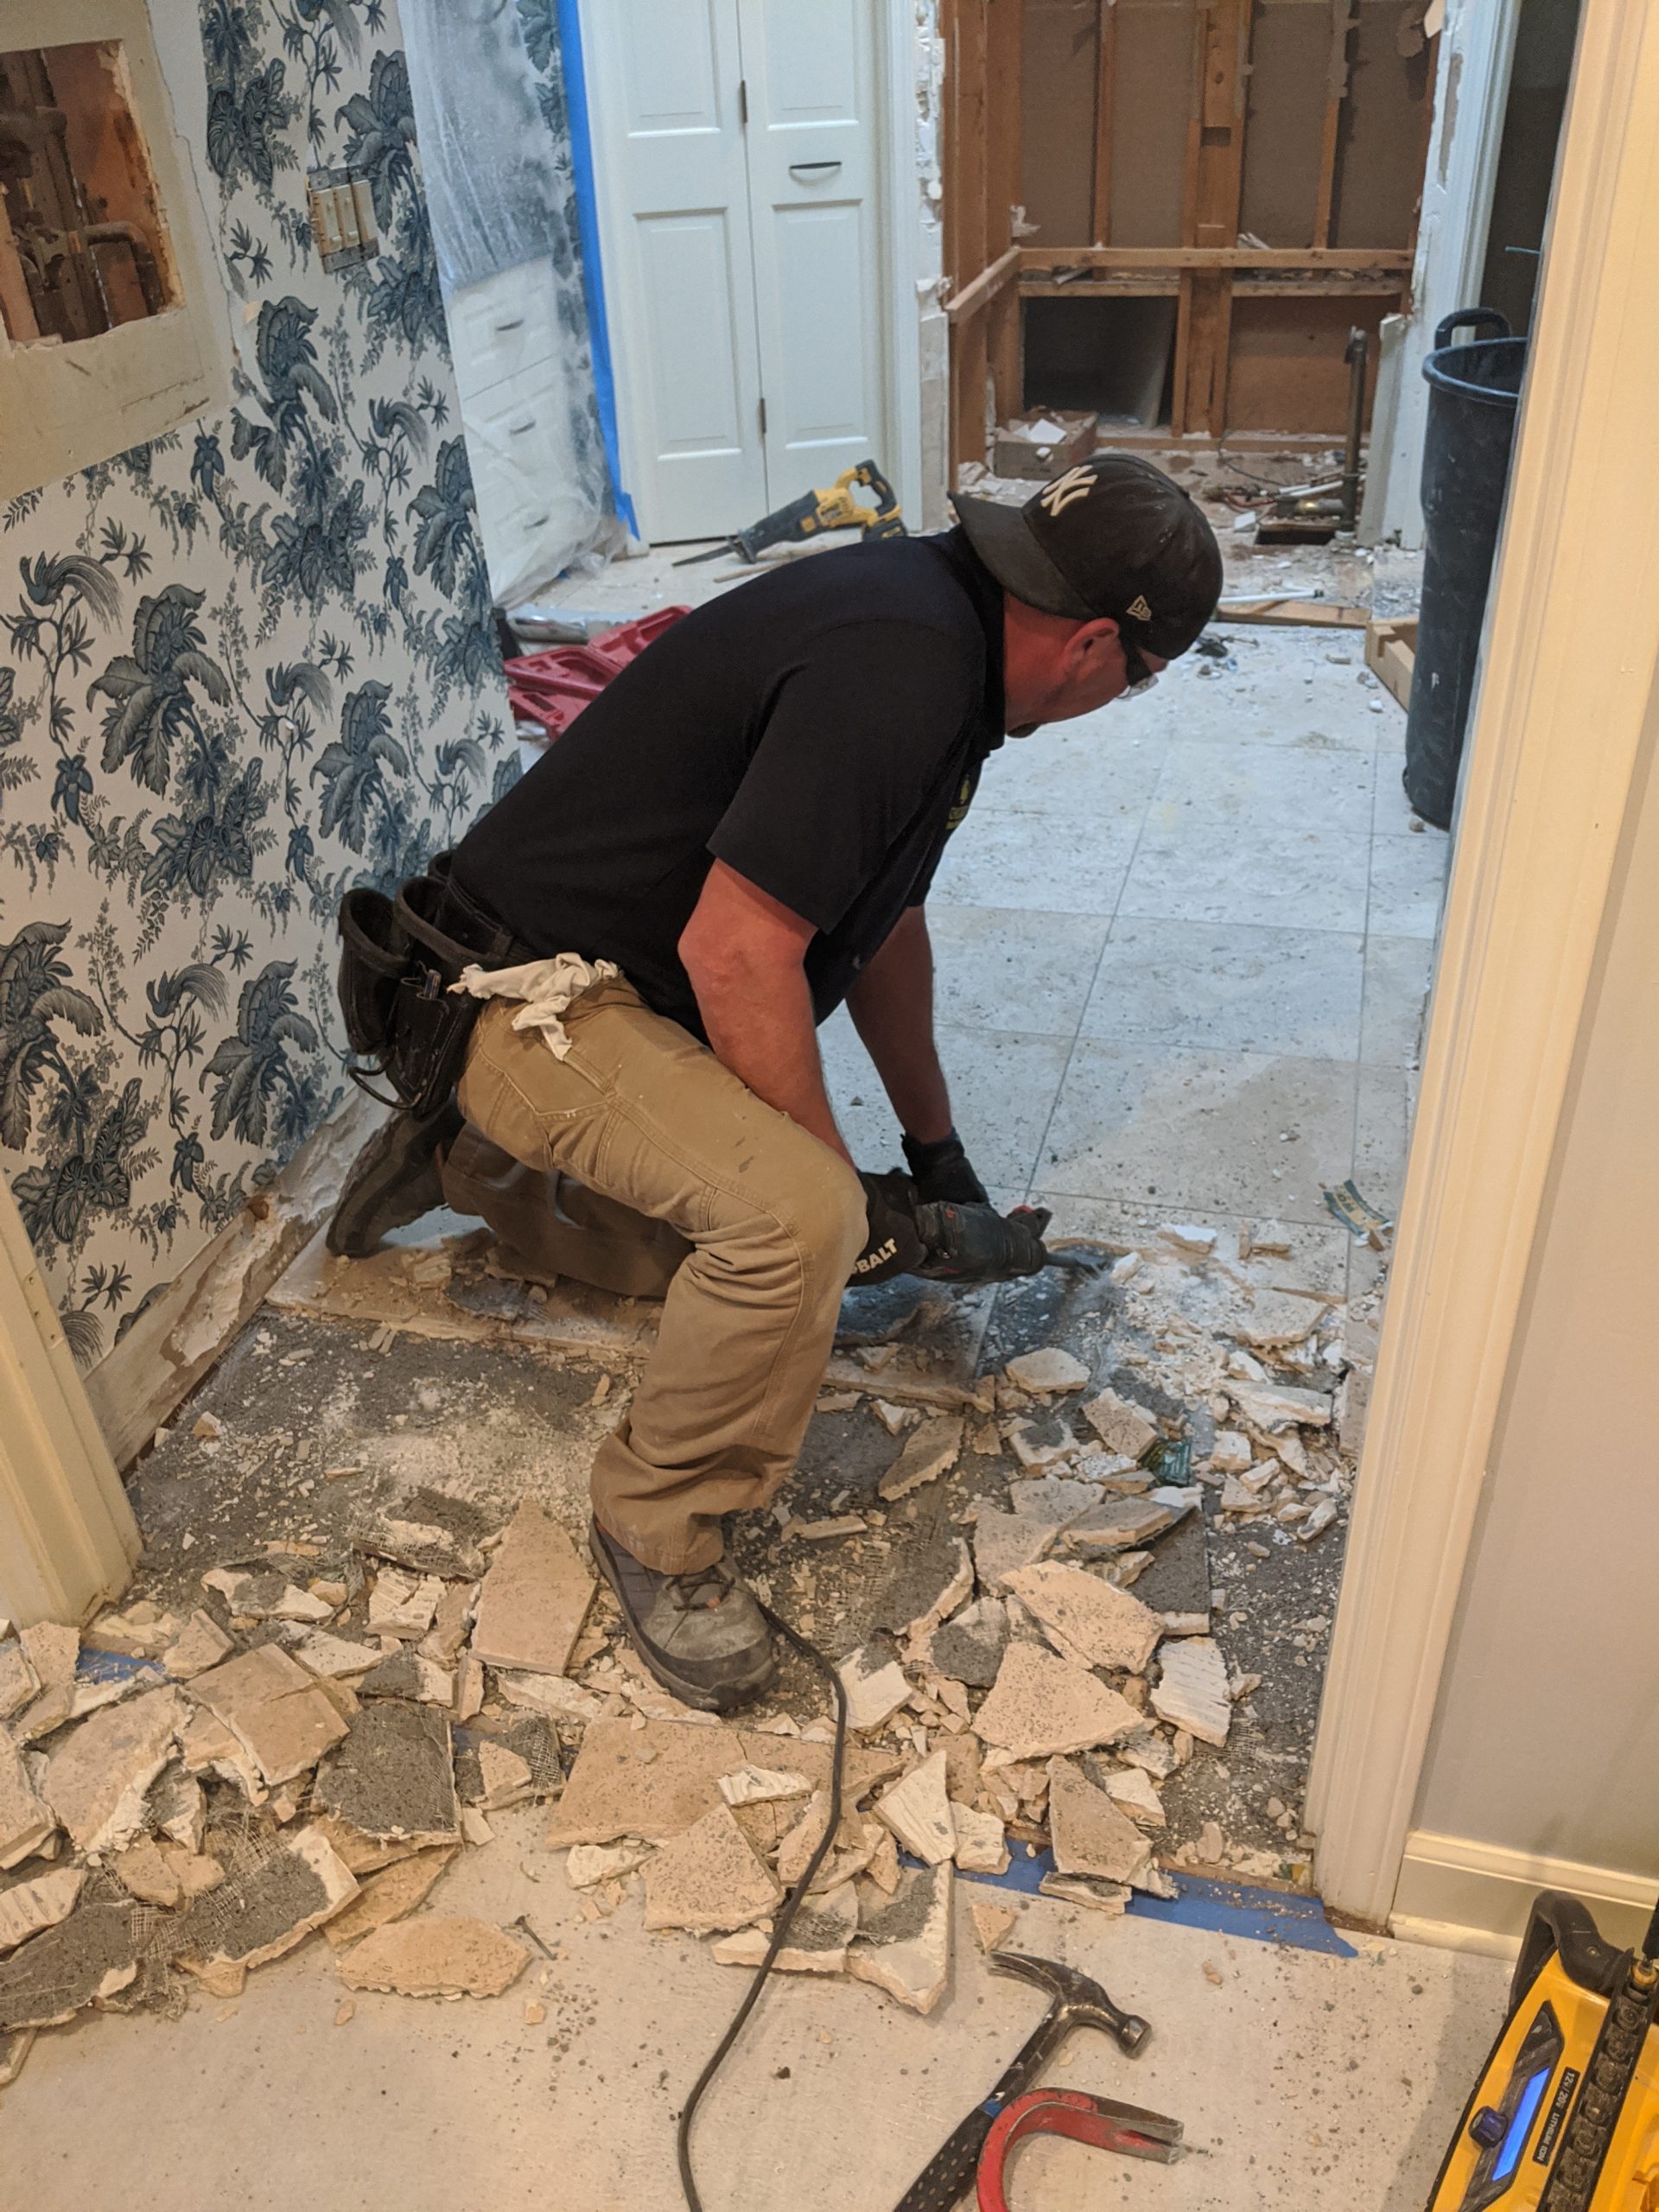
The floor had tile, concrete, and more concrete over wood. Clearing the debris out of that place was another heavy task.
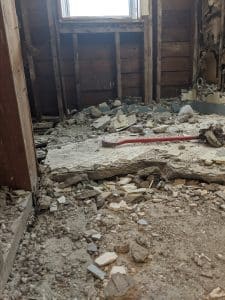
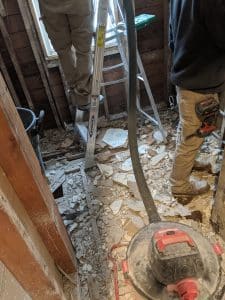


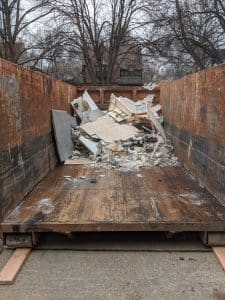
Debris
After a many trips across the house, down the stairs, and out to the dumpster, we speculated as to the weight of the material we’d hauled out. The primary bath had required about forty trips with the wheeled trash can full to an estimated seventy or eighty pounds. By the end of the first day, we figured we’d moved out about a ton and a half worth of concrete, tile, drywall, and various fixtures. The second day, legs and back burning, we doubled the load.

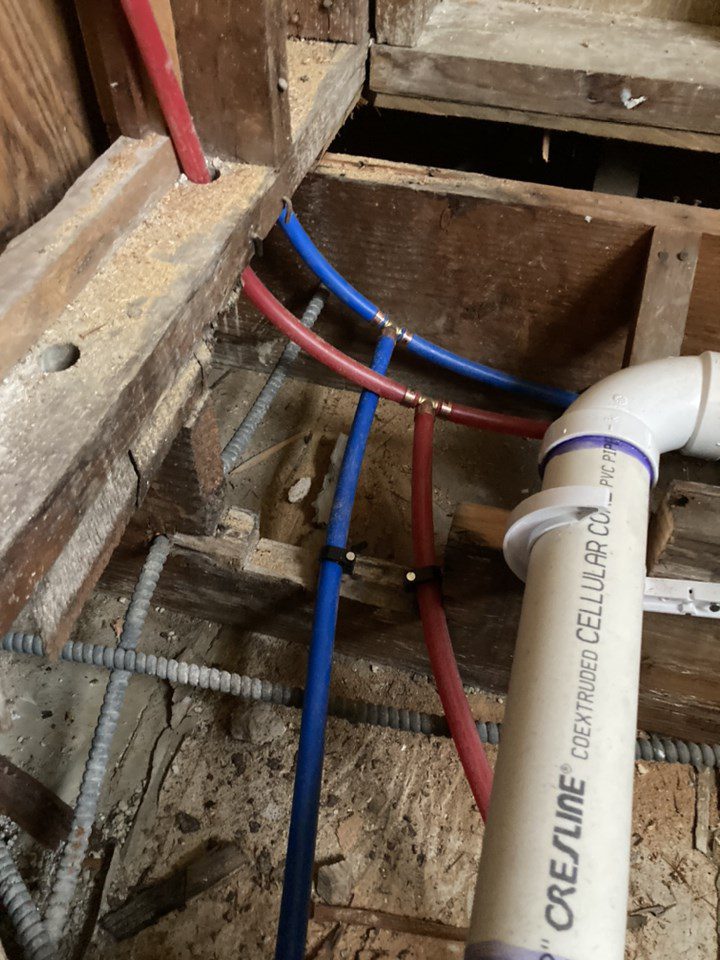
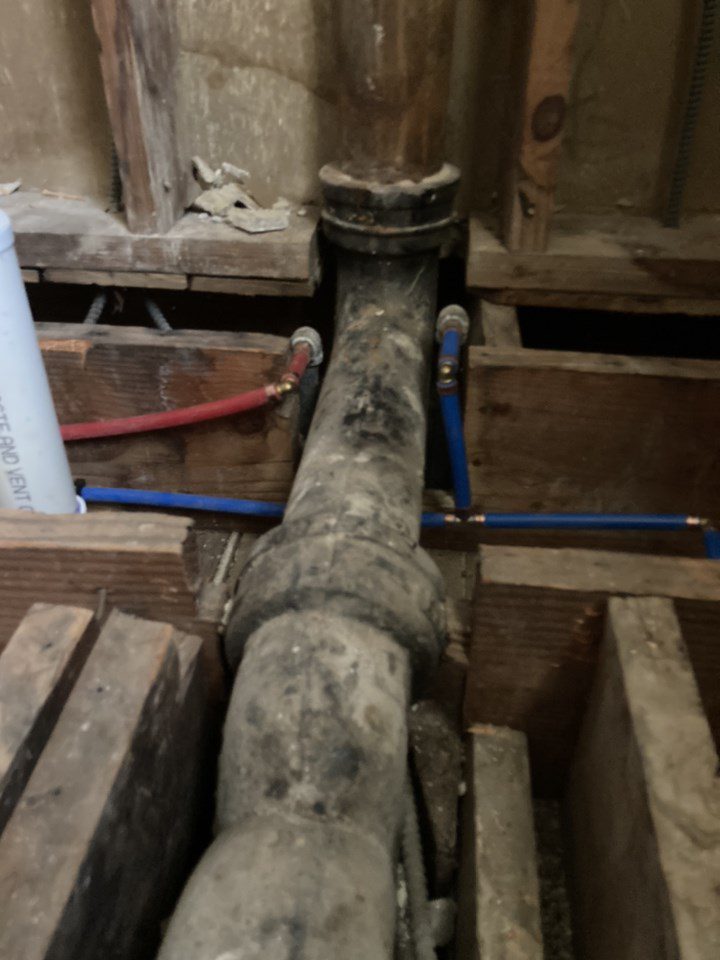
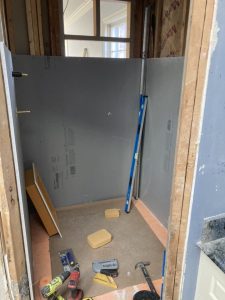
Plumbing
Much of the plumbing needed to be moved slightly, so rather than tie into the old steel and copper pipes at multiple points, we replaced the whole system with PVC drain and PEX supply lines.

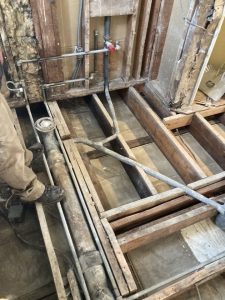
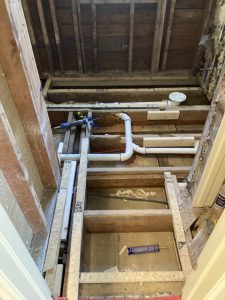


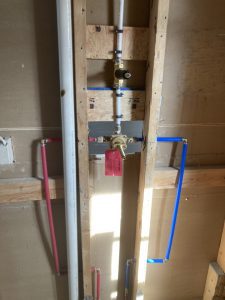
The plumbing for the new tub in the primary bath had to be done from underneath.
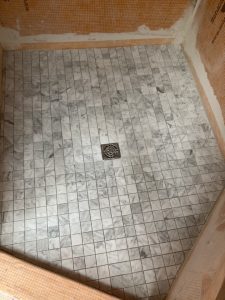
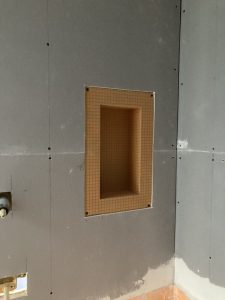
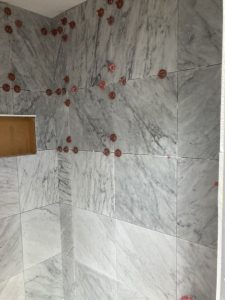
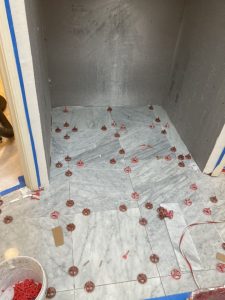
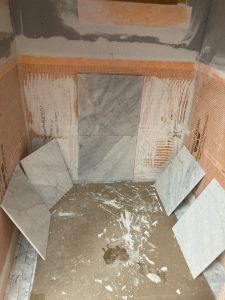
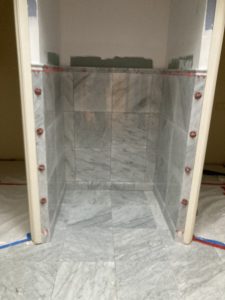
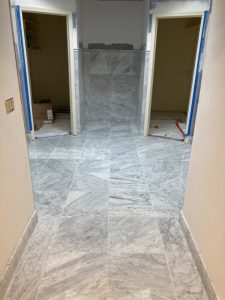
Tile
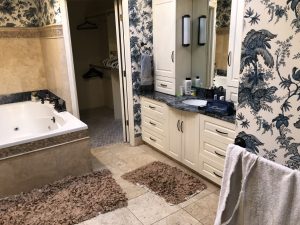
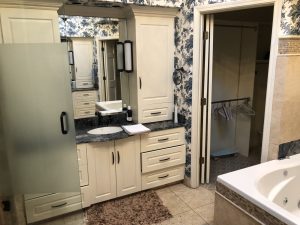
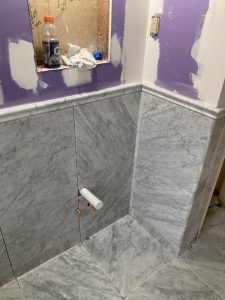
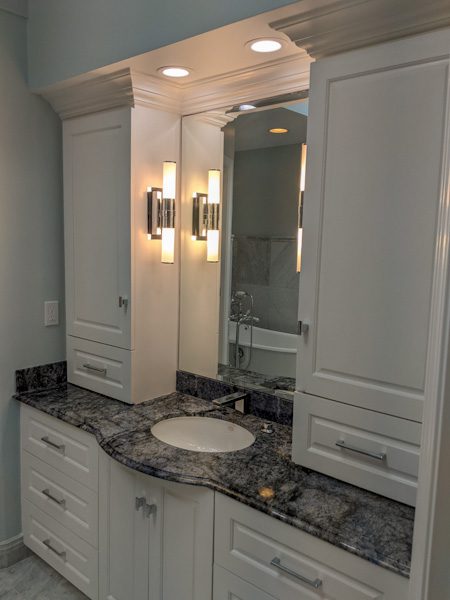
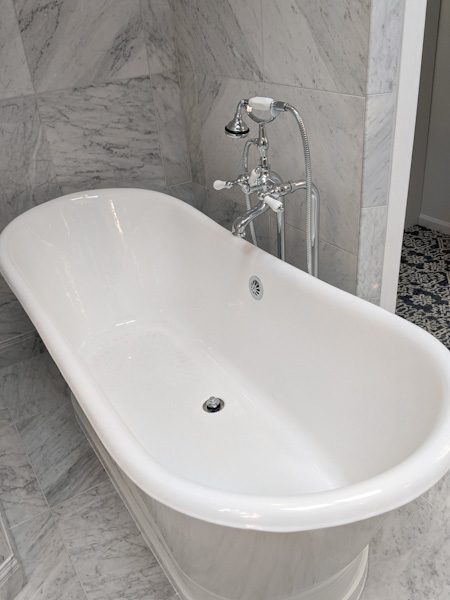
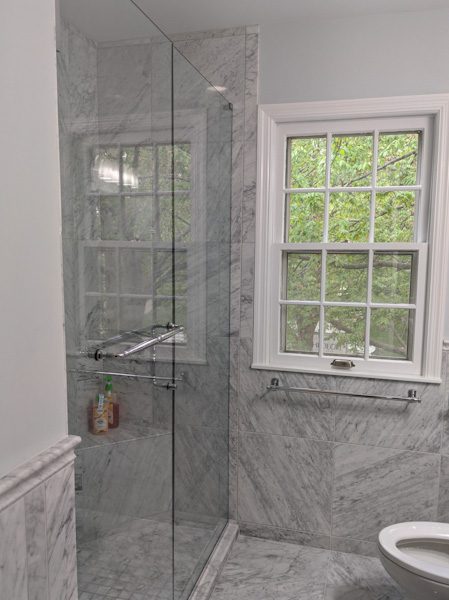
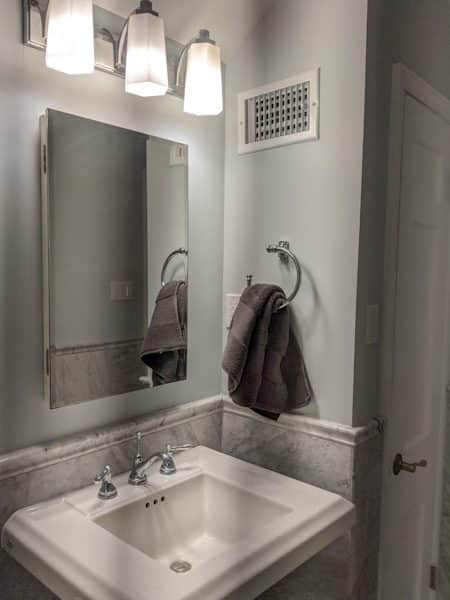
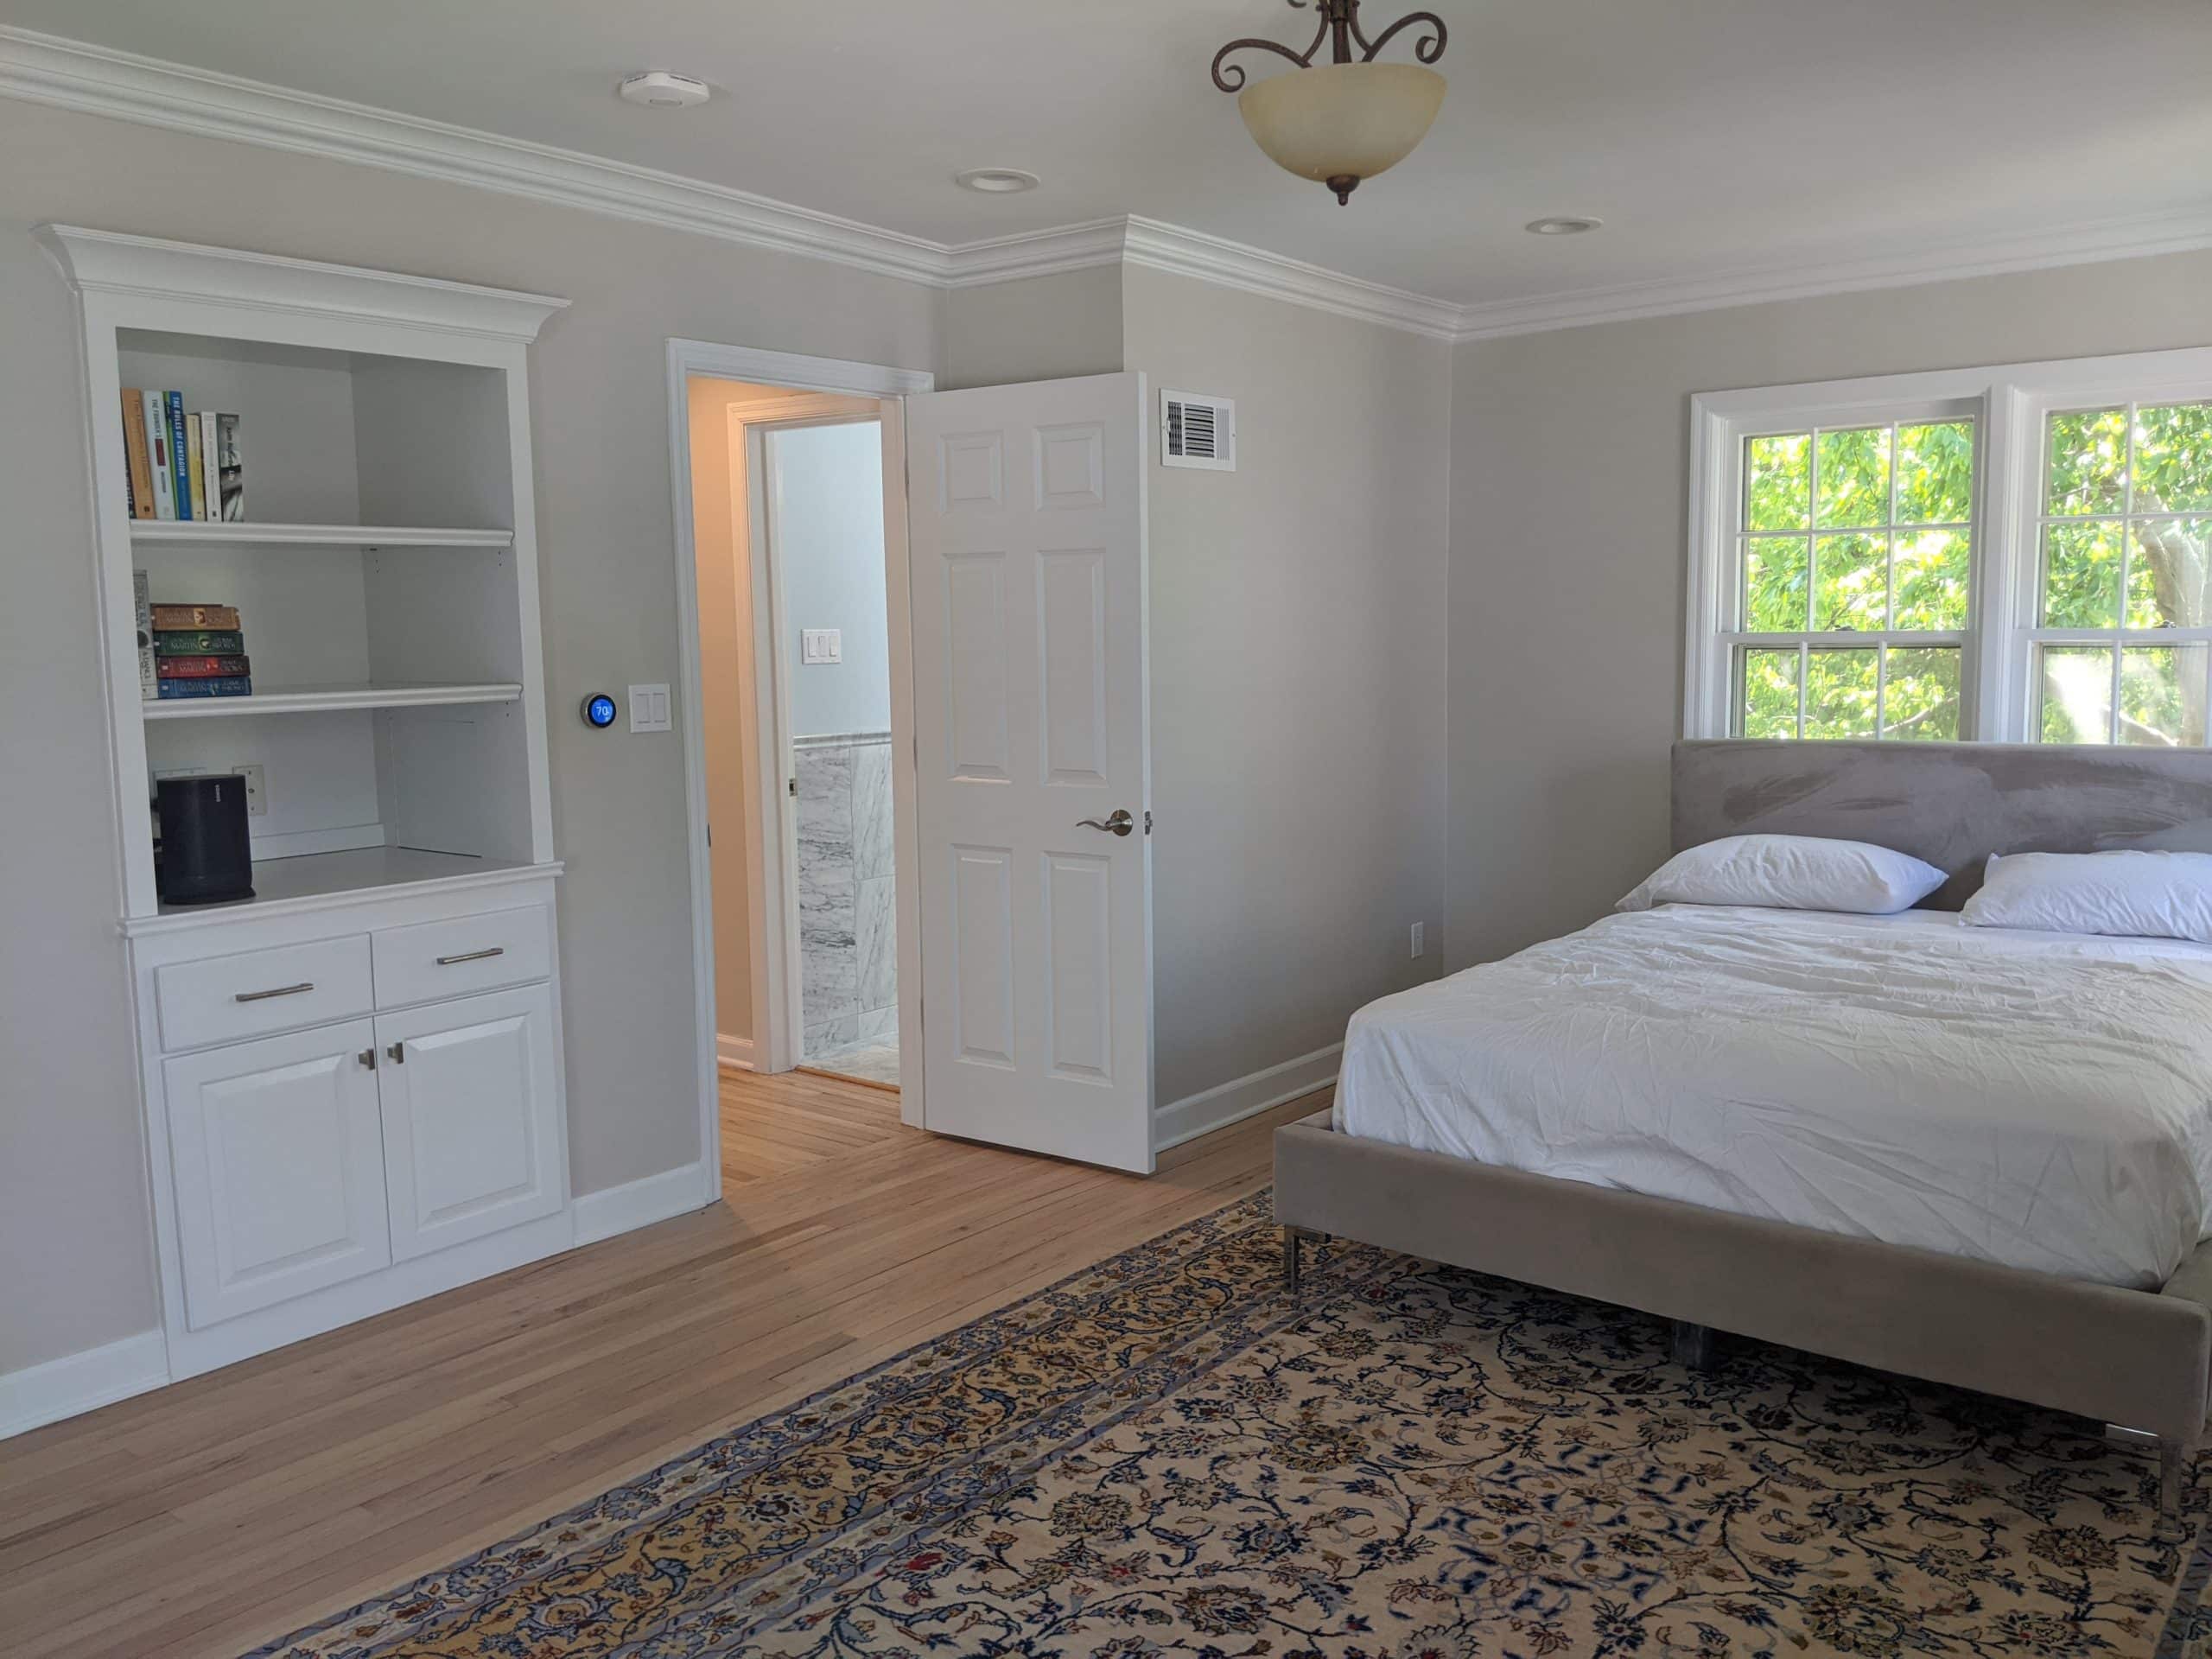
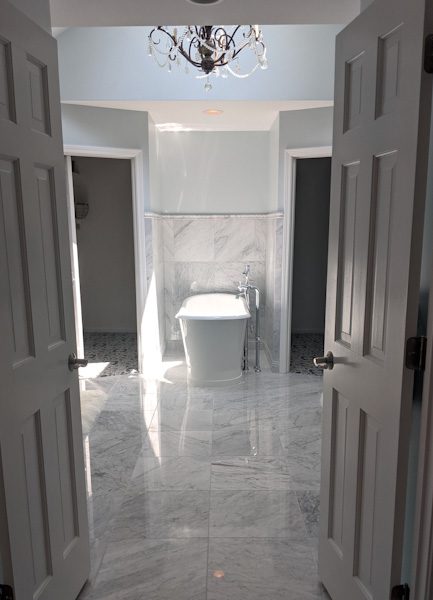
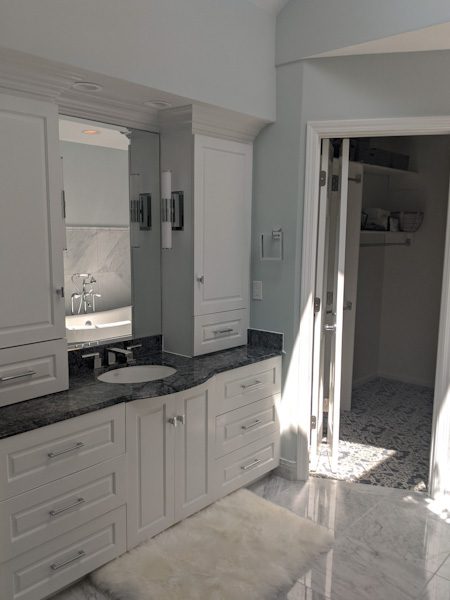
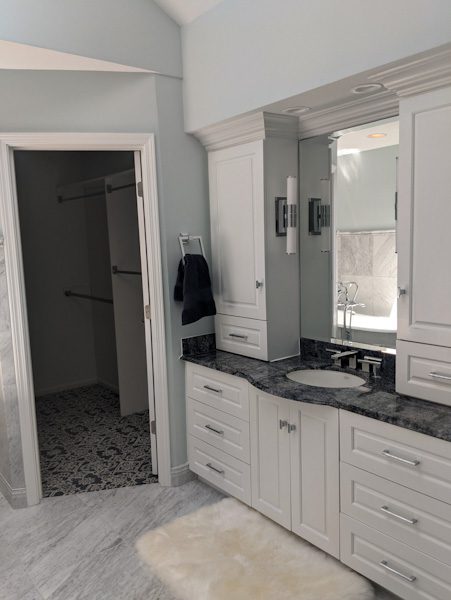
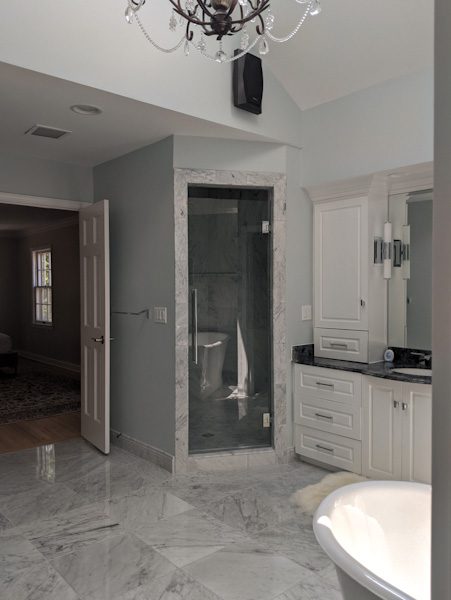
A crew with TileMasters did all the tile work in the place–two new showers floor-to-ceiling, ten half-walls, and two bathroom floors. It was a lengthy project, and our client was thrilled with the shiny new marble.
Hall bath

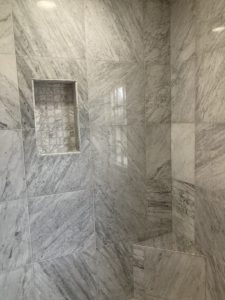
Primary bath


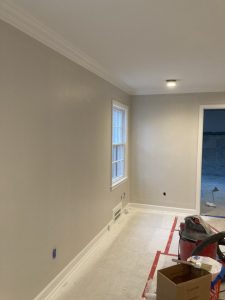
Paint
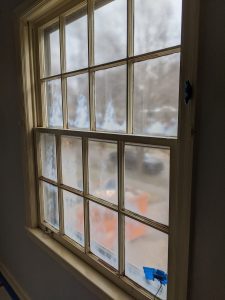
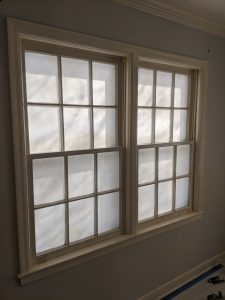
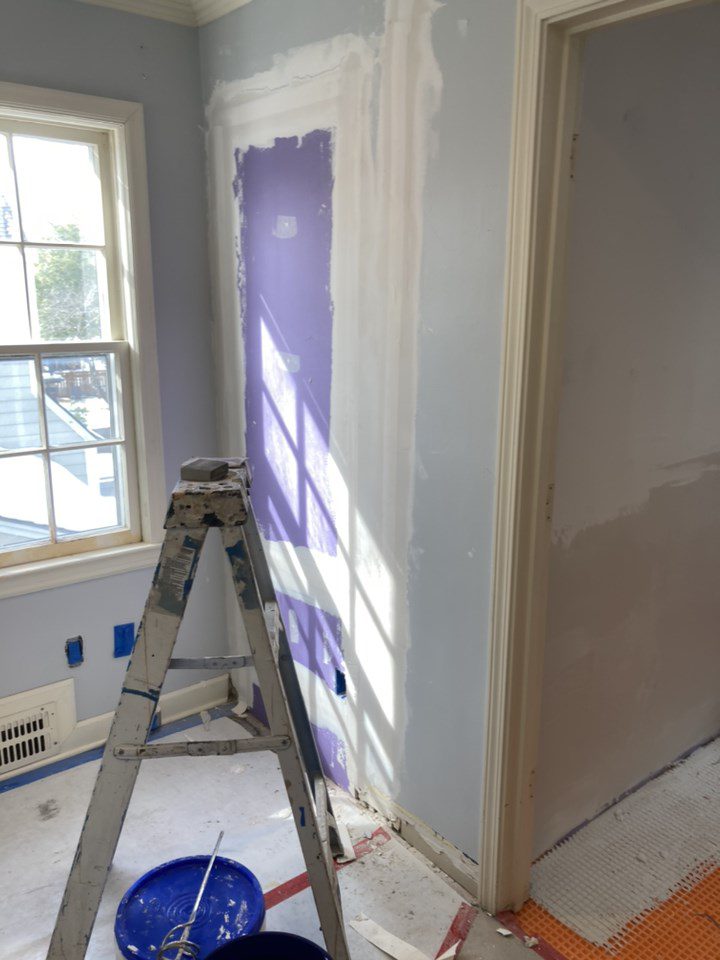
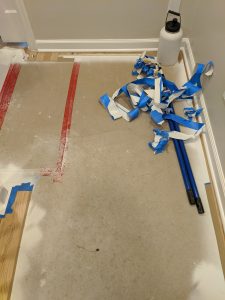
We used a cool product by Associated Paint called Masking Liquid H2O. It primes porous substances but peels off glass in a sheet. Painting the exterior of a house with wooden windows, one can save some thirty hours in masking or scraping by spraying it over every window on the house. Inside, it takes more thorough prep work to use the product. Whereas alkyd paints interact chemically even with cured oil enamel (pretty much universally used for painted woodwork before this century) and adhere well after just a light scuff on the surface being painted, this water-based product requires that the sheen be thoroughly sanded out of the enamel.
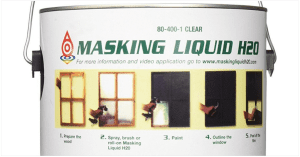
We sprayed on the masking liquid (making sure to take the filters out of the pump and gun to prevent their gumming up,) finished filling dings and cracks, and put on two coats of enamel.
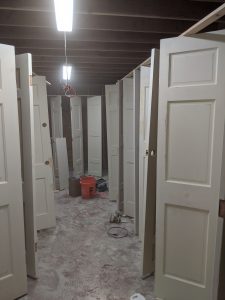
Doors and shelves
The doors were a bit beat-up, especially the ones that had been the victims of the family dog’s claws (my cat also likes to sneak into rooms and hide until we unwittingly close her in there) or a previous bad prep job. With some extensive filling, sanding, and priming, we got them prepped and propped to be sprayed with two generous coats.


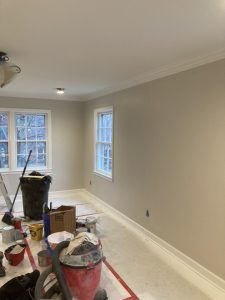
Walls and ceilings
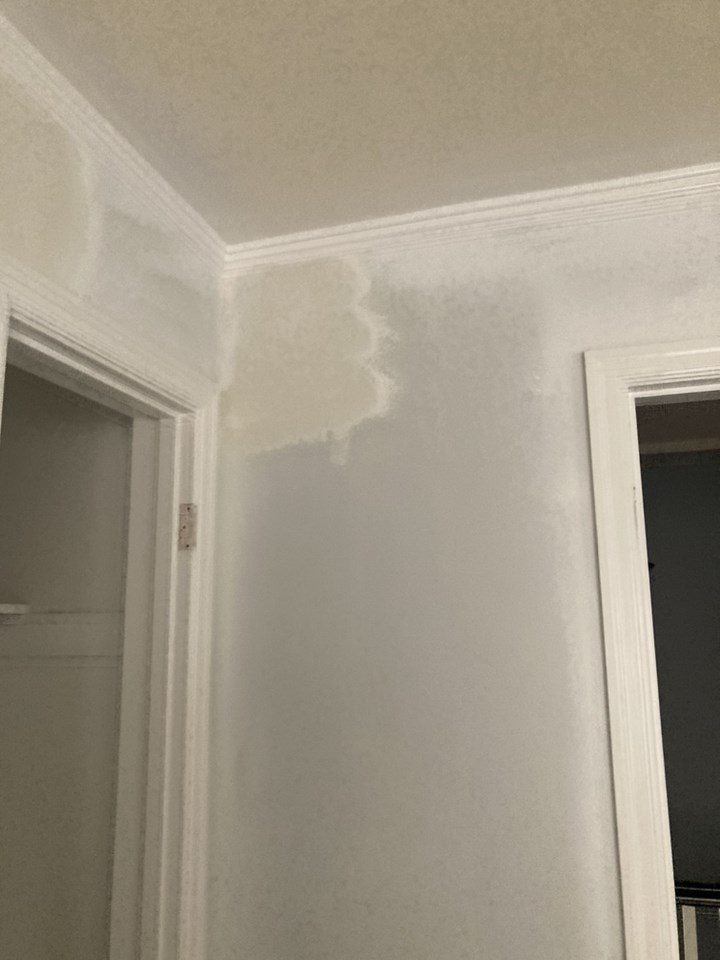
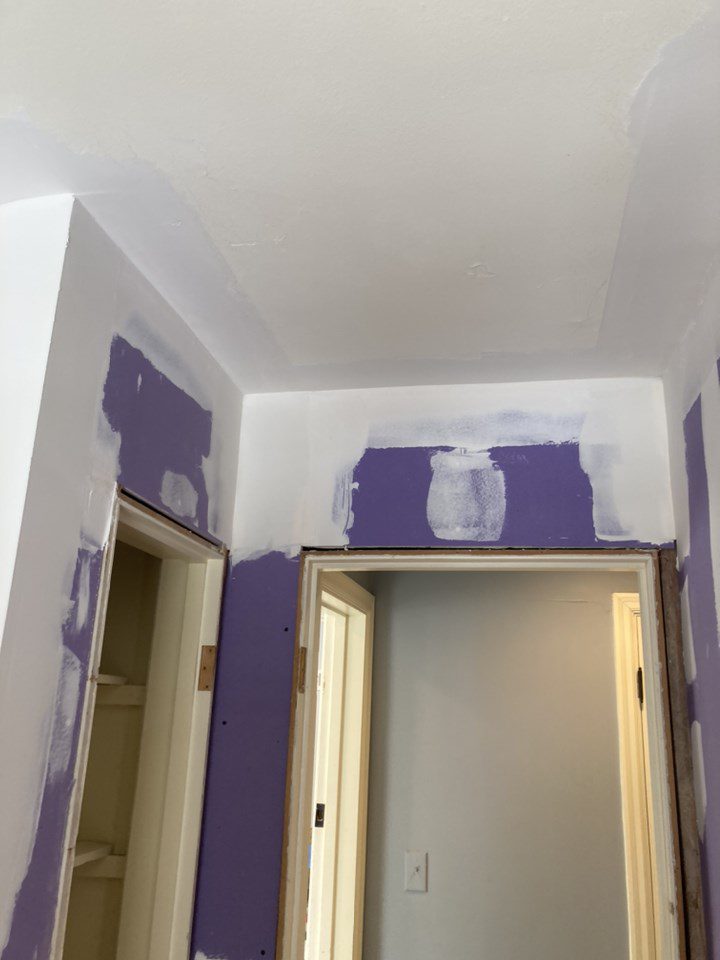
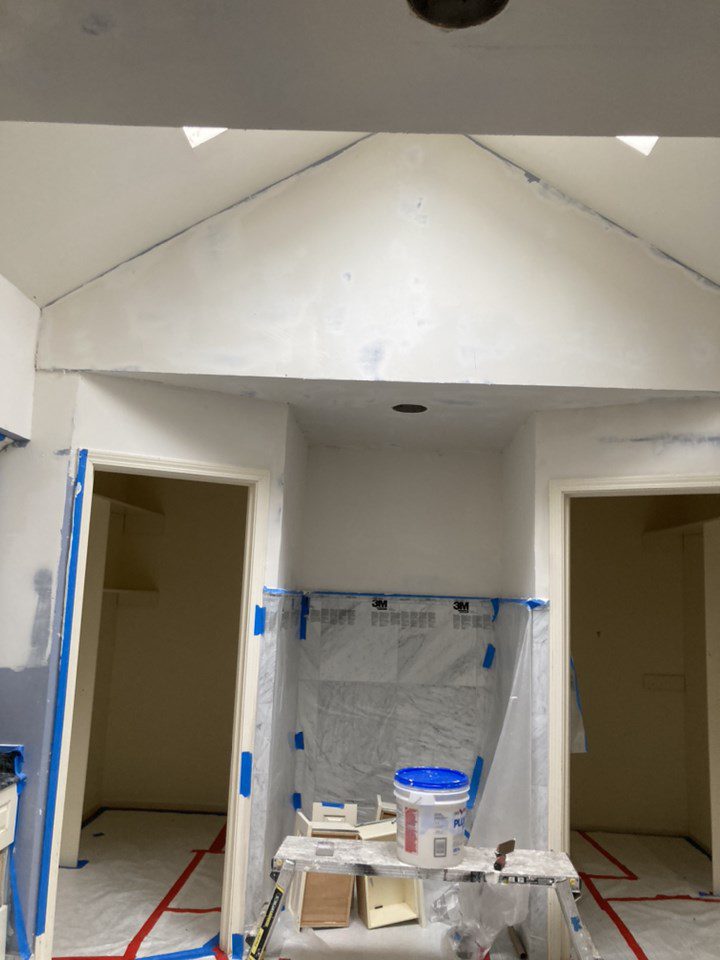
The house had seen some shifting, and the walls and ceilings showed cracks and nail pops throughout. Our thousands of hammer blows during bathrooms demo had done the rest of the space no favors, and the paper-stripped walls of the primary bath required a complete skim coat.


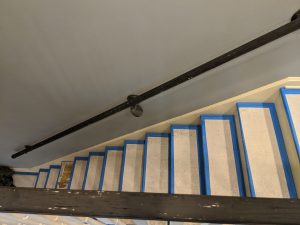
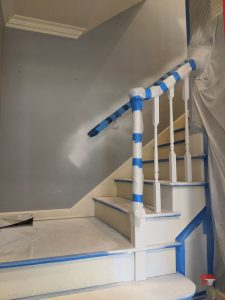
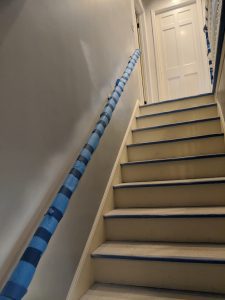
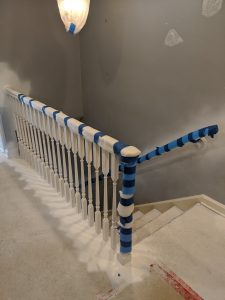
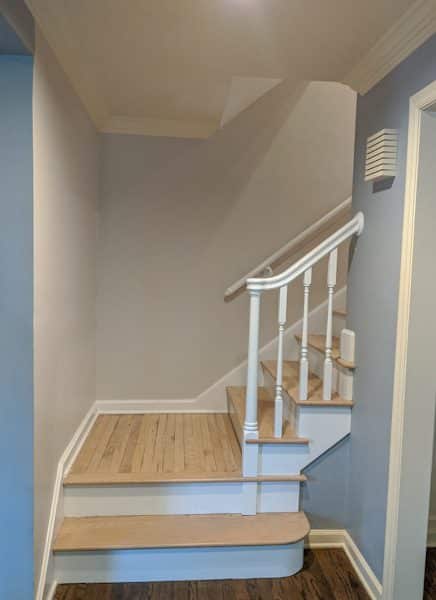
Stairway
While the rest of the trim in the house could be hand-painted as easily as it could be sprayed, it was crucial that the handrails and spindles be sprayed. Firstly, the ornature of the spindles would have required meticulous brushing, and the process would have had to take place twice. Secondly, the color change from black to white would have required three to four coats if applied by hand. I estimate it would have taken two people a whole day to apply the paint to just the handrails and spindles. Instead, we spent some four hours masking and prepping the hallway, and I sprayed two coats on all the hallway trim in a matter of two hours.
As soon as the paint dried, we thoroughly protected the finished woodwork in the high-traffic area.

Vanities
We disassembled the vanities, taking off the doors, taking out the drawers, and removing all hardware. The same thorough prep work we had put into the doors was required for the vanity components. With the prep done, we brushed and rolled with a paint additive that promotes self-leveling (as well as sags and runs, so more care is required) and produces a beautifully smooth finish almost indistinguishable from sprayed.
I made a costly mistake while disassembling the units. Having had similar experiences, I should have known better, but some time away from full-scale painting projects had atrophied some of my good habits. Any time you take things apart to paint them, it is vital that you label every component with its proper location. Every door, drawer, hinge, and slide needs to be assigned to its respective position. My failure to do this turned the vanities into an unfun jigsaw puzzle. We eventually got everything appropriately situated, but this served as a good reminder to remain thoughtful at every step of the process!


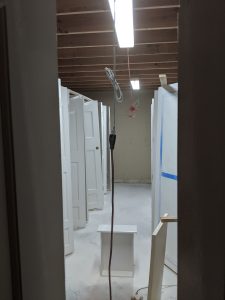
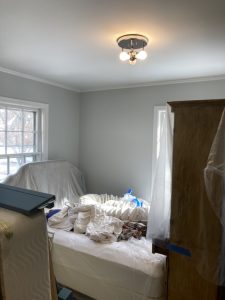
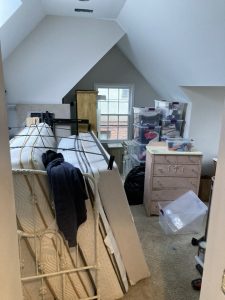
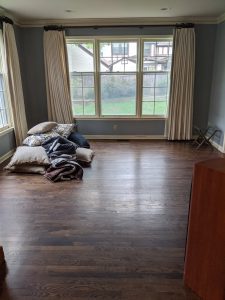
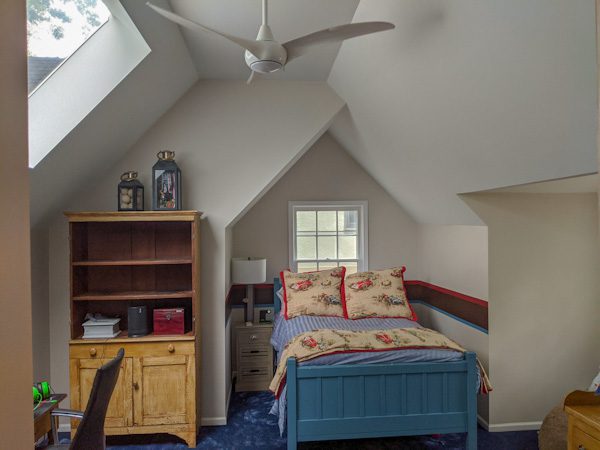
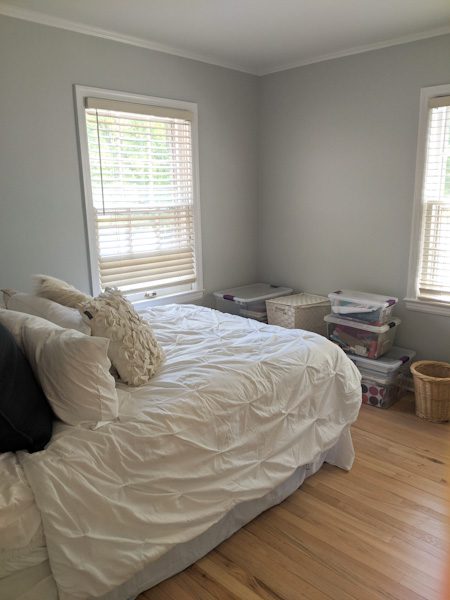
Floor, Musical Chairs
All four of the bedrooms on the level were at one point made into the storage room. We first knocked out the trim, ceilings, and walls in the hall bedroom so we could get to everything in the primary and back bedroom.
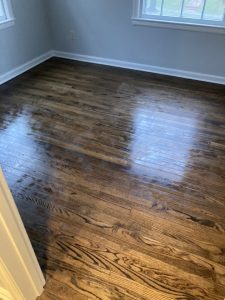
We focused on getting the painting done in the back bedroom, which is the only room with carpet, before the wood floors were scheduled to be refinished.

Before that carpet was scheduled to be replaced, we moved everything back into the hall and primary bedrooms.

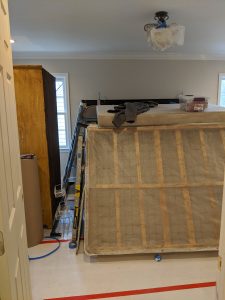
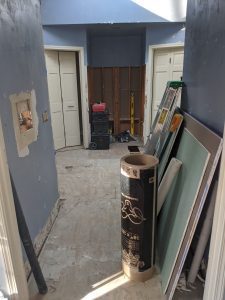
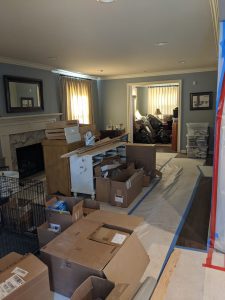
The living and sitting rooms were overtaken by furniture and effects from upstairs and hardware, fixtures, and other items acquired for the remodel.

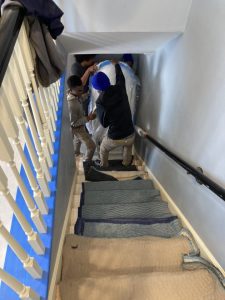
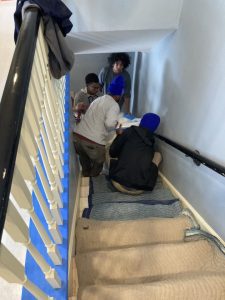
Big honkin’ tub
The tub, a distinguished, free-standing, enameled cast iron behemoth weighed around five hundred pounds. The four men tasked with taking it up the stairs hiked it up one stair at a time.
Home stretch
Plumbing and electrical were done, hard surfaces and most fixtures installed, floor and paint finished but for touchups. Three of the rooms were entirely done. A few workers chugged right along to tie up any loose ends.


Finished
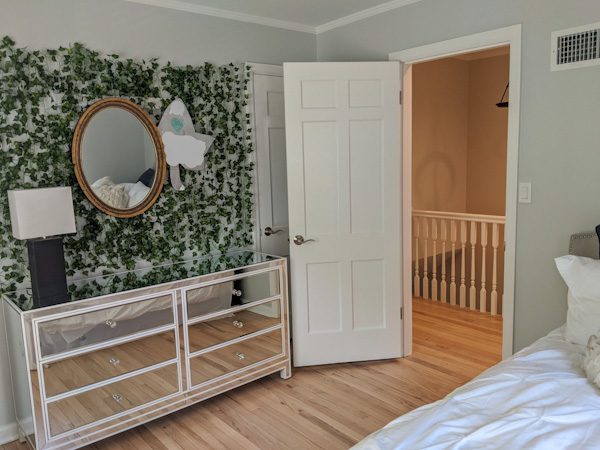
Our friends from Inception Plumbing came to help us out with some faucets that befuddled four or five of our craftspeople. The door-drawer-hardware puzzle I had created was completed. We repaired and touched up the spots of peeled paint. Rugs extended, beds assembled, furniture put back in its place, dust wiped. The months-long collaboration of dozens of parties had remade the second floor!
Ready to make a few updates in your home. Give us a call to speak with a Schloegel expert.