
Thinking about replacing your freestanding bathtub? While it might seem like a simple swap, there's often much more happening behind the scenes than homeowners expect. In this edition of our Handyman How-To Series, we're walking through what really goes into replacing a freestanding bathtub, how our team completed this unique project, and whether it's a repair you should tackle yourself or leave to the professionals.
Quick Answer
Can you replace a freestanding bathtub yourself?
Yes, you can replace a bathtub yourself, but it's not an easy DIY project. If the new tub fits the existing plumbing and you have experience with plumbing and finish work, a replacement may be manageable. However, relocating the drain, modifying plumbing, moving a heavy tub, or repairing tile and drywall are jobs better left to a professional.
Between moving heavy materials, modifying plumbing, making precise measurements, waterproofing surrounding finishes, and coordinating tile or drywall repairs, this project requires experience across several trades. For most homeowners, it's a job that's best left to a professional handyman or remodeling team. Read more to see why our handyman technician, Thomas Schauffler rates this project a 9/10 for homeowner difficulty.
Homeowner Snapshot
Project: Freestanding Bathtub Replacement
Location:
Kansas City, MO
Service:
Handyman Services
Difficulty: ⭐⭐⭐⭐⭐ Advanced
Timeline: Less than 2 weeks (a straightforward tub swap can take less time, while projects involving plumbing or finish work (like this one) may take longer)
Biggest Challenges: Plumbing relocation, a 300-lb. tub, precise drain alignment, and tile and drywall repairs
DIY Verdict: Better left to a professional
Why Homeowners Replace a Freestanding Bathtub
There are plenty of reasons homeowners decide it's time for a new bathtub. Some are looking for a deeper soaking tub, while others want a more modern look or better functionality. In this project, our clients actually loved their existing freestanding tub, but it required too much water to fill. They decided to replace it with a newer, more efficient freestanding soaking tub and wanted it installed as close to the existing tile wall and niche as possible. This would help prevent water from splashing over the back edge of the tub into an area that's difficult to reach and dry.
While that may sound like a simple request, it meant this wasn't just a matter of removing one tub and sliding another into place. Achieving that custom fit required careful planning, precise plumbing modifications, and exact measurements to ensure everything aligned perfectly before the new tub was lowered into place.
What Does Bathtub Replacement Involve?
Bathtub replacement isn't always as simple as removing an old tub and installing a new one. Depending on the tub and existing bathroom, the project may involve disconnecting plumbing, relocating the drain, repairing drywall or tile, adjusting the tub filler, leveling the new tub, and sealing the surrounding area.
If the new bathtub matches the existing footprint and plumbing, the project may be relatively straightforward. If the layout changes, however, the work can quickly become more involved.
How to Replace a Bathtub: What the Process Involves
Every bathtub replacement is a little different, but here's a high-level look at the process our team follows when replacing a freestanding bathtub. While each project comes with its own challenges, these are the key steps that help ensure a safe, long-lasting installation.
Professional installation starts long before the new tub arrives. Taking the time to properly protect the home and plan each step helps our team complete projects safely while giving homeowners peace of mind throughout construction.
Step 1: Protect the Home Before Work Begins
Before a single tool comes out, our team prepares the home for the work ahead. That means laying down floor protection from the entry door all the way to the work area, covering surfaces, and installing dust barriers to help keep the rest of the home clean throughout the project.
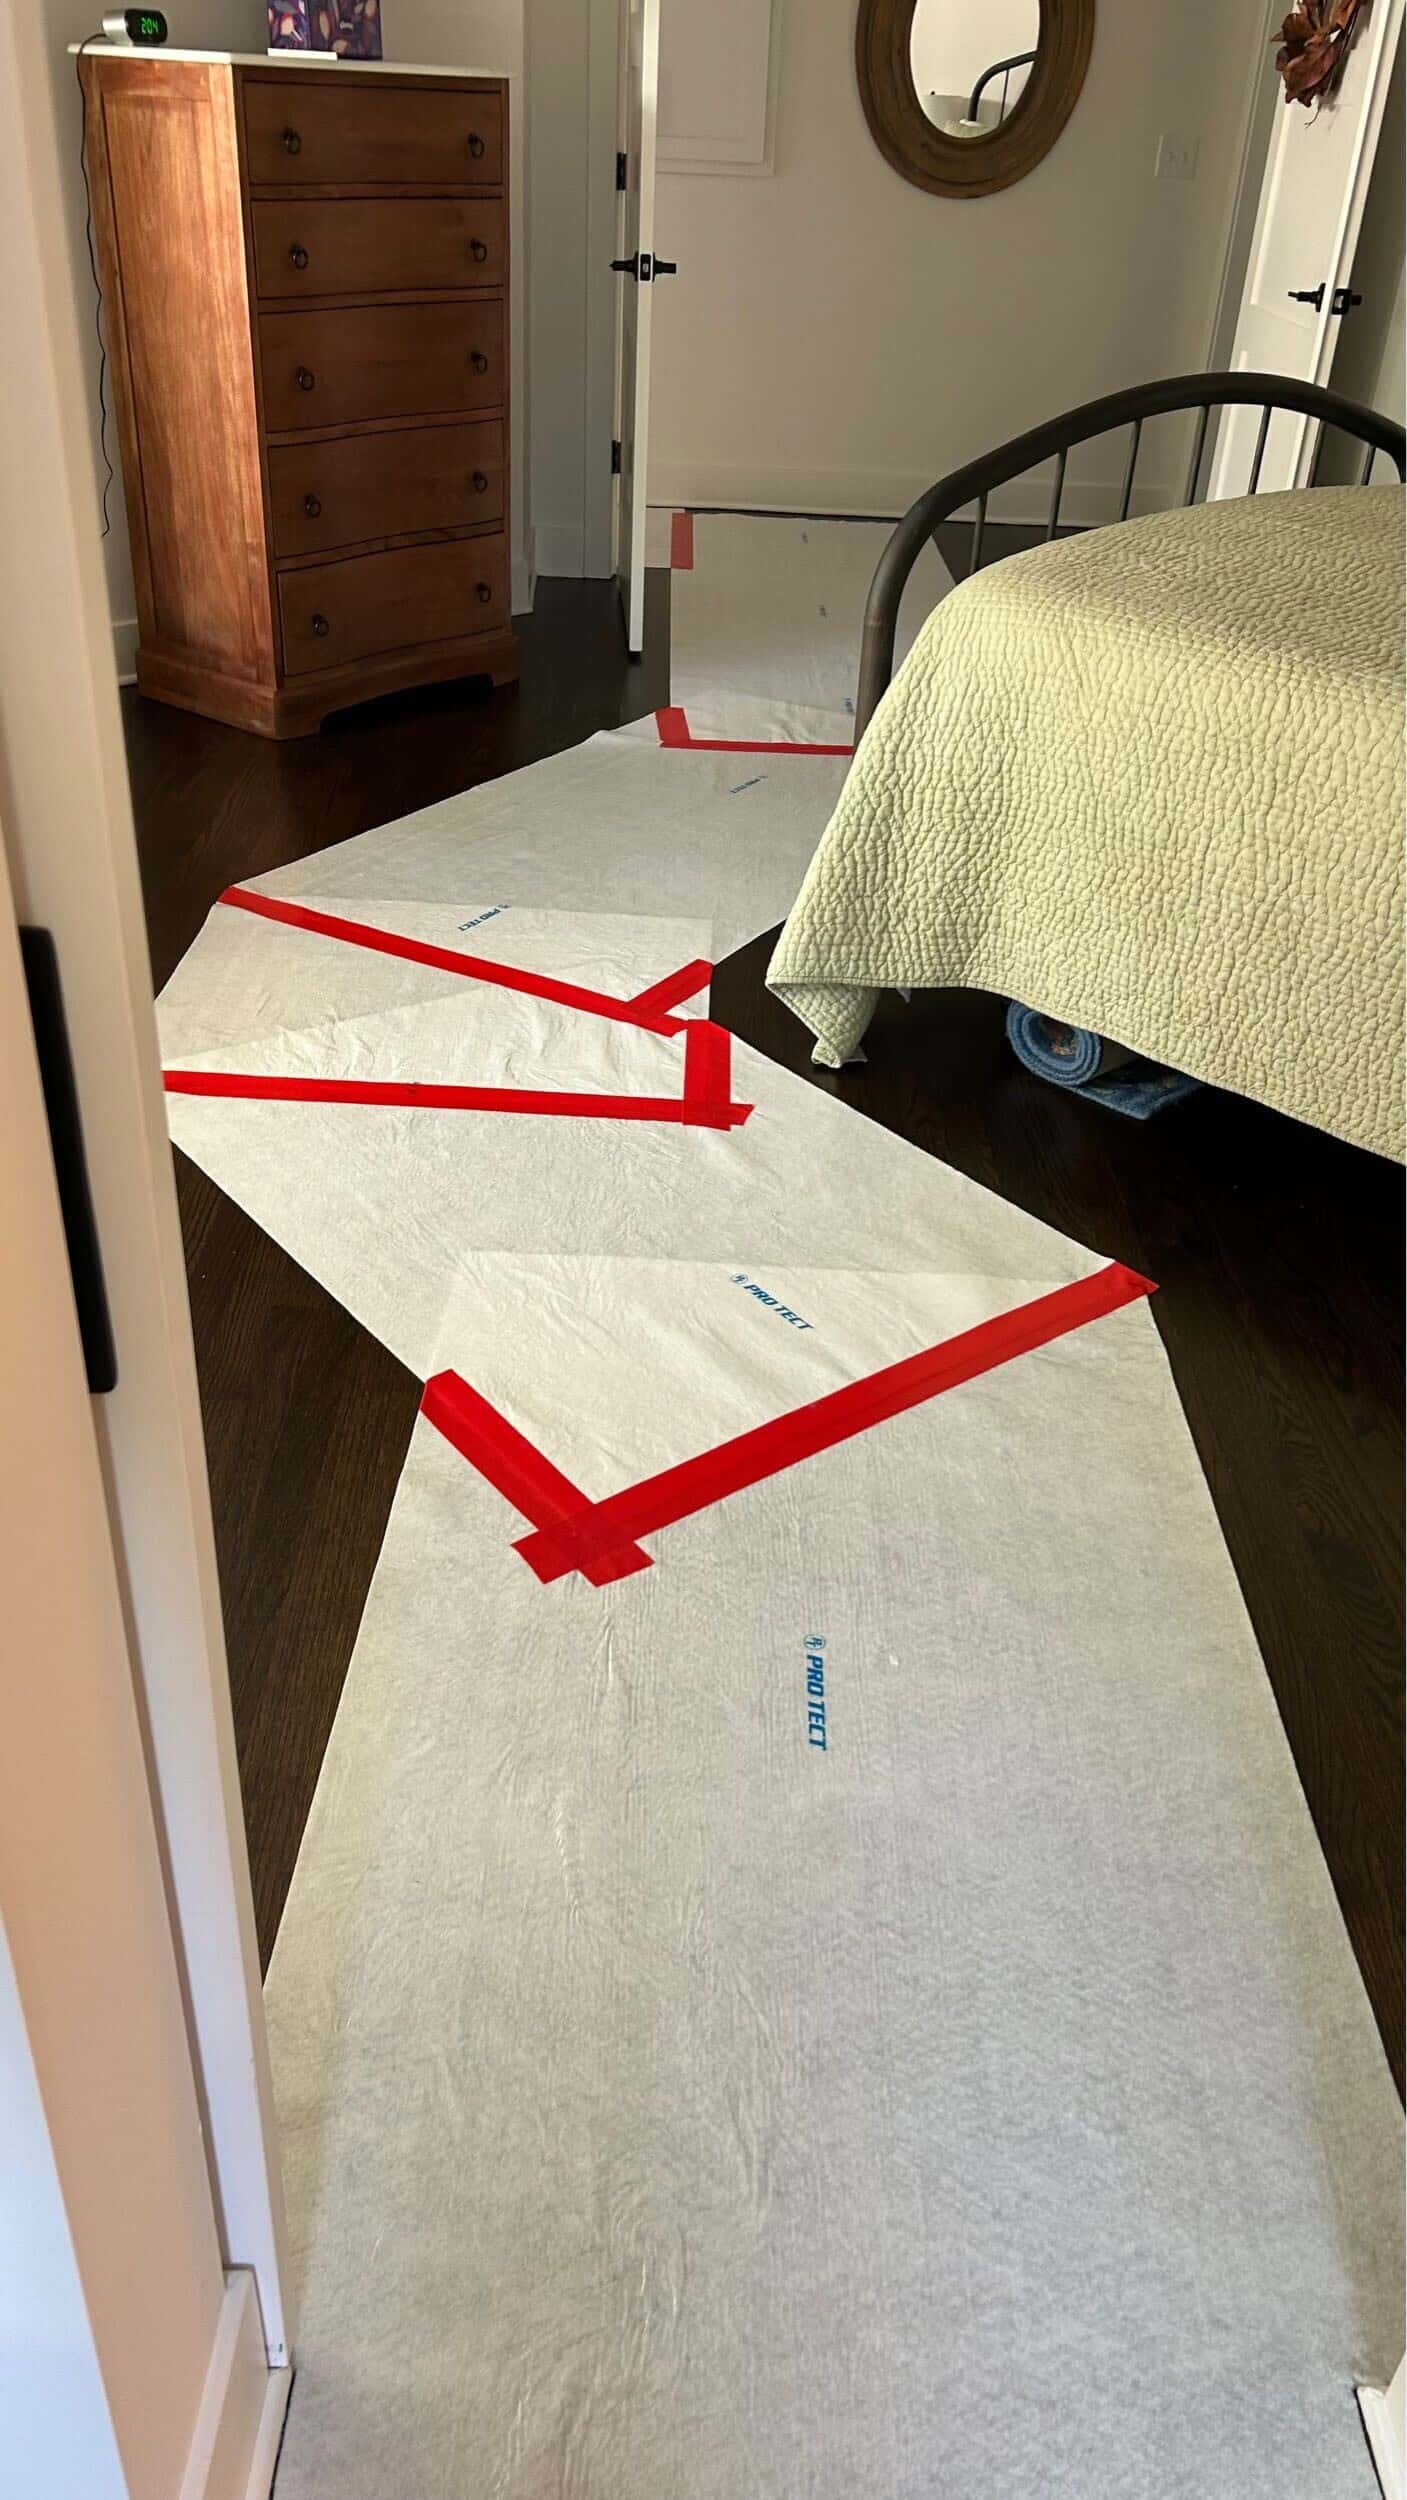
For this bathroom, we installed protective floor coverings along our walking path and used plastic zip-wall barriers with zippered openings to isolate the primary bathroom and closet while still allowing the homeowners access during construction. Taking these extra steps helps minimize dust, scratches, scuffs, and accidental damage to surrounding finishes—details that many homeowners don't think about when tackling a project themselves but that make a big difference in protecting the home.
Step 2: Remove the Existing Tub
The first step is carefully removing the old bathtub without damaging the surrounding finishes that will remain. Depending on the installation, this may also involve disconnecting plumbing, protecting nearby flooring, and creating a clear path to safely remove the tub from the home.

Step 3: Evaluate the Plumbing
Before installing the new tub, our technicians check the plumbing against the new fixture. In this project, the new tub's drain was located in a different position than the original, so simply setting the new tub in place wasn't an option.
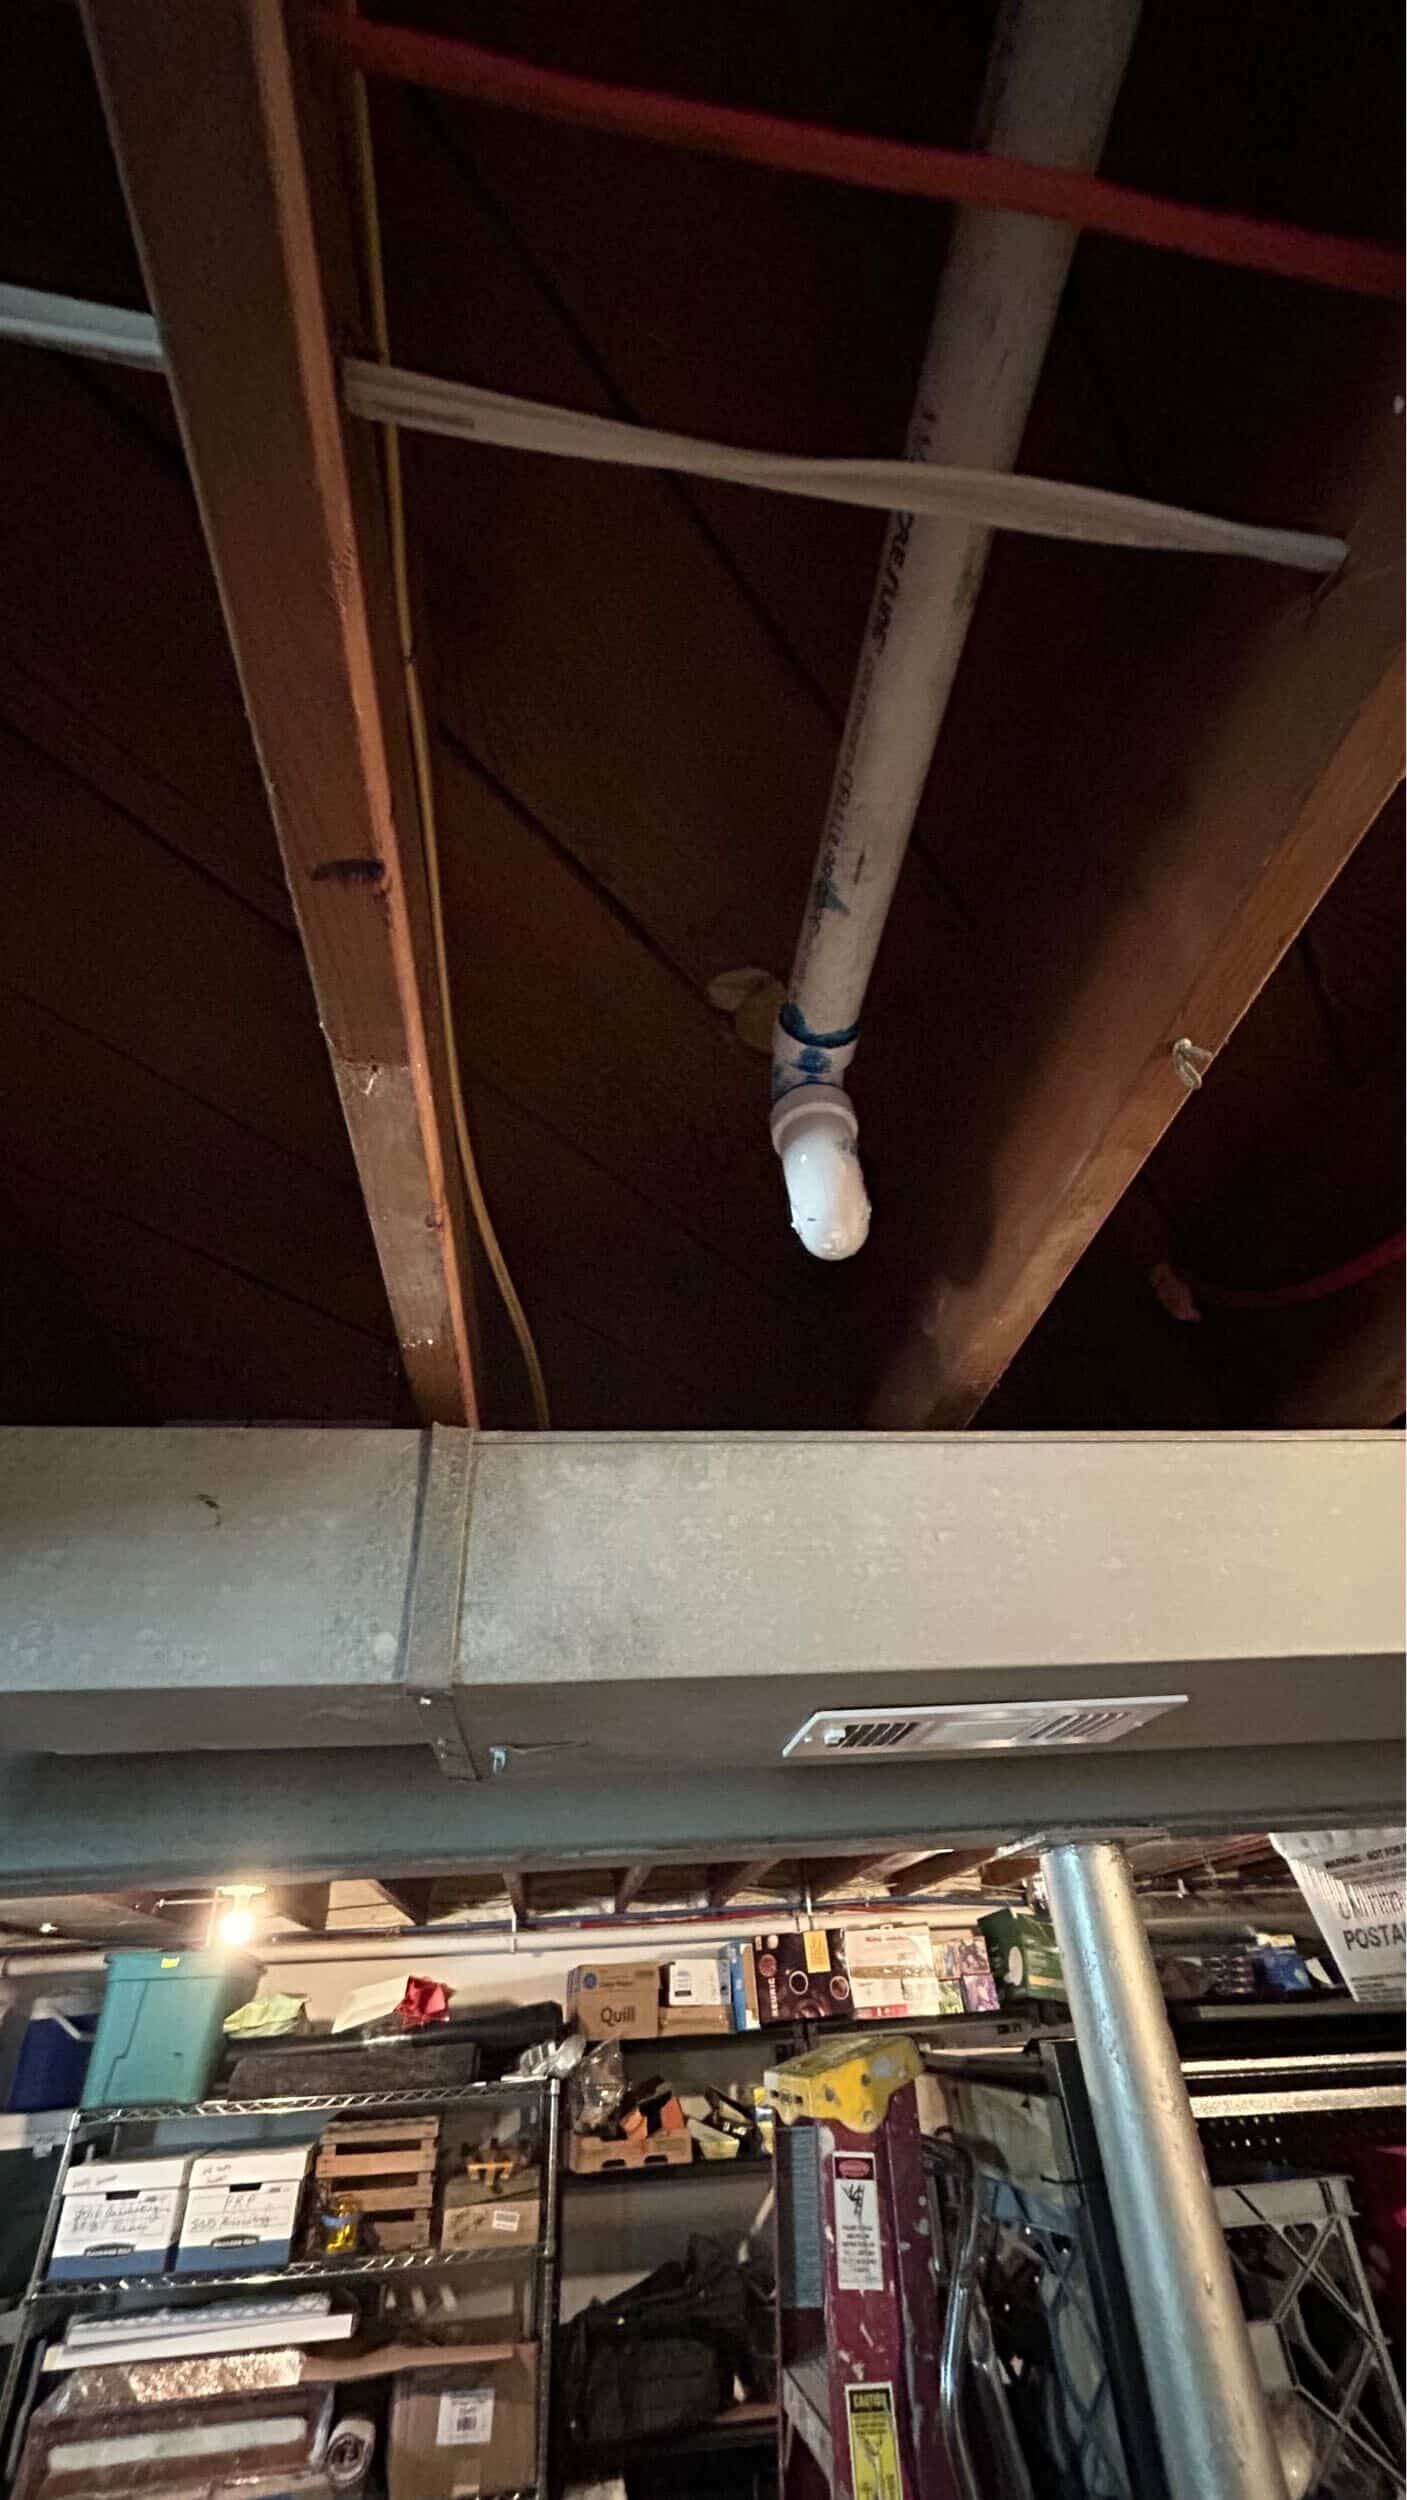
To make everything line up correctly, our team drilled a new drain opening and relocated the plumbing below the floor.
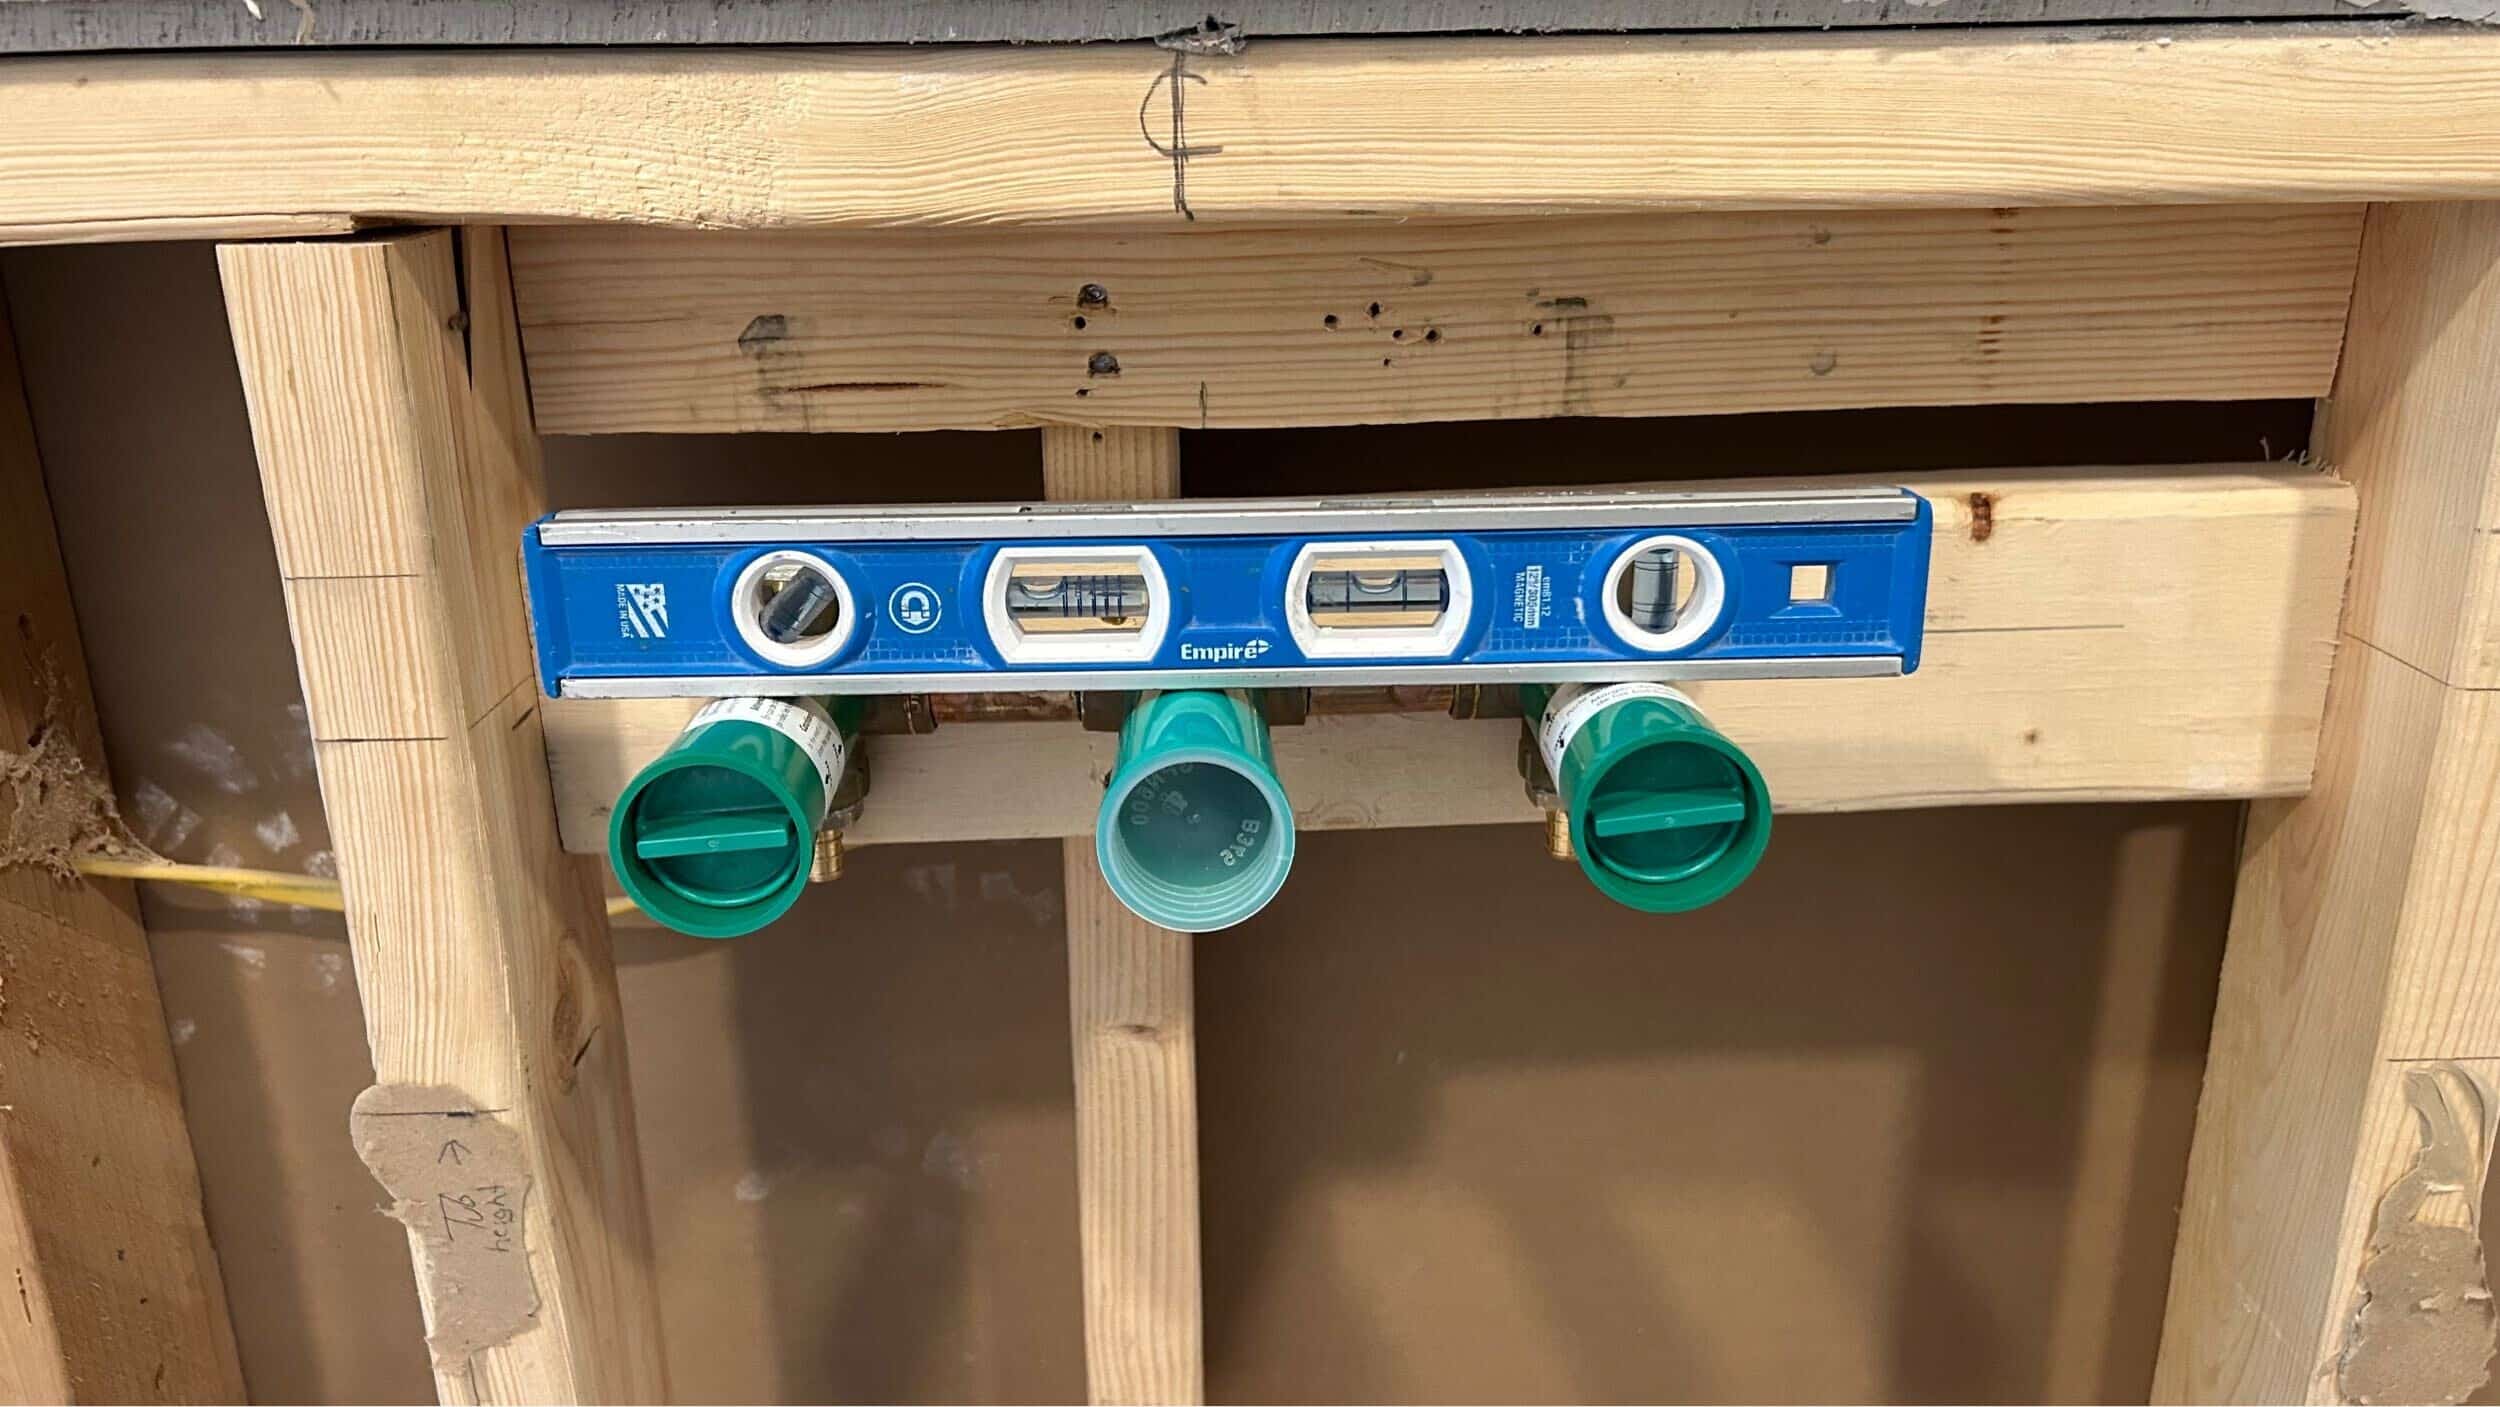
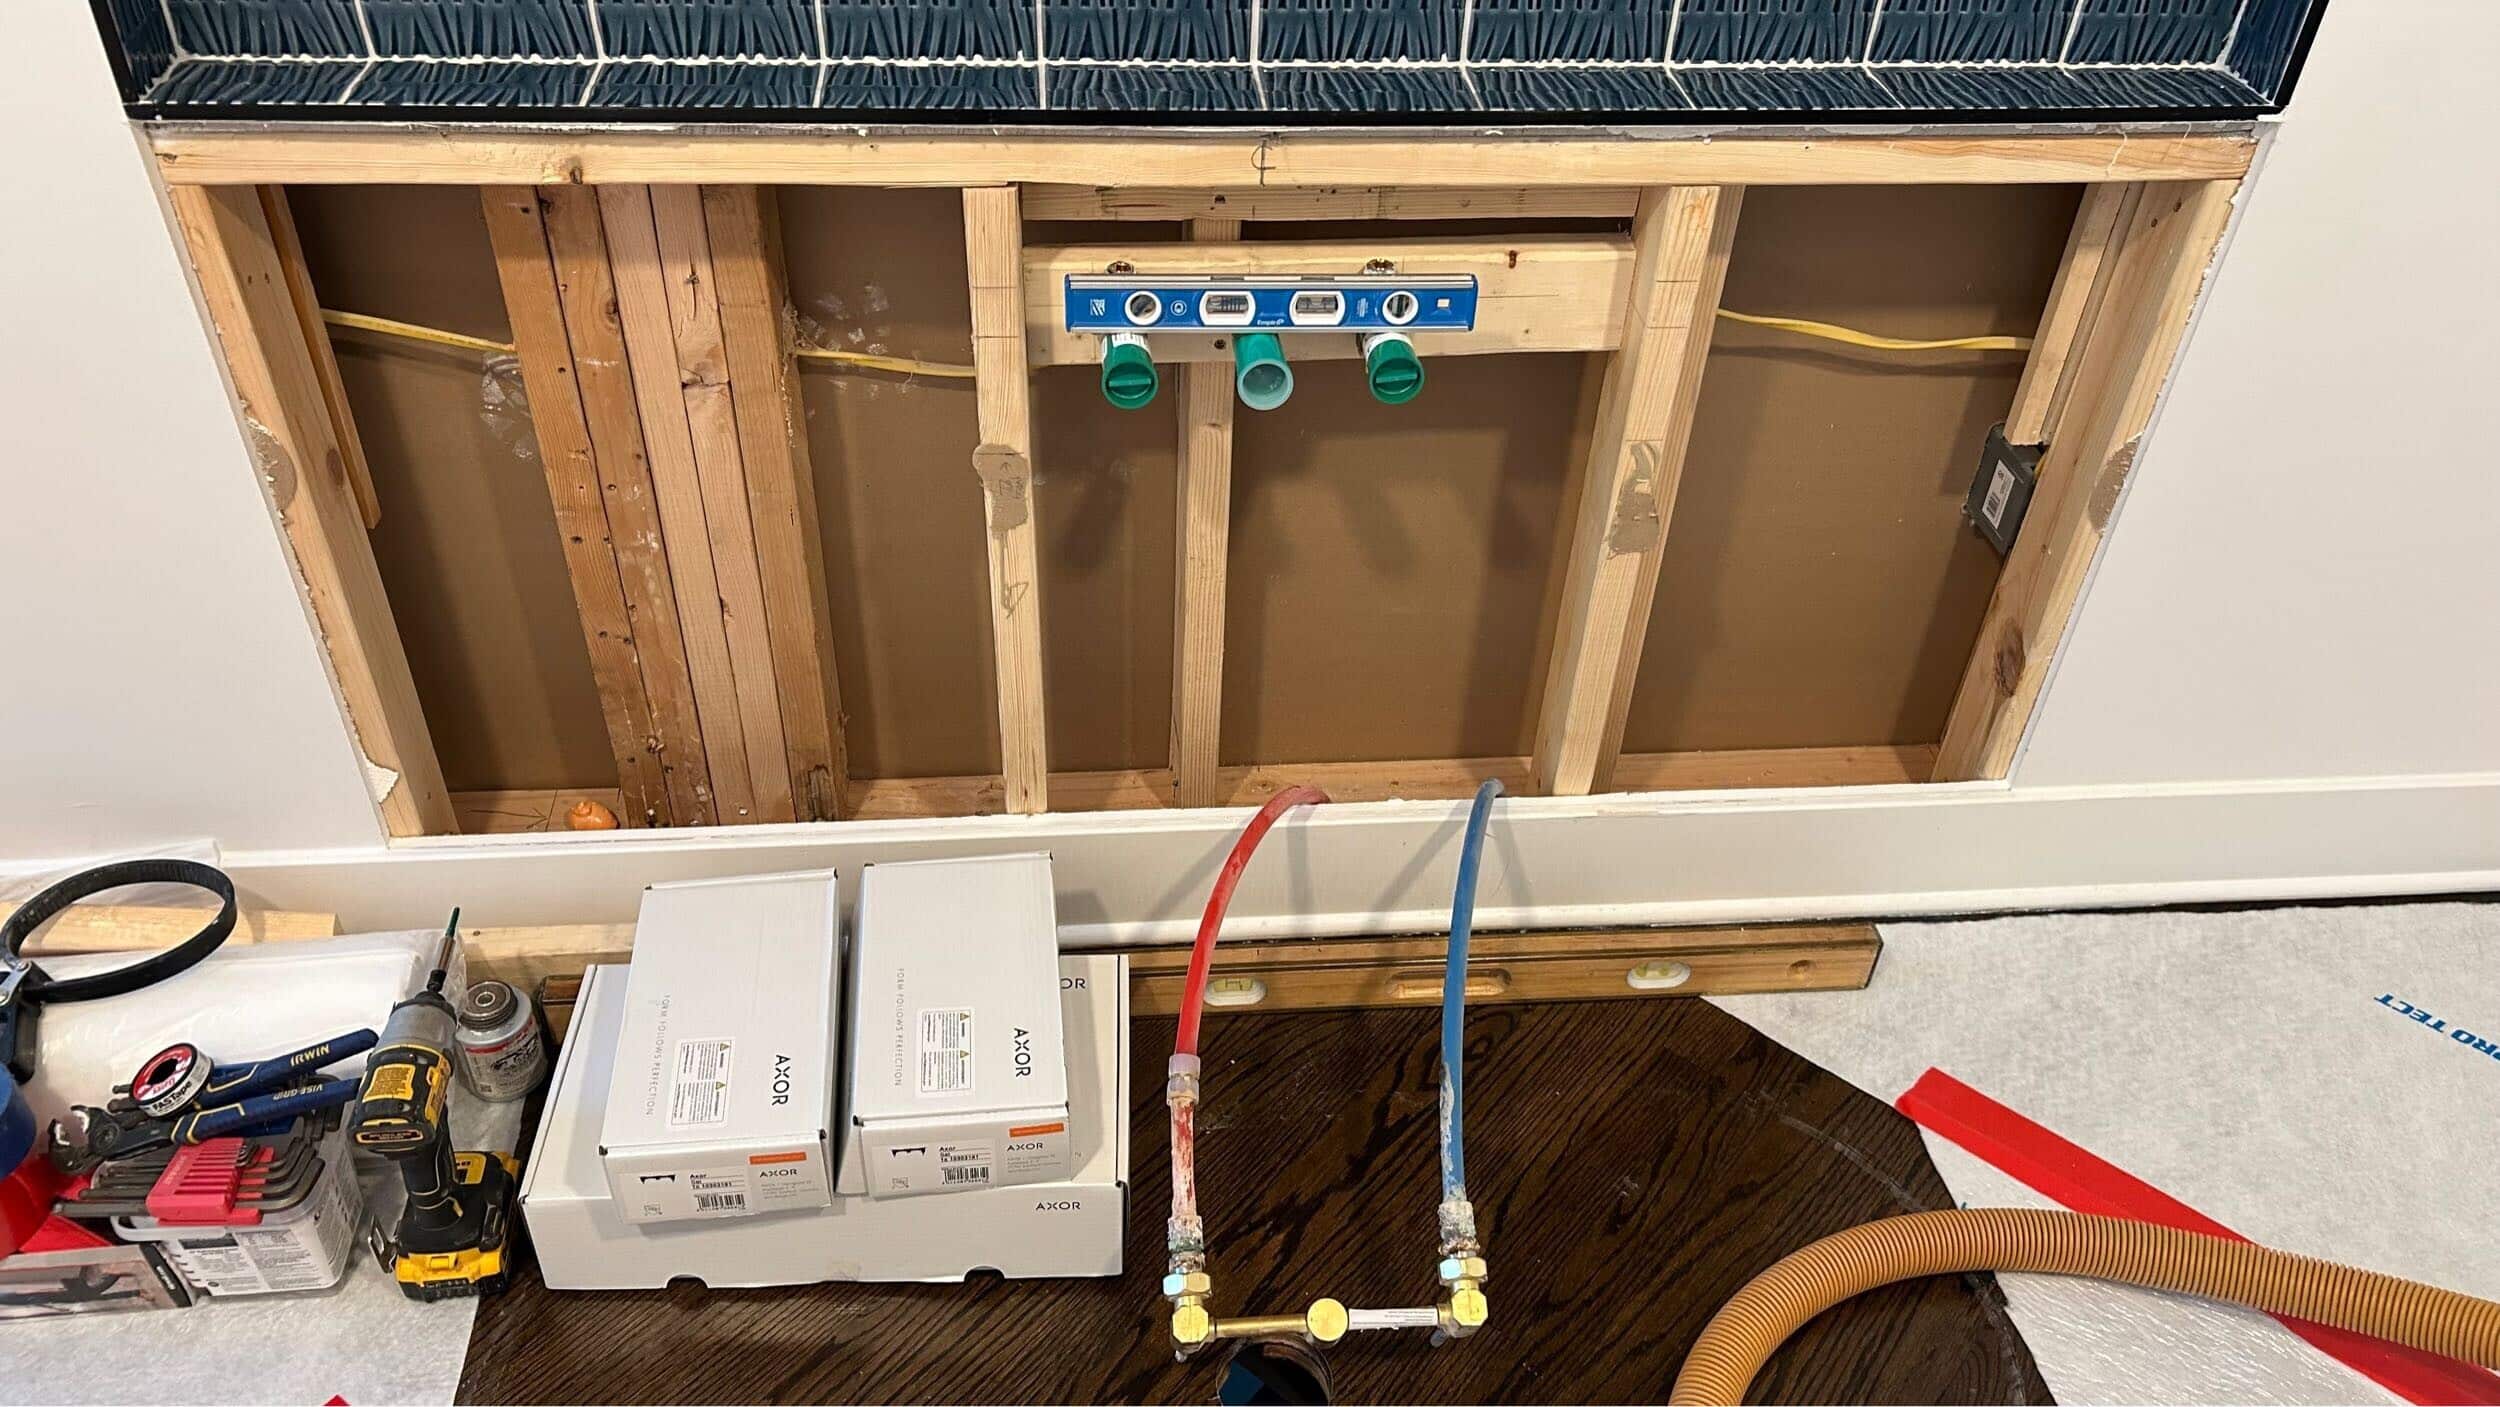
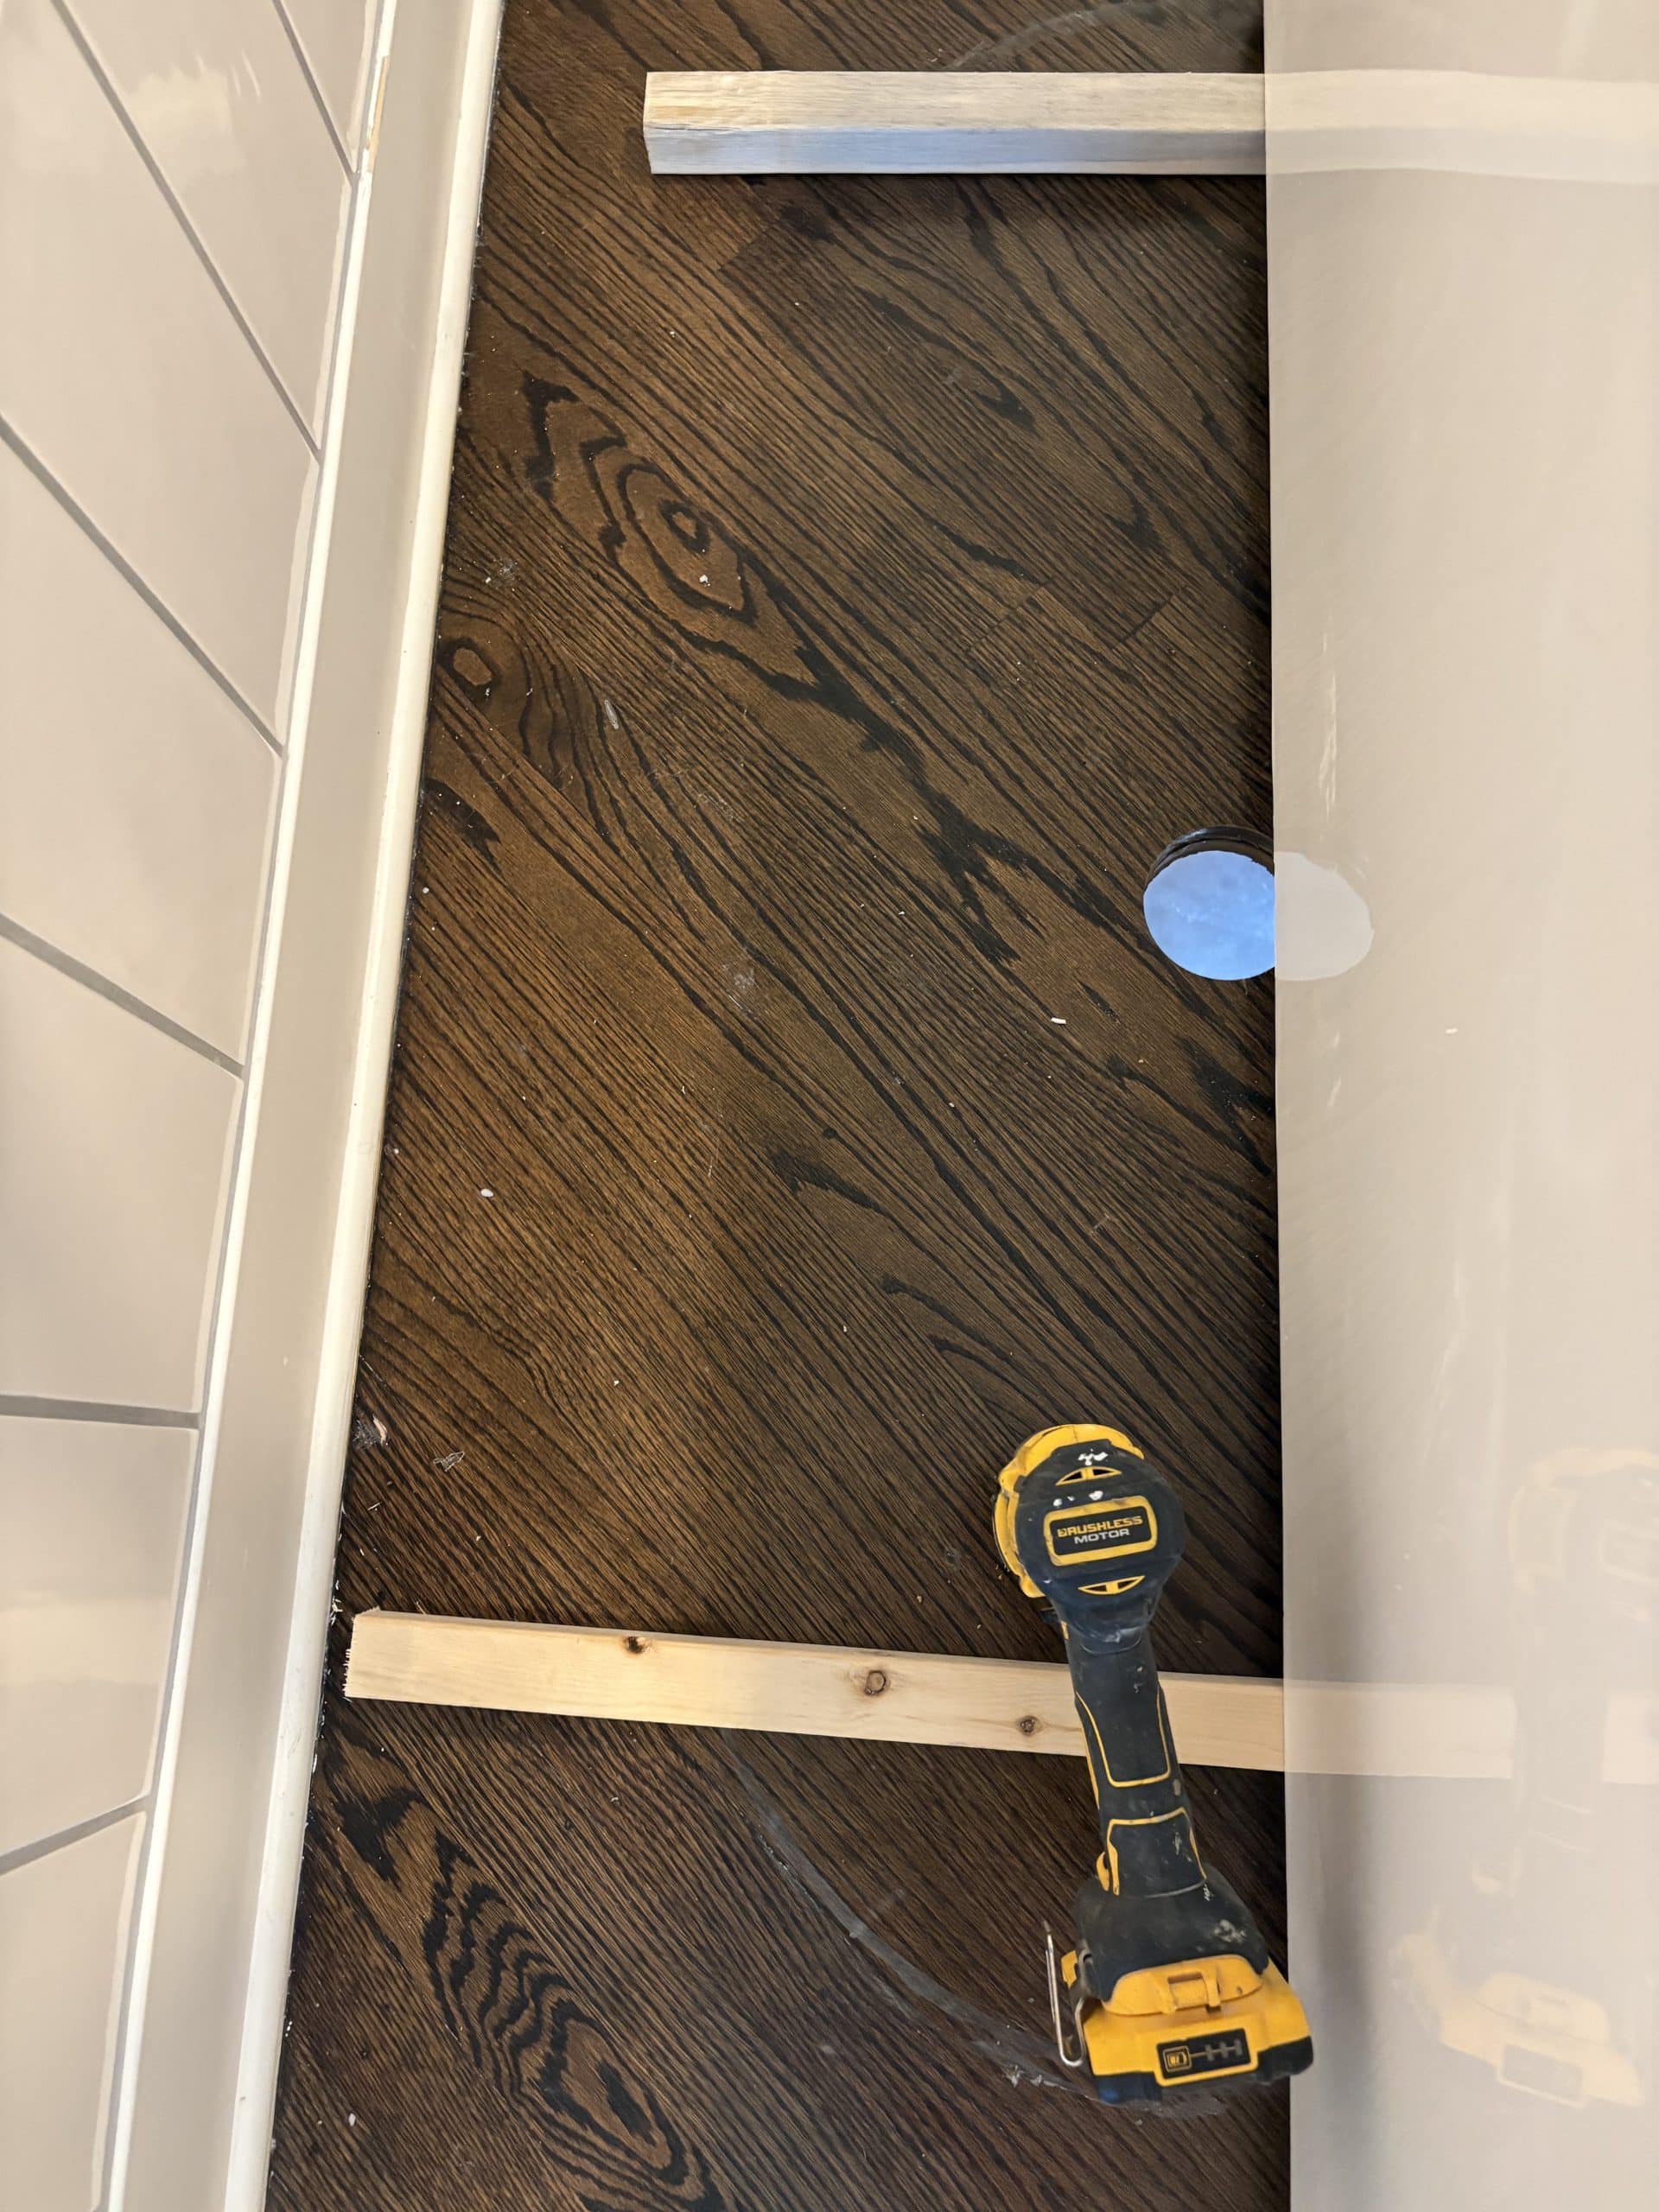
Fortunately, this home's unfinished basement gave us direct access to the plumbing by working between the exposed floor joists. If the space below had been finished, our team would have needed to open the ceiling drywall to reach the plumbing. We would then need to patch and repaint the ceiling after completing the repair. That's an extra layer of work many homeowners don't anticipate—and one more reason bathtub replacement can quickly become more involved than expected.
Step 4: Prepare the Space
A successful tub installation starts long before the new tub is carried into the room. Because our clients wanted the tub positioned as close to the tiled wall and niche as possible, there was very little room for error. Once a 300-pound tub is lowered into place, making adjustments becomes incredibly difficult.
The new tub also featured a slight curve along the back edge. Our team carefully trimmed the existing base shoe so the tub could sit flush against the wall. Once we finish the installation, we'll seal the joint with silicone to help prevent water from splashing behind the tub.
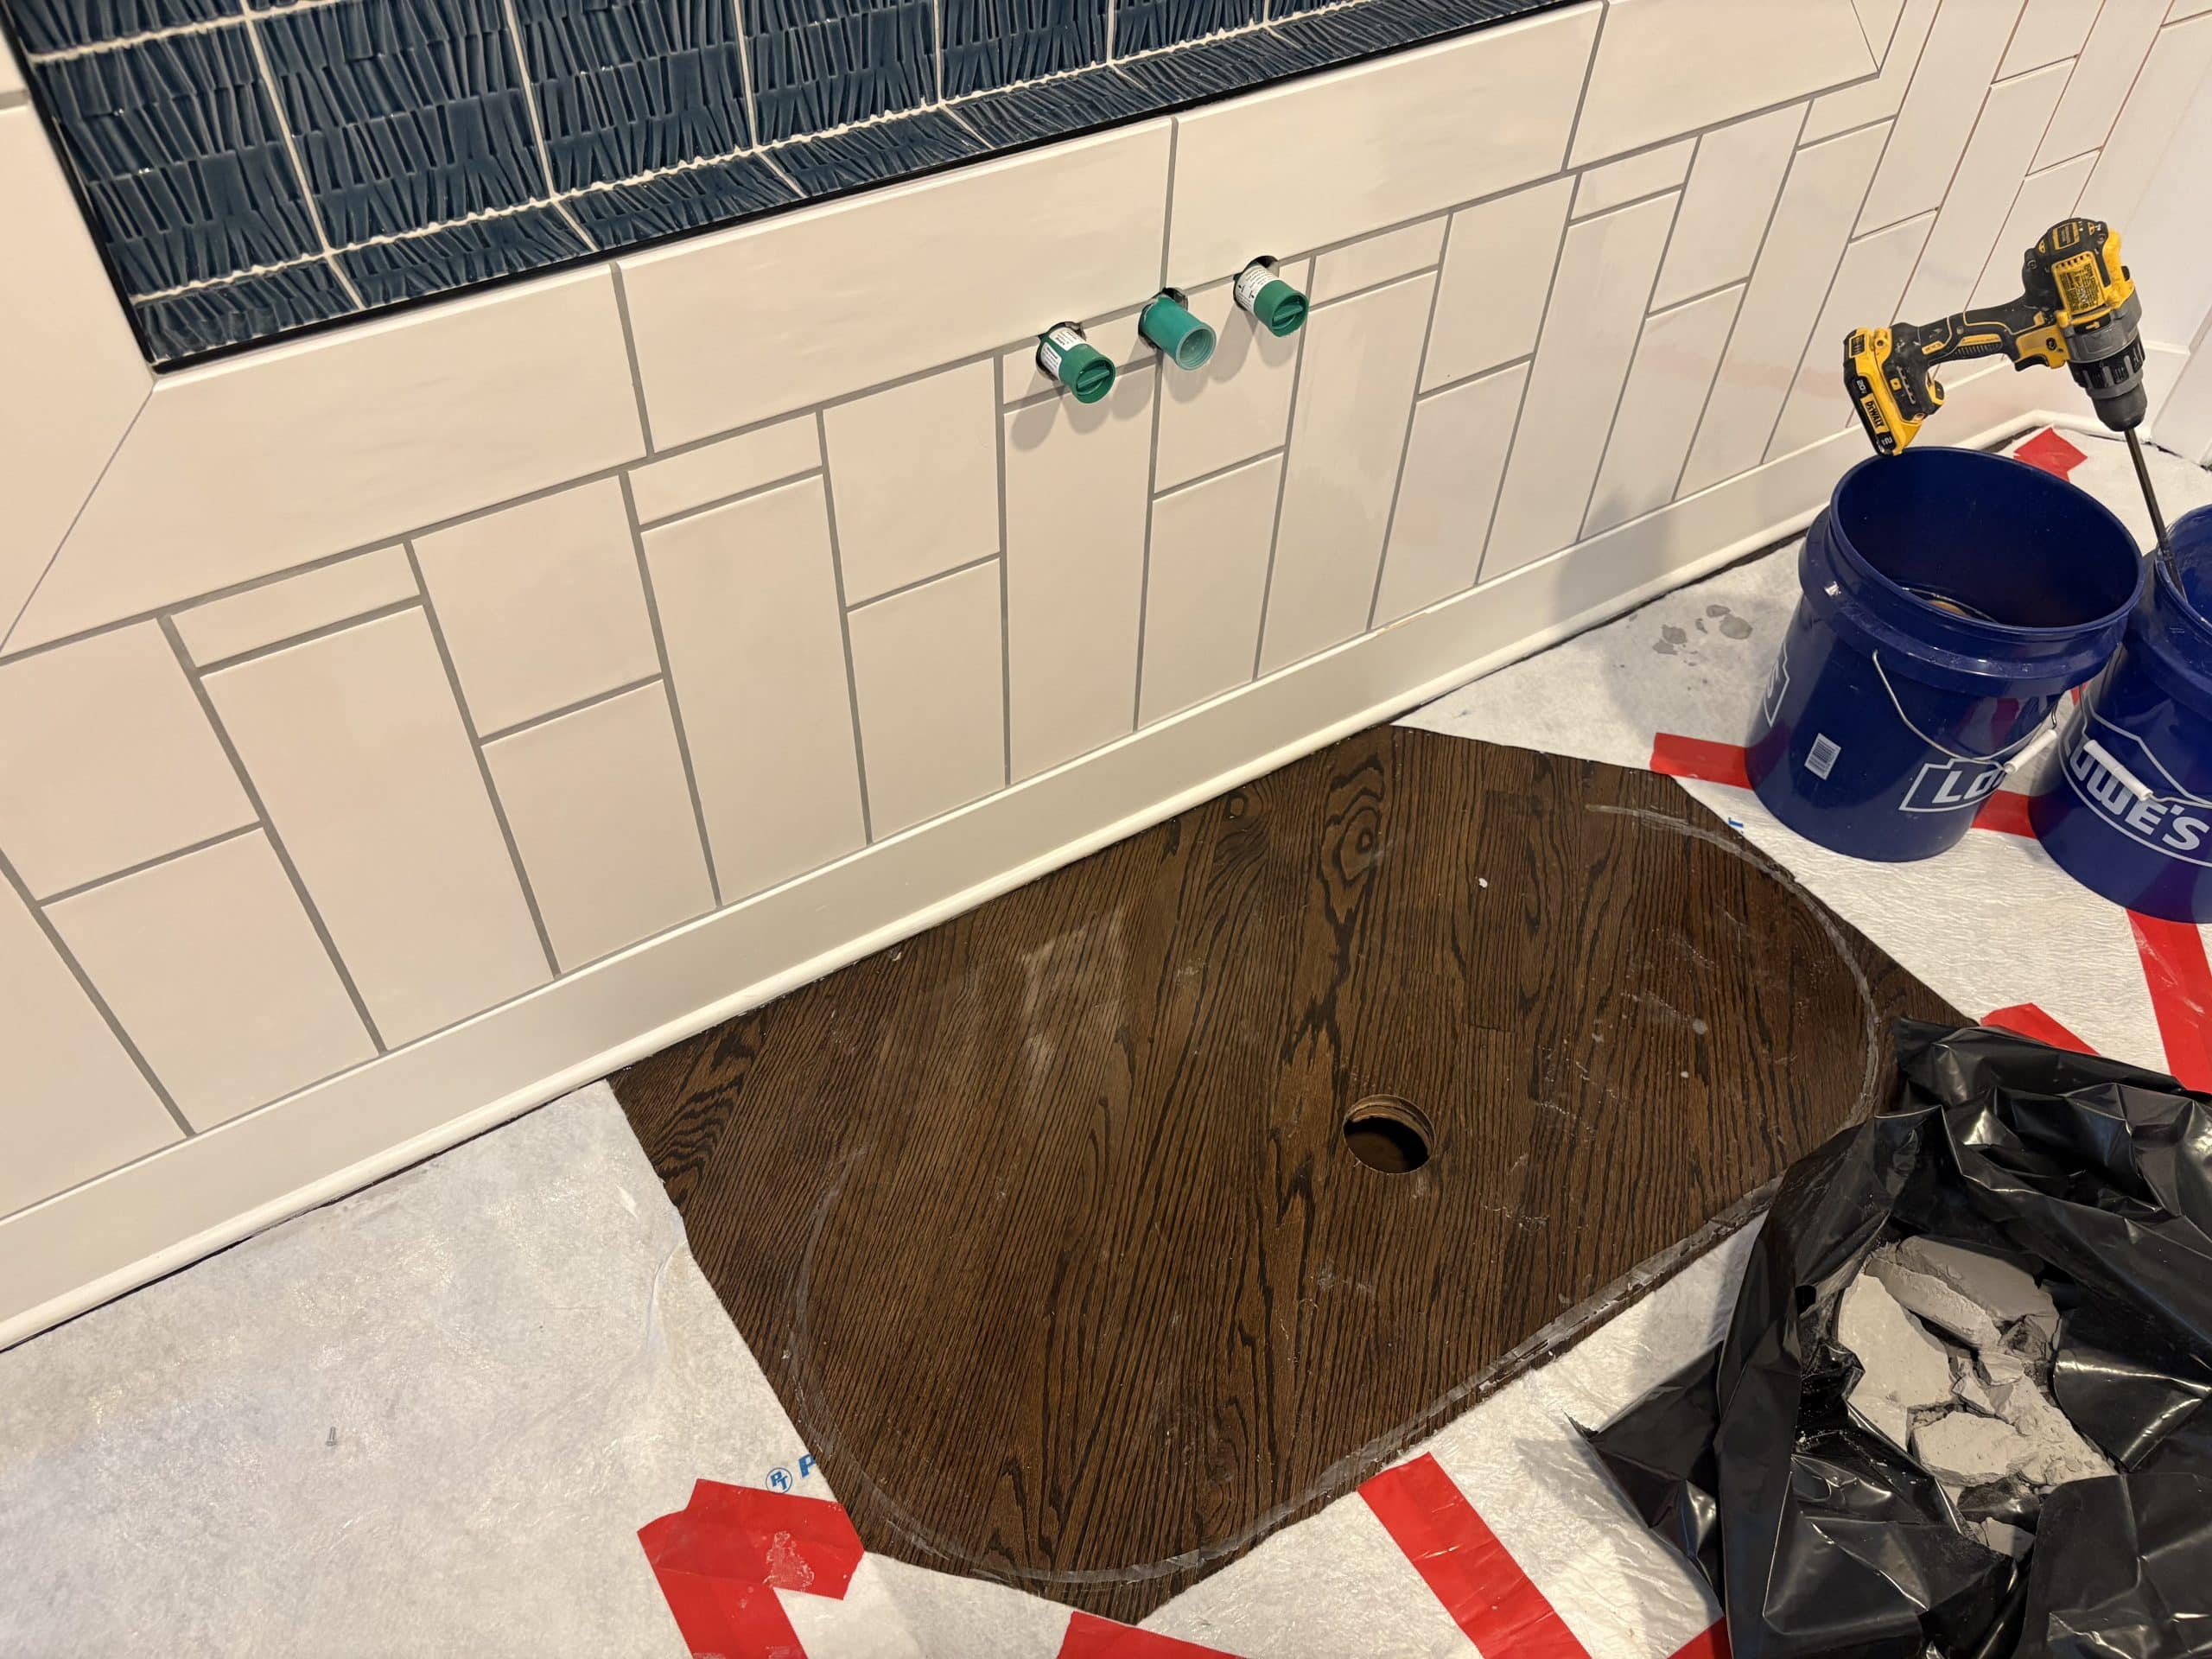
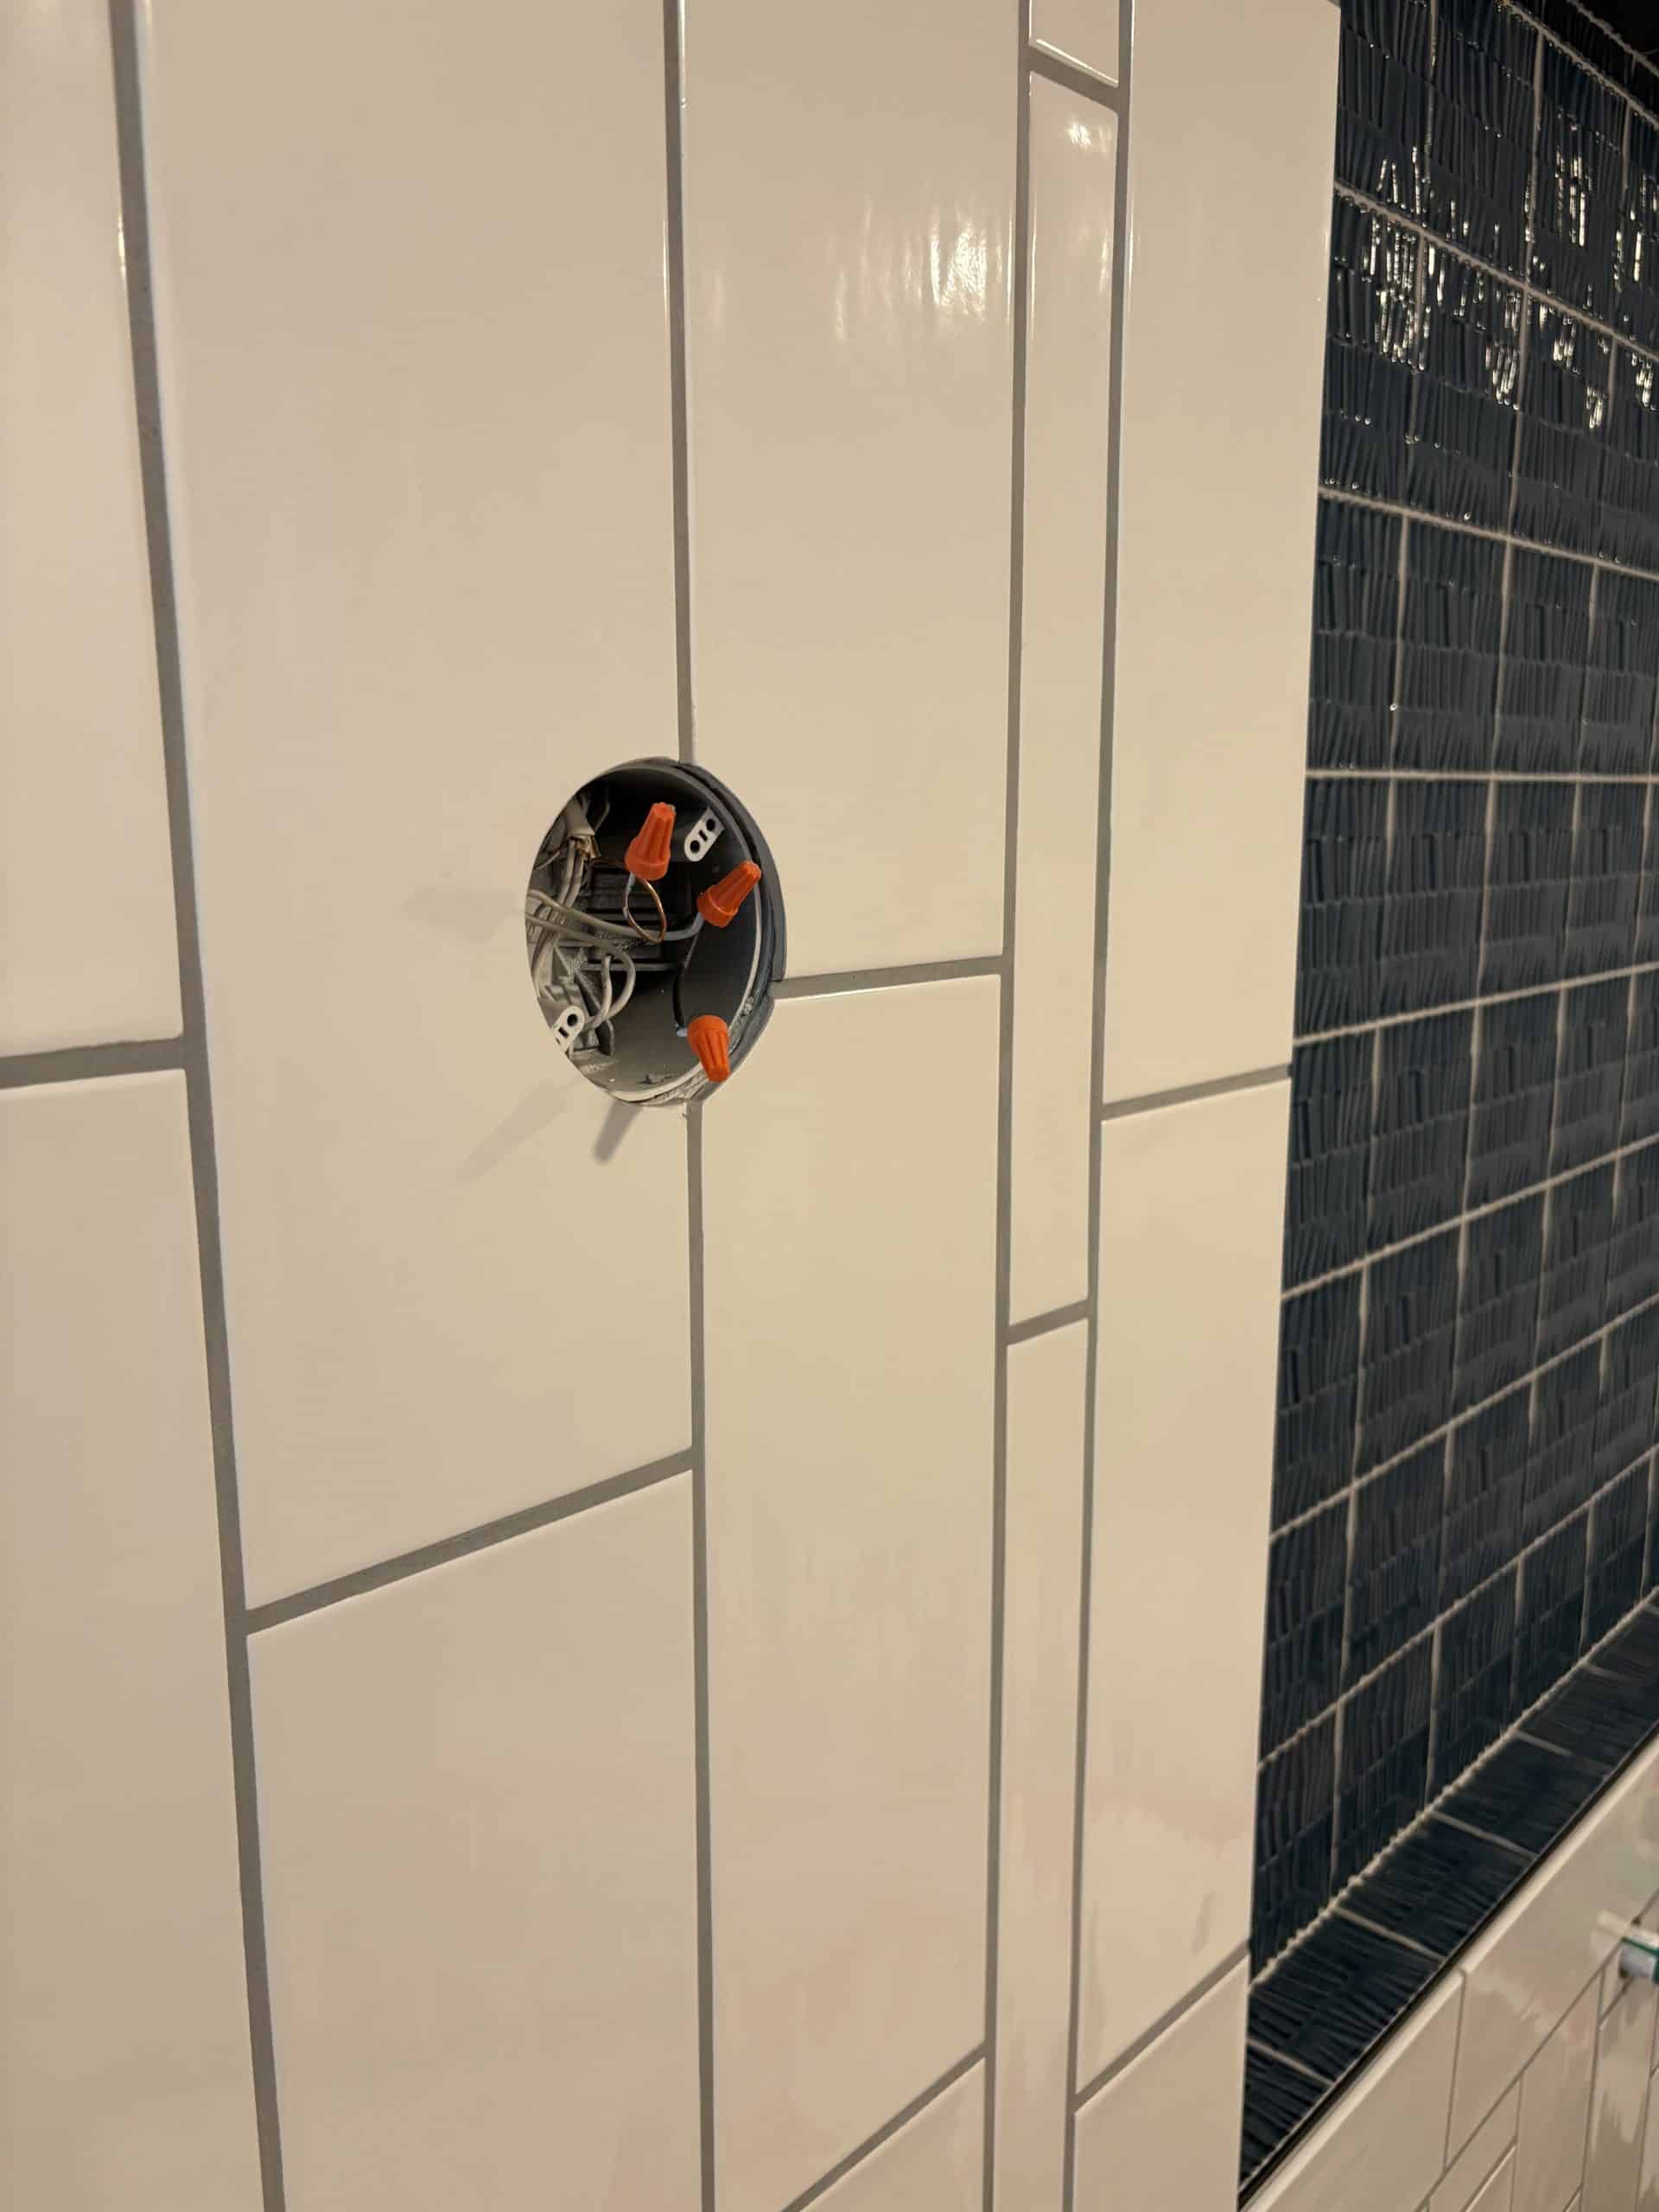
Before bringing the new tub into the space, we also relocated the wall-mounted tub filler, completed drywall repairs where the plumbing had been modified, and installed new wall tile to create a more cohesive, spa-like look that ties in beautifully with the nearby shower.


Step 5: Install the New Tub
With the plumbing complete and the space fully prepared, it was finally time to bring in the new tub. Thomas and Josh carefully carried the approximately 300-pound freestanding tub up the front steps, through the home, and into the primary bathroom.
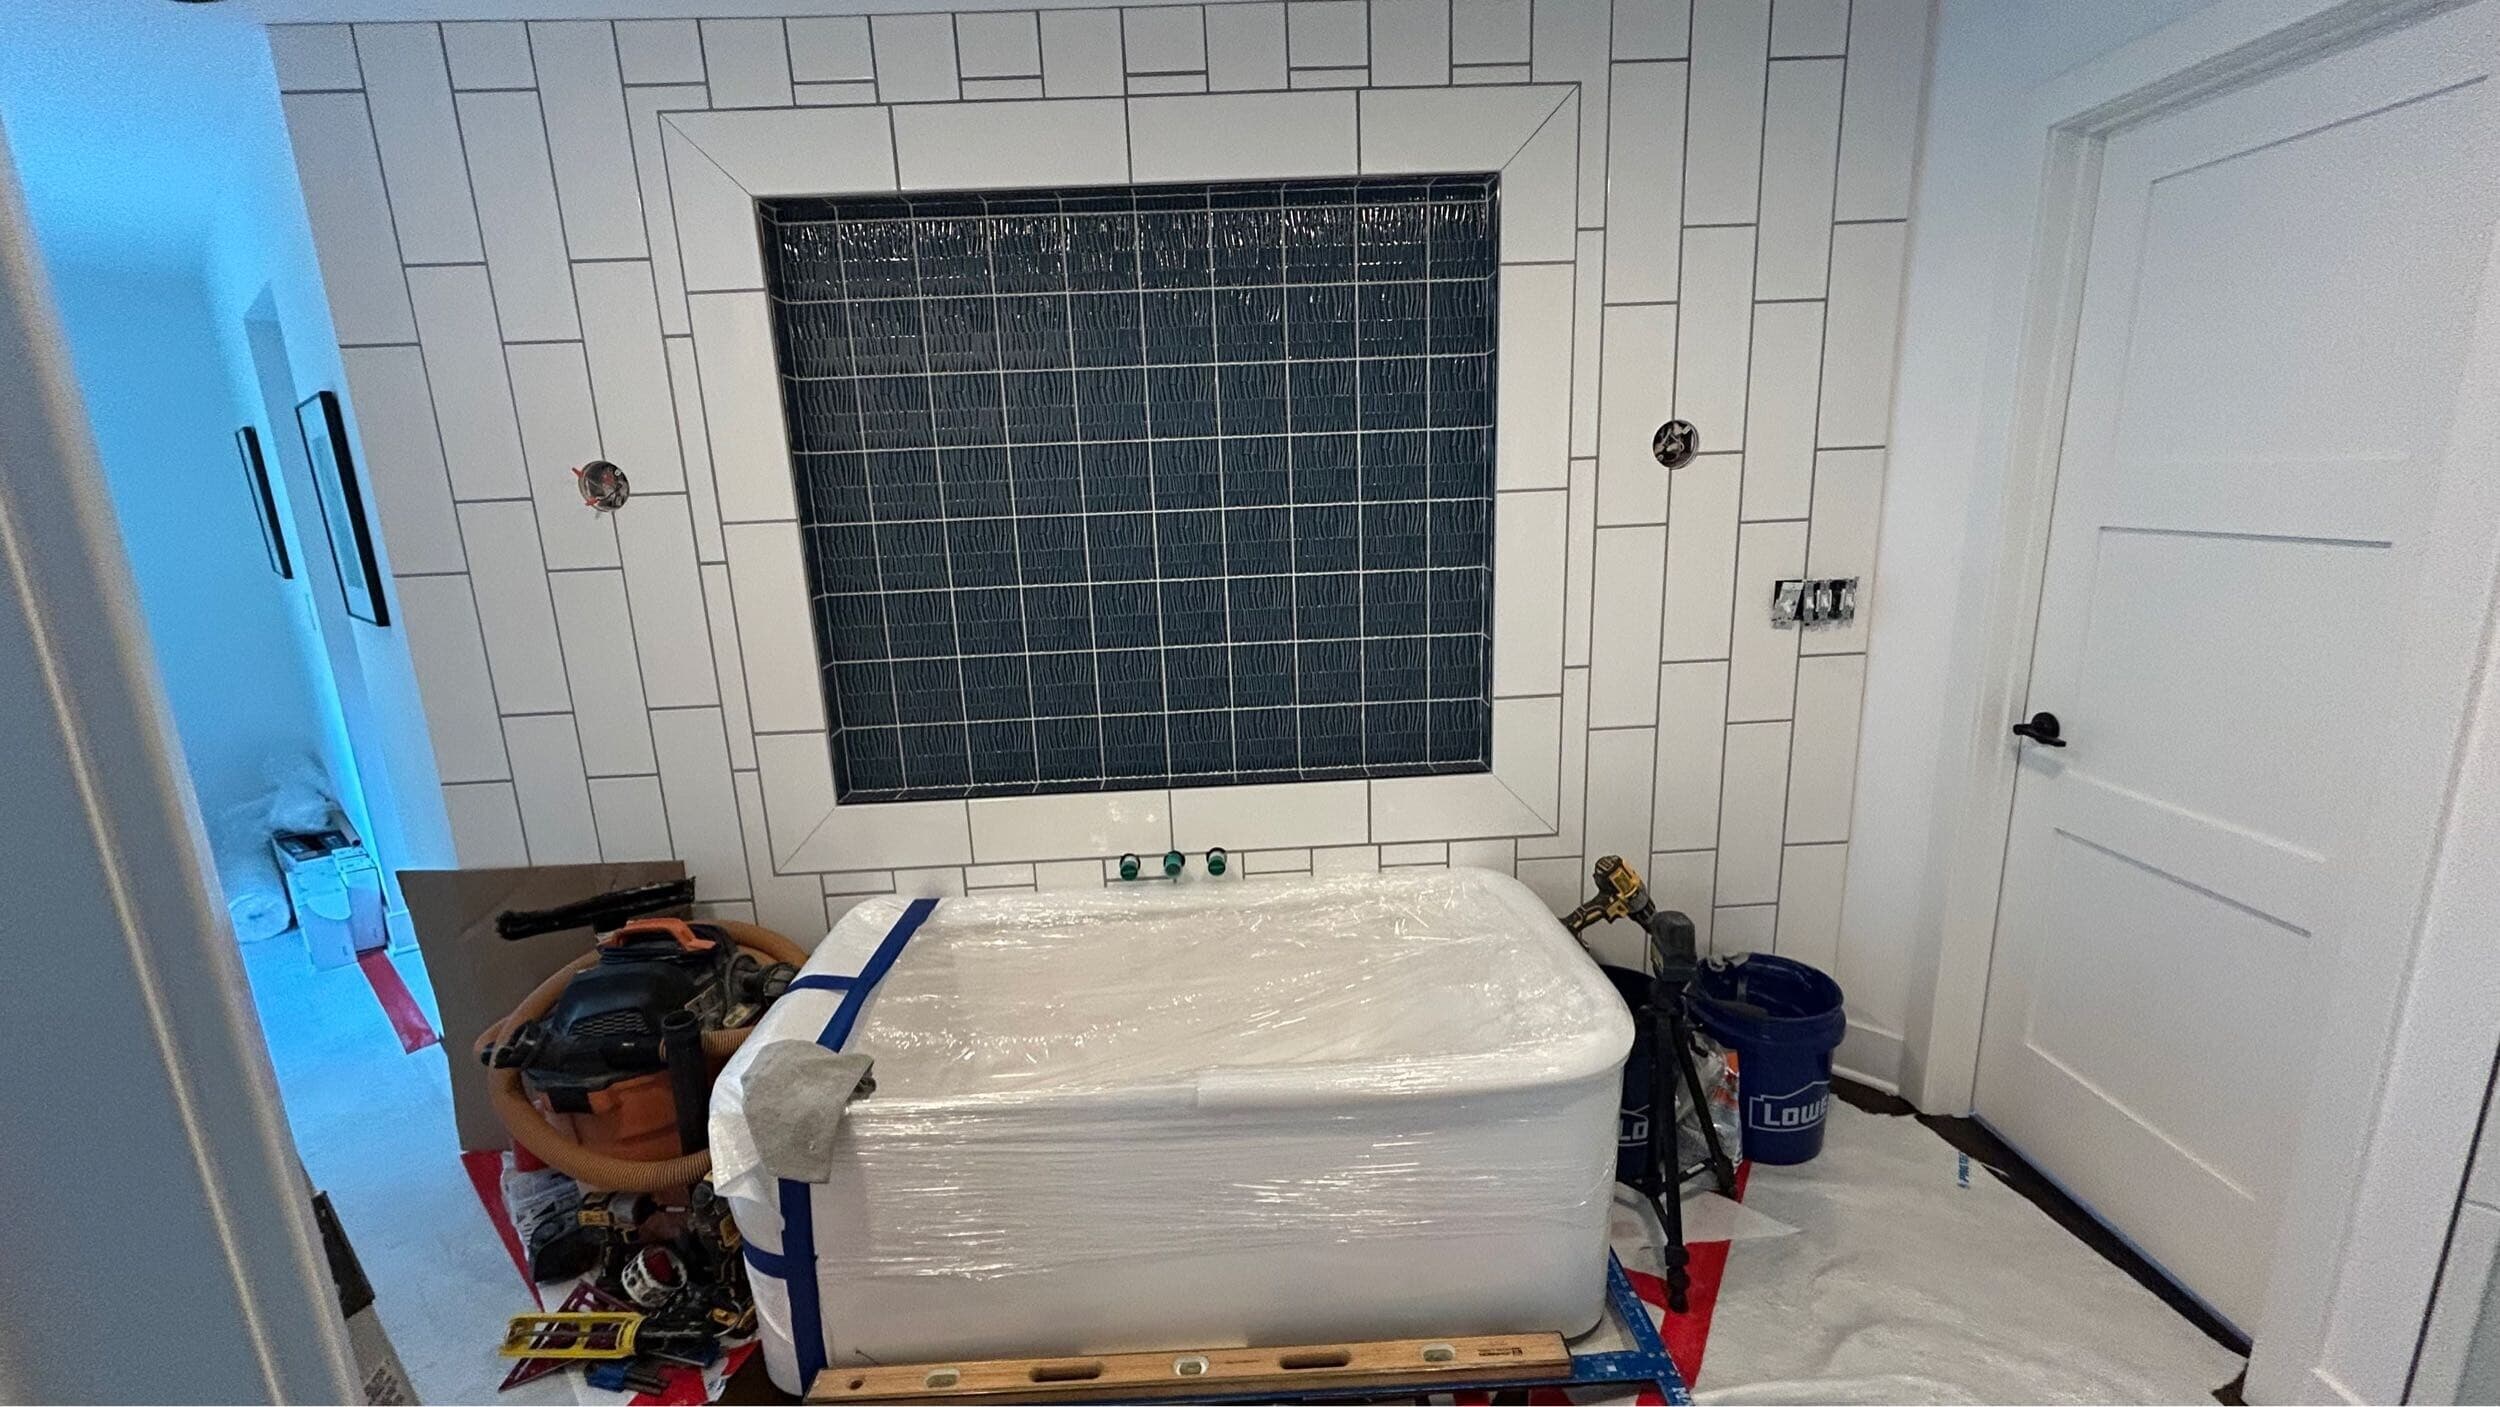
Moving a fixture of this size takes much more than strength. It requires planning, teamwork, and constant communication to safely maneuver through finished spaces without damaging walls, floors, or trim. To make the final installation even more precise, the team temporarily supported the tub on wood blocking while making final plumbing connections and confirming the drain alignment.

Once everything was verified, they carefully lowered the tub into its permanent position—knowing there was virtually no room for error.
Step 6: Complete the Finishing Details
Once we secured the tub, our team turned to the finishing details. We installed the plumbing trim, reinstalled the wall sconces, mounted the grab bars for improved accessibility and aging in place, and completed the finishing touches that transformed the space from a construction zone into a finished bathroom.
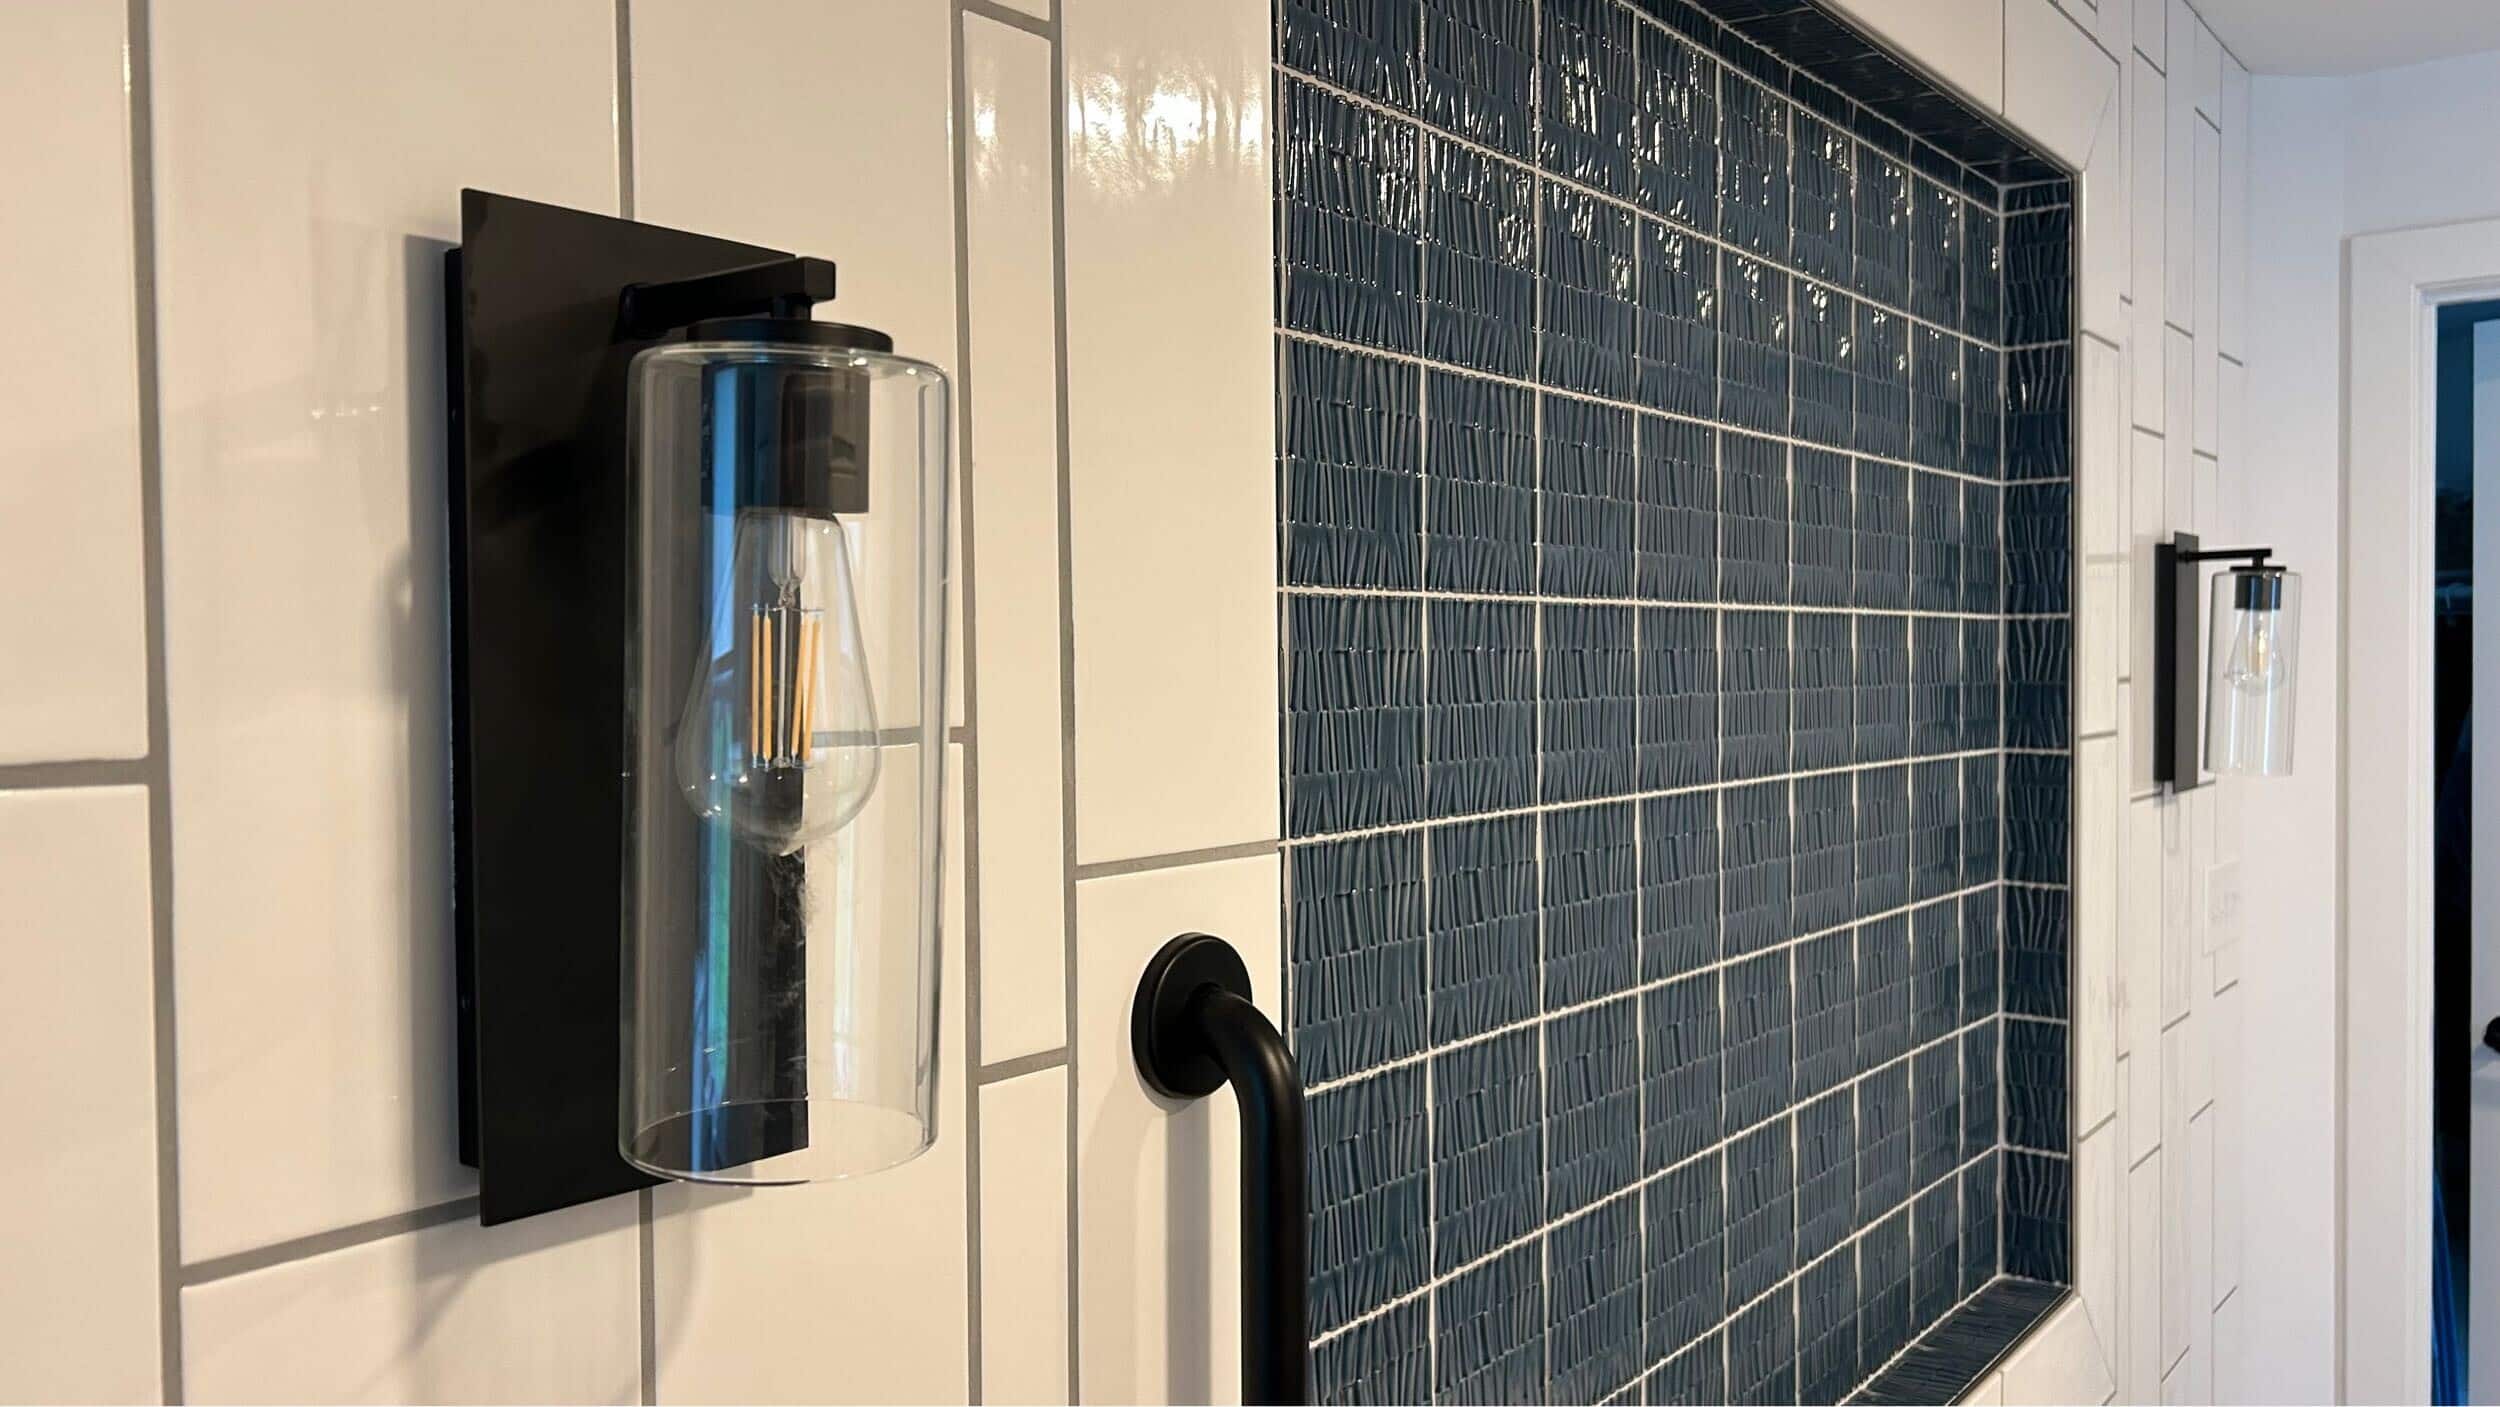
The new wall tile helps create a more cohesive, intentional design while complementing the existing shower, and the precisely positioned freestanding tub gives the homeowners the clean, custom look they envisioned. More importantly, they now have a soaking tub that uses less water, functions better for their lifestyle, and was installed with the attention to detail needed to enjoy it for years to come.
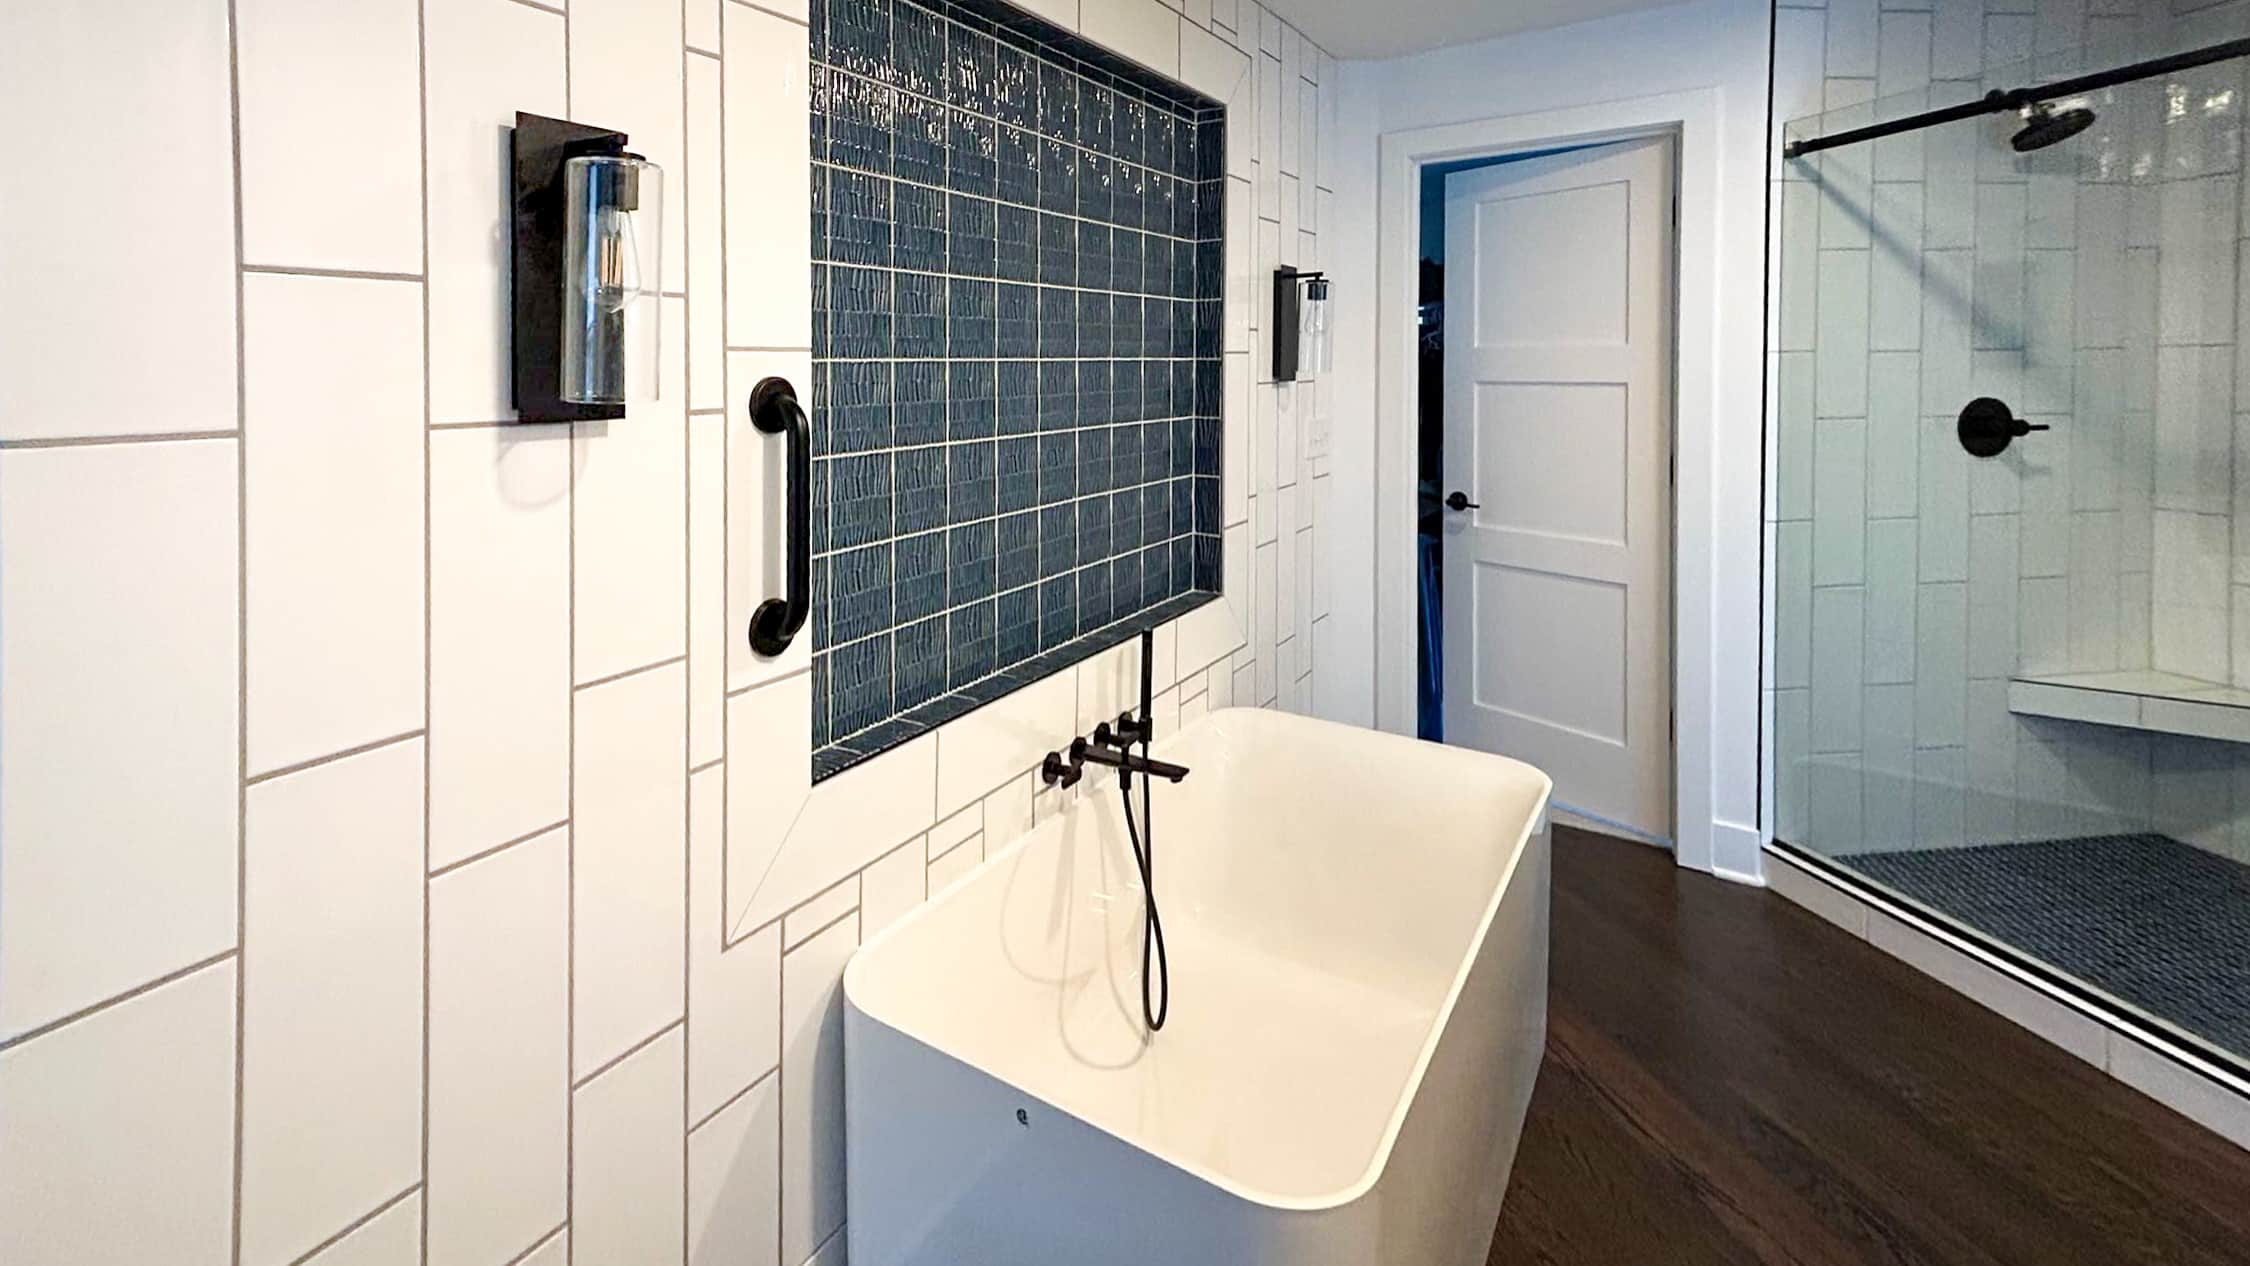
What We Found on This Project
This project is a perfect example of why bathtub replacement is often more involved than homeowners expect.
Although the goal was simply to install a new freestanding tub, our team also had to:
- Relocate the drain to match the new tub.
- Modify plumbing from the unfinished basement below.
- Move the wall-mounted tub filler to align with the new installation.
- Repair drywall after plumbing changes.
- Install new wall tile to create a cohesive "wet room" feel alongside the existing shower.
- Hand-cut tile around the wall sconces for a precise finished appearance.
- Install grab bars to support accessibility and aging in place.
Each of these tasks required a different skill set, but together they created a finished bathroom that looks intentional, functions beautifully, and will serve the homeowners for years to come.
Common Challenges with Tub Replacement
Many homeowners are surprised by what can complicate a bathtub replacement.
Some of the most common challenges include:
- Drain locations that don't match the new tub.
- Plumbing modifications hidden beneath the floor or in the walls.
- Heavy tubs that require multiple people to move safely.
- Precise measurements with little room for error or adjustment.
- Drywall, tile, or paint repairs after plumbing work.
- Waterproofing and sealing around the new installation.
These are the kinds of details that can quickly turn a "weekend project" into a much larger repair. The problem with bathroom or plumbing related projects is that if done incorrectly they can lead to leaks which can cause mold or wood rot- and those can quickly become big problems.
DIY or Call a Professional?
You may be able to DIY if...
- You're replacing a tub with the exact same model.
- No plumbing changes are required.
- You have experience with plumbing and finish work.
- You have enough help to safely move the tub.
We recommend calling a professional if...
- The new tub has a different drain location.
- Plumbing needs to be relocated.
- Tile, drywall, or electrical work is involved.
- The tub is extremely heavy.
- You want a precise, custom installation.
- Schloegel Handyman Services is ready to help make your tub installation feel easy! Contact us or call us at 816-844-6975 and someone from our team would be happy to talk through your project.
Handyman Tip from Thomas
"The biggest challenge with this project wasn't installing the tub, it was making sure everything lined up perfectly before lowering it into place. Once a tub like this is set, there's very little room for adjustment, so taking the time to get the plumbing and measurements right is so important."
The final takeaway? Thomas rates replacing a freestanding tub a 9 out of 10 on the DIY difficulty scale, and recommends leaving this one to the pros.
Frequently Asked Questions: How to Replace a Bathtub
How Do You Replace a Freestanding Bathtub?
Replacing a freestanding bathtub generally involves removing the existing tub, disconnecting the plumbing, evaluating the new tub's drain location, modifying plumbing if necessary, preparing the surrounding walls and flooring, moving the new tub into place, connecting and testing the plumbing, and completing any necessary tile, drywall or finish work.
The exact process depends on the existing bathroom and the new tub. In this project, our team had to relocate the drain, modify the tub filler plumbing, repair the wall, install new tile and carefully position a 300-pound tub.
Can you replace a freestanding bathtub yourself?
While it's possible, most freestanding tub replacements involve plumbing, heavy lifting, and precise installation that make professional help the better choice.
How long does it take to replace a freestanding bathtub?
A simple bathtub replacement may take a day or two, while projects involving plumbing changes, tile, drywall, or other repairs can take considerably longer. This particular freestanding tub replacement took a little less than 10 business days because the project included plumbing modifications, tile work, drywall repairs, and finishing details.
Do all new tubs use the same drain location?
No. Drain locations vary by manufacturer and model, which is why plumbing adjustments are often necessary.
How heavy is a freestanding bathtub?
Many freestanding tubs weigh several hundred pounds before water is added. This project's new tub weighed approximately 300 pounds.
Does replacing a bathtub require plumbing changes?
Not always. However, if the new tub has different dimensions or drain placement—as it did in this project—plumbing modifications may be required.
Can you replace a bathtub without remodeling the entire bathroom?
Yes. In many cases, homeowners can update a bathtub while preserving much of the existing bathroom. This project is a great example, combining a new tub, updated tile, plumbing modifications, and accessibility improvements without a full gut renovation.
How much does it cost to replace a bathtub?
The cost of replacing a bathtub varies widely depending on the tub specs, plumbing, access, surrounding tile, and whether additional repairs are needed. A straightforward tub swap will cost much less than a replacement that requires plumbing relocation, tile work, drywall repairs, or other modifications.
Ready to Update Your Bathroom?
Replacing a freestanding bathtub is often more complex than it appears, but with the right planning and experienced professionals, it can dramatically improve both the look and functionality of your bathroom. Whether you're replacing an outdated tub, updating plumbing, or tackling a list of home repairs, our handyman team is here to help you complete the job with confidence and with craftsmanship that's designed to last.
For more home inspiration check out our finished project galleries or follow us on Instagram.
