Embarking on the remodeling journey is full of excitement. The design phase is full of exploration and possibility; visiting showrooms and going over all of the options in close collaboration with our design team. Once the design is finalized it’s time for us to begin our demolition process. This step can evoke more mixed feelings. While it’s thrilling to see your project moving forward, it can also feel a bit daunting as our construction team steps in and begins transforming your home.
This week, we’re breaking down our demolition process to provide you with a clear picture of what to expect. Our goal is to prepare you for this phase, reducing uncertainty and helping you navigate the journey with confidence. With the right preparation and mindset, you’ll find that the transformation is not only manageable but also incredibly rewarding.
Protecting Your Home
What truly sets Schloegel Design Remodel apart from other remodelers and handyman service providers is the exceptional care we take in protecting your space and minimizing disruptions to your daily routine. Our comprehensive site protection process is a key component of every project. Understanding that the remodeling process can be both messy and disruptive, we’ve developed a series of measures designed to contain dirt, dust, and disruption, ensuring your home remains as comfortable and functional as possible.

Our process begins with meticulous floor protection, a critical step in safeguarding your home’s surfaces. We do this in a two-step approach to ensure maximum protection for your flooring, stairs, or any immovable fixtures. First, we lay down a layer of Econorunner, a thin, water-impermeable foam sheeting that is gently adhered with painter’s tape. This type of tape ensures easy removal without any risk of damaging the finished surfaces underneath. Following this, we reinforce the area with RAM Board, a robust cardboard sheeting that provides additional protection from heavy impacts. We secure the RAM board with heavy-duty polyurethane tape. This adheres to the painter’s tape beneath and creates a strong bond that leaves your floors unscathed.
We extend this protective layering process to all hallways, entrances, and stairwells that our team will access during the project. For carpeted areas, we use a carpet mask, a sticky plastic sheeting that guards against stains, dust, and dirt, keeping your carpets clean and intact.
Once the floors are secured, we set up zip walls and temporary barriers made from thick mil plastic sheeting. These walls prevent dust and debris from spreading into areas of your home not involved in the renovation. We install zippered doorways within these walls for easy access. This allows passage while maintaining separation between work zones and living spaces. This ensures that your daily routine remains as undisturbed as possible and maintains a healthier environment by reducing the risk of inhaling dust or hazardous particles.
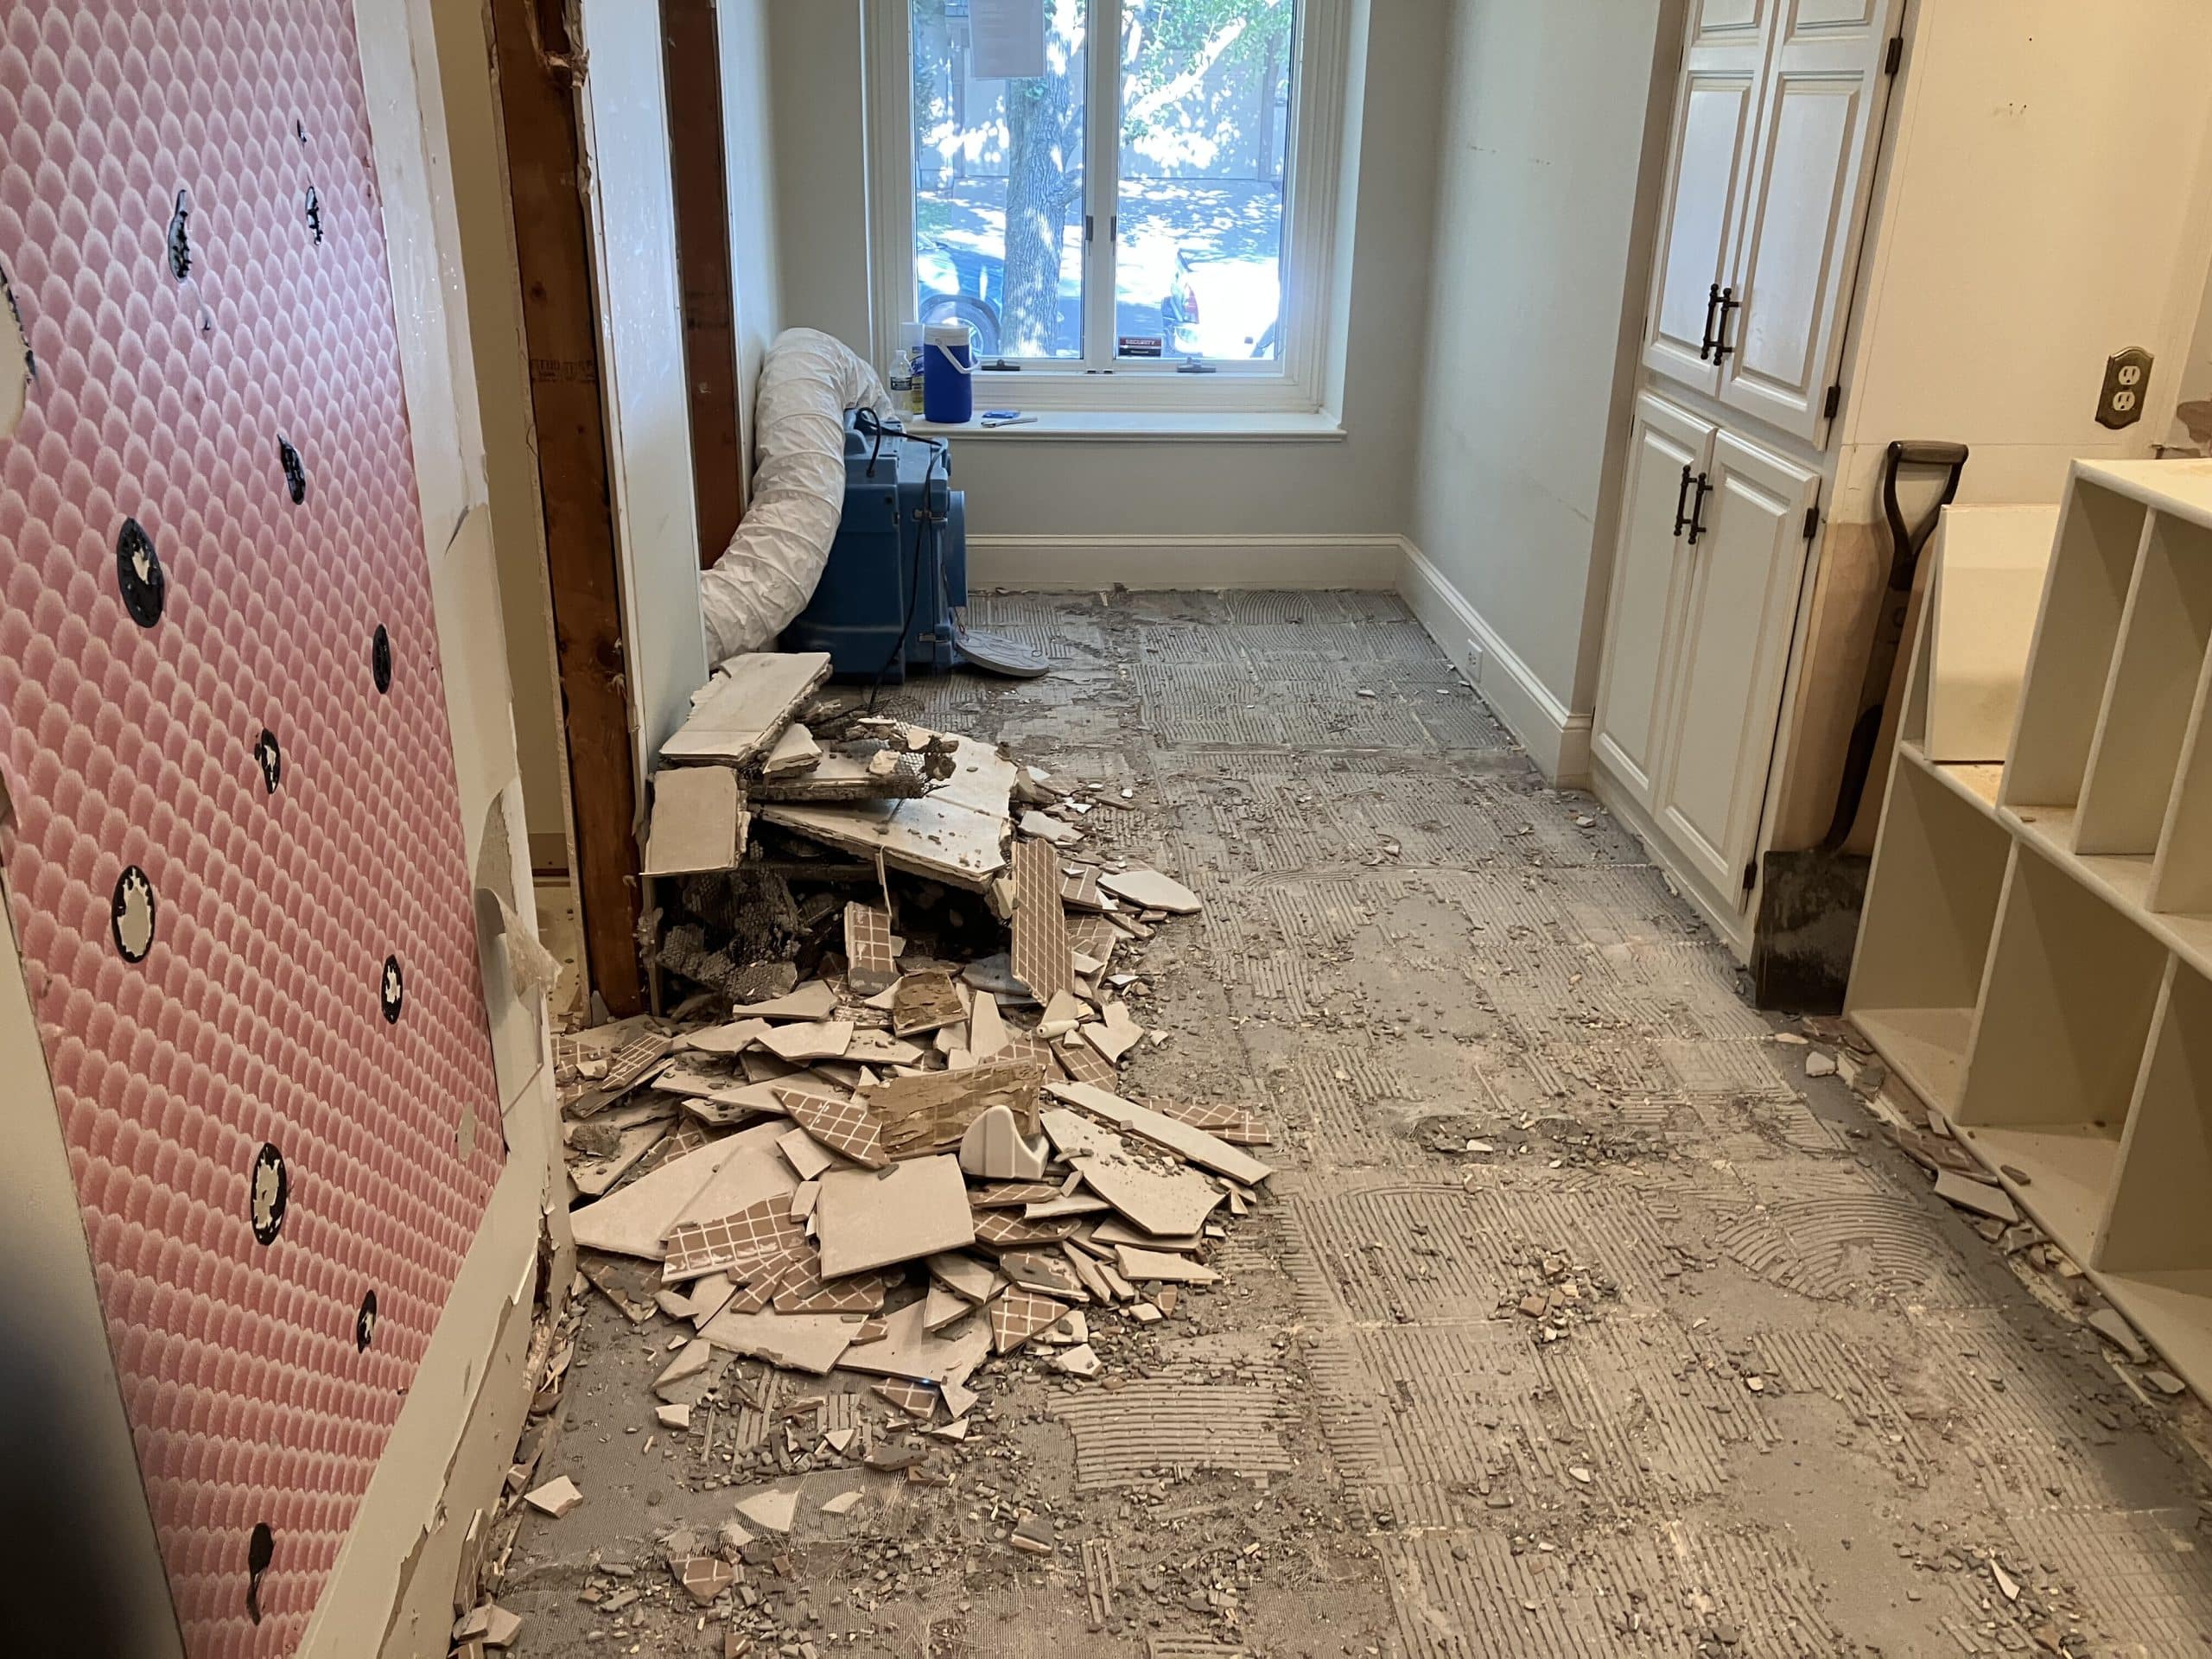
To further protect your home’s air quality, we deploy air scrubbers during the dustiest phases of the demolition. These machines efficiently filter out dust and particulates. We also place filters over all air ducts in the renovation area to protect your HVAC system from contamination. This dual approach keeps your indoor air clean and safe throughout the project.
Finally, our commitment to cleanliness extends to the end of each workday, and especially before weekends. Our team thoroughly cleans the workspace, removing debris and dirt to keep your home as tidy as possible.
Project Manager Grayson Leweke takes us through the site protection process in this short video.
Our Demolition Process
Once we have the work area fully protected, it’s on to the next phase: the demolition. This step can vary in order depending on the scale and timeline of your project. However, every element slated for removal follows an organized procedure.
Furnishings and Fixtures: This involves removing lighting fixtures, appliances, toilets, and tubs. Many of our clients opt to donate these items or repurpose them in their remodeled space. We handle these items with care while uninstalling and we store each piece to preserve its condition for future use or donation.


Cabinetry: Given their size and integration into the space, cabinets and vanities require careful removal to avoid damaging surrounding areas.


Drywall: Contrary to the dramatic portrayals on home improvement shows, we don’t swing sledgehammers wildly to tear down drywall. While it may look entertaining, this method is neither efficient nor practical. Instead, we gently pull the sheetrock off in large sections, subsequently removing screws and nails. This approach not only reduces unnecessary noise and dust but also speeds up the process and minimizes disruption.


Insulation: Insulation is often replaced if it fails to meet modern building codes or if we discover mold. This ensures that the new space is up to standard and provides a healthy living environment.

Flooring: Removing tile can be one of the more challenging and noisy parts of the remodel, especially when tiles are adhered using robust installation methods. This step typically involves a hammer drill with chisel attachment and will likely be the noisiest and dustiest portion of the remodel. However, thanks to our comprehensive site protection, we work to contain and minimize airborne dust. We may also need to remove subfloor due to damage uncovered during demolition or to facilitate changes to utilities or framing underneath.
Electrical and Plumbing: If the remodel includes changes to electrical or plumbing systems, we remove electrical boxes and pipes during this stage. With the wall framing exposed, this task becomes relatively straightforward.
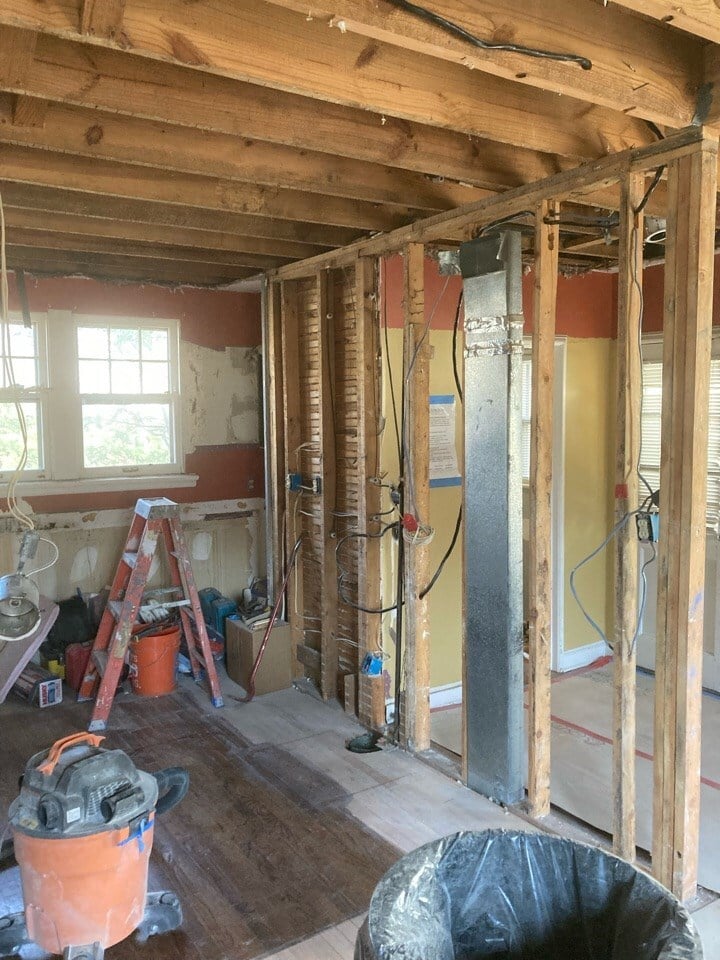
Framing: Many remodels require adjustments to the space’s framing to accommodate updated layouts. Whether we are moving walls or creating new doorways, we handle the demolition of old framing with precision. For load-bearing walls, we install temporary support structures to maintain your home’s structural integrity. In cases involving exterior walls or windows, the openings are sealed off and temporarily insulated to protect your home from the elements.

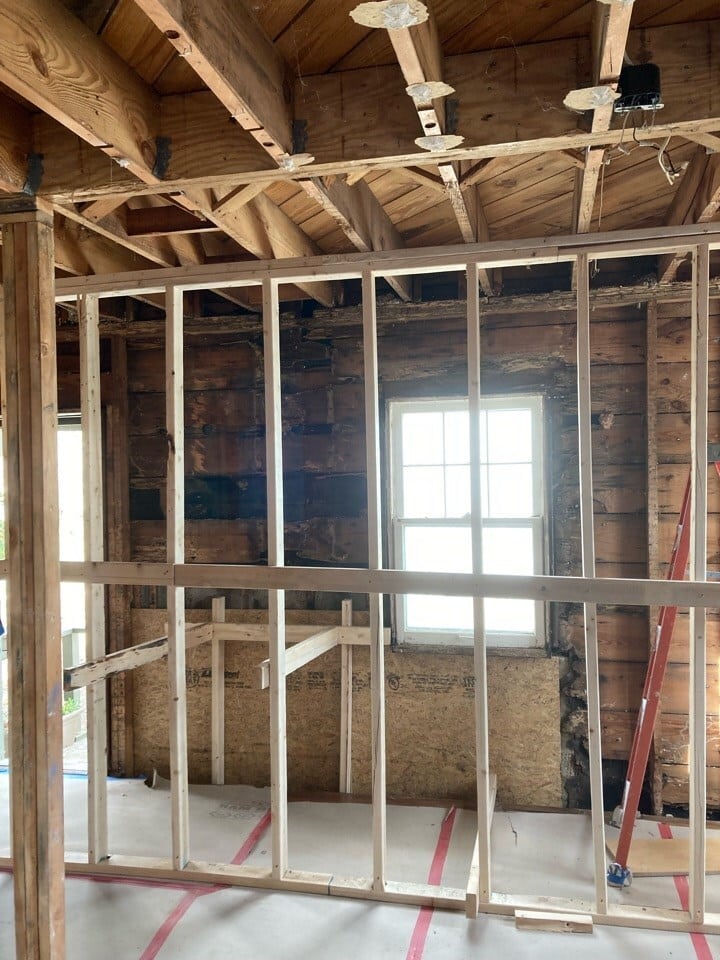
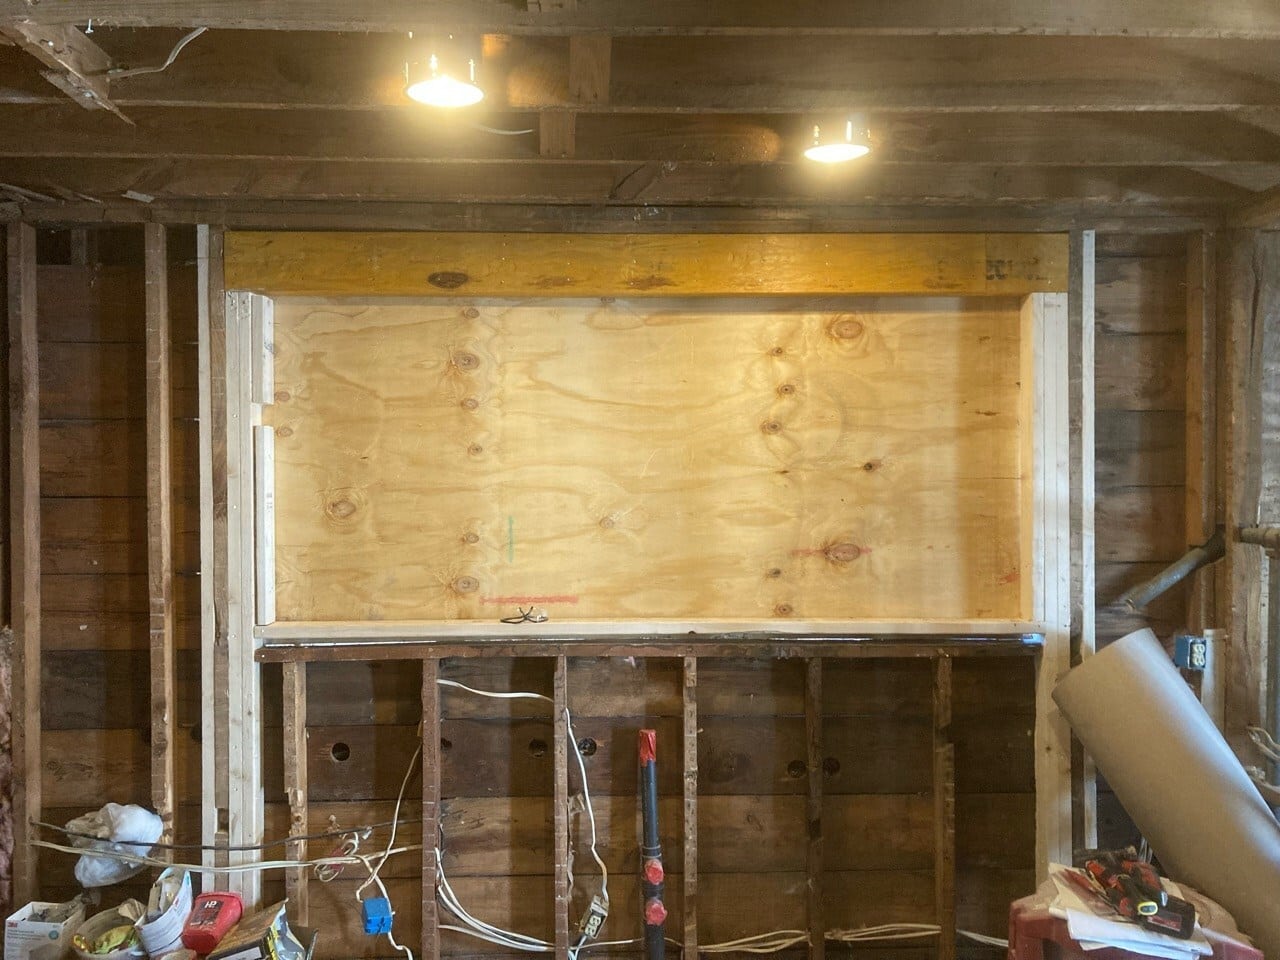
Windows: We generally wait to remove old windows until the new ones are on-site and ready for installation. If circumstances demand an earlier removal we secure the rough openings with boards and apply temporary insulation to keep the interior protected.
In this video, Project Manager Doug Schauerman takes us through another example of site protection, removing carpet, and salvaging a kitchen island to be donated on behalf of our clients.
For an even closer look at the transformative power of demolition. Watch this short video to see our team in action as they begin to transform this formal dining area and bathroom into a bedroom suite complete with a jack-and-jill style en-suite bath.
Once you have navigated through the demolition process, your home will transform into a blank slate where your imagination can do it’s best work. With the old cleared away, it’s time to embrace the excitement of seeing your design selections make their way into your new space. Whether parting with your old space includes saying goodbye to cherished memories, or resolving everyday challenges, our team is here to guide you through the transition. We’re dedicated to helping you create a beautiful new environment where fresh memories can flourish. Ready to bid farewell to your old space and embrace a stunning new beginning? Contact our design team and let’s create something new together!