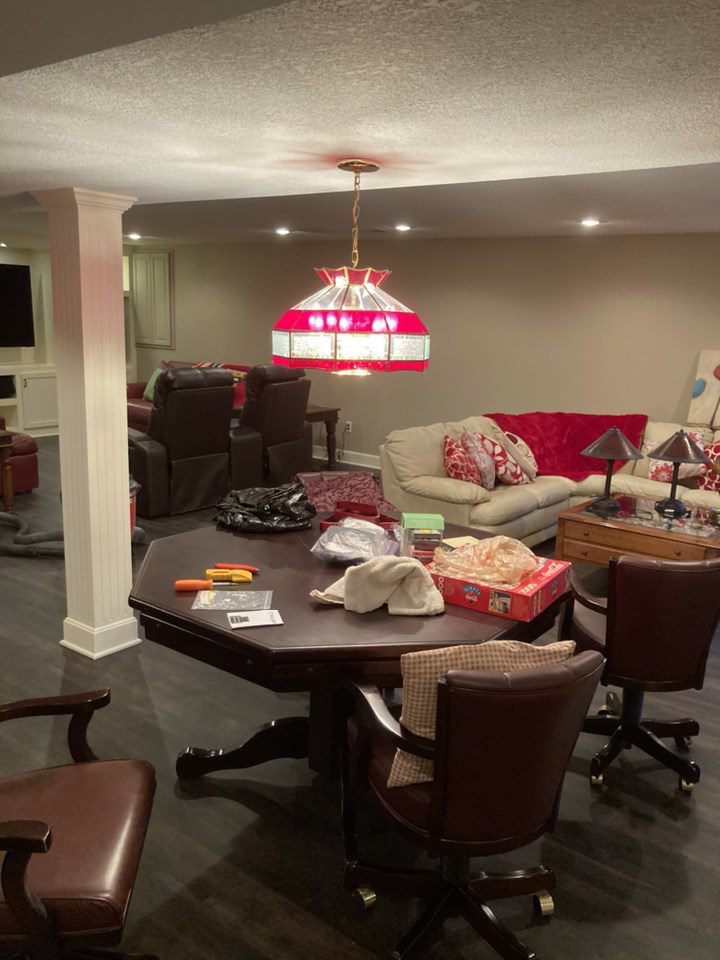
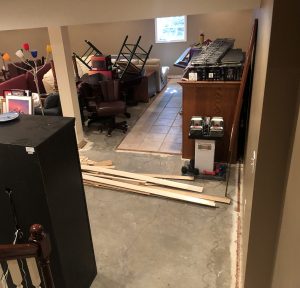
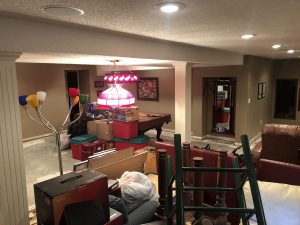
This basement remodel was born of unfortunate necessity. A plumbing leak damaged ceiling and walls and destroyed the carpet and baseboard throughout the space. Their place for leisure or entertaining friends and family was as the restoration crew had left it: dank and inhospitable, cold concrete floors littered with tack strips and jumbles of furniture.
These homeowners rolled with the punch and decided to make the best of the situation. A Google search for basement remodeling brought up Schloegel Design Remodel, and they reached out to see how we might address the mess. This contact began weeks of collaboration to discover our clients’ vision and develop the best ways to realize their dreams for the space.
Ceilings
While the original plan involved only fixing the water-damaged areas, we convinced our clients the popcorn ceilings needed to go.
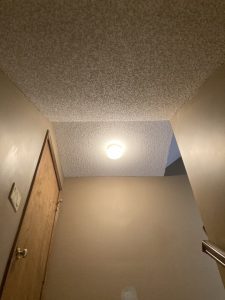
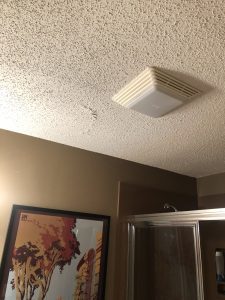
“Why would you ever put that up there?” you might ask, and that’s an understandable question. It’s not just a matter of the taste of the 70s, but also the functionality.
Besides offering better noise insulation (more surface area absorbs/disperses more sound), texturing a ceiling is a good way to save one’s rotator cuffs. A smooth ceiling takes a lot of overhead mudding and sanding; texture covers the numerous small imperfections that take so much time and energy to repair.
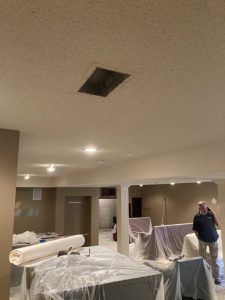
(Texture removal is more work than it looks; not many can do it in a single phone call like our very own Chris Smith.)
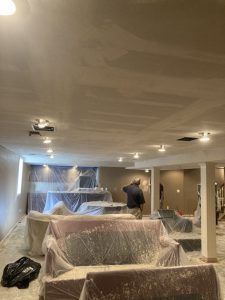
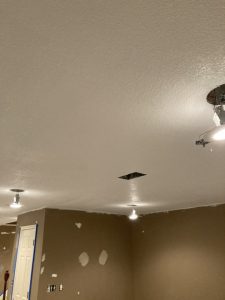
The texture in vogue these days is a subtler version called “knockdown.” Like popcorn texture, it’s quickly applied with pressure from an air compressor propelling clumps of mud through a nozzle gravity-fed from a hopper. After application, it’s flattened with a quick pass from a knockdown knife.


Knockdown texture is the remodeler’s friend while remaining inoffensive to the aesthetician. After a generous coat of primer and two of paint, the ceiling largely disappears.
Floors
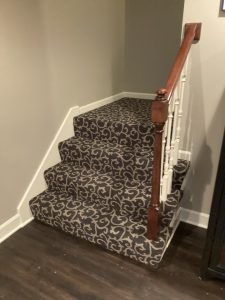
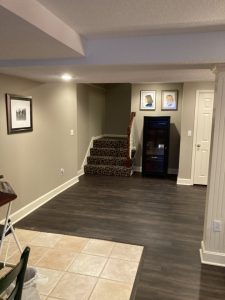
The stairs did get some swanky new carpet, but we needed another flooring option for the rest of the basement space. We could have continued with the tile already present in the bar area; it had just demonstrated its hardiness by surviving the disaster that had taken the carpet. A good hard tile, however, is quite costly. Installation is heavy, messy work best performed by an experienced tradesperson. Crucially, basement tile is no place for bare feet that like to keep warm. We went with an option that is rightfully taking the remodeling industry by storm, luxury vinyl plank, or LVP.
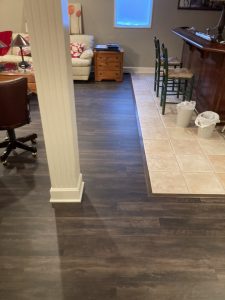
This particular plank has a core made of “stone plastic composite,” that is, limestone mixed with PVC. Why would you want plastic in your flooring? As I said in my last post featuring engineered quartz countertops, plastic is the perfect aid to the durability of stone. While very resistant to mechanical wear, natural stone is both porous and brittle. Mix stone minerals with just enough plastic to eliminate porosity, and you have the trifecta of durability. This floor’s core is waterproof, flexible as plastic, and tough as stone.
LVP is much cheaper than quality tile. It’s lightweight and easier to work with, and the only mess you’ll make with it is a pile of sawdust from the skill saw used to cut it.
The coffee-bean brown of the new floor contrasts beautifully with the existing tile and the cream of the woodwork.
Entertainment Center
The original
The initial plan was to make the entertainment center much as it had been. There were to be cubbies in the drywall for the TV and each of the three speakers, as well as cabinets on each side for storage.

New Vision
Our client stressed that she wanted the entertainment center to look “built-in,” to appear a seamless feature of the space. Sensing that this project needed to expand past its original scope, Perry reached out to our own Leslie Hatfield. Degreed in architecture and experienced in design, he knew her creativity and thoughtfulness could turn the piece into a real statement. Leslie did not disappoint.
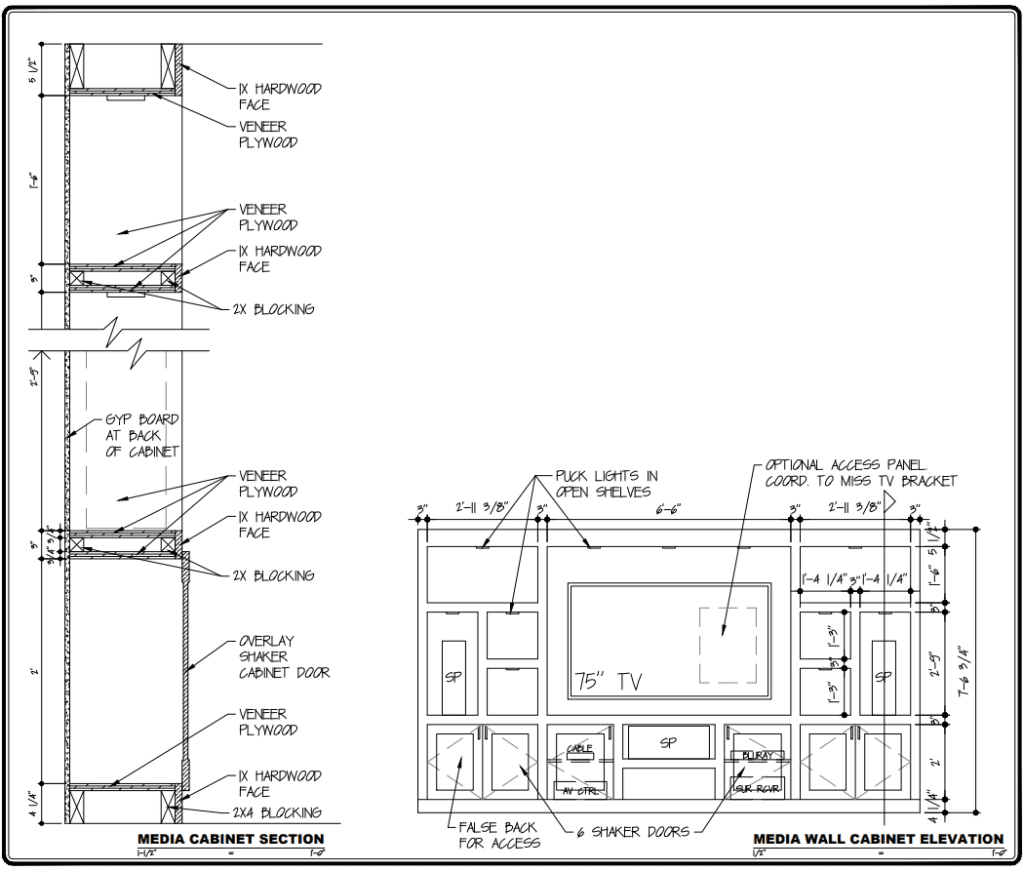
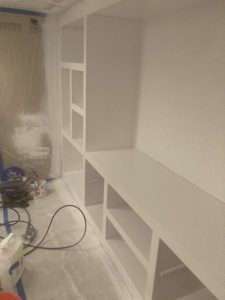
Why build an entertainment center into the wall when we could build the wall into an entertainment center? The homeowners had already acquired the TV and the speakers that would be featured in the space. All the other parts of the piece would be to complement the operation of the system. Leslie proportioned and configured the whole wall around the key components of the entertainment center.
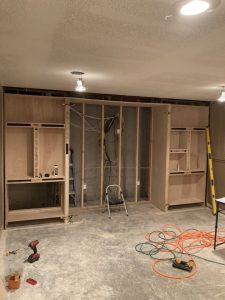
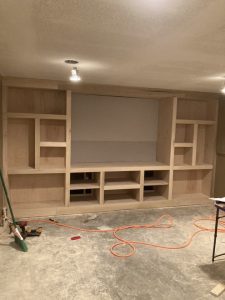
Construction
Montana is a very capable craftsman who led production on the job, but for this project, he needed the help of our primarycarpenter, Randy Shepherd. In the words of Montana, Randy “looked at the plans and just started cutting stuff and handing it to me. I didn’t even see him measure anything.” An unlikely story, but decades of experience can develop a skill that sure looks like magic. The dynamic duo completed the build over four days of deceptively careful construction.

Finishing
Greg, the leader of our former paint department, had earned the nickname “Eagle-Eye” because he could spot any imperfection in a paint job. More importantly, he taught us how to correct and avoid those imperfections. The skills we built under his leadership have been a boon to the Handyman and Design-Build departments. Joie Brown and I, the most detail-focused members of our former paint department, were tasked with finishing the unit.
After lightly sanding and vacuuming every inch of the bare wood–top, sides, bottom, back of each cubby–we sprayed on a prime coat.
The primer dry, we sanded and vacuumed the whole thing again. After wiping it down with a tacky cheesecloth to grab any leftover dust, we could start caulking the 187 beads and 68 corners of the piece. After a day and a half of concerted effort, the unit was ready for paint.
Despite the distinct unpleasantness of aerosolized petrochemical paint in a confined area, spraying enamel remains one of my favorite duties. The steady hiss of paint through a pinhole at 3000 PSI and rhythmic pump of the sprayer makes the soundtrack to the layers of tiny droplets fanned and feathered into a think, even sheen over the whole surface.
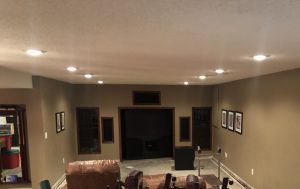
Lighting
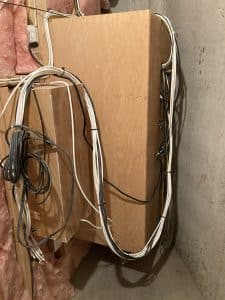
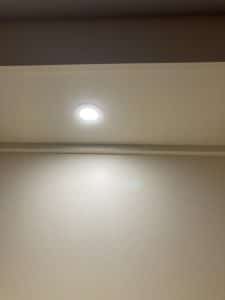
Our invaluable partners in countless projects, Jason Wright Electric took care of the wiring of the center. This involved a light switch for the space behind the center, new outlets, and wiring to the new lights. The shelves and center of the piece are lighted up with small-but-mighty LEDs. These particular lights come with two wireless remotes, one for mounting on the wall like a switch, and one for periodically losing in the depths of the couch.


Finished centerpiece
After much anticipation, it was time to consolidate the scene. The piece was finished, the couch had been delivered and staged, and the speakers surrounded the space for the TV. Montana and I went by one afternoon to quickly get it mounted, underestimating the seriousness of such a project. After two and a half hours of measuring, mathing, mounting, and adjusting, the center of the piece was in its place.

The months of plans, communications, and hard work culminated in joy in the homeowners’ faces as they sat down to appreciate the TV. This was a place for the years to come. Here they would gather to spectate the rise, fall, and rebirth of the Chiefs. They would weather illness, snuggle on snow days, or gather with friends and family. Here was a place to appreciate films and animations the results of thousands of hours of collaborative effort, or play background music while the basement buzzes with conversation over food and drink.