This Week 7 of my (Amy Girard) kitchen addition project and the really fun stuff starts happening! Cabinets, counters, paint, and tiles. Oh my! Miss how it began? Check out Week 1, the design in Week 2, setting up a temporary kitchen in Week 3, or the foundation, framing, and roof in Week 4. In Week 5 were the rough-ins, hood vent, and insulation, and finally, in Week 6 were drywall, floors, and windows.
Cabinets
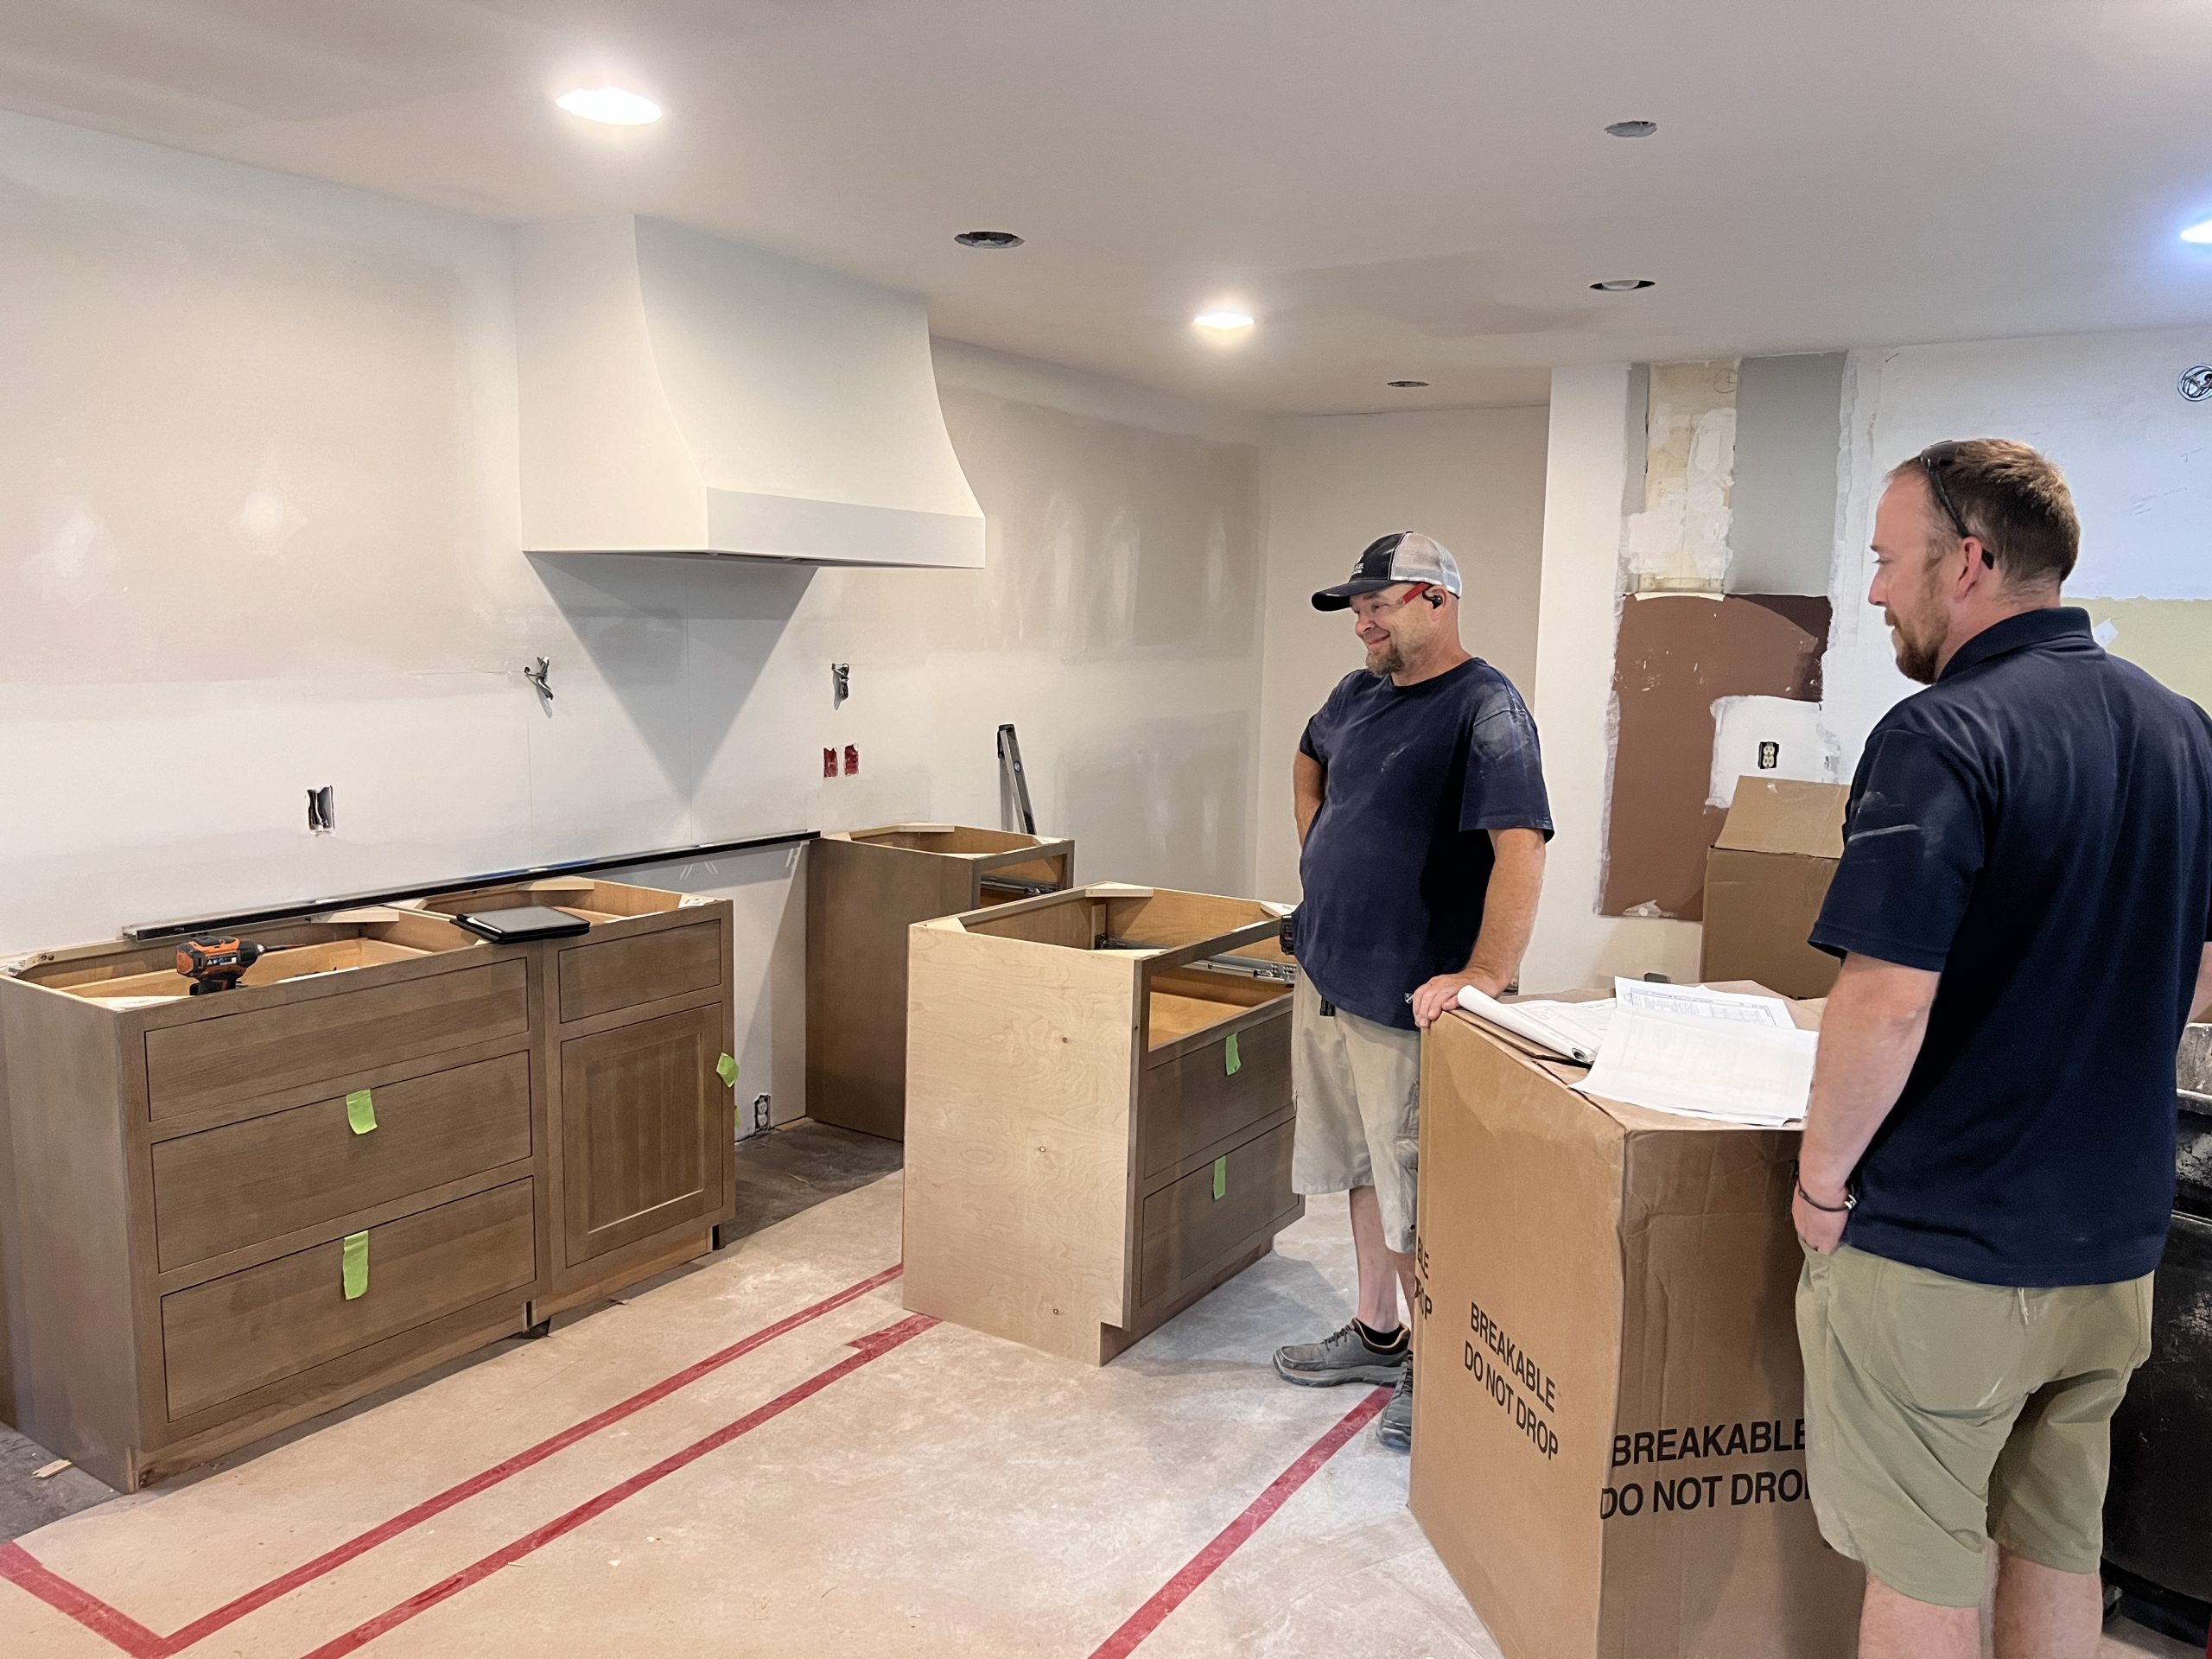
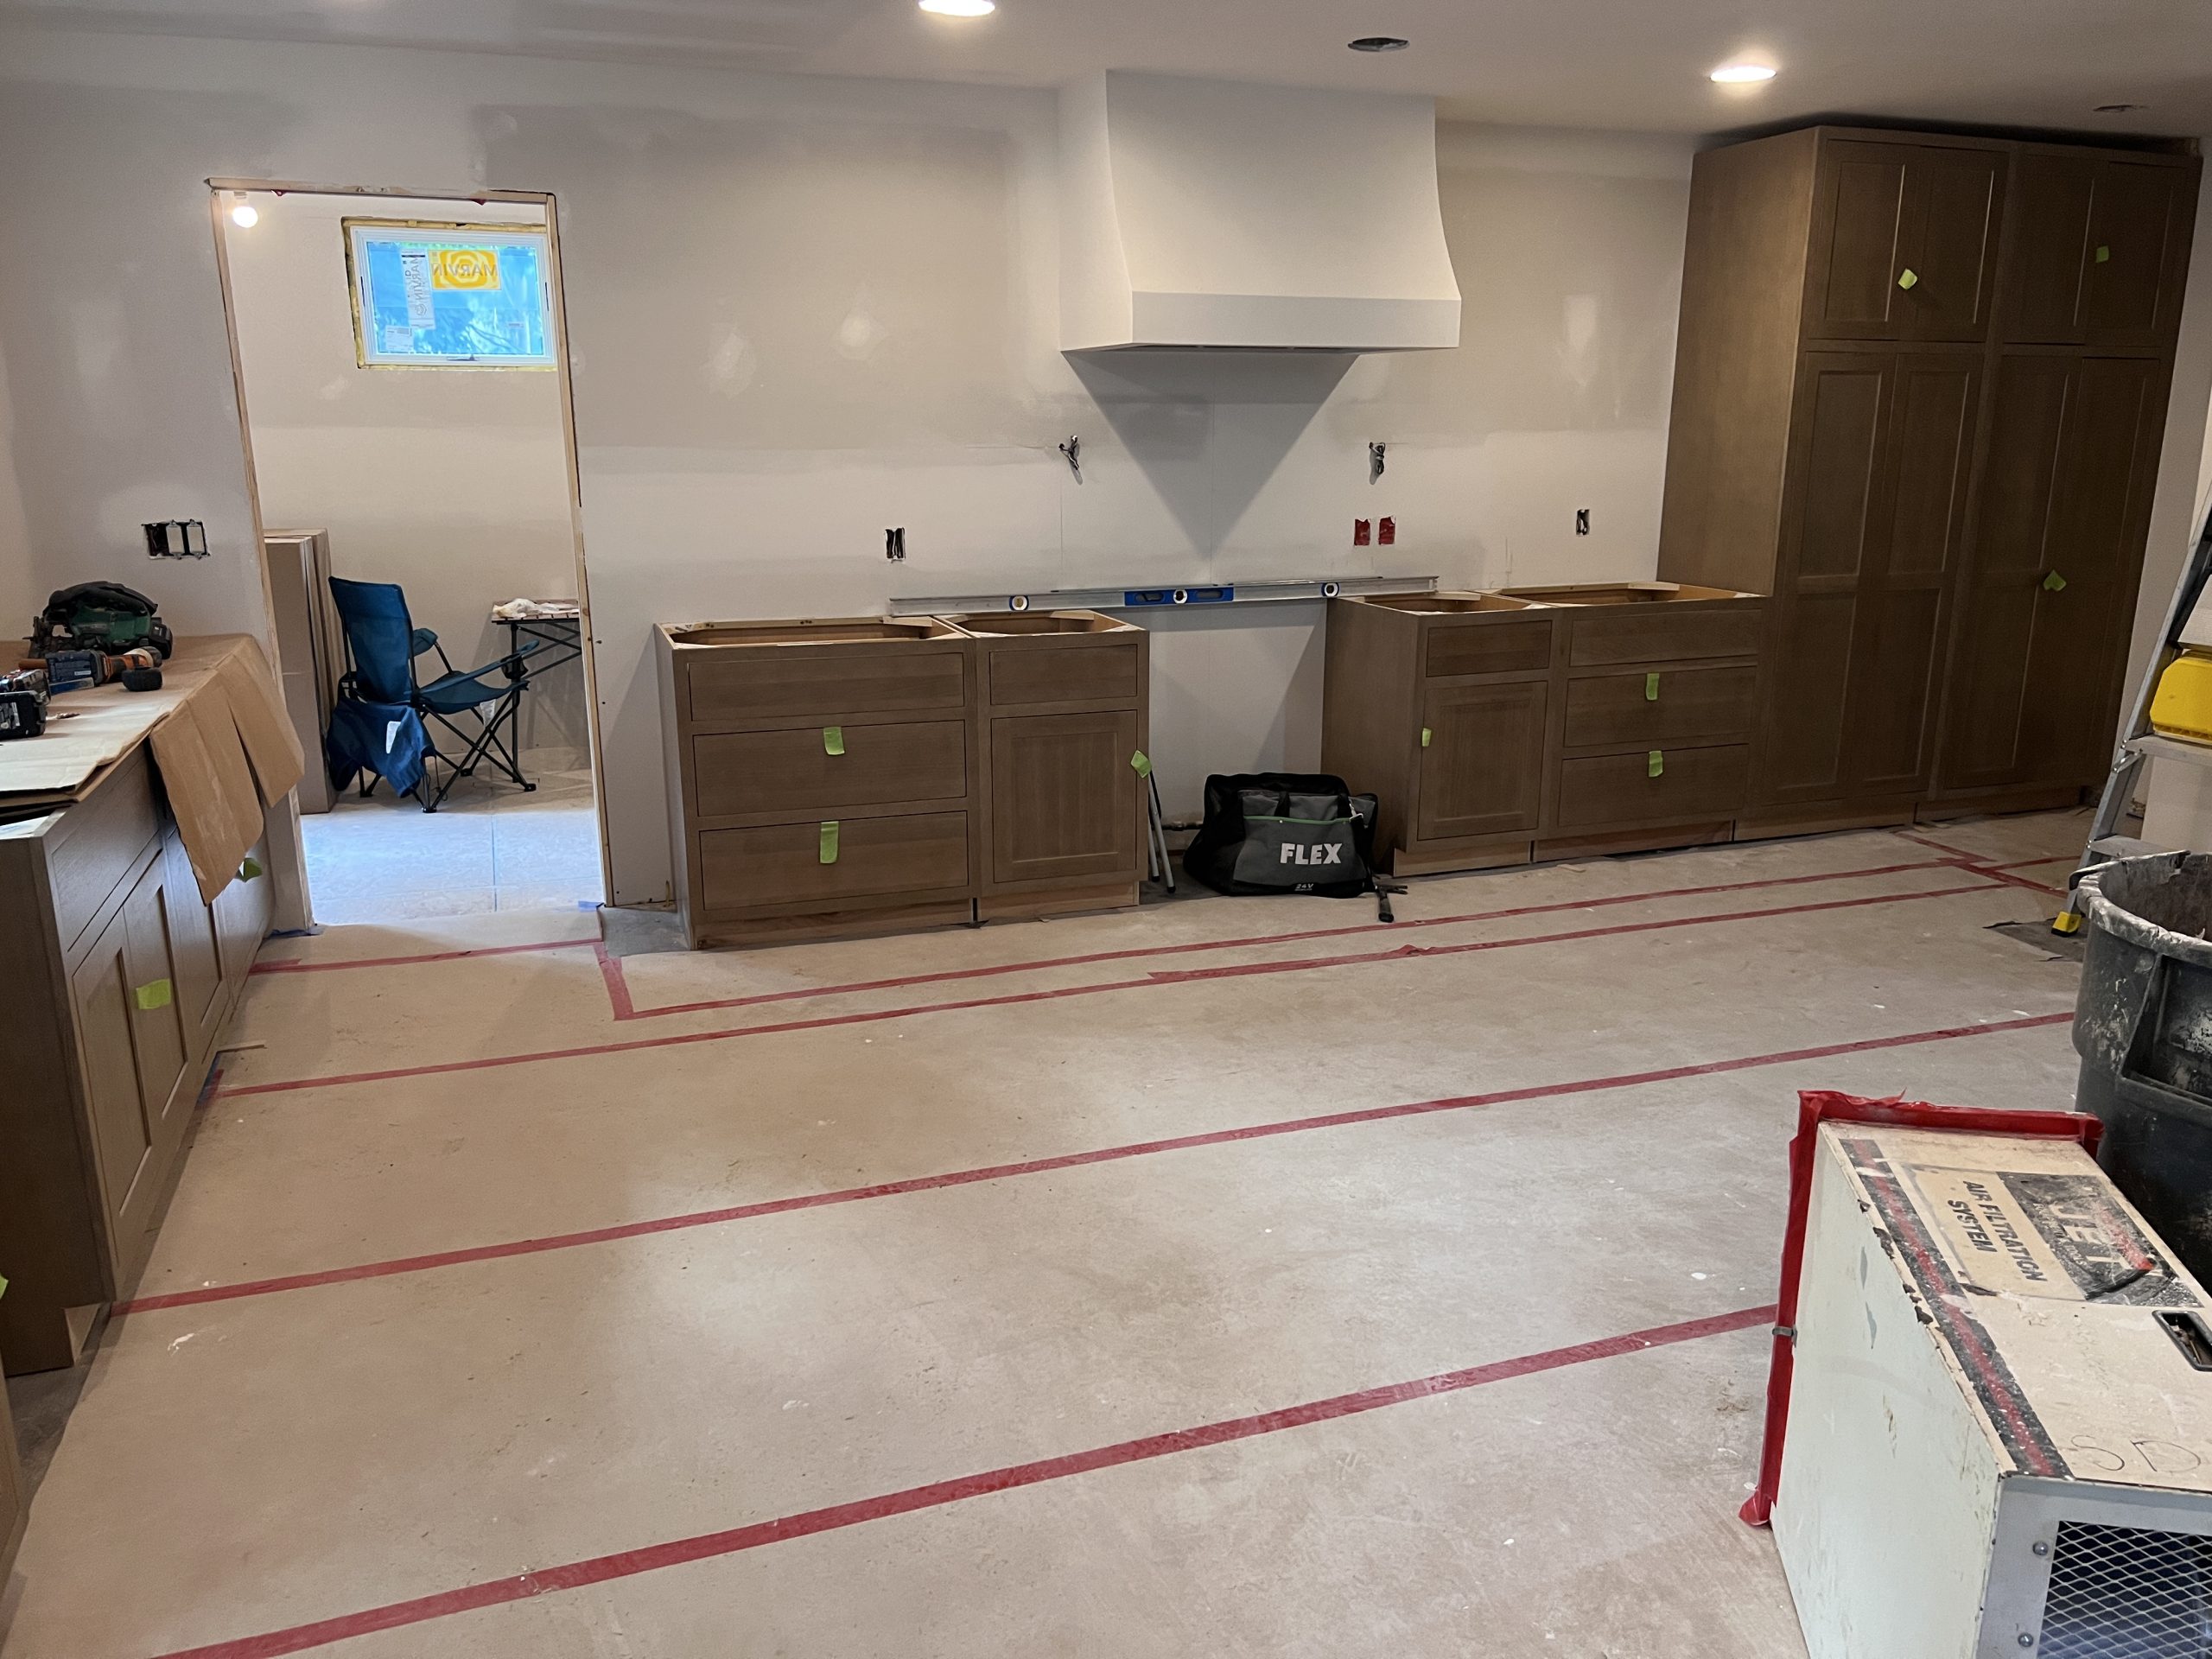
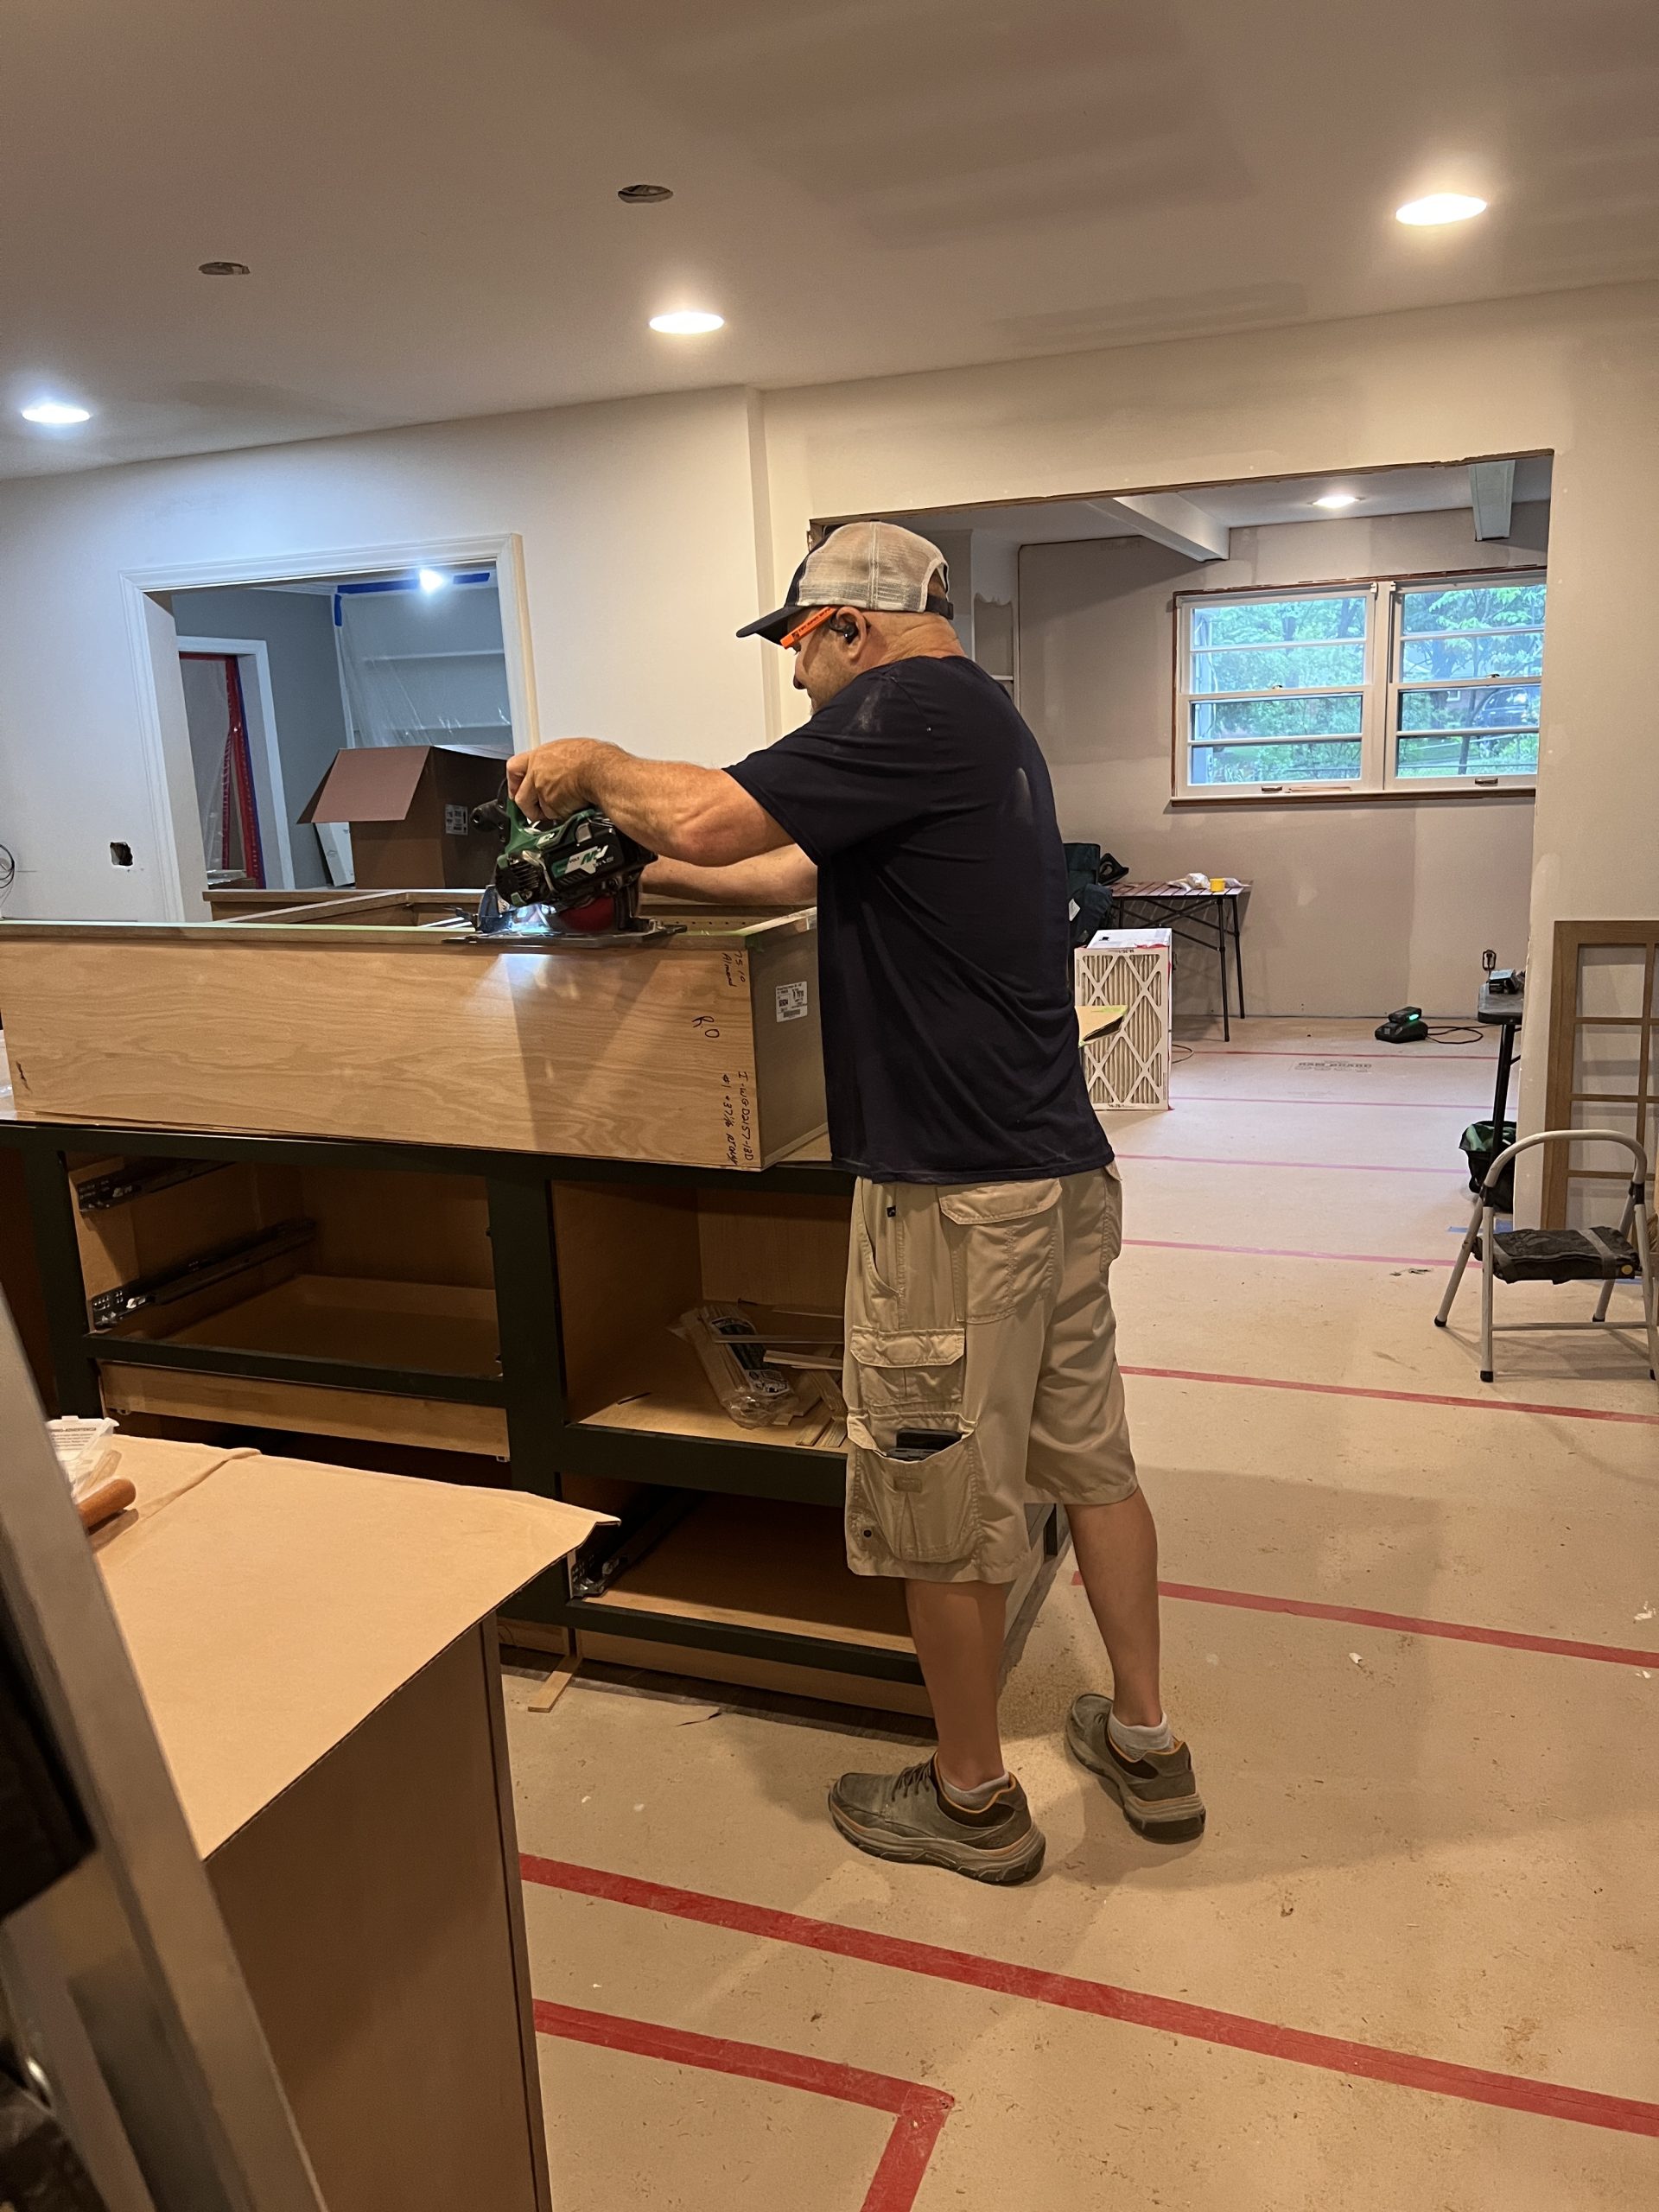
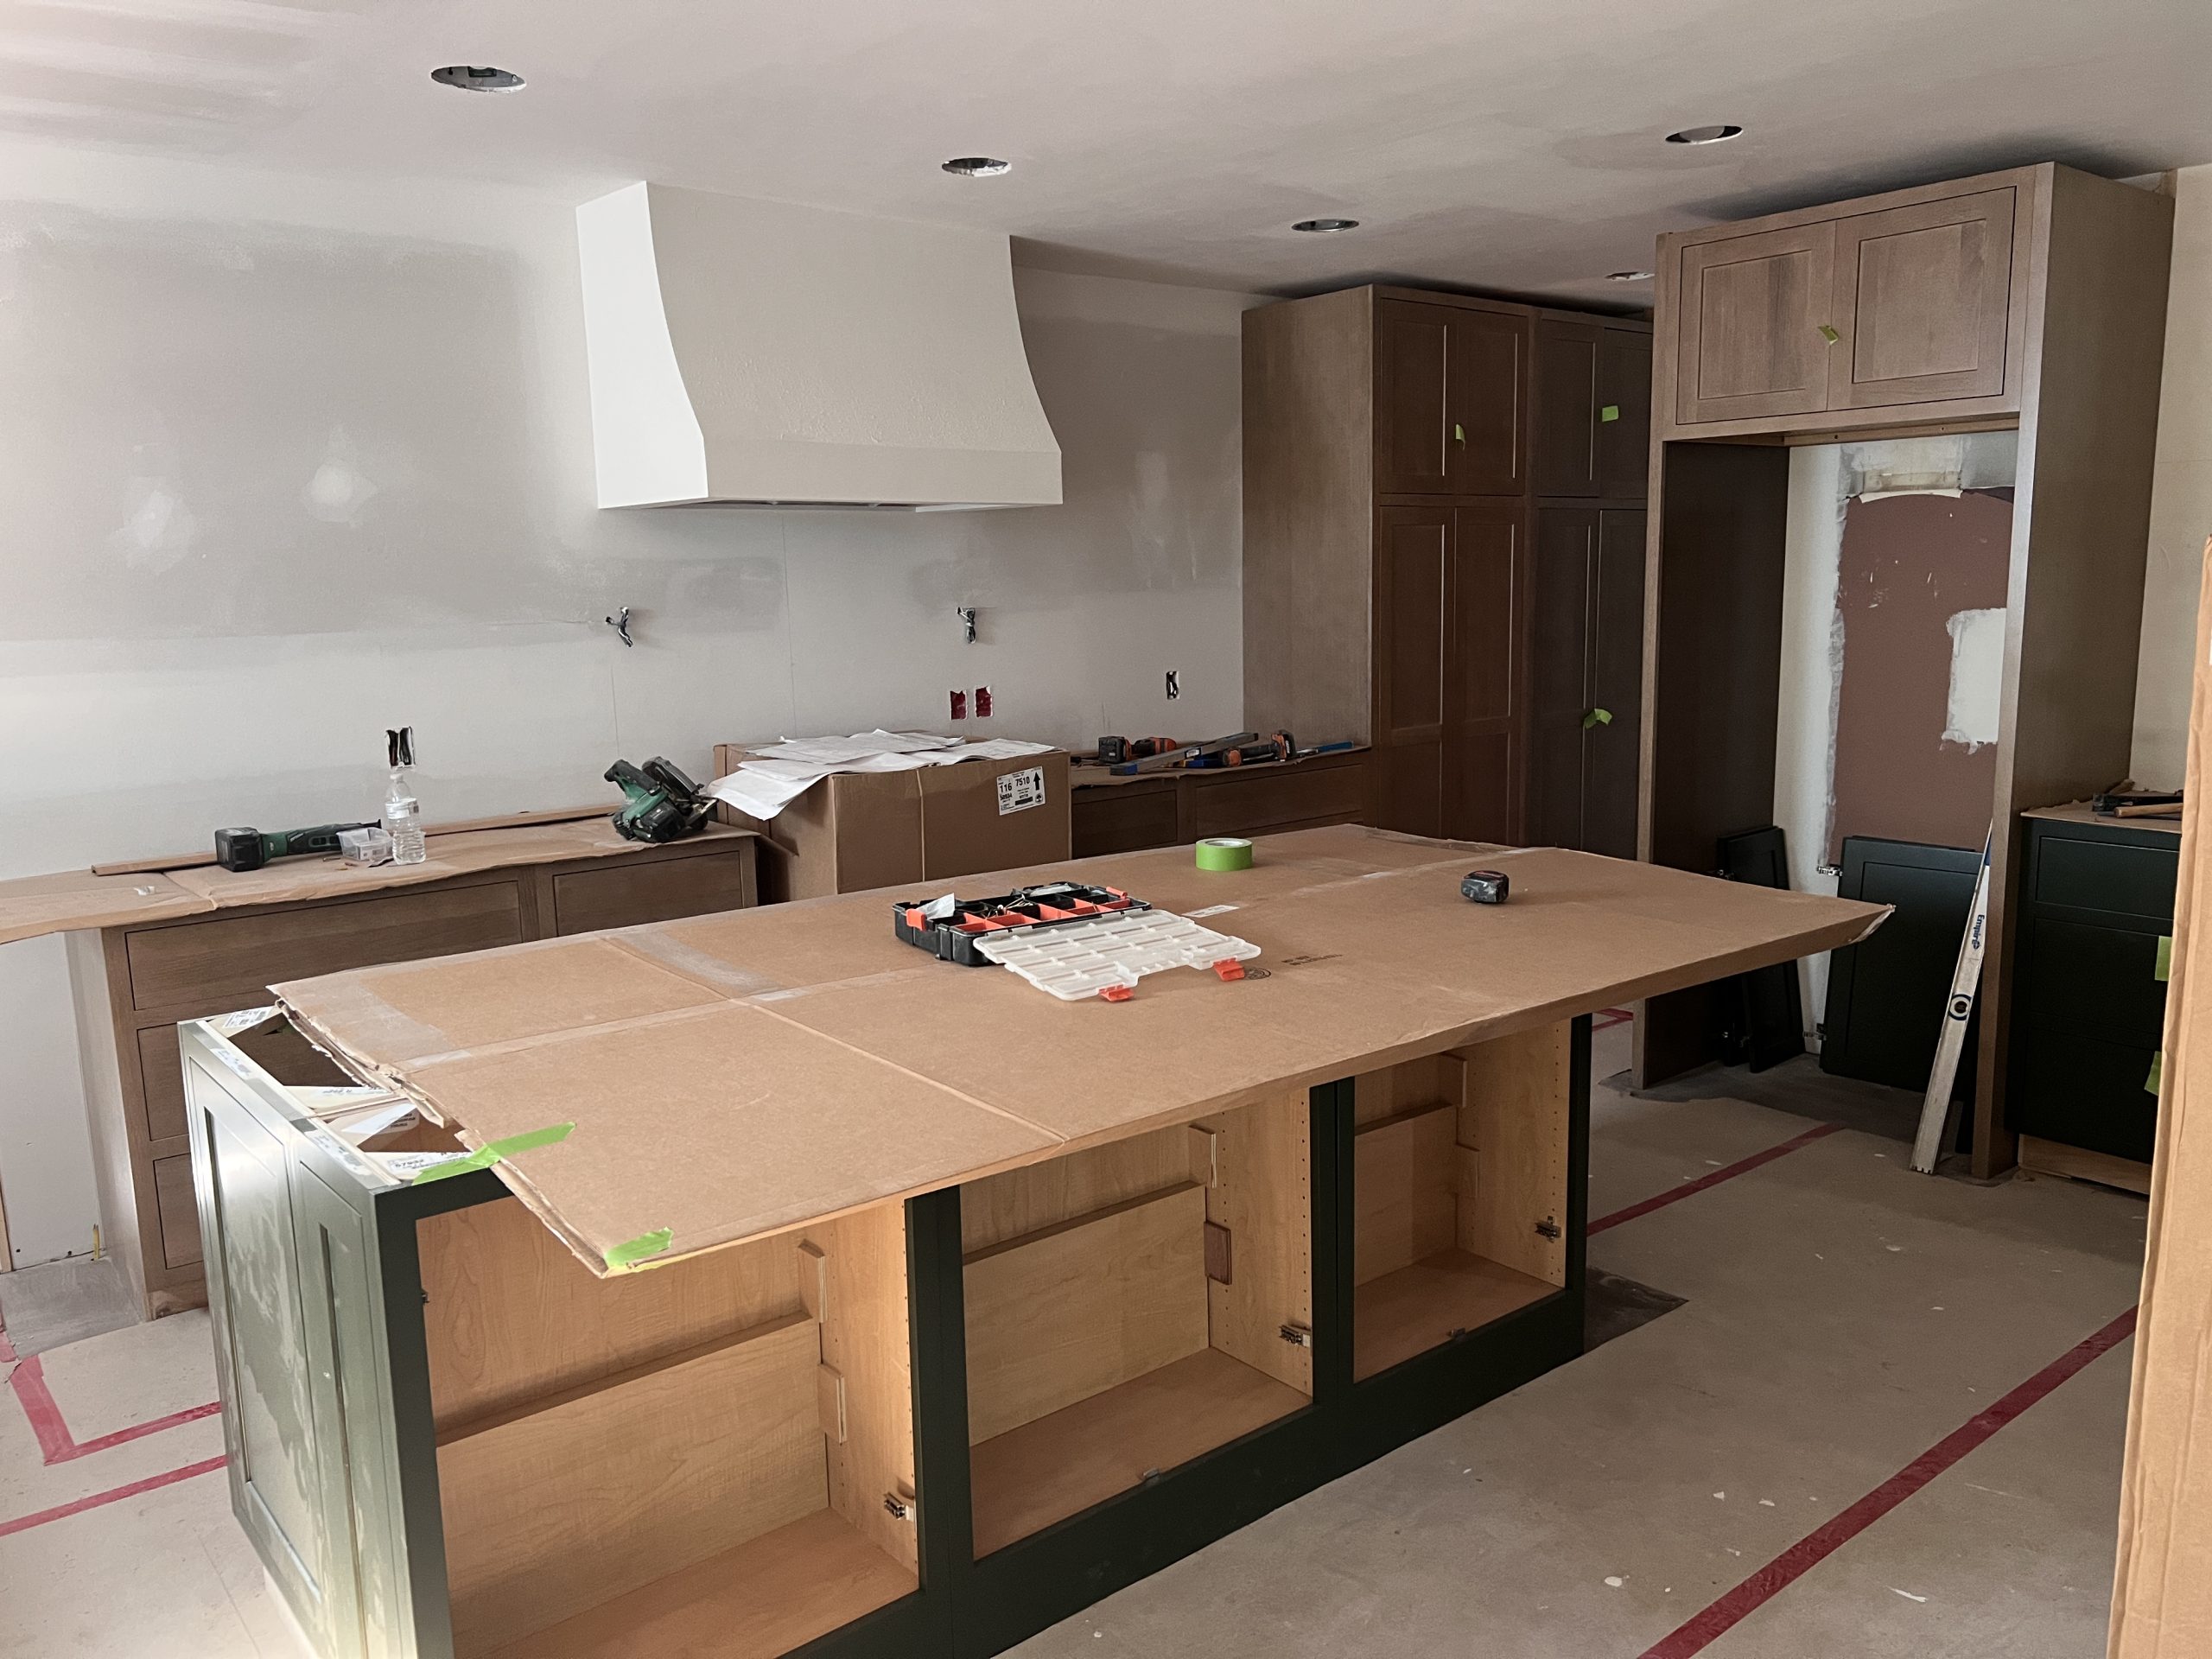
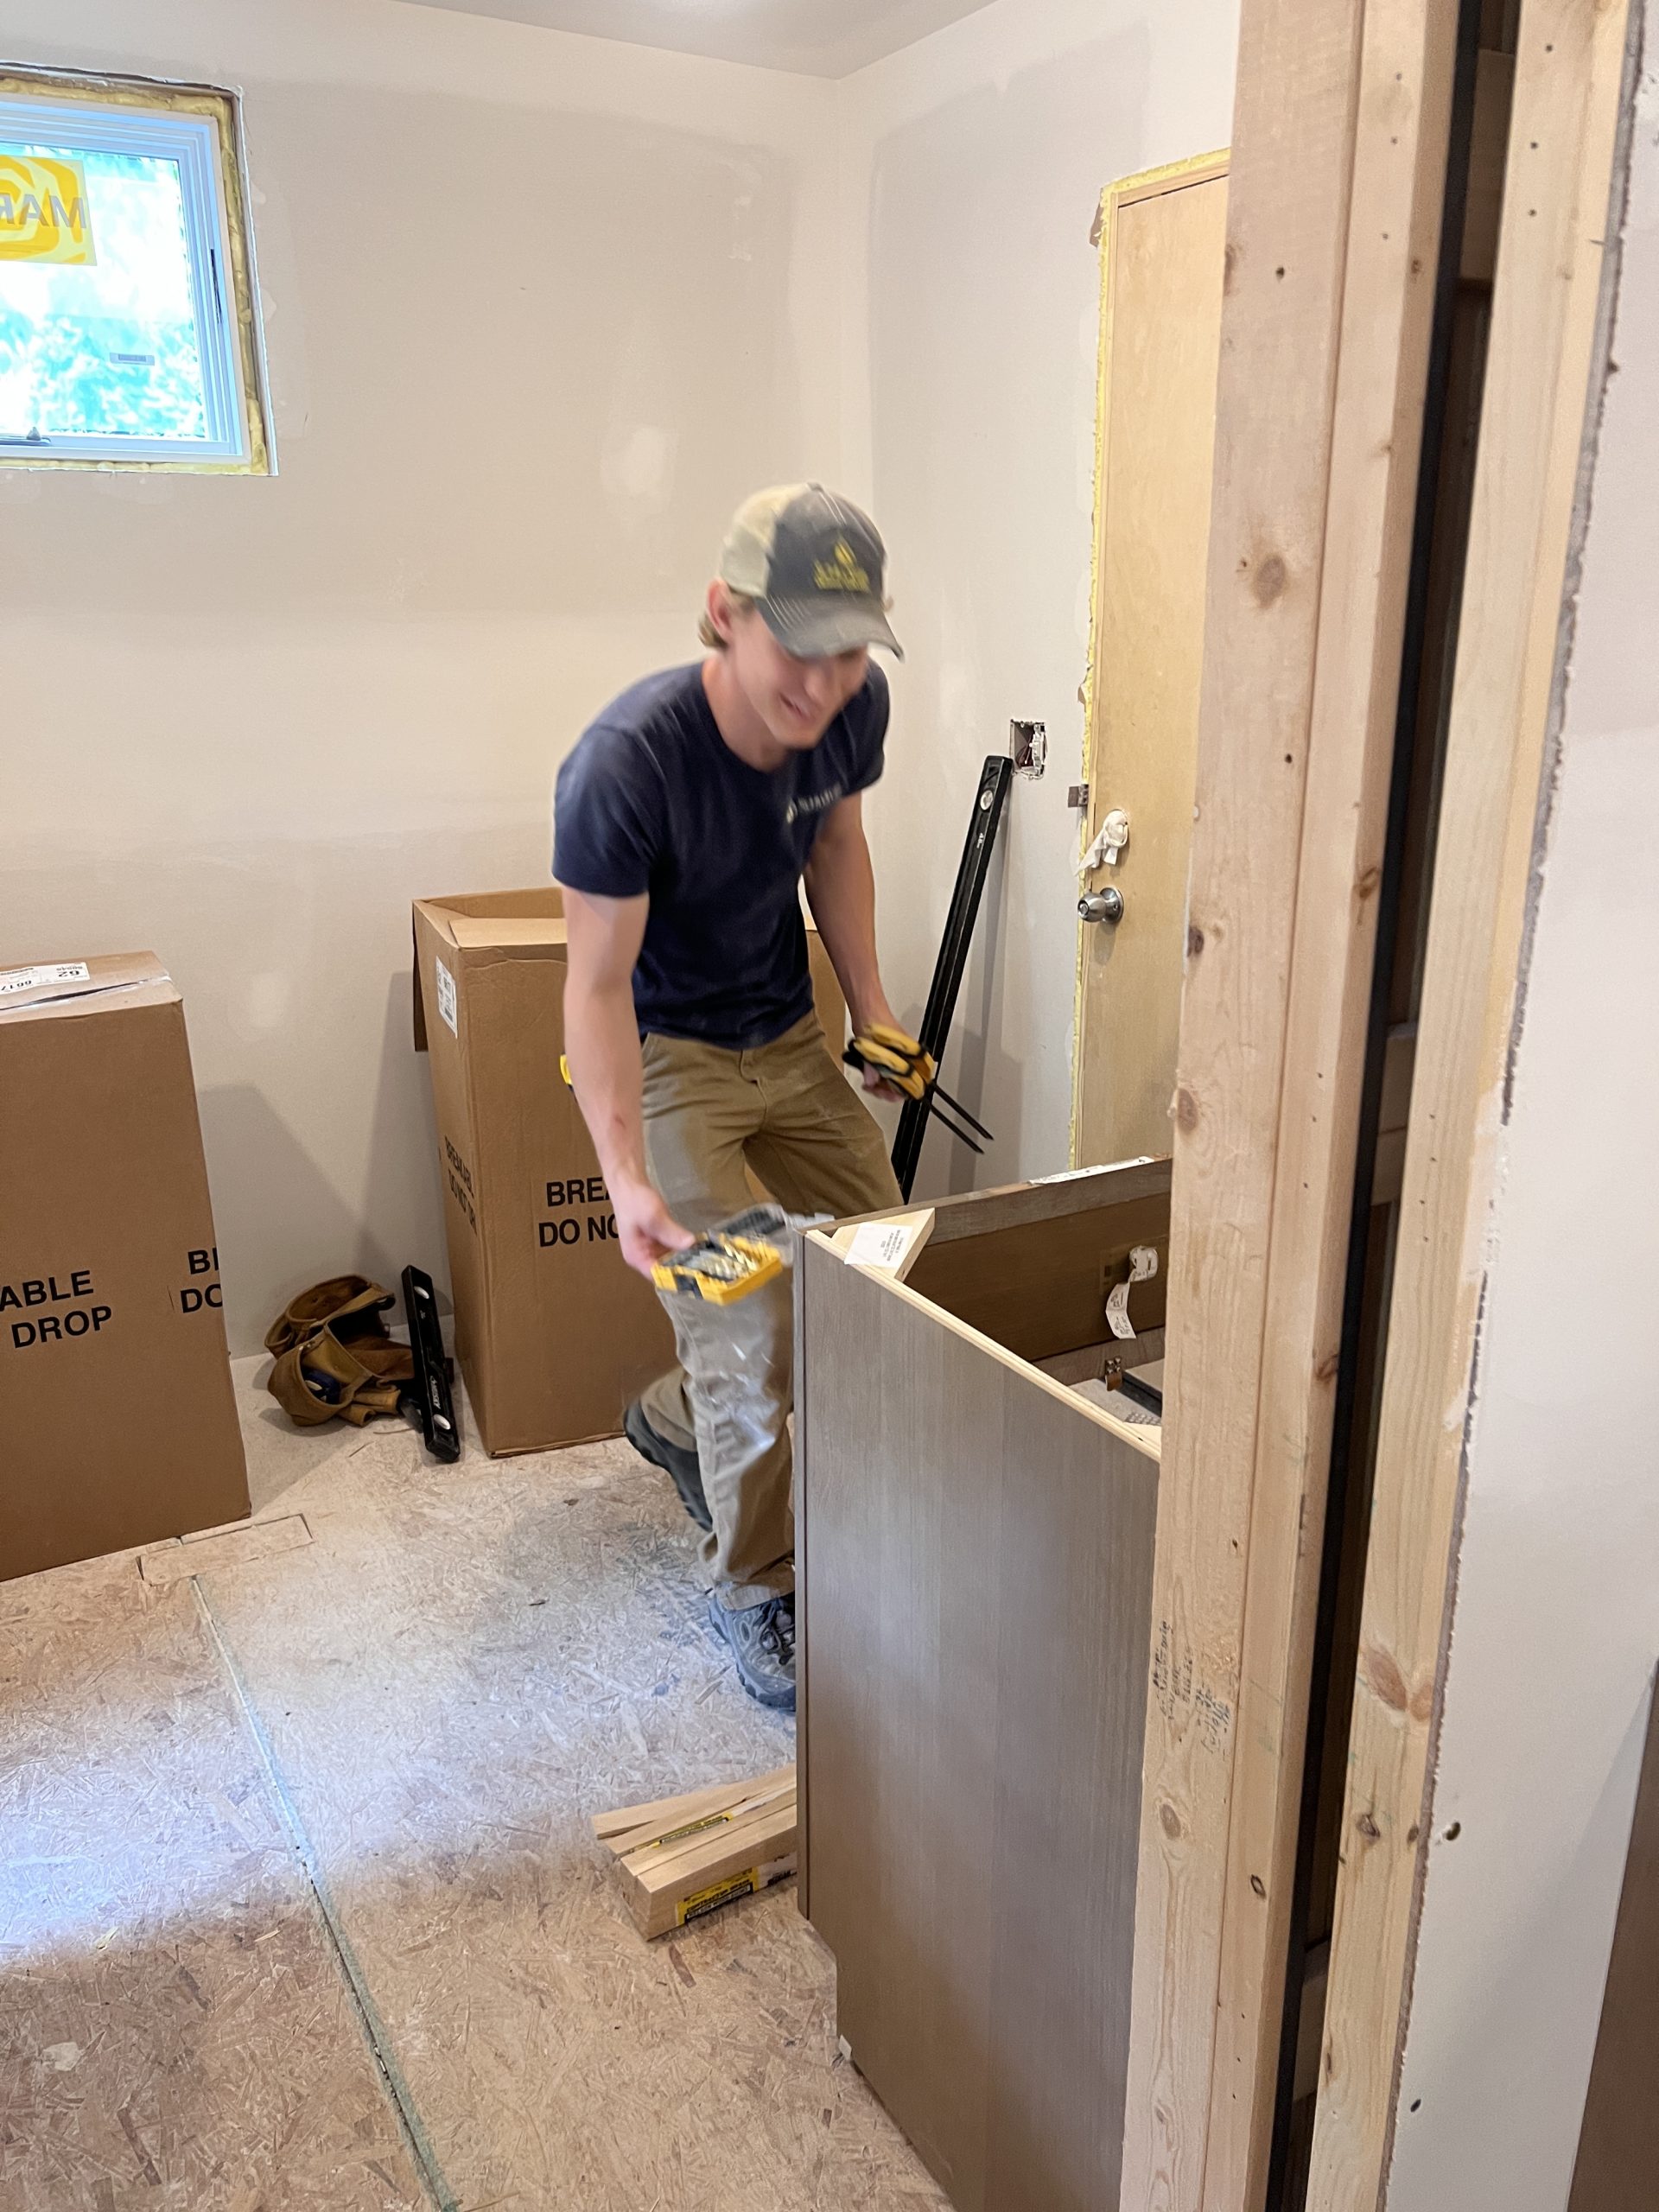
Not sure if you know this, but Schloegel has some of the finest Master Craftsmen around, and their cabinet installation is out of this world. Randy Shephard, Zach Pruessner, and Ryan Waters tackled the many cabinets in our kitchen and mudroom.
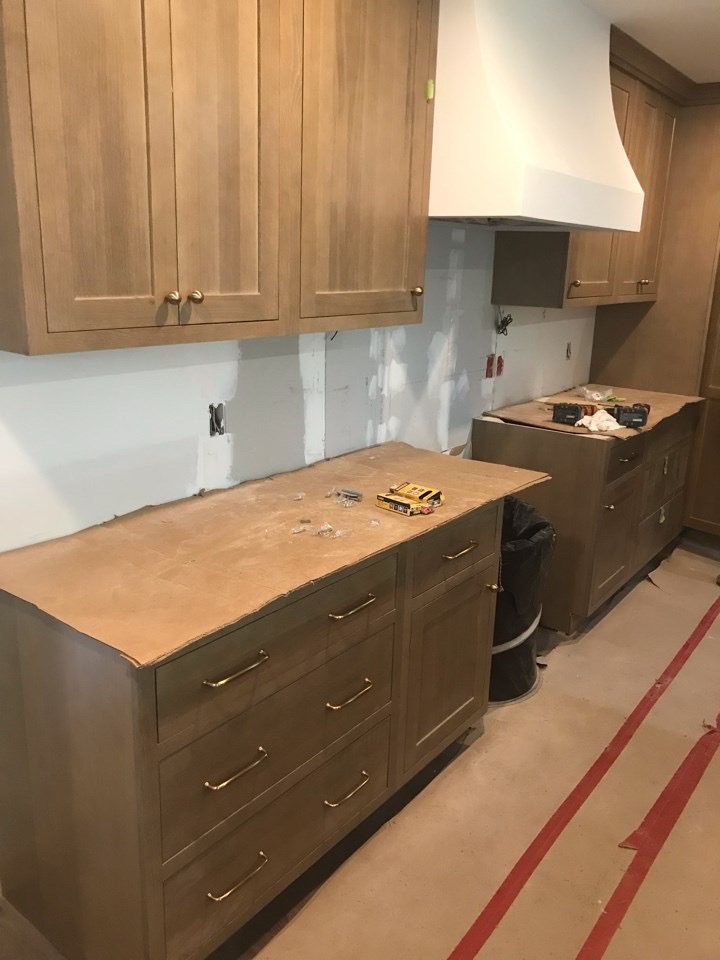
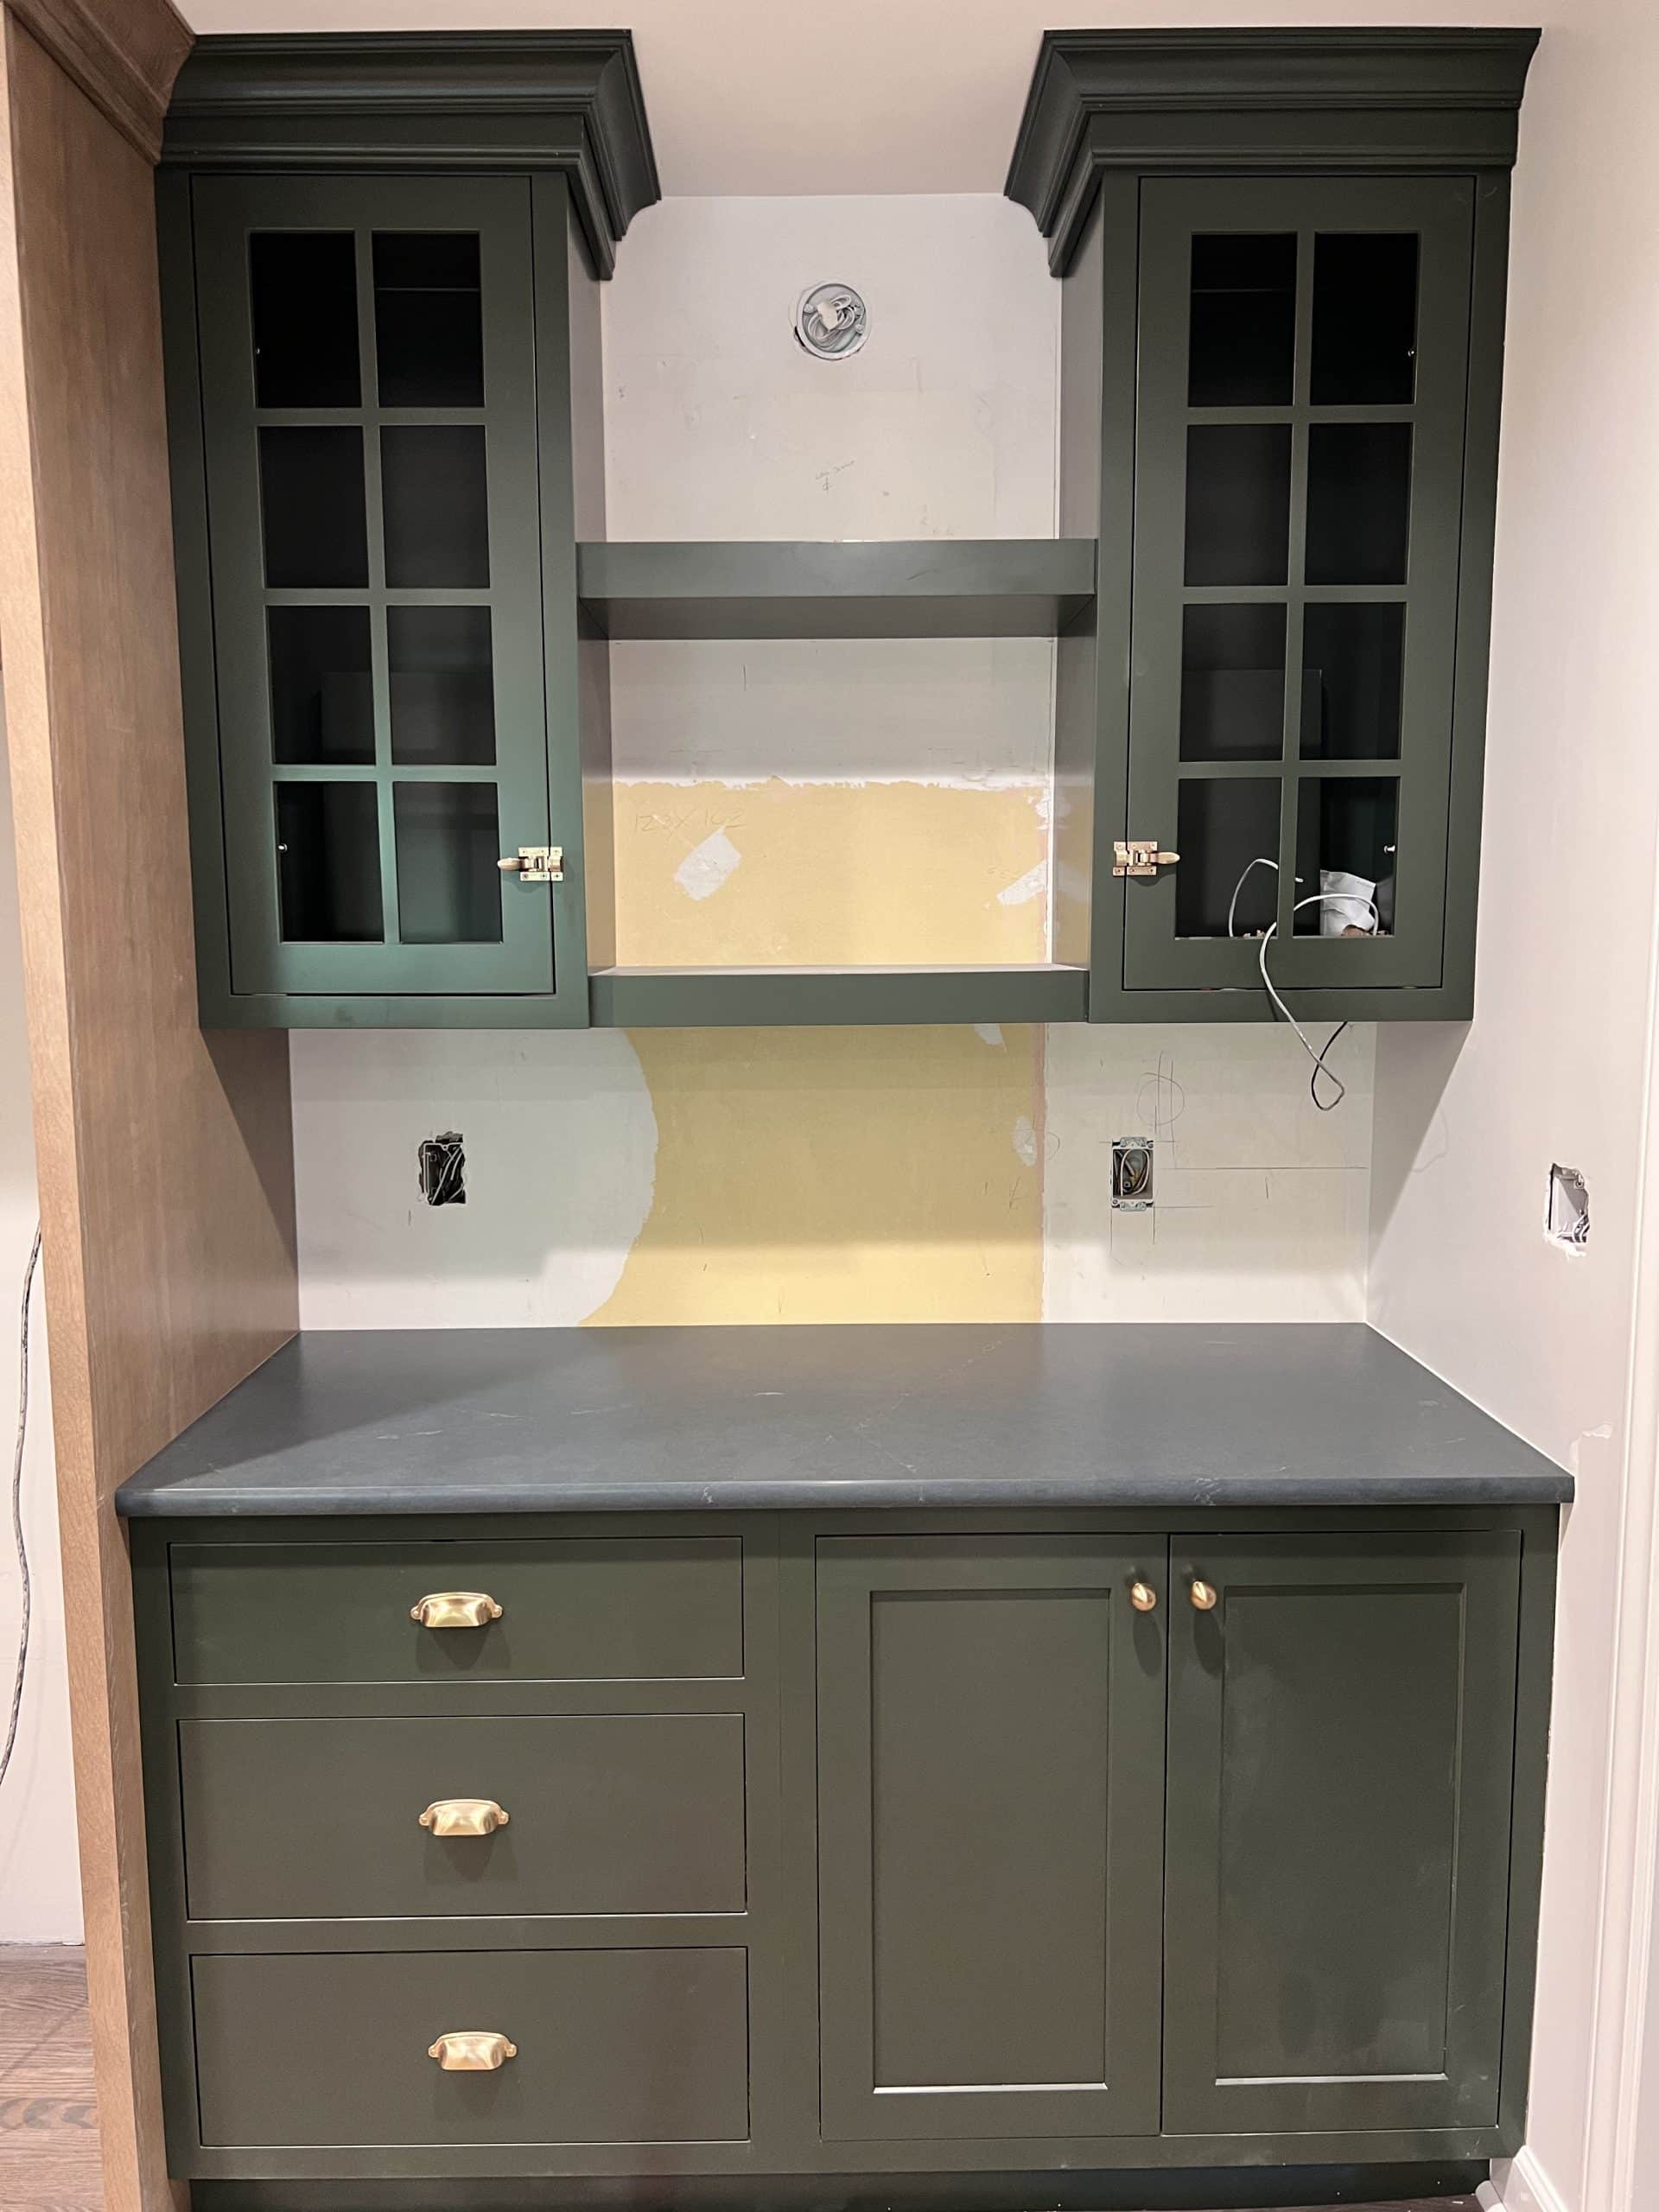
I admittedly don’t know much about installing cabinets, but a few stolen moments with Randy over the last year have taught me a few things. For one, uneven walls and floors make installation a challenge. MANY of the homes we work in, including mine, are older and have this. Second, inset cabinets can be more tricky to install than overlay cabinets. Inset cabinets are where the door and drawer fronts sit inside of the cabinet base rather than on top. They’re perhaps a more traditional look but offer clean lines. More than anything, I love how they look. You do, however, lose a little bit of your cabinet space, and we ran into a couple of issues because the cabinets are inset.
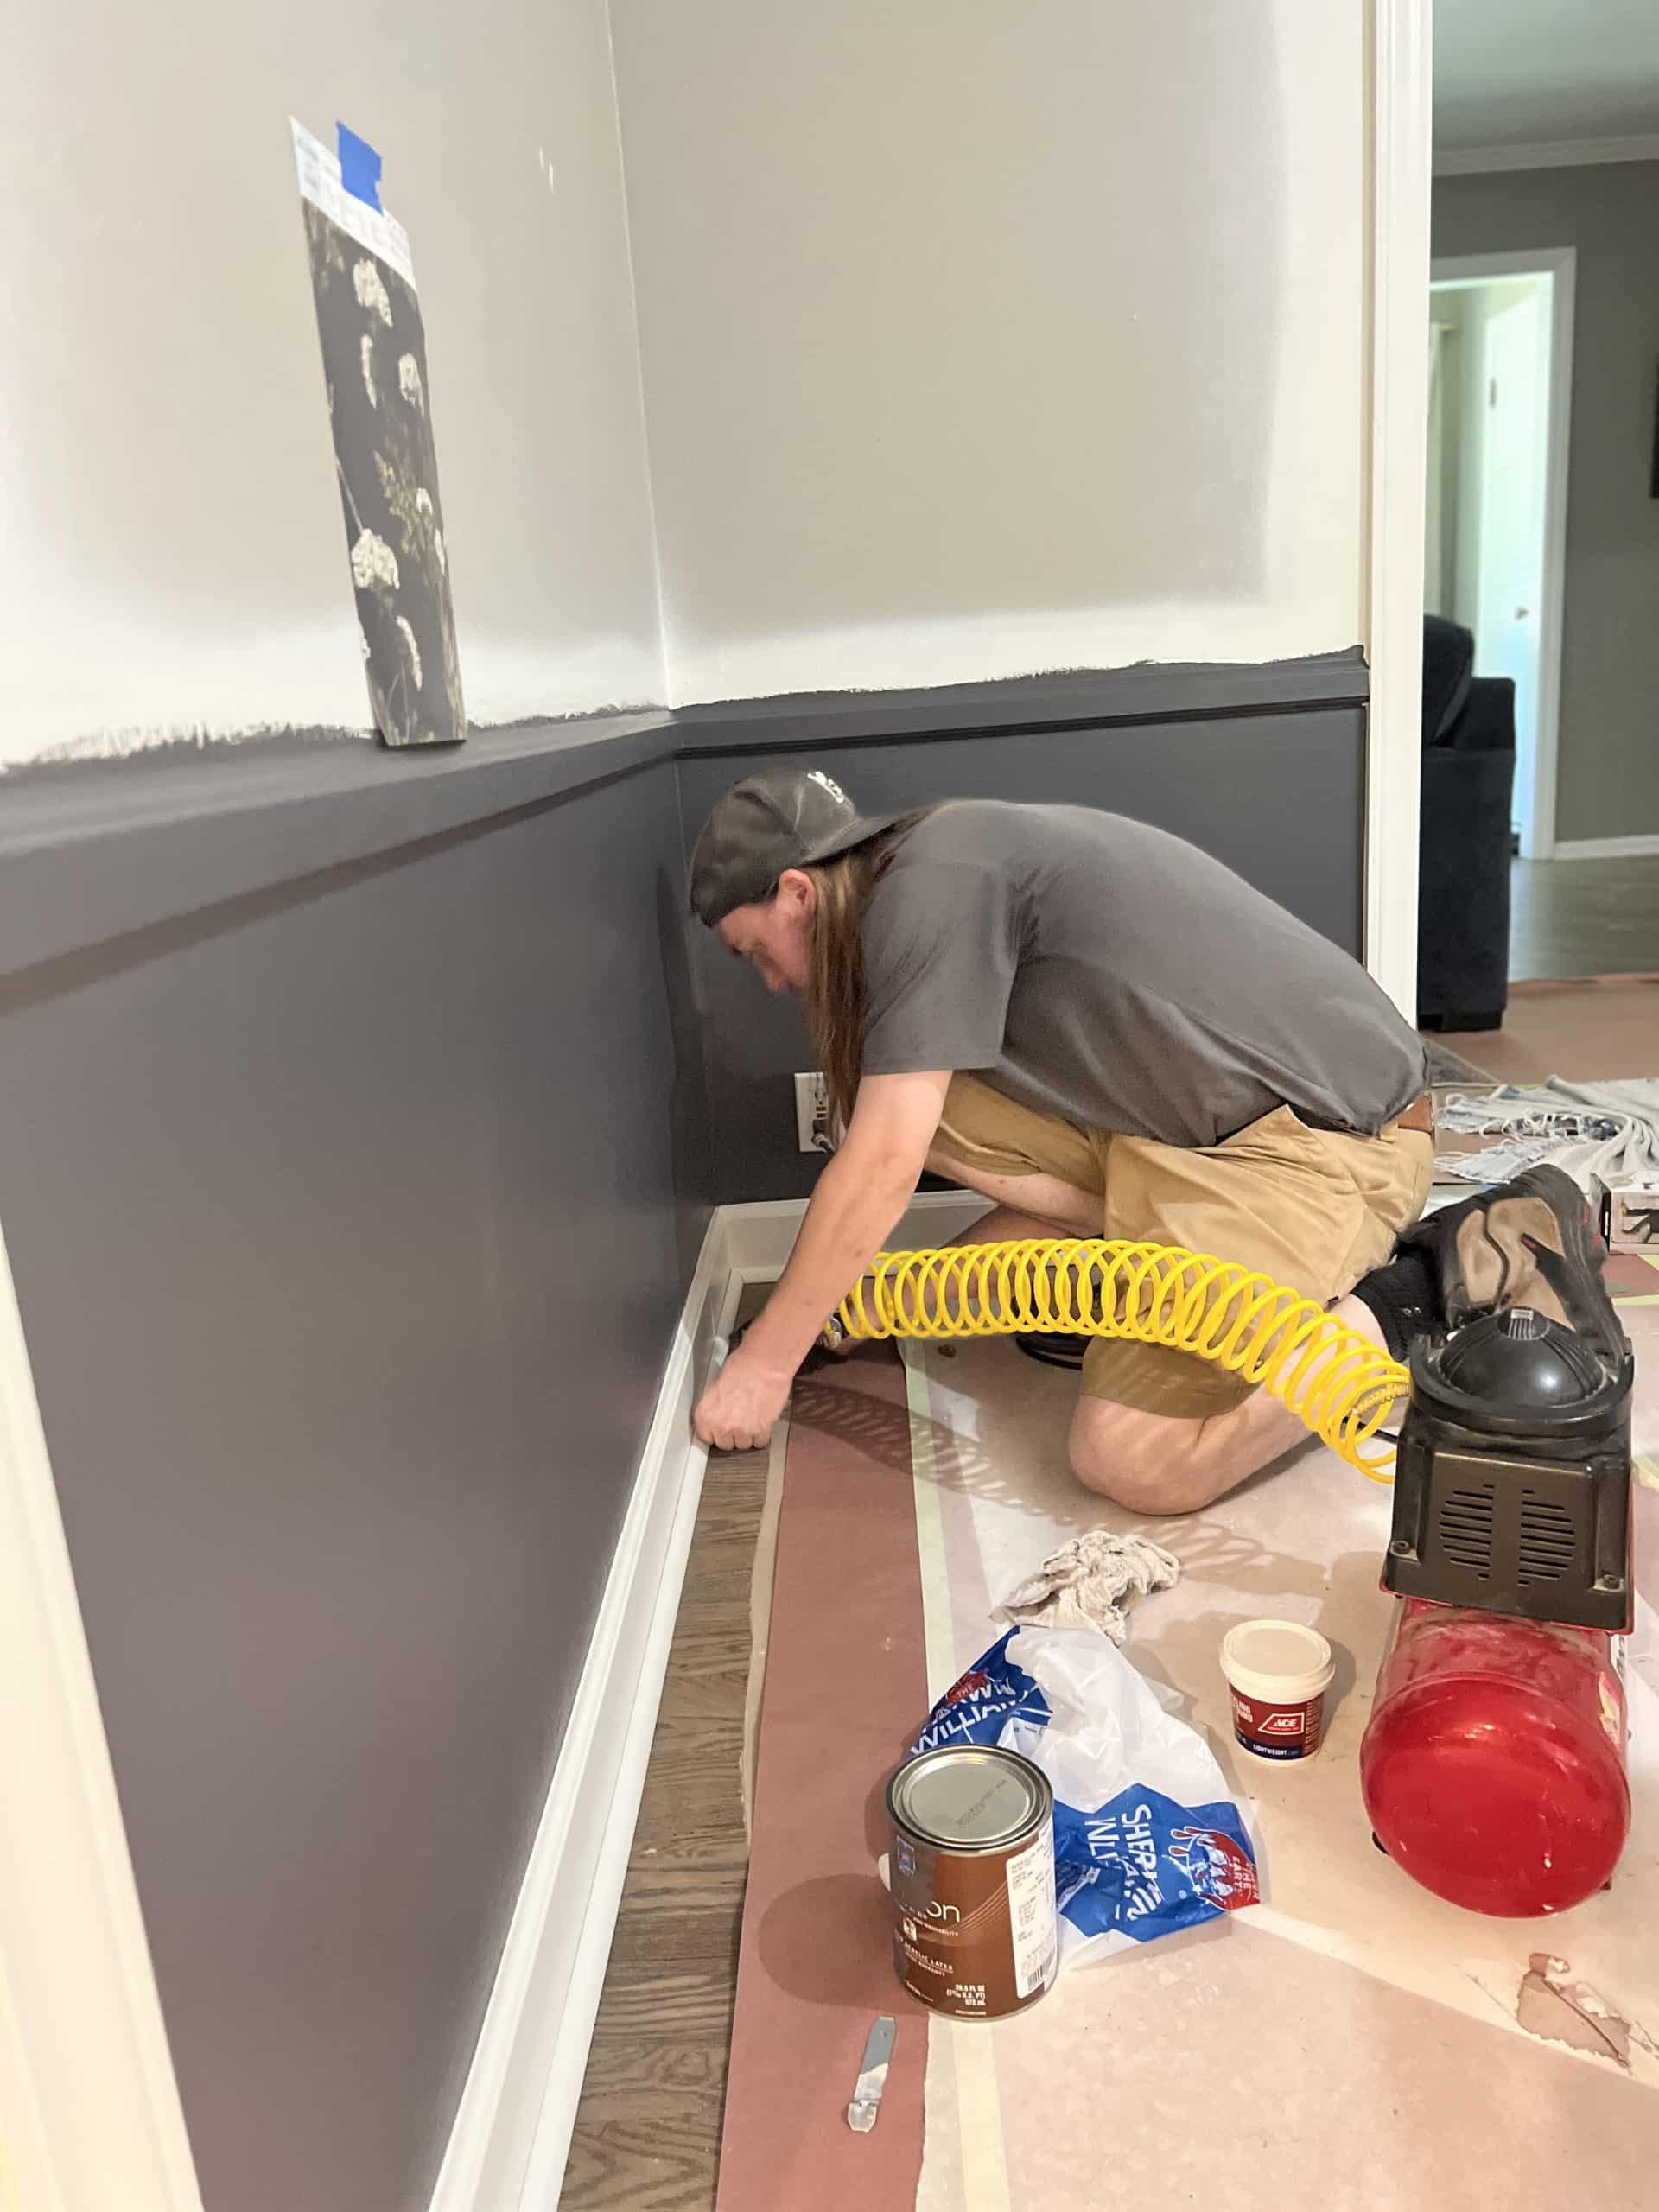
My final understanding of cabinet installation is it’s so much more than just putting a cabinet up and drilling in screws. Sometimes the cabinets need minor adjustments to fit, sometimes they need to be shimmed, and sometimes they need large adjustments. Also, cabinets are just part of the puzzle. After cabinets are in trim and scribe need to be installed. Pending on the project, this can take almost as long as the cabinets!
Not many of the guys like having their picture taken, and Zach defiantly falls into that category!
Oh, and one more thing Randy is an absolute genius at is hardware installation. I’m pretty sure he can even do it perfectly in his sleep.
Countertops
I could not wait for our countertops. They really make the room feel complete. Plus the soapstone quartz was the jumping-off point for the entire kitchen design, and I was a tiny bit nervous I wouldn’t like them. That wouldn’t be good as counters are not cheap.
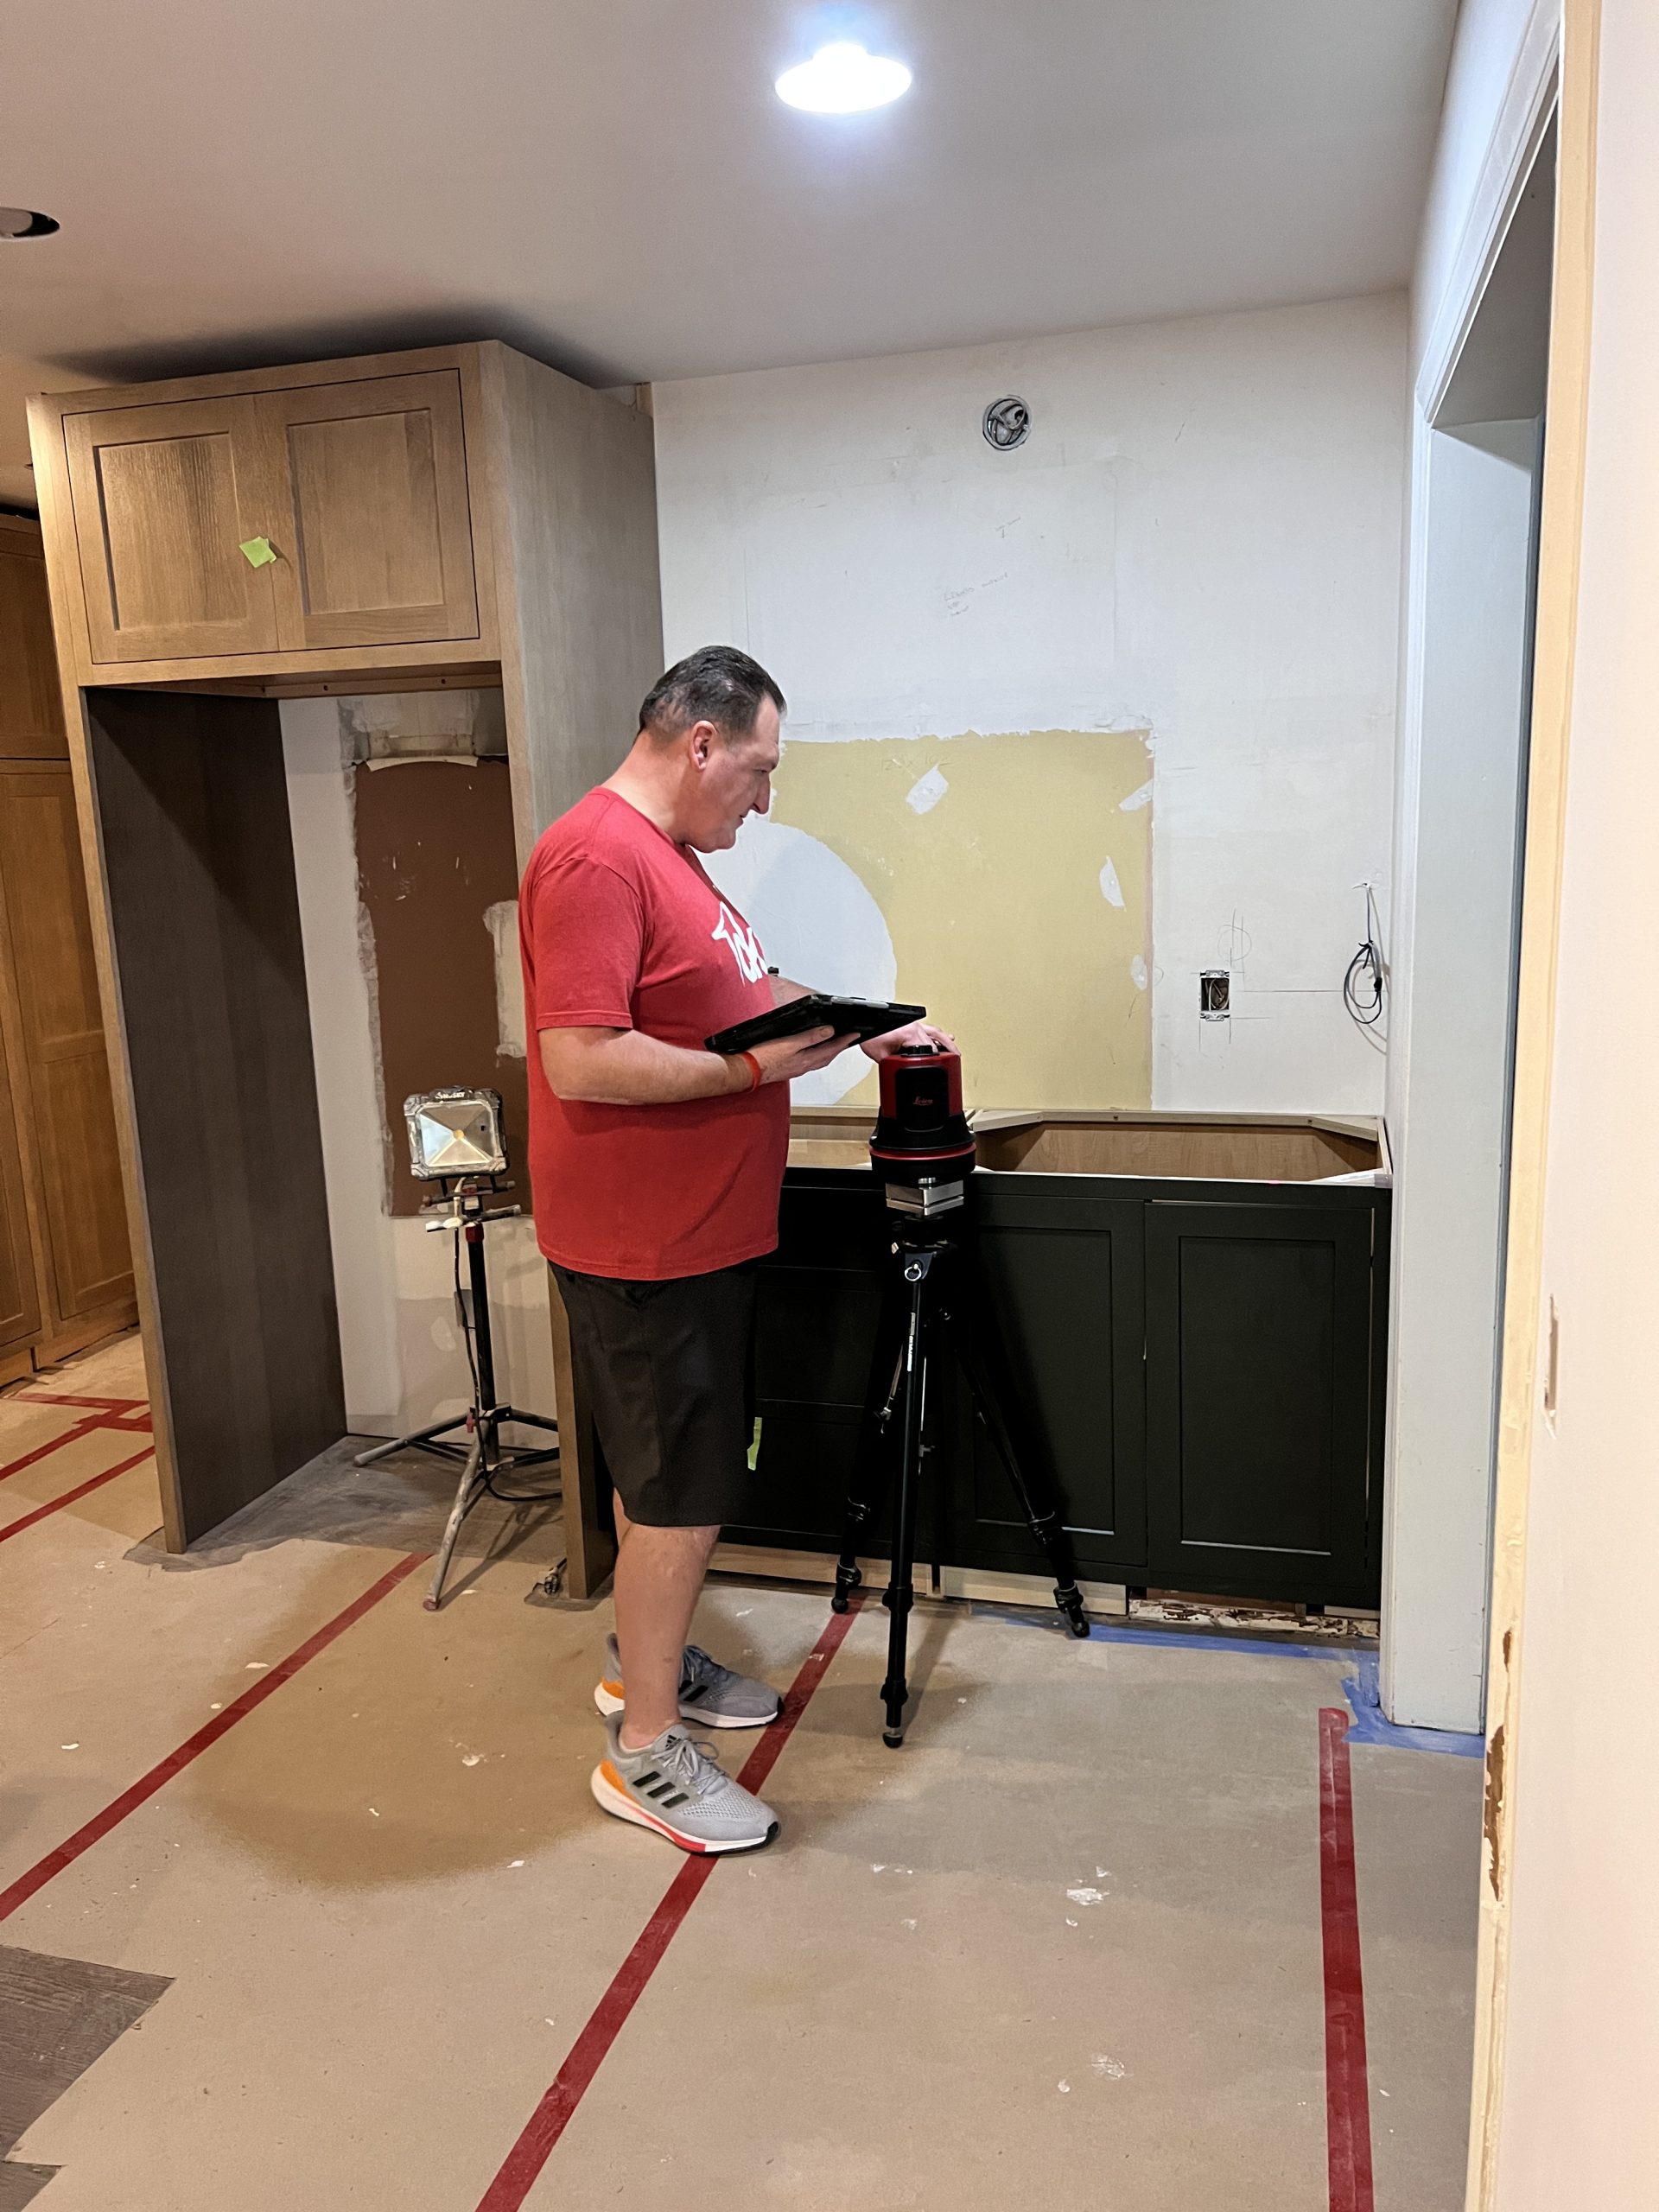
CKF was our supplier, fabricator, and installer. They first came out and templated for all the counters.
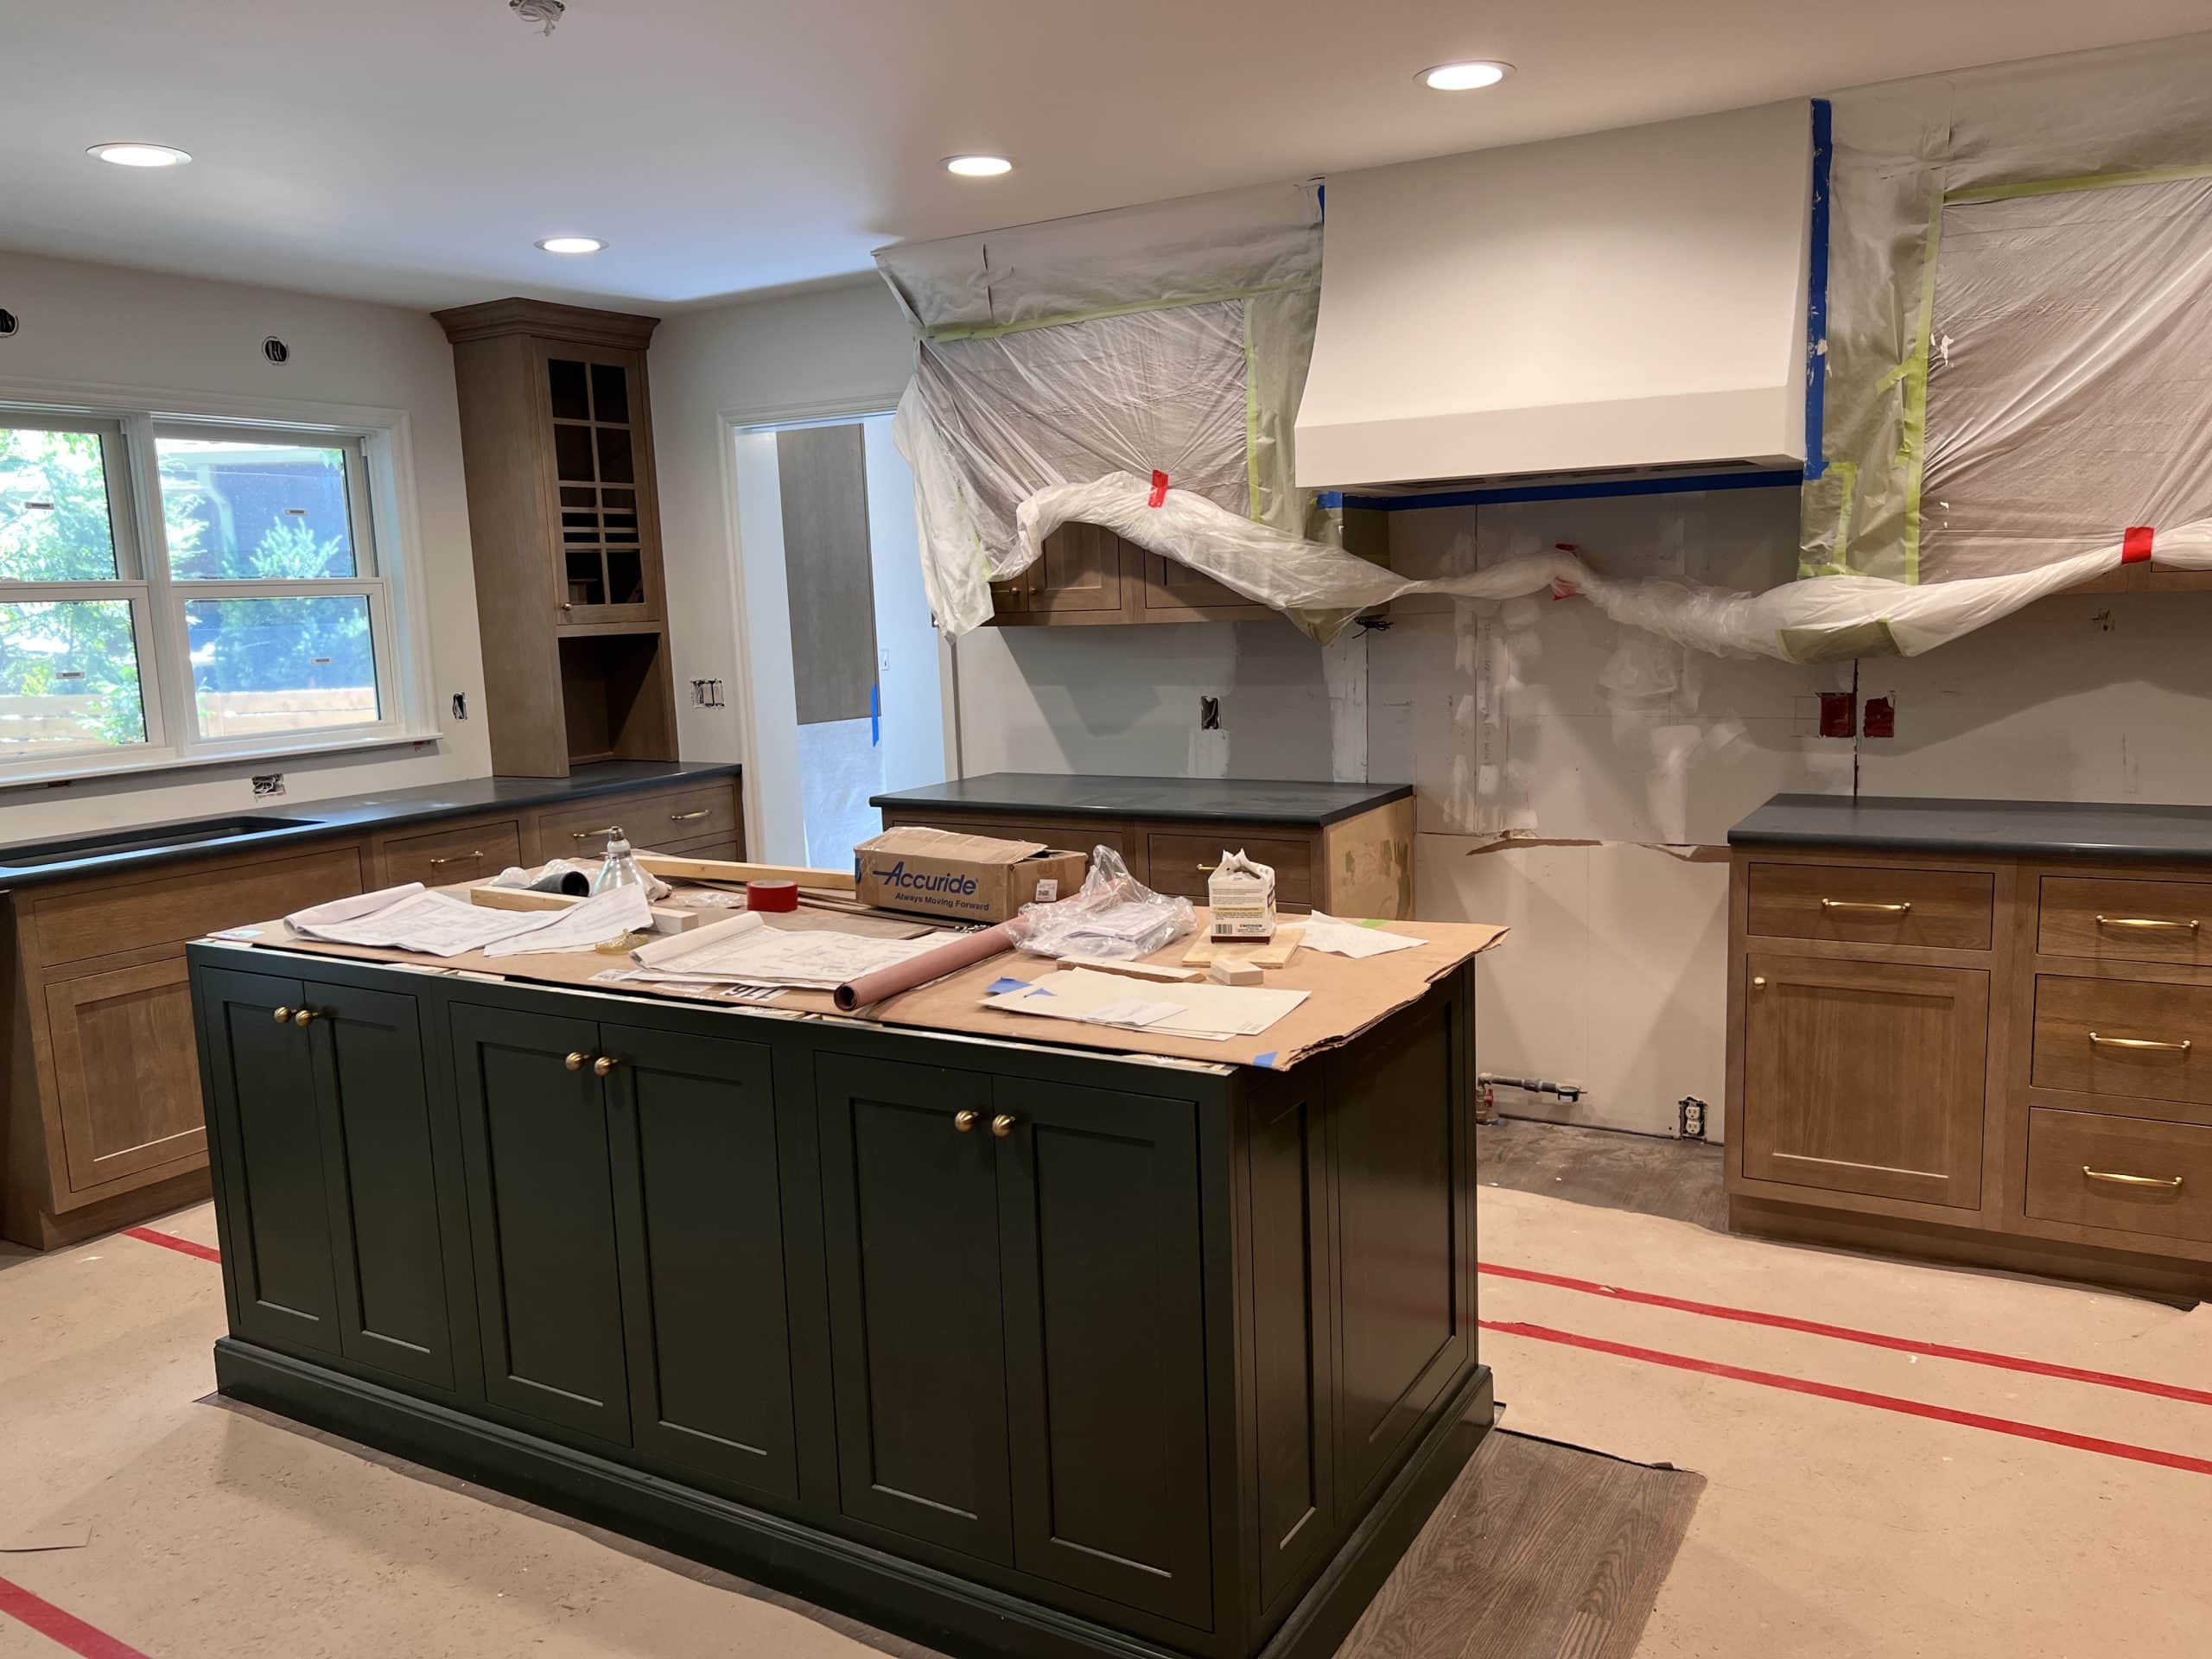
A few days after templating came the installation. Unfortunately, we learned the day before installation that our large island slab came in damaged and would need to wait for a new piece. Luckily, it didn’t hold up any other production work. The perimeter Silestone Charcoal Soapstone quartz counters went in without incident, which meant our amazing Kohler Neoroc® sink from Neenan Company was also installed. I immediately loved them! My goal was to have the sink feel integrated with the counter, and we achieved that!
My only hesitancy was the coffee bar. Initially the counter looked very blue on the green counters. I was ready to pull it. Nina Schmidt, our designer, assured my it would look good after everything else was in. She was right, now I love it.
Paint
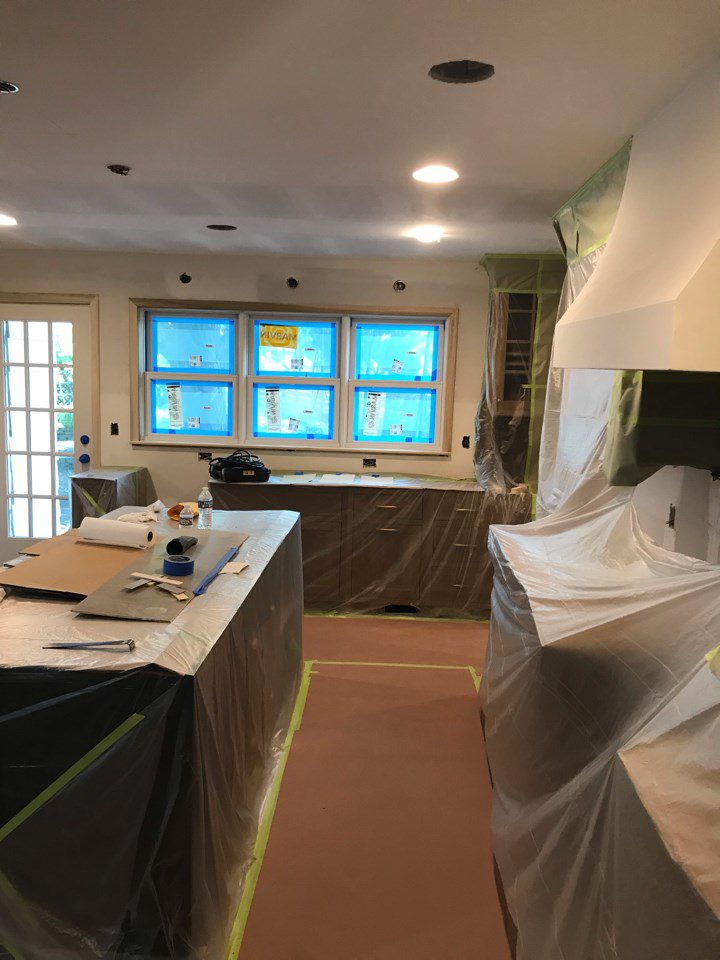
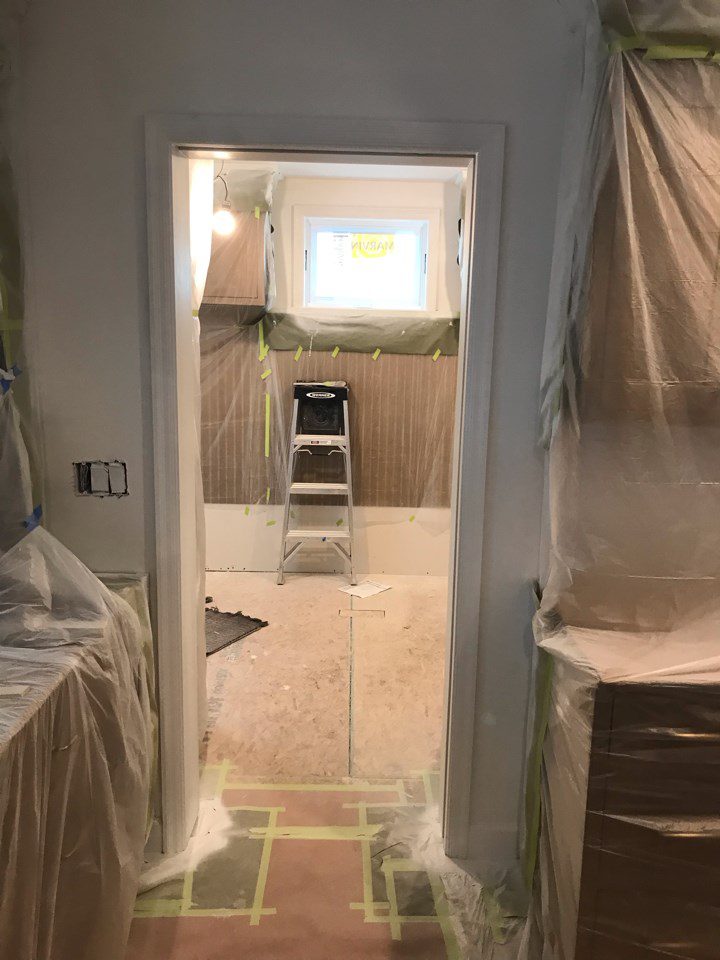
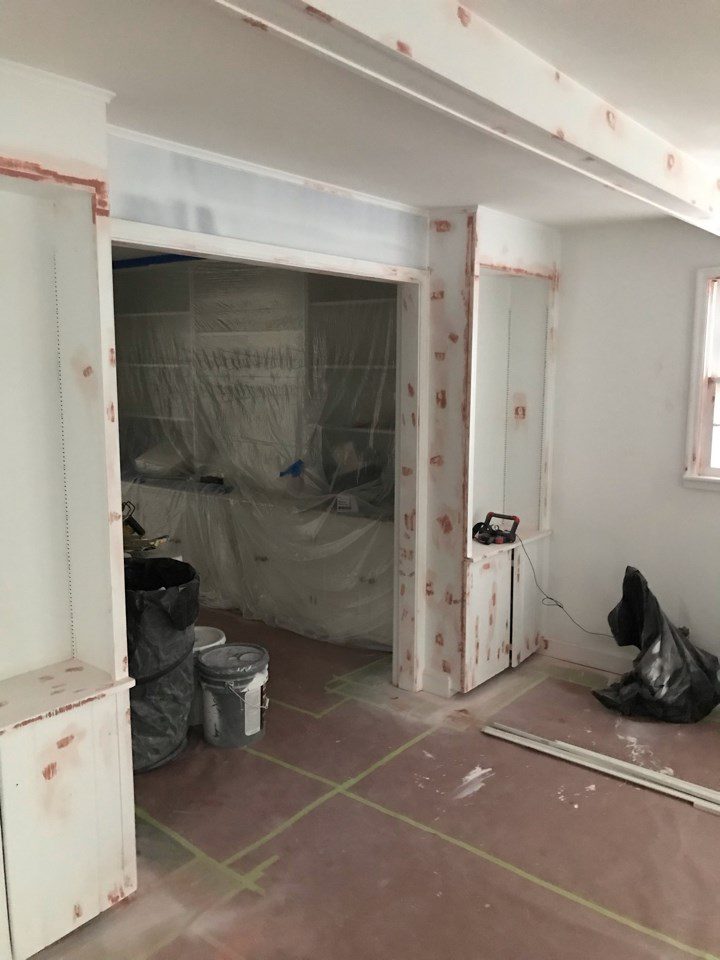
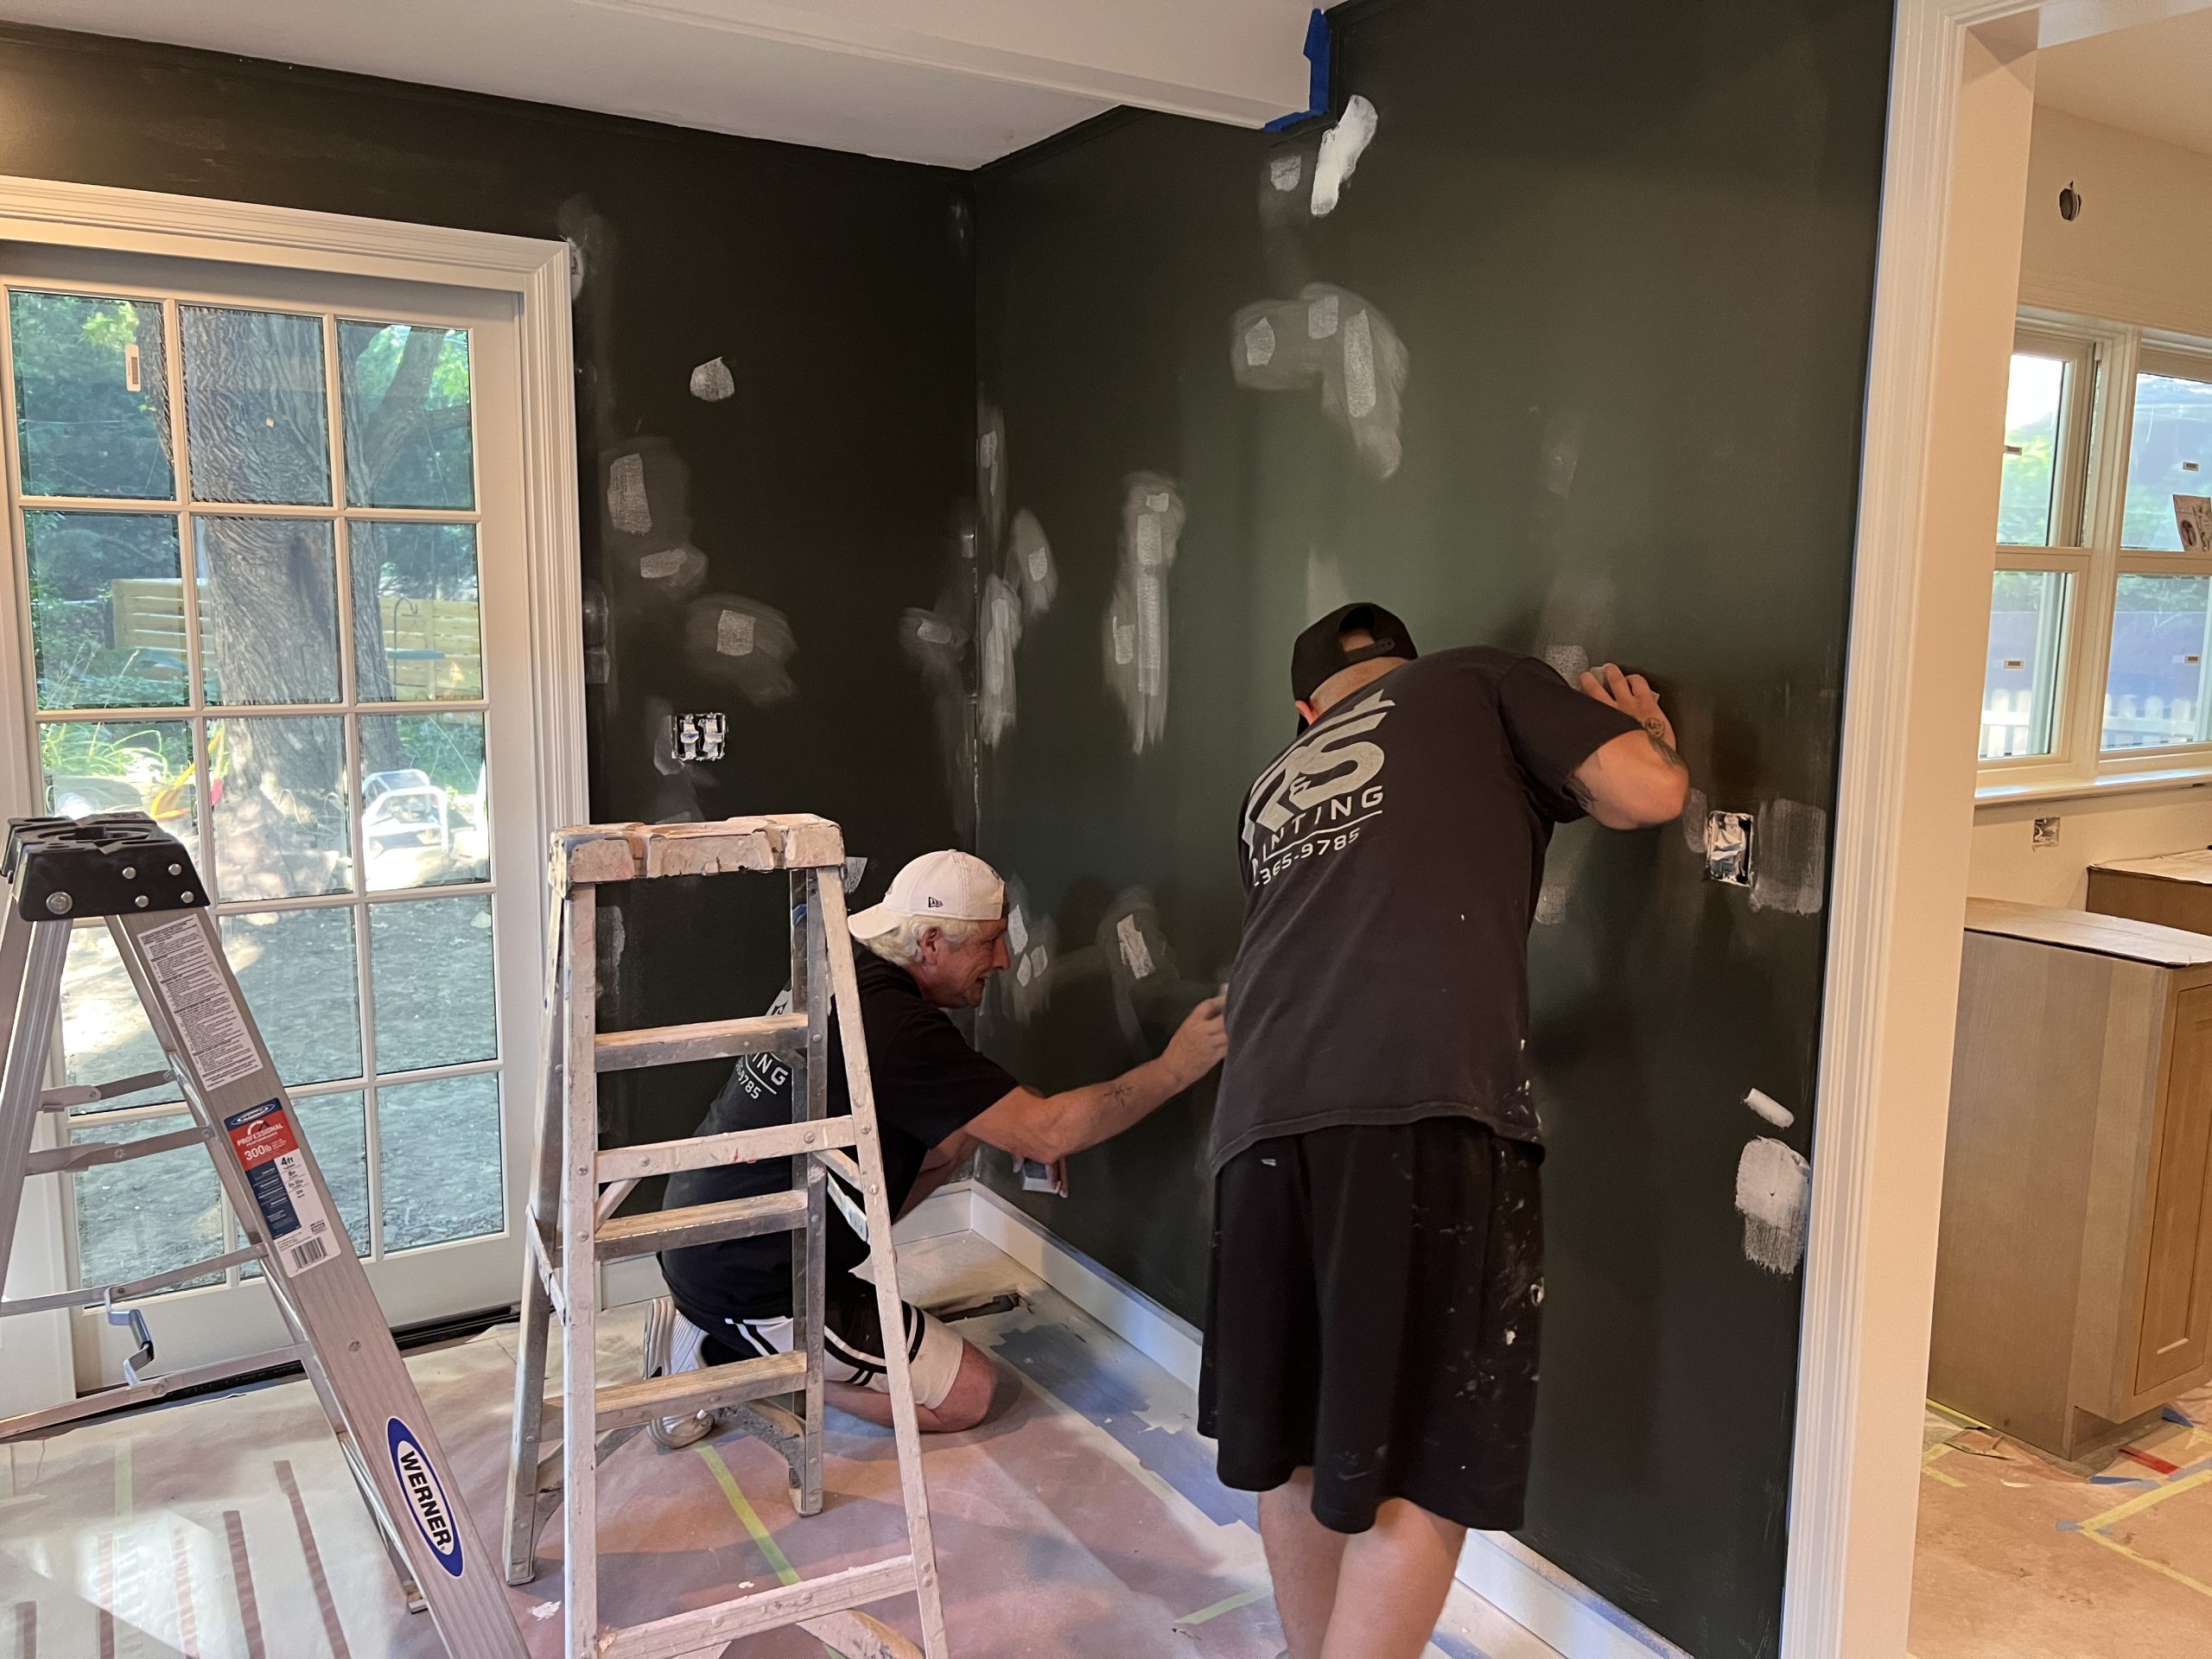
With the perimeter tops in, it was time to kick off paint. R&S Painting came in and did all the prep work. Painting newly finished spaces is not a light job. Mike and Roy primed, spackled, painted, spackled, and painted the trim, walls, ceilings, and our exterior. In the kitchen, we went with warm white paint color and the same color green as the island in our family room. They painted all the trim to match our existing white woodwork.
Tile
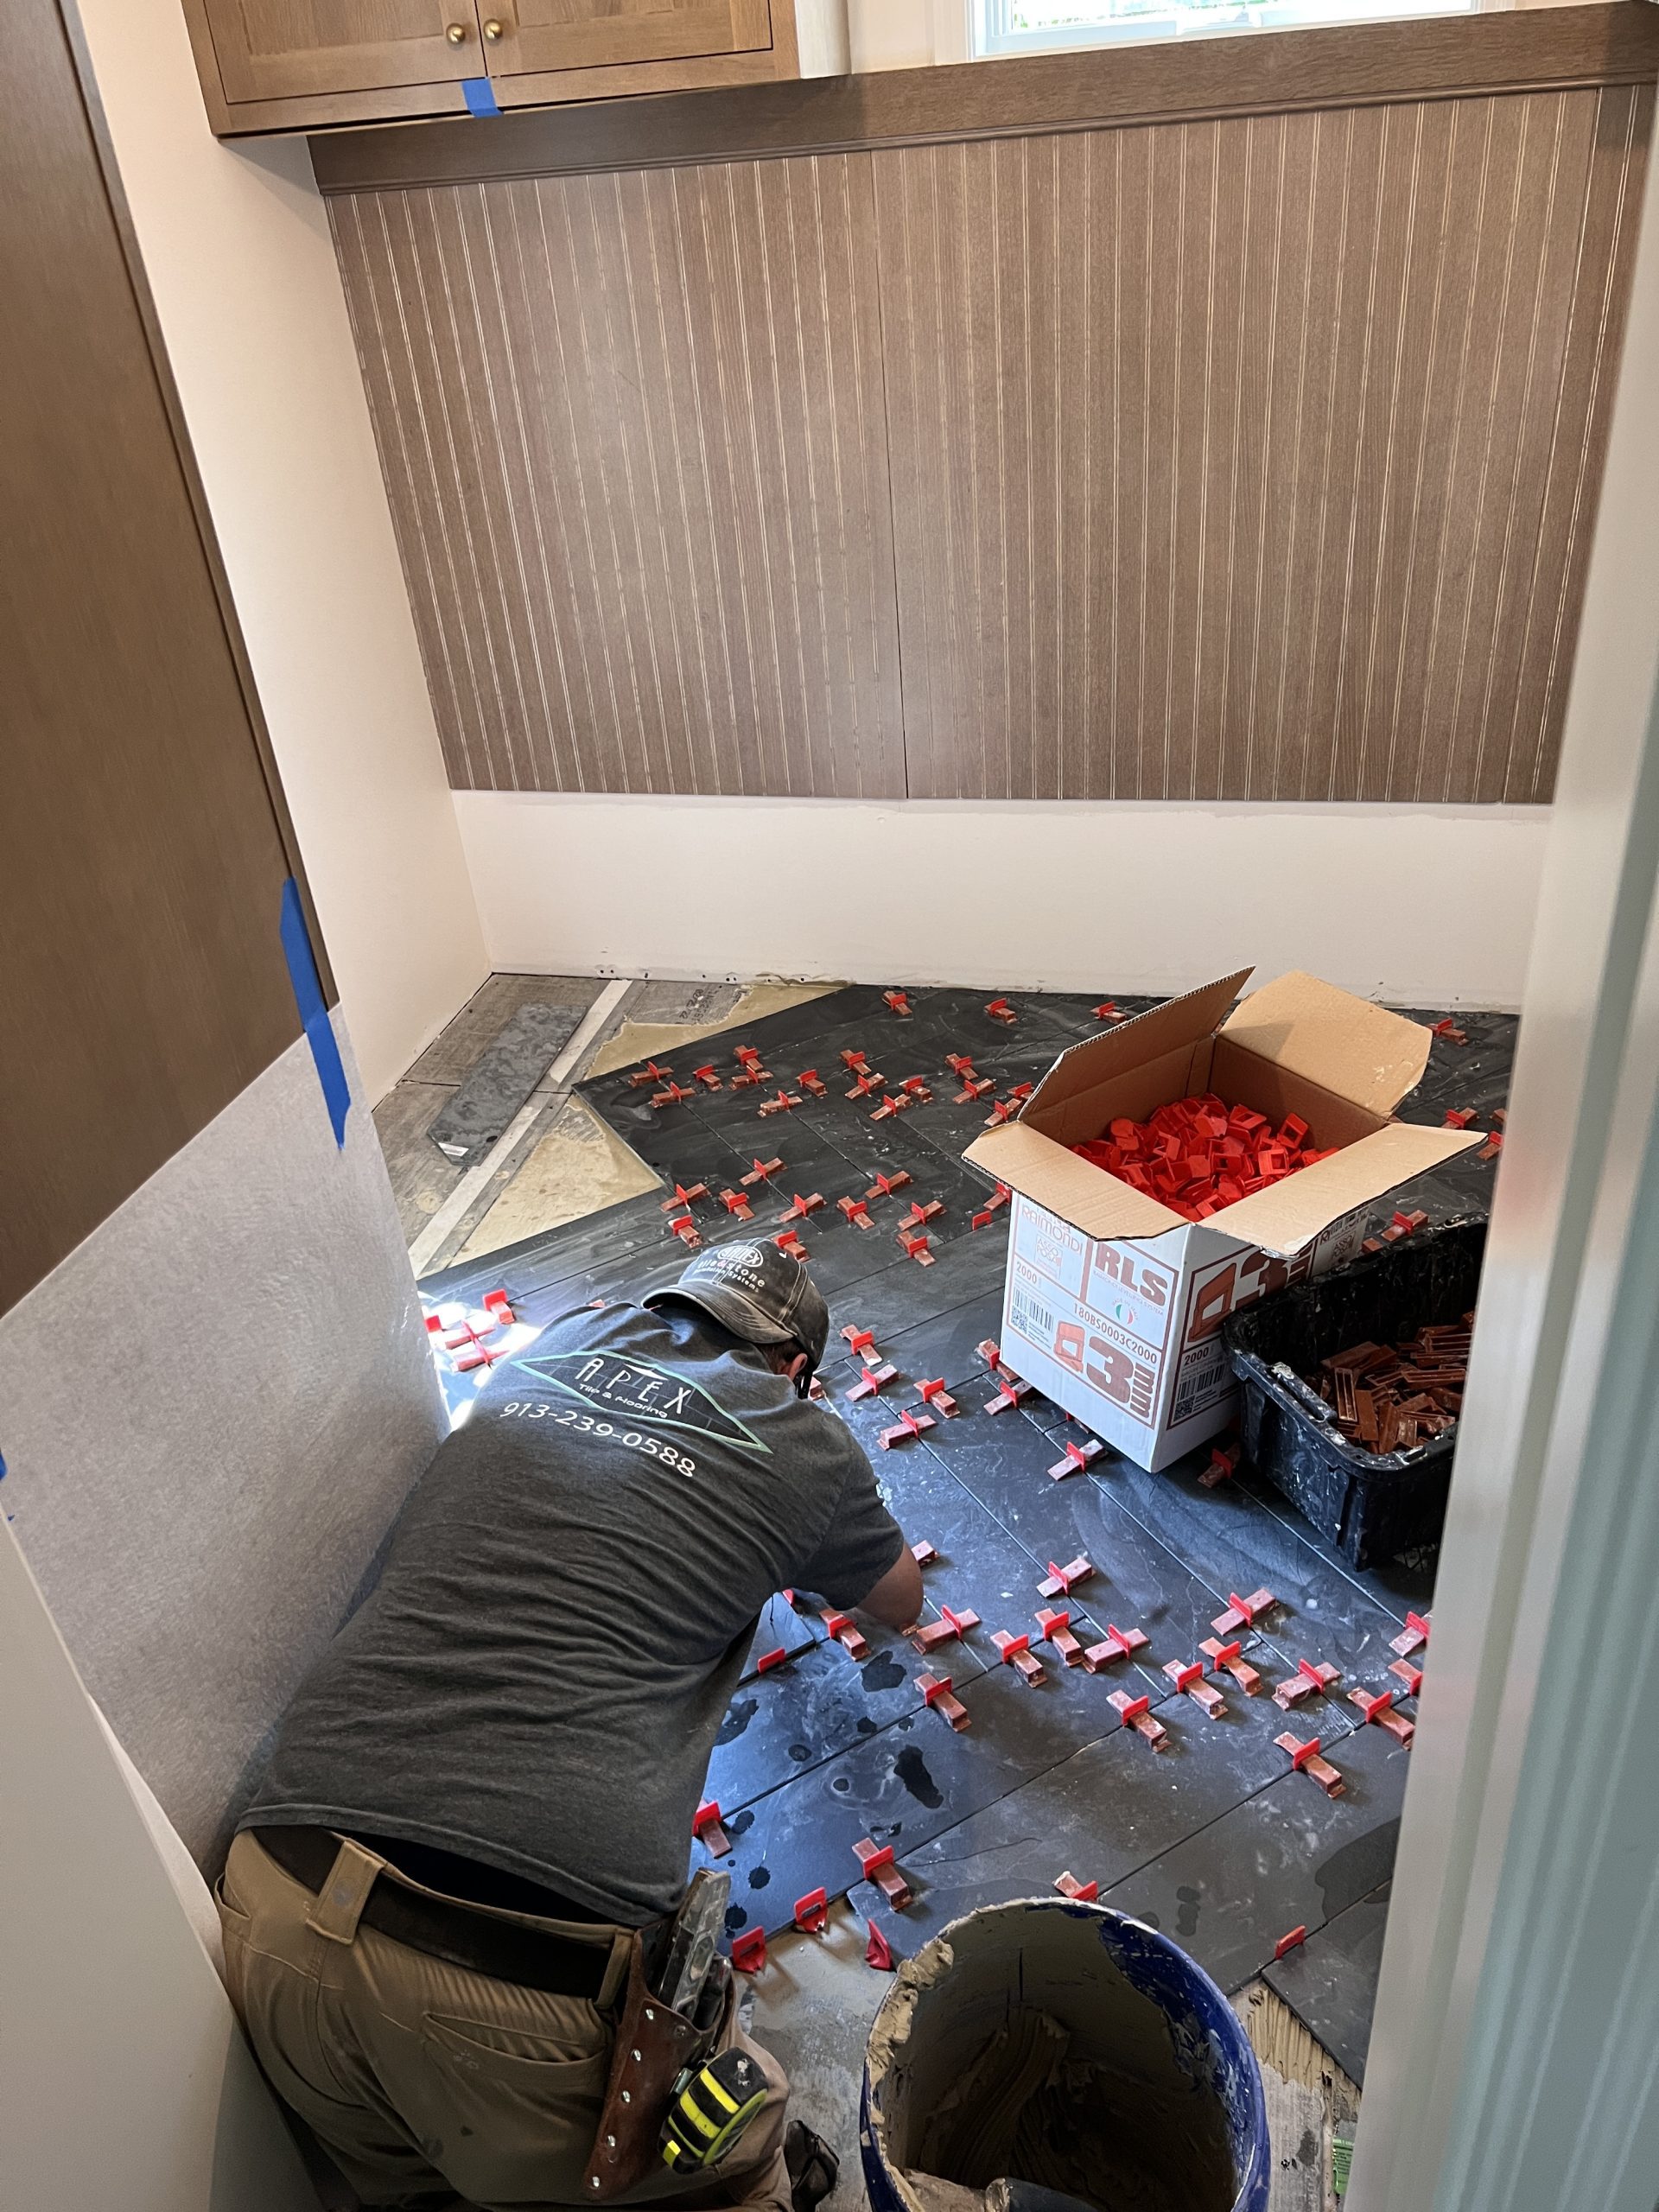
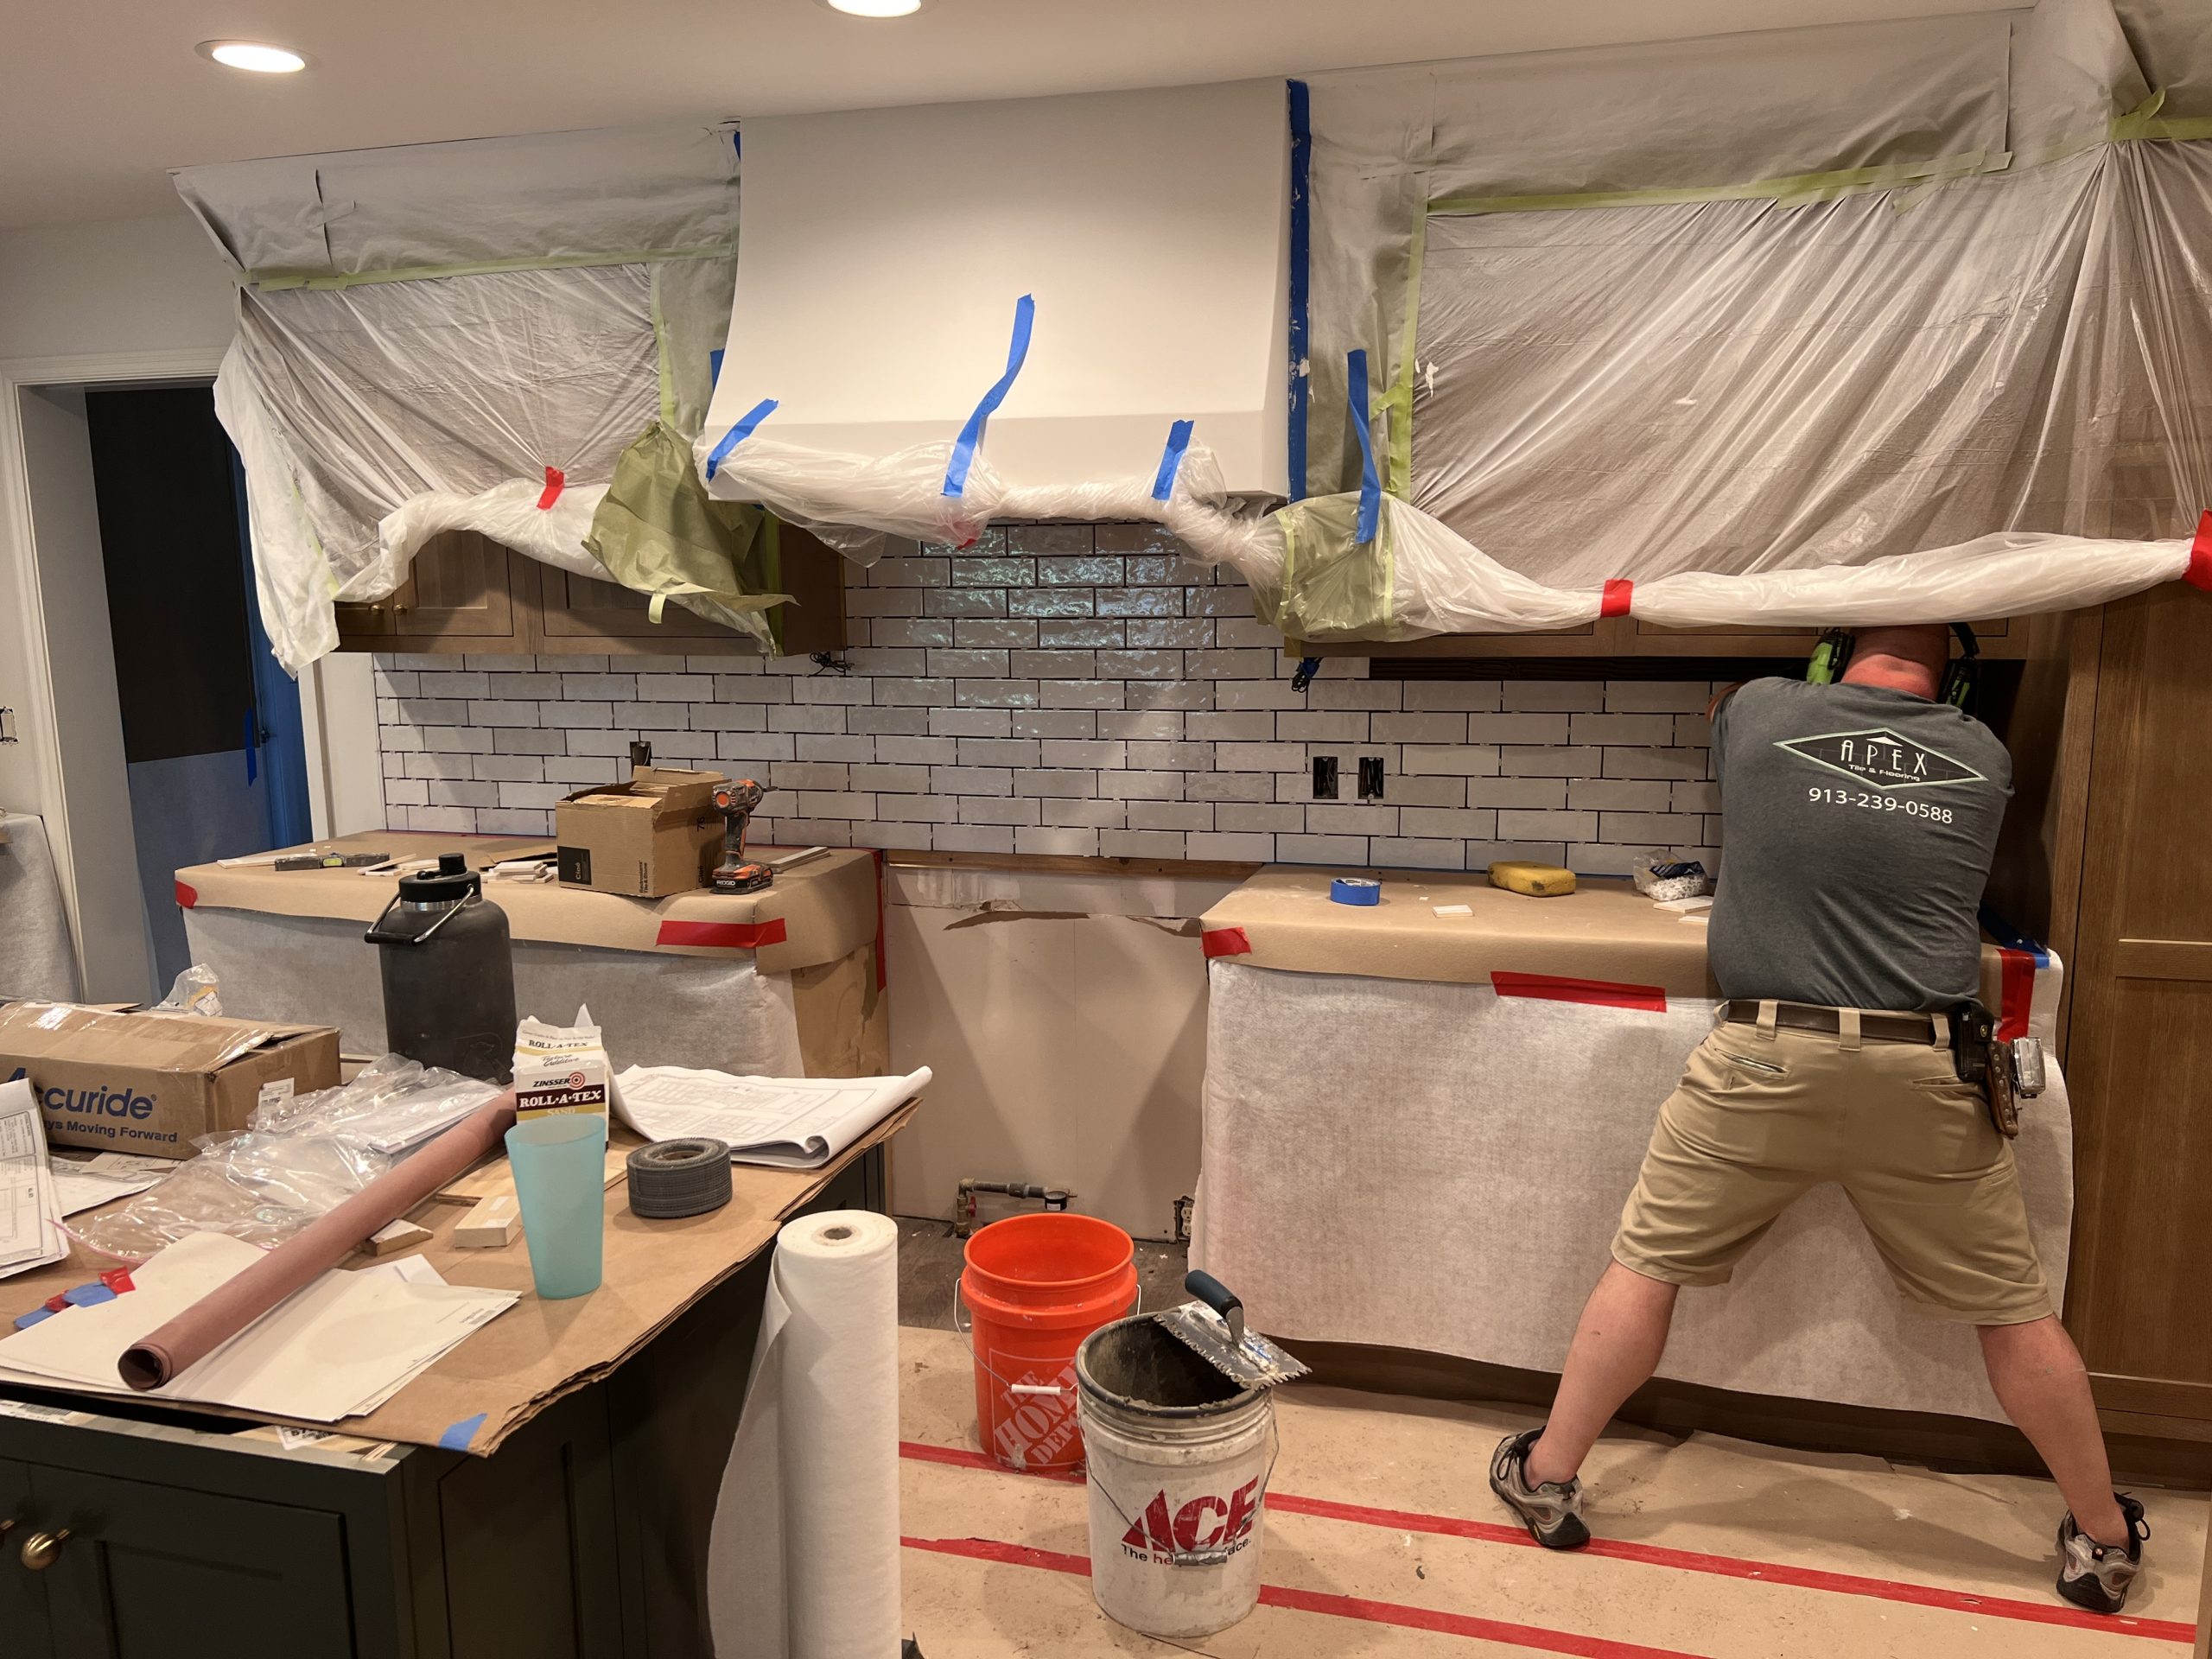
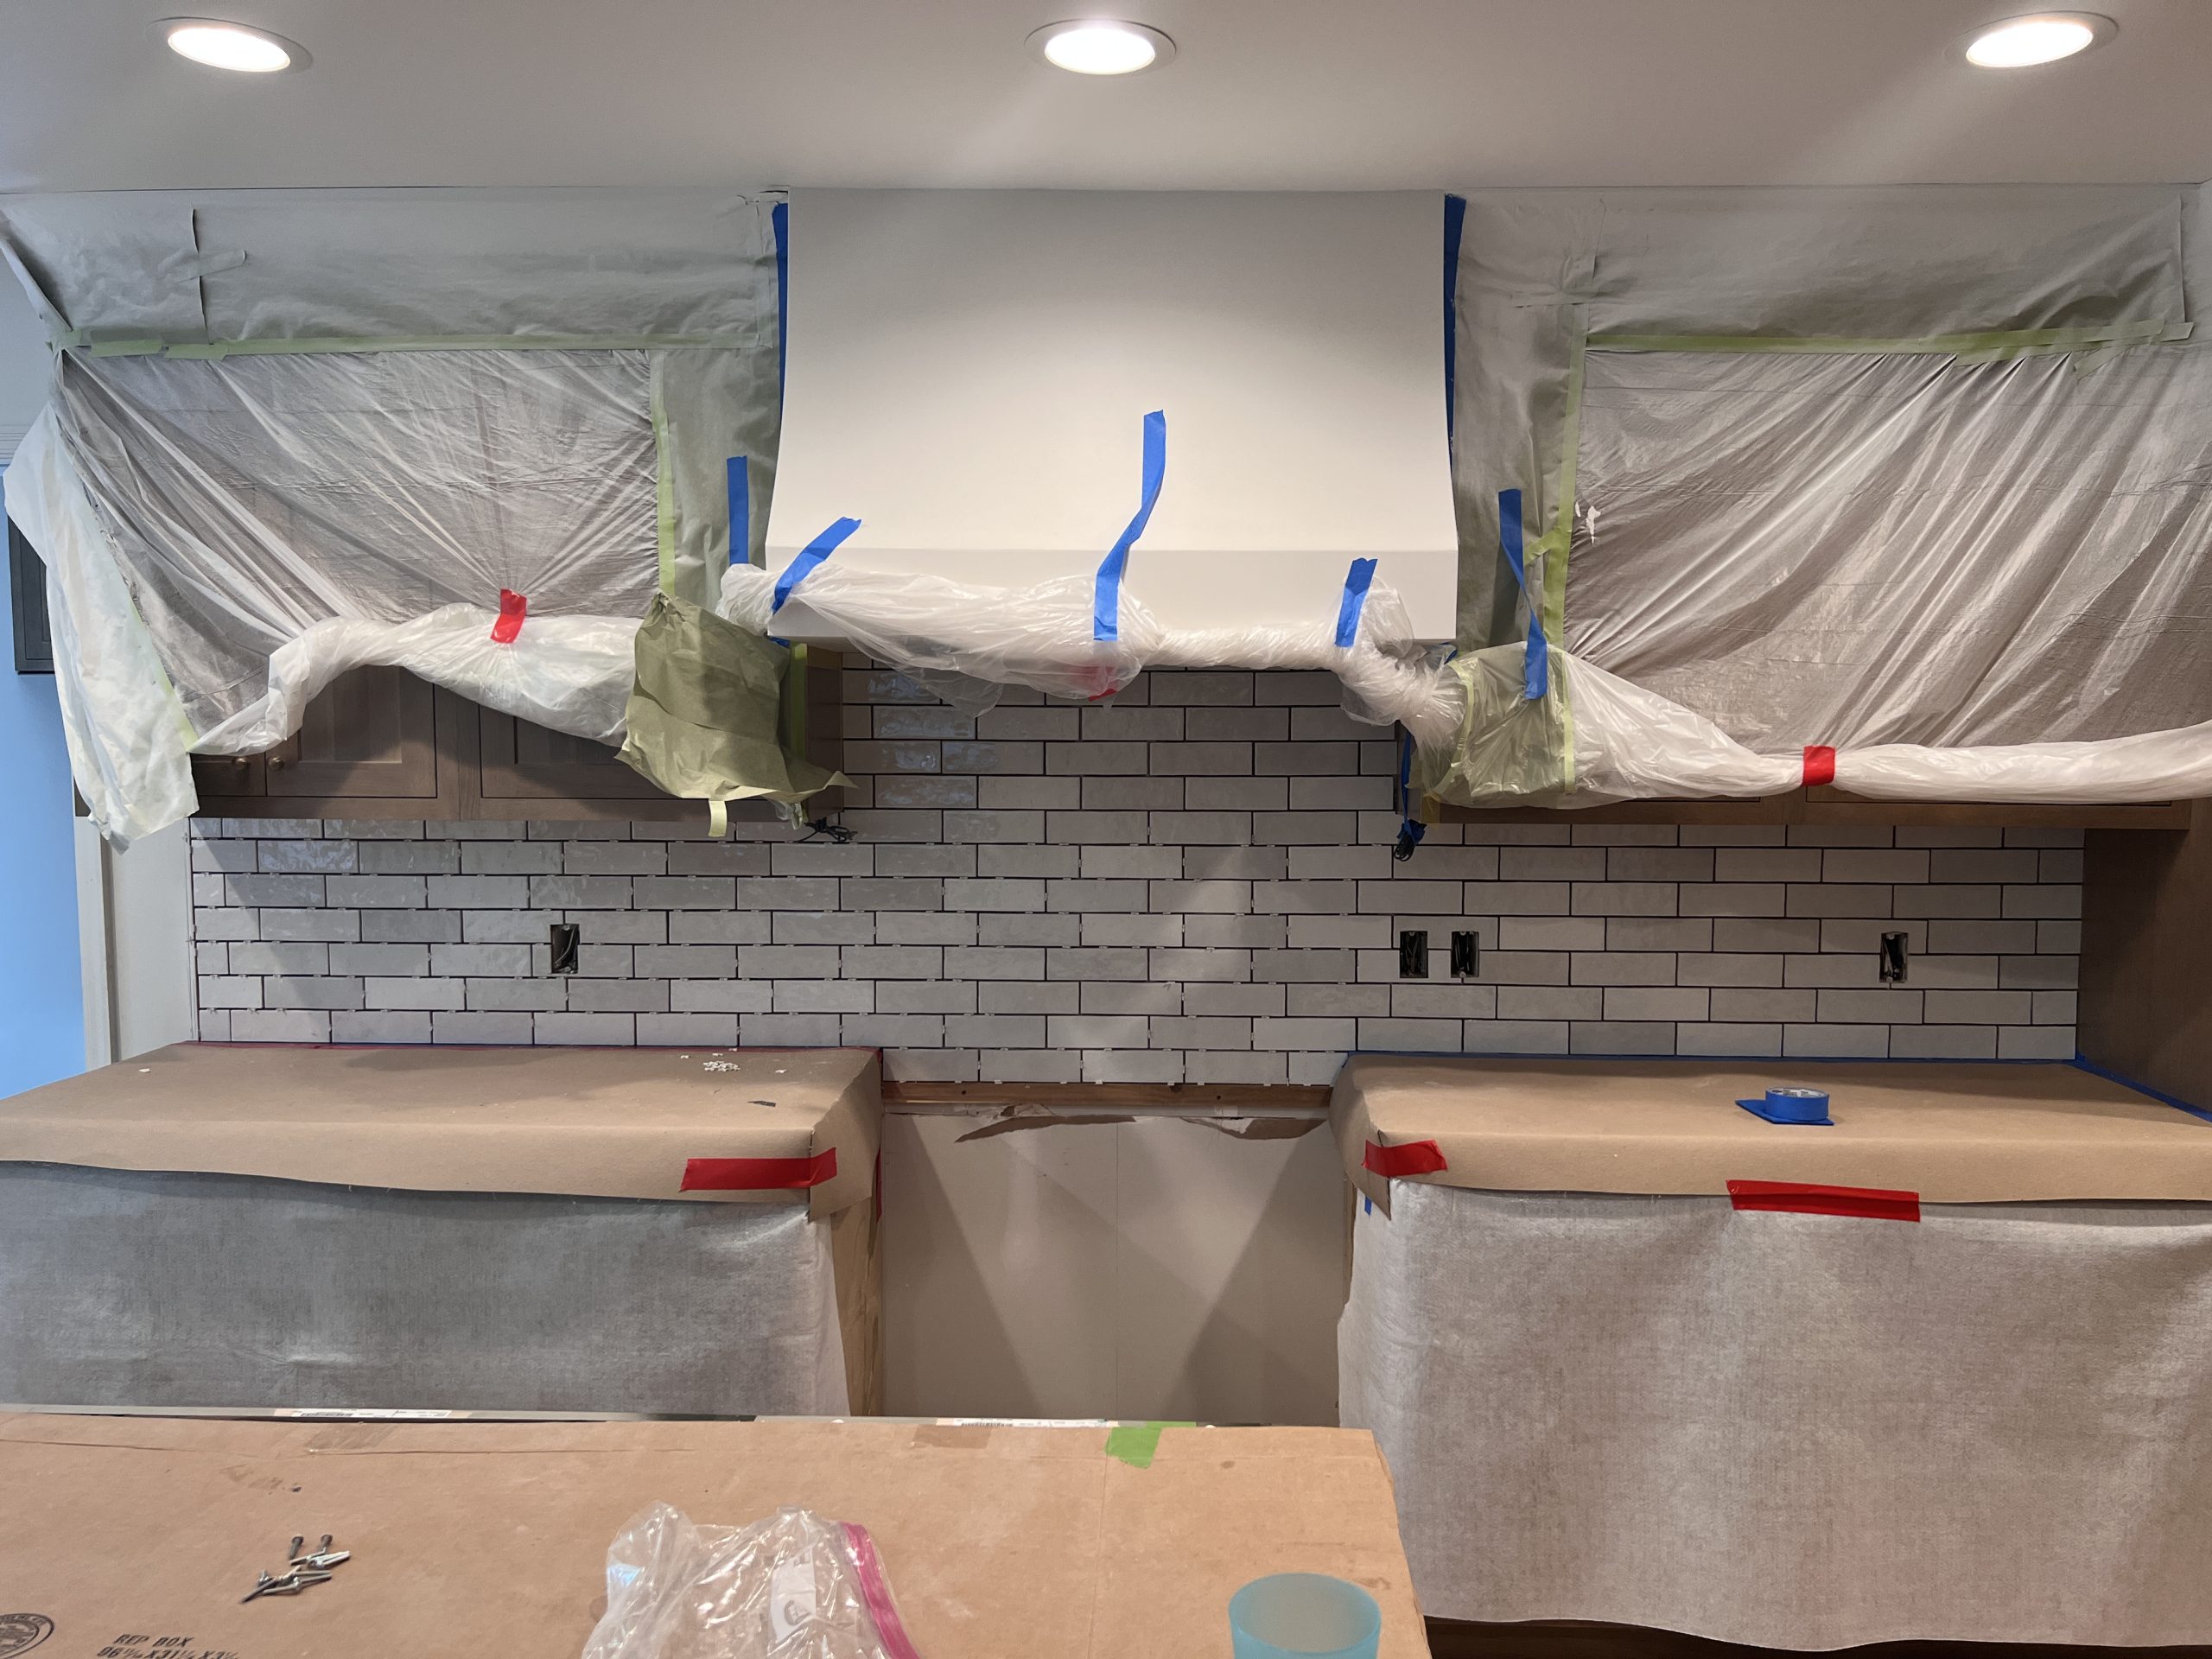
Man, oh man, it felt like we would never get to tile, but here we are. Apex Tile came in and started on our mudroom floors. We decided to lay the tile in a herringbone pattern which takes a bit more work. It shouldn’t surprise me how efficient and fantastic our trade partners are, but I was. The Apex team laid all our backsplash tiles in one day! They then came in and installed all the grout.
The many other activities!
Meanwhile, Trevor Gariety, Ryan, and Brandon Edgerson tackled the many other miscellaneous items including, trim, burying our sump pump drain pipe.
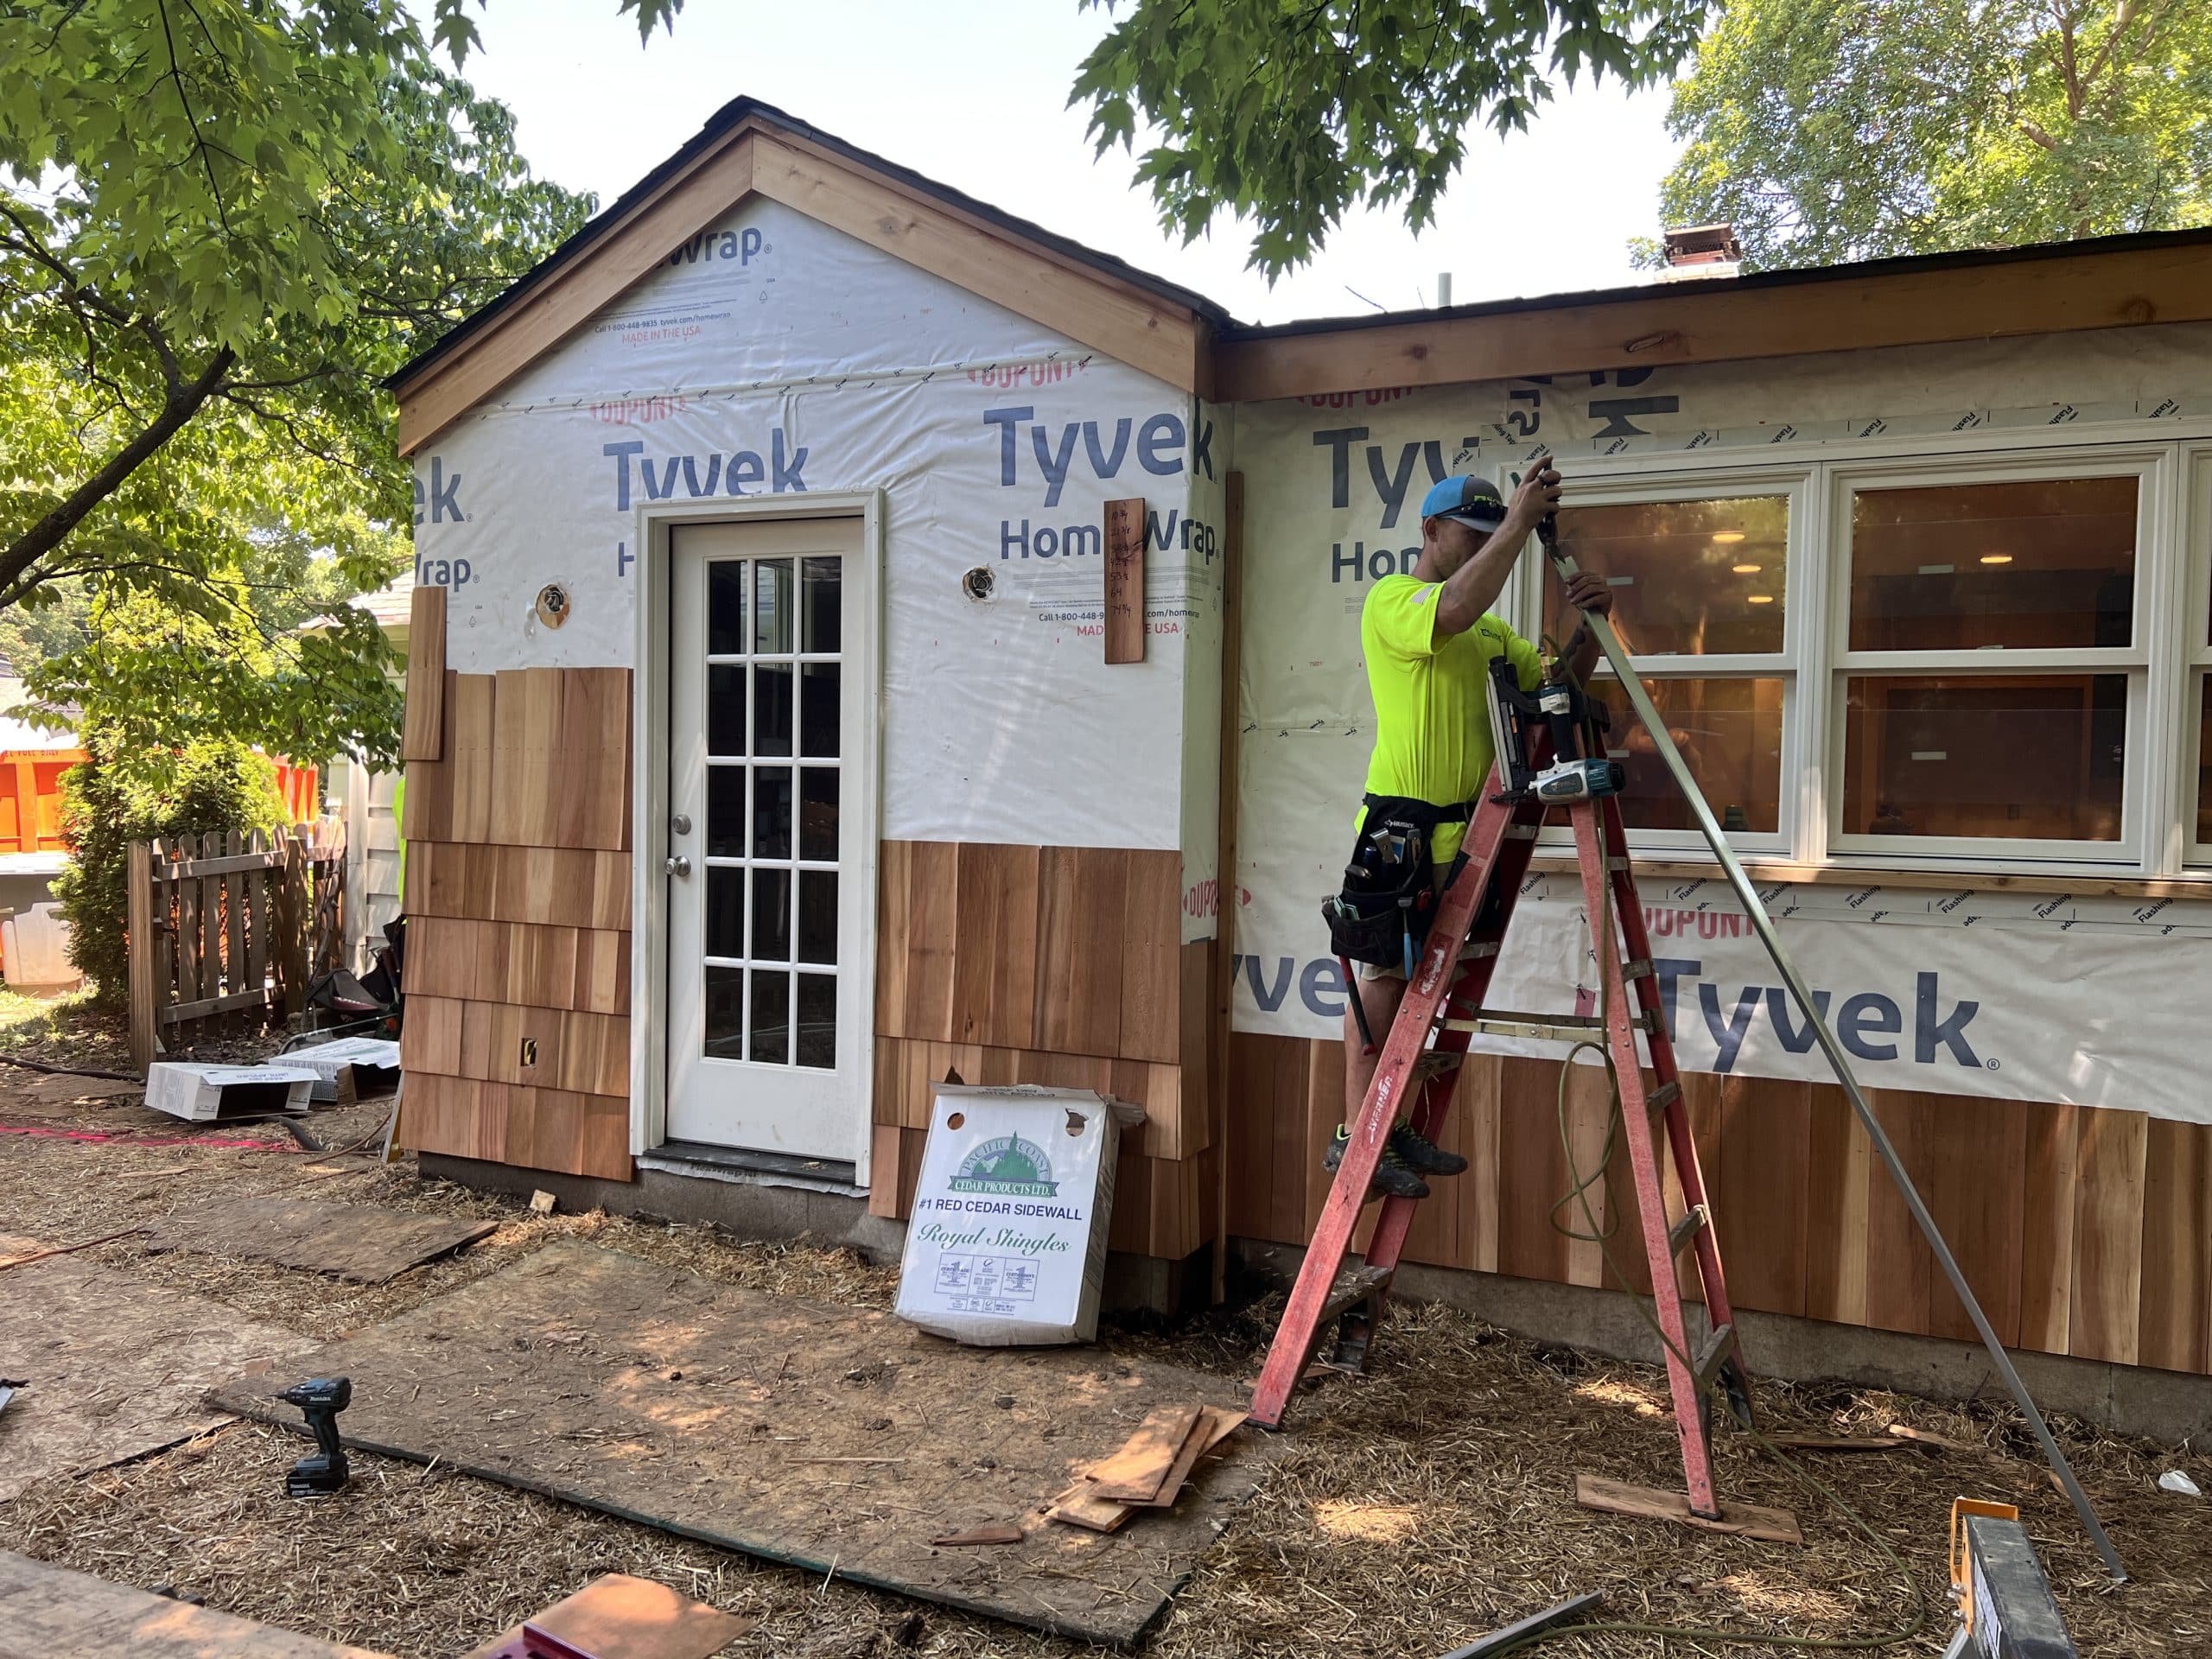
James with Schelp came back and finished the exterior single-shake cedar siding.
Next week will be our last construction post before the big reveal! We will share the light & plumbing fixtures and the island countertops. Basically, the finishing touches.

